To set up your first home theater projector, start by choosing the right model with at least 1000 ANSI lumens and the desired resolution, like 1080p or 4K. Measure your room's dimensions to determine the ideal throw distance and project the image size. Select a screen size between 100 and 120 inches for the best experience, and position it 24 to 36 inches off the ground. Consider mounting options like ceiling or floor mounts, and make sure your audio components connect via HDMI for peak sound. Fine-tune your projector settings for the best picture quality, and there's plenty more to explore.
Key Takeaways
- Choose a projector with at least 1080p resolution and 1000 ANSI lumens for optimal image quality in bright rooms.
- Measure your room dimensions and understand the throw ratio to determine the best projector placement and screen size.
- Aim for a screen size of 100 to 120 inches diagonally, mounted 24 to 36 inches above the floor for ideal viewing.
- Use HDMI cables for audio and video connections, and consider a surround sound system for an immersive experience.
- Regularly maintain your projector by cleaning the lens, checking air filters, and updating firmware for optimal performance.
![[Built-in Apps/4K Support] Smart Outdoor Projector with WiFi and Bluetooth, Movie Projector, DoIby Audio with Dual Speaker, Auto Focus w/ YouTube&PrimeVideo Proyector, Upgrad P62 Pro](https://m.media-amazon.com/images/I/51yAGv8VI7L._SL500_.jpg)
[Built-in Apps/4K Support] Smart Outdoor Projector with WiFi and Bluetooth, Movie Projector, DoIby Audio with Dual Speaker, Auto Focus w/ YouTube&PrimeVideo Proyector, Upgrad P62 Pro
[Upgraded Classic – P62 Pro Movie Projector] Building on the reliability and low return rate of the classic...
As an affiliate, we earn on qualifying purchases.
Choosing the Right Projector
When it comes to choosing the right projector, you want to prioritize key features that enhance your viewing experience. Start by considering the resolution; 1080p is a solid choice for most content, but if you're aiming for the highest quality, 4K options are available.
Brightness matters too—look for projectors with at least 1000 ANSI lumens to guarantee clear images, even in brighter rooms. Additionally, consider the advantages of energy-efficient technologies that can provide better performance and lower operational costs, similar to using energy-efficient heat pumps in home installations.
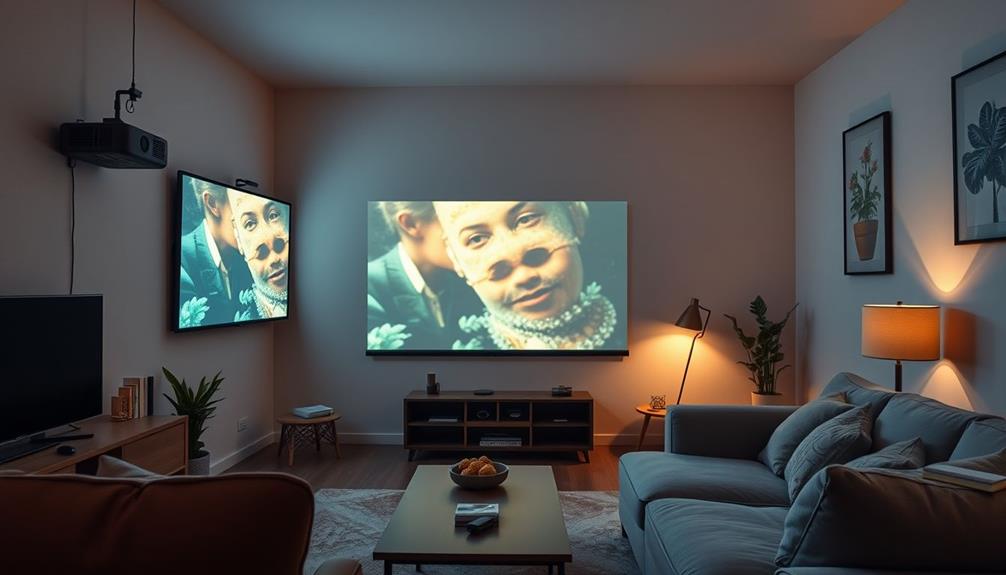
Next, think about the type of projector that fits your space. Short-throw and ultra-short throw home theater projectors can project large images from close distances, making them perfect for smaller areas.
This flexibility allows you to maximize your viewing experience without needing a vast room.

4K Projector with Built-in Apps, 1500ANSI Auto Focus&6D Keystone Dolby Audio Kogata Smart Projector with WiFi 6 Bluetooth Outdoor Movie Proyector for Home Theater HDR10+ UPGRADE
【UPGRADE Version】Unlimited Streaming –Compatible with Netflix & Dolby Audio& DTS Audio: The Kogata GC357 home projector comes with...
As an affiliate, we earn on qualifying purchases.
Determining Throw Distance
To get the best image quality and size, you need to understand throw ratios and measure your room dimensions.
Knowing whether you have a short-throw or long-throw projector will help you determine the ideal placement.
Additionally, you might want to take into account the cost of home security systems if you're integrating your home theater with smart technology.
Let's explore how these factors come together to create the perfect home theater setup.
Understanding Throw Ratios
Understanding throw ratios is vital for achieving the best image quality in your home theater setup. The throw ratio is a significant specification that tells you how far your projector should be from the screen to project a specific image size. For example, a throw ratio of 1.13:1 means that for every foot of screen width, you'll need to place the projector 1.13 feet away.
Considering the layout of your room and any potential obstacles, much like how you'd evaluate robot vacuum coverage, can help guarantee ideal projector placement.
If you're working with limited space, short throw projectors are a great option. They can create a large image from just a few feet away, often within 4 feet, which is perfect for small rooms.
However, traditional projectors usually require a longer throw distance—typically 8 to 10 feet—to achieve a 100-inch diagonal image.
To determine the ideal throw distance for your setup, it's important to consult your projector's specifications. Most manufacturers provide screen size calculators that help you find the right placement for your projector.
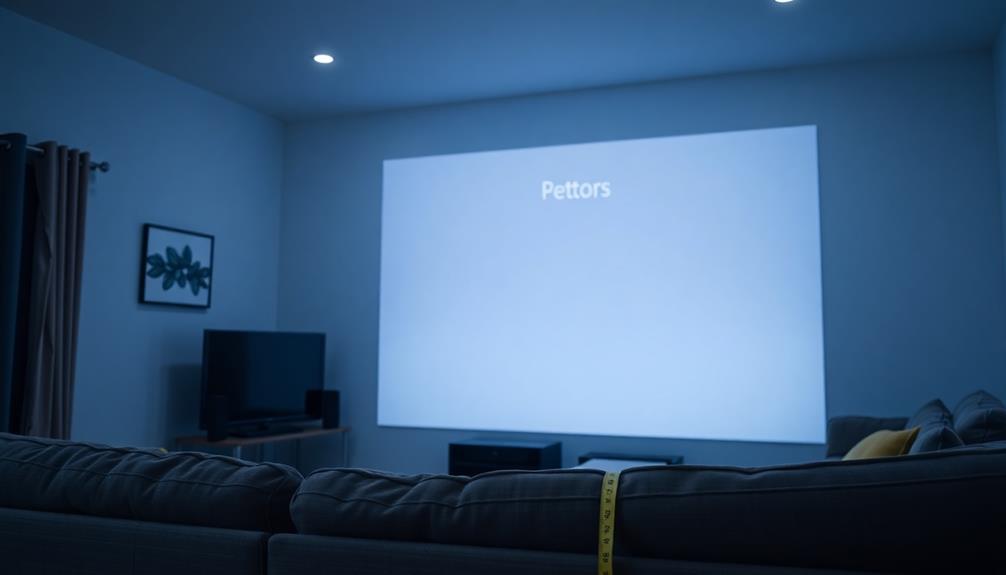
Measuring Room Dimensions
Accurate room measurements are essential for determining your projector's throw distance and guaranteeing the best viewing experience.
Start by measuring the distance from the projector lens to where you plan to position the screen. Each projector has a specific throw ratio that dictates how far it needs to be from the screen to achieve your desired image size.
Here's how to measure effectively:
- Measure the Distance: Use a tape measure to find the distance from the lens to the screen location.
- Check the Throw Ratio: Consult your projector's specifications to understand its throw ratio. For instance, a standard ratio might be around 1.13:1.
- Visualize the Image Size: Position the projector temporarily to project an image on the wall. This trial run helps you gauge the screen size and guarantees it fits well within your room dimensions.
Short vs. Long-Throw
When choosing between short-throw and long-throw projectors, it is essential to evaluate the size of your space and your viewing preferences. Understanding throw distance can help you achieve the best image quality and an immersive experience.
| Type | Throw Distance |
|---|---|
| Short-Throw | 3 to 8 feet |
| Long-Throw | 8 to 10+ feet |
| Ideal Screen Size | 100 to 120 inches |
| Typical Throw Ratio | 1.13:1 |
| Best For | Smaller spaces (short) |
Short-throw projectors are perfect for smaller rooms, allowing you to create larger images without needing a lot of space. On the other hand, long-throw projectors suit larger areas, where you can position seats further from the screen.
Before making a decision, consult the manufacturer's specifications regarding throw distance to guarantee compatibility with your room dimensions. This careful selection can prevent distortion and maintain ideal screen clarity, enhancing your overall viewing experience.
HAPPRUN Native 1080P Projector, Bluetooth Home Theater Movie Projector with Built-in Speaker, Compatible with Smartphone, HDMI, Fire Stick, PS5, Indoor & Outdoor Use - Without Google TV System
[ Native 1080P Full HD Resolution ] - Enjoy crystal-clear visuals with HAPPRUN H1's native 1920x1080 resolution, delivering...
As an affiliate, we earn on qualifying purchases.
Selecting Screen Size
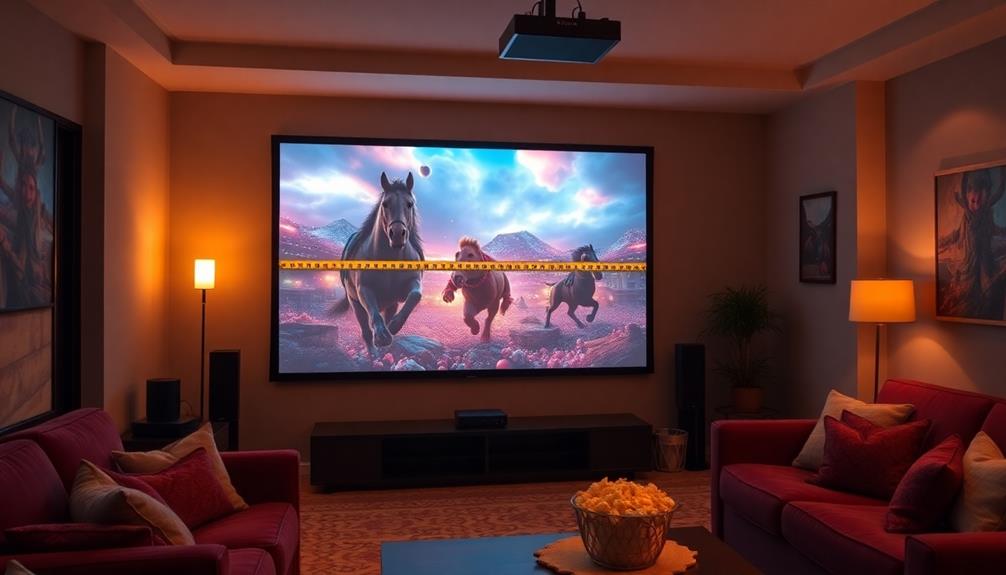
When you're choosing a screen size for your home theater, consider your room dimensions and seating distance for the best experience.
Ideally, you want a screen that complements both your projector and your space, typically ranging from 100 to 120 inches diagonally.
Keeping these factors in mind guarantees you'll enjoy maximum clarity and immersion during your movie nights.
Room Dimensions Consideration
Selecting the right screen size for your home theater projector hinges on your room's dimensions. To create an immersive viewing experience, aim for a diagonal measurement between 100 to 120 inches, especially in larger rooms.
However, it's essential to take into account the throw distance of your projector, as this will determine how large of a screen you can effectively use.
Here's what you need to keep in mind:
- Viewing Distance: Ideally, sit about 1.5 to 2.5 times the diagonal size of your screen to avoid eye strain.
- Measure Carefully: The throw distance typically requires 8 to 10 feet for standard projectors, so measure your room dimensions to confirm everything fits.
- Screen Height: Mount your screen 24 to 36 inches above the floor to maintain a suitable viewing angle of 15 to 20 degrees for seated viewers.
Using a screen size calculator from your projector's manufacturer will also help you determine the best screen size based on the specific throw ratio.
Recommended Screen Sizes
Choosing the right screen size for your home theater projector is essential for achieving the best viewing experience. The recommended screen sizes typically range from 100 to 120 inches diagonally, striking a balance between immersion and not overwhelming your space.
To enhance your setup, consider the projector specifications, particularly the throw distance, which dictates how far your projector needs to be from the screen to produce the desired image size.
When positioning your screen, keep the ideal screen height in mind. Aim for a placement that's 24 to 36 inches above the floor, ensuring a comfortable viewing angle of 15 to 20 degrees. This height allows for an enjoyable experience for most viewers without straining their necks.
Also, investing in a dedicated projector screen instead of projecting onto a wall can greatly improve your picture quality. A dedicated screen offers better brightness and color accuracy due to its uniform surface and superior light reflection.
Viewing Distance Guidelines
Understanding viewing distance is key to maximizing your home theater experience. Properly calculating this distance guarantees you enjoy ideal image quality without straining your eyes or neck. Here are a few guidelines to follow:
- Minimum Viewing Distance: Multiply your screen width by 2. This distance helps prevent pixel visibility and guarantees a comfortable viewing experience.
- Maximum Viewing Distance: Multiply your screen width by 5. This allows for a more immersive cinematic feel, especially with larger screens.
- Viewing Angle: Aim for a viewing angle of 15 to 20 degrees from the screen's center. This keeps your neck comfortable while reducing eye strain.
For a recommended screen size of 100 to 120 inches diagonally, you should consider your projector throw distance to determine the best placement in your room.
If you opt for a screen larger than 120 inches, expect to sit 8 to 10 feet away to maintain image clarity.
Utilizing a projector throw distance calculator tailored to your specific model can help you finalize your screen size and placement, guaranteeing your home theater is set up for ideal enjoyment.
![[Officially-Licensed App & Auto Focus]White Smart Mini Projector with WiFi and Bluetooth, XuanPad 4K Support Movie Projector, Portable Native 1080P Outdoor Projector with 360° Stand](https://m.media-amazon.com/images/I/51I8uy-U8bL._SL500_.jpg)
[Officially-Licensed App & Auto Focus]White Smart Mini Projector with WiFi and Bluetooth, XuanPad 4K Support Movie Projector, Portable Native 1080P Outdoor Projector with 360° Stand
Exciting Moments Begin - The XuanPad mini projector compatible with Netflix for the ultimate viewing experience.No extra devices...
As an affiliate, we earn on qualifying purchases.
Mounting Options and Setup
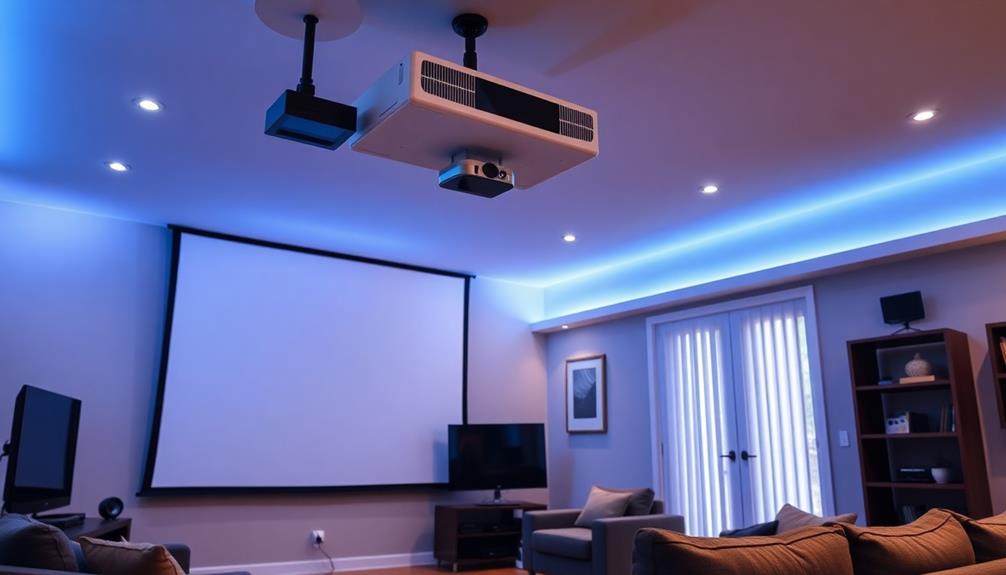
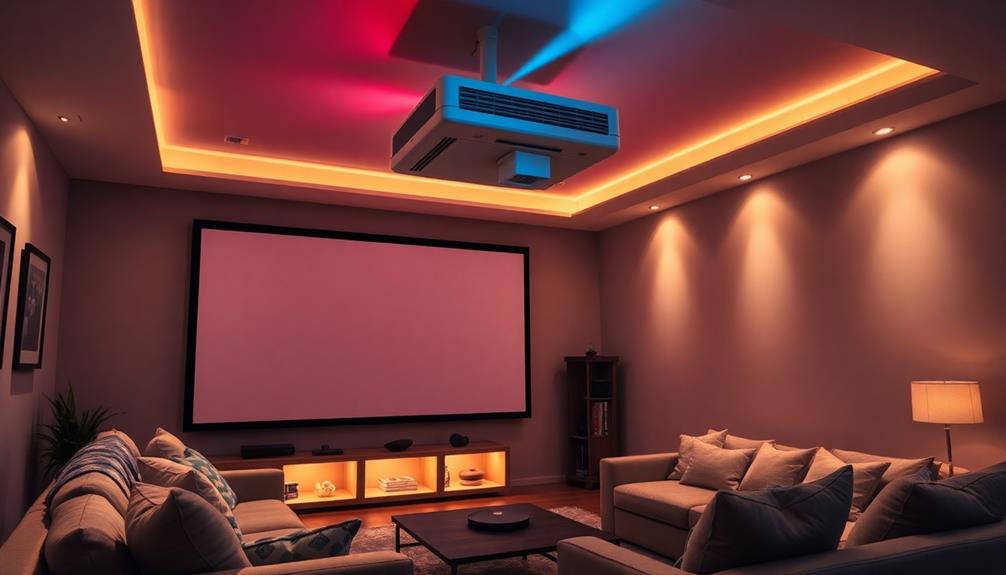
When it comes to your home theater projector's mounting options, the right setup can make all the difference in achieving that cinematic experience. You can choose a ceiling mount for a permanent solution, saving space while guaranteeing ideal alignment with your screen. Just make sure it's securely attached according to the manufacturer's guidelines. If you prefer a floor mount, position the projector at the correct height to avoid trapezoidal distortion, typically aligning the lens with the screen's center.
Here's a quick comparison of mounting options:
| Mount Type | Pros |
|---|---|
| Ceiling Mount | Saves space, ideal alignment |
| Floor Mount | Easy to adjust, portable |
| Adjustable Stand | Versatile for various projector sizes |
Also, don't forget about cable management! Run your HDMI and power cables neatly along walls or through conduits to keep your space clutter-free. After you mount the projector, adjust its orientation settings, like lens shift and keystone correction, to guarantee you have a perfectly aligned image on your screen.
Connecting Audio Components
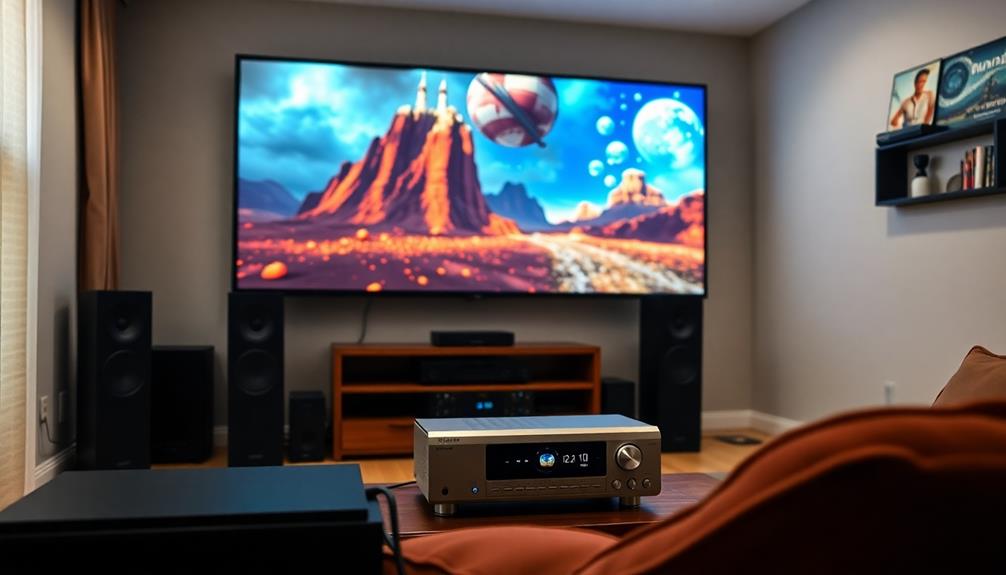
Connecting audio components to your home theater projector is essential for enhancing your viewing experience. To achieve ideal sound quality, follow these simple steps:
- Use an HDMI cable: This is the best option as it supports both audio and video signals without any loss in fidelity. Confirm you connect the projector directly to your source device using an HDMI cable.
- Consider optical audio output: If your projector has this feature, use an optical cable to connect to a soundbar or AV receiver. This can greatly enhance your audio performance, giving you a richer sound.
- Set up a surround sound system: For the ultimate audio experience, consider a surround sound configuration, like 5.1 or 7.1. Connect your projector to the receiver to manage audio channels effectively and create an immersive environment.
Make sure all your audio devices are compatible with the projector's output formats, supporting common formats like Dolby Digital or DTS.
Optimizing Picture Settings
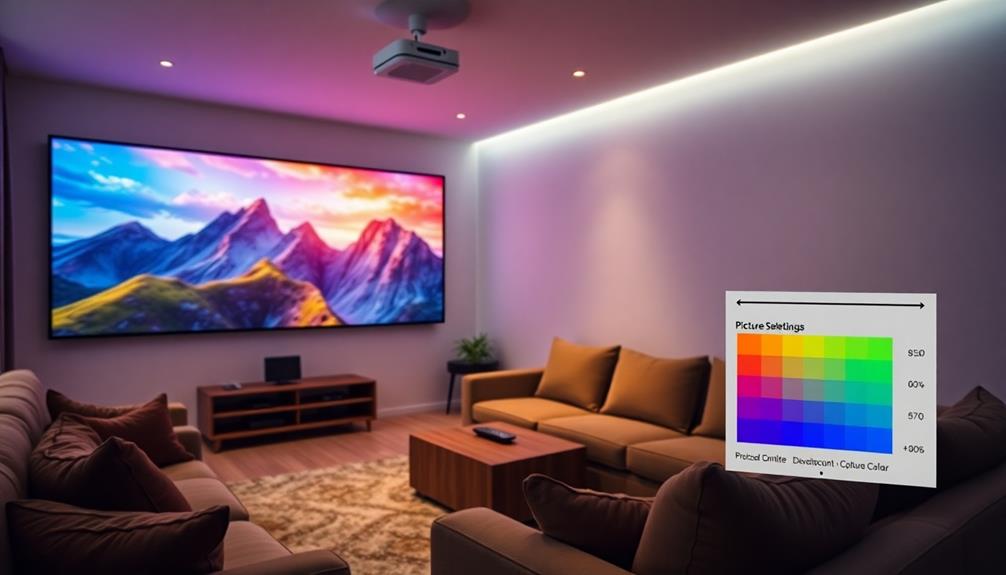
Optimizing picture settings is essential for achieving the best viewing experience with your home theater projector. Start by accessing the projector's settings menu to adjust the brightness, contrast, and color. Make sure these adjustments suit the room's ambient light conditions.
If you're aiming for precise tuning, consider using calibration tools or discs. These can enhance color accuracy and sharpness, immersing you even further in your content.
Experiment with different picture modes, like Cinema for dark rooms or Vivid for brighter environments, to find the best setting for your viewing needs. Regularly revisit the sharpness settings to maintain clear images, paying close attention to the corners of the screen to catch any alignment issues early.
Additionally, be mindful of your lamp settings. Brighter modes may increase fan noise and reduce lamp life, so it's vital to balance your brightness needs with acceptable noise levels and longevity.
Maintaining Your Projector

To keep your projector performing at its best, regular maintenance is key. Neglecting this can lead to poor image quality and a shorter lifespan. Here are three vital maintenance tips you should follow:
- Clean the Lens: Regularly use a microfiber cloth to wipe the projector lens. Dust buildup can severely degrade picture quality, so keeping it clean is essential.
- Check Air Filters: Inspect and replace the air filters as needed. Proper ventilation prevents overheating, which can negatively impact your projector's performance and overall lifespan.
- Update Firmware: Periodically check for firmware updates. These updates can enhance functionality and improve your projector's features, ensuring it operates at peak performance levels.
Additionally, keep the projector and screen free from dust using a soft cloth and avoid harsh cleaning agents.
Recalibrate your projector settings occasionally to adapt to changes in ambient light, ensuring you maintain the best image quality over time.
Frequently Asked Questions
How to Set up a Home Theatre With a Projector?
Did you know that a 100-inch screen provides a viewing experience similar to sitting in a movie theater? To set up your home theater, choose a dark room, mount the projector, and connect quality devices.
How to Use a Projector Step by Step?
To use a projector step by step, find a dark room, connect your device with HDMI, adjust the image settings, optimize picture quality, and enhance sound by connecting an external audio system for the best experience.
What Do I Need to Set up a Home Theater System?
To set up your home theater system, you'll need a quality projector, a dedicated screen, necessary cables, and a sound system. Don't forget to plan for room dimensions and seating to maximize your viewing experience.
Where Should a Projector Be Placed in a Home Theater?
Imagine your projector as a lighthouse, guiding you through cinematic seas. Place it 8 to 10 feet away, at screen center height, and guarantee good ventilation, while minimizing ambient light for a clearer, brighter picture.
Conclusion
Now that you've chosen your projector and set up your screen, envision this: a cozy movie night at home versus a crowded theater. With the right setup, you can enjoy cinematic magic in your living room, all while wearing your favorite pajamas. By connecting your audio and optimizing settings, you'll create an immersive experience that rivals any commercial venue. Remember, with a bit of maintenance, your home theater can deliver blockbuster enjoyment for years to come.