To use a projector effectively, start by finding a location without obstacles and consider ambient light. Set up a high-quality screen at eye level for clarity. Adjust the projector's height to align the lens with the screen center and connect your devices securely. Enhance picture settings for your environment and improve sound with external speakers. Control the viewing atmosphere by minimizing light and positioning seating comfortably. Finally, remember to maintain your projector regularly for peak performance. Want to reveal more secrets for a flawless setup? There are plenty of tips to guarantee your projector shines in every setting.
Key Takeaways
- Choose a suitable location with minimal ambient light and obstacles for optimal projection quality and viewer comfort.
- Position the screen at eye level and use a size calculator to ensure appropriate dimensions for the viewing area.
- Align the projector's lens with the center of the screen to prevent distortion and ensure a clear image.
- Optimize picture settings by adjusting brightness, contrast, and resolution for the best viewing experience.
- Regularly maintain your projector by cleaning the lens, replacing filters, and updating firmware to ensure optimal performance.

【2200ANSI & Officially-Licensed APP】Smart 4K Projector with WiFi and Bluetooth, VISSPL 3D Dolby Audio and Auto Focus Portable Outdoor Projector, Movie Home Theater Proyector with 360° Adjustable Stand
[ Compatible with Netflix - No Extra Devices Needed ] - VISSPL Smart Projector: Hollywood in the palm...
As an affiliate, we earn on qualifying purchases.
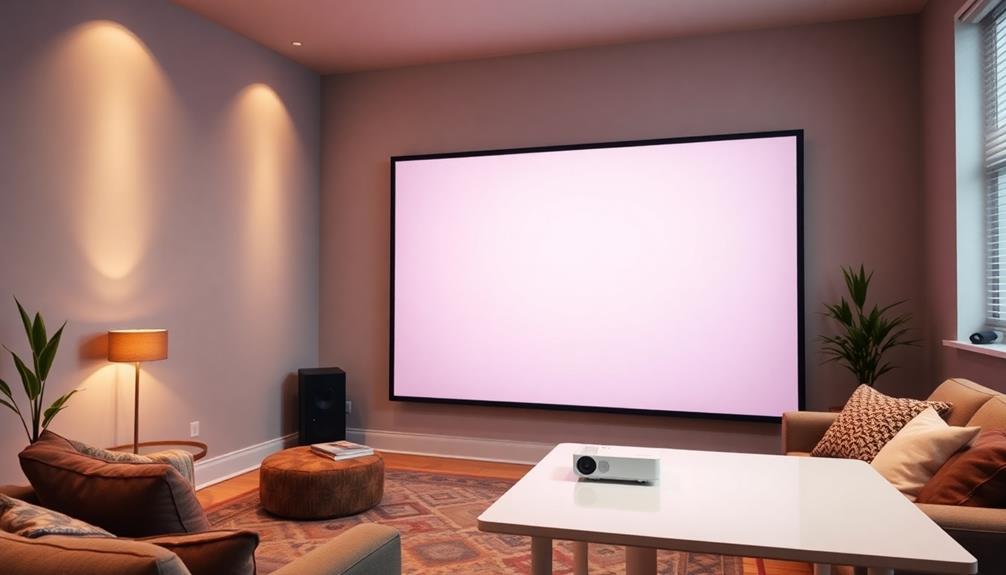
Find the Right Location

When choosing a spot for your projector, find a location that's free from obstacles and offers a clear path for your projection. This guarantees your projected image is unobstructed and easily viewable.
To achieve the best results, you'll want to take into account the ambient light in the area, as color accuracy in home cinema projectors can greatly enhance your viewing experience. Darker spaces enhance image quality, improving contrast and guaranteeing a better viewing experience.
Next, utilize a screen or a blank wall that measures between 40-300 inches for ideal image size. Keep in mind that larger images may appear dimmer and show more pixelation, so it's important to balance size with clarity.
Measure the required distance from the projector to the screen using the manufacturer's throw ratio. This step is vital in achieving the desired image size while maintaining brightness.
Before you commit to a permanent installation, experiment with different locations and configurations. This way, you'll find the ideal setup that maximizes both image quality and viewer comfort.

2000 ANSI 4K Decoding Projector with WiFi and Bluetooth, HAPPRUN Movie Home Theater with Auto Focus, 300'' Display for Indoor/Outdoor, Smart Proyector Compatible with Phone/TV Stick/PC/PS5
[EASIER OPERATION: AI Smart Screen Adjustment] HAPPRUN projector comes with auto focus and 6D auto-keystone technology, enjoy a...
As an affiliate, we earn on qualifying purchases.
Set Up the Screen
When setting up your projector screen, consider the material types available, as they can greatly impact image quality.
For instance, a high-quality screen can improve color accuracy and contrast, similar to how a dual-flush toilet system promotes efficiency and effectiveness in water usage.
You'll also want to think about ideal screen placement to guarantee everyone has a comfortable viewing experience.
Take the time to position the screen correctly to enhance your overall projection setup.
Screen Material Types
Choosing the right screen material is essential for getting the best image quality from your projector. There are several screen material types to evaluate, each offering unique benefits depending on your environment.
For instance, utilizing essential oils like eucalyptus oil for respiratory health can enhance your viewing experience by ensuring a comfortable atmosphere.
White screens are the most common choice, providing good color accuracy and brightness, making them suitable for most home theater setups. If you're in a brighter room, gray screens might be your best bet. They enhance contrast and black levels, ensuring better picture quality even with some ambient light.
For a permanent solution, fixed frame screens offer a taut surface for ideal image quality and a professional appearance, perfect for dedicated home theaters.
If flexibility is key, portable screens are designed for easy transport and quick setup, ideal for presentations or outdoor movie nights.
Lastly, if you often watch in well-lit conditions, evaluate ambient light rejecting screens. These specialized screens are engineered to reflect projector light while absorbing unwanted ambient light, resulting in improved image quality.
Optimal Screen Placement
Setting up your projector screen correctly is essential for creating an enjoyable viewing experience. For ideal screen placement, position the projector screen at eye level. This guarantees comfort and reduces neck strain for your audience.
To find the right dimensions, use a screen size calculator that factors in the projector's throw distance and your room size. This way, you'll achieve the best image quality possible.
Make sure the screen is free from obstructions like light switches or wall features to maintain a clear and uninterrupted projection area. If you're using a fixed frame screen, confirm it's securely mounted and aligned with the center of the projector output. This alignment avoids image distortion, which can detract from your presentation.
Before finalizing the installation, conduct trial runs with your projector and screen setup. This will help you verify brightness and clarity, confirming everything looks perfect for your audience.

HAPPRUN Native 1080P Projector, Bluetooth Home Theater Movie Projector with Built-in Speaker, Compatible with Smartphone, HDMI, Fire Stick, PS5, Indoor & Outdoor Use -With Google TV System
[ Built-in Official Licensed Google TV ] - Without additional equipment, the smart projector can directly access Netflix,...
As an affiliate, we earn on qualifying purchases.
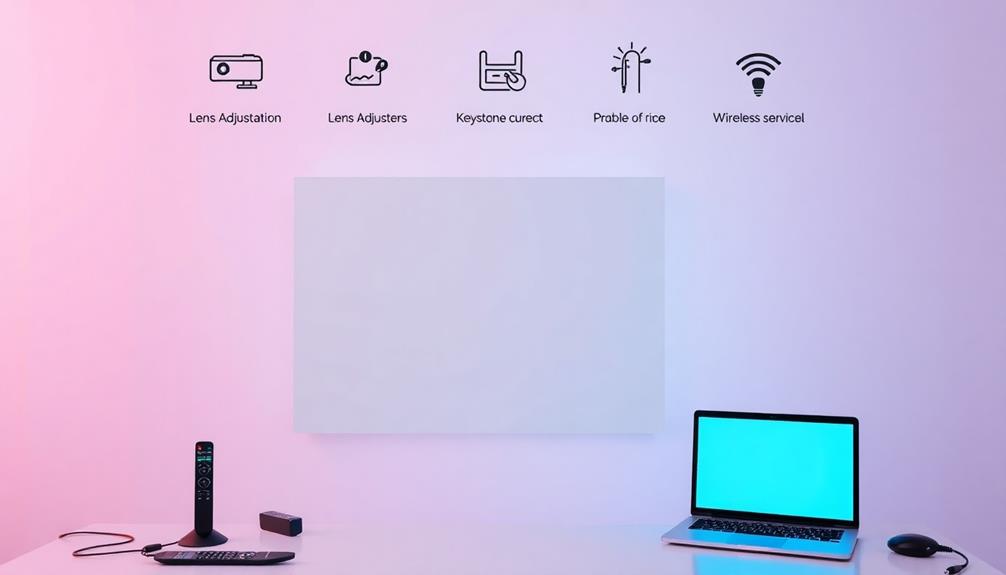
Adjust Projector Height

To guarantee your projected image aligns perfectly with the center of the screen, adjusting the projector height is vital. Most projectors have an upward throw, which means they project the image above the lens center. This makes it important to place your projector at or slightly above the screen's top edge for best viewing.
By doing so, you can minimize image distortion, preventing trapezoidal distortion that can occur when the projector is misaligned.
Consider the ideal height as one that allows the projected image to be at eye level. This enhances the viewing experience by ensuring that everyone can comfortably enjoy the presentation without straining their necks.
If your projector features lens shift capabilities, you can make minor adjustments without sacrificing image quality, which is a great option if your initial height isn't perfect.
GooDee Video Projector With Wifi And Bluetooth, Smart Portable Projector Movie System Compatible With Netflix/Dolby Audio/Auto Focus & Keystone, 4k Video Decode & 1080p Native For Home Theater/Outdoor
「Smart TV Projector」The Goodee AC321 4K projector is officially licensed by mainstream streaming platforms such as Netflix/YouTube/Prime Video,...
As an affiliate, we earn on qualifying purchases.
Connect and Power On

Connecting and powering on your projector is a straightforward process that sets the stage for your presentation. First, verify all devices are plugged into the projector and the power source. Use long HDMI cables for flexibility and ideal performance. If your projector has multiple input options, check that your device is compatible, whether it's HDMI, VGA, or USB.
Next, power on the projector and the connected devices. It's essential to allow the projector to warm up to achieve the best image quality. After powering on, select the correct input source from the projector's menu. This step confirms that the projector is receiving the signal from your device.
To test the setup, try displaying various content types to verify everything looks correct. If you encounter any issues, don't hesitate to troubleshoot your connections. Double-check that each cable is securely connected and that you've selected the right input source.
Align the Projector Image
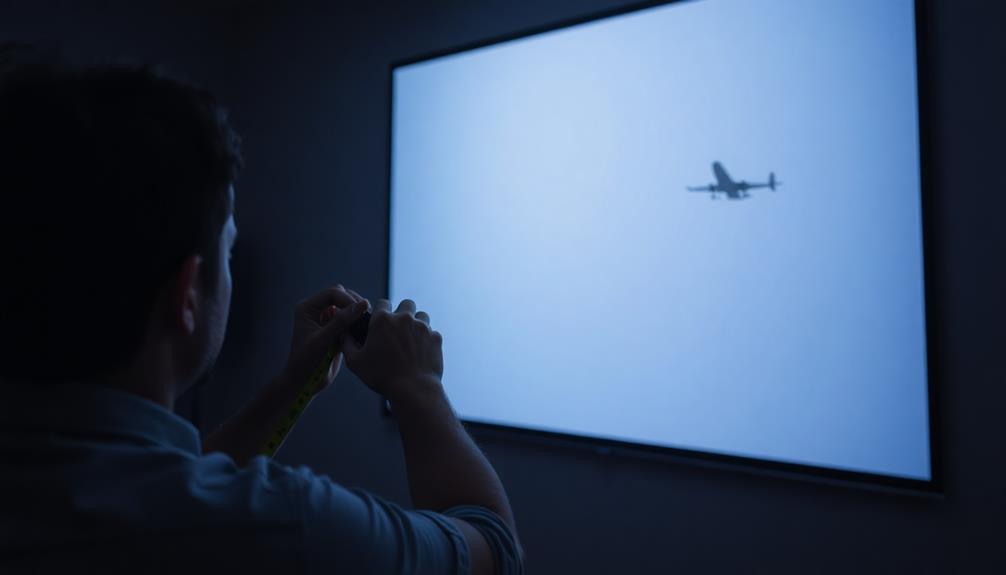
To align the projector image correctly, start by adjusting the projector height so the lens is level with the center of the screen.
This helps prevent trapezoidal distortion that can occur when the projector is at an angle.
It's best to avoid keystone correction if you can, as it often reduces image quality; instead, focus on getting the projector positioned just right.
Projector Height Adjustment
Achieving the perfect projector height is essential for a clear and well-aligned image. The ideal position for your projector is at or slightly below the center of the screen. If you can't mount it at this height, you'll need to make some projector height adjustments.
Keep in mind that most projectors are designed to project images from above the lens center, so vertical adjustments might be necessary. Use lens shift options to adjust the image vertically without sacrificing image quality, giving you more flexibility in placement.
Be cautious, though—incorrectly positioned projectors can lead to trapezoidal distortion, making the image appear wider at the top or bottom. This requires precise height adjustments to achieve that rectangular look.
Don't forget to use a level tool to verify the projector is aligned horizontally. Even slight tilts can disrupt the alignment of your projected image, impacting your viewing experience.
Keystone Correction Avoidance
After adjusting your projector height, the next step is to align the image properly. Avoid relying on keystone correction, as it compromises image quality by distorting the shape of your projected image. Instead, make certain your projector is positioned perpendicular to the screen for a clean, rectangular image.
Here's how to achieve ideal alignment:
- Check Projector Positioning: Make sure the projector is centered in front of the screen.
- Utilize Lens Shift: Use the lens shift feature for minor adjustments without degrading the image quality.
- Conduct Alignment Tests: Regularly project alignment patterns to verify the image edges align perfectly with the screen.
- Adjust Height and Angle: Continuously check and adjust to maintain the correct alignment and avoid any distortion.
Optimize Picture Settings
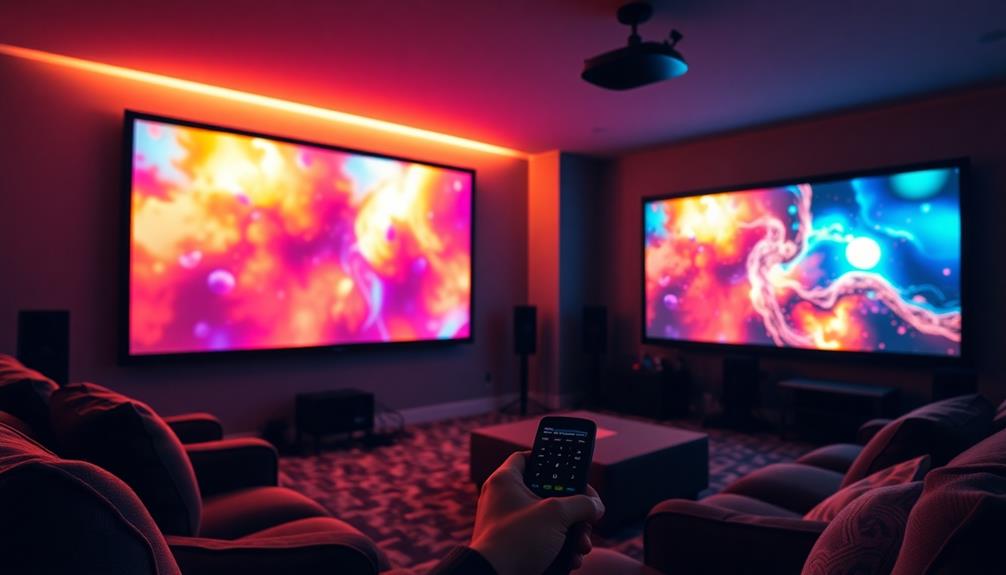
When it comes to optimizing picture settings on your projector, adjusting various parameters can make a significant difference in viewing quality.
Start by accessing the projector's settings menu to tweak brightness, contrast, and color calibration based on the ambient light conditions. If you're in a dark room, consider using preset picture modes like Movie or Cinema. For brighter environments, Vivid or Dynamic modes will work better.
Be certain to set your projector to the highest resolution supported by your source device, such as 4K, to enhance image clarity. Regularly updating your projector's firmware also guarantees you have access to the latest features that can improve picture quality.
To further refine your settings, employ test patterns to evaluate sharpness and color accuracy. Adjust as necessary to achieve natural skin tones and enhance overall image fidelity.
Enhance Sound Quality

Sound quality plays an essential role in your overall viewing experience, especially when using a projector.
While built-in speakers might suffice for small spaces, they often lack the power and clarity needed for larger areas.
To truly enhance sound quality, consider these tips:
- Connect external speakers: Use a soundbar or a home theater system to dramatically improve sound distribution.
- Optimize placement: Position your external speakers or sound system strategically for balanced soundstage and ideal audio immersion.
- Utilize audio output options: Many projectors offer analog audio output, making it easy to connect to powered speakers or external systems.
- Leverage Bluetooth connectivity: If your projector supports Bluetooth, enjoy the flexibility of wireless audio streaming, reducing cable clutter in your setup.
Control the Viewing Environment
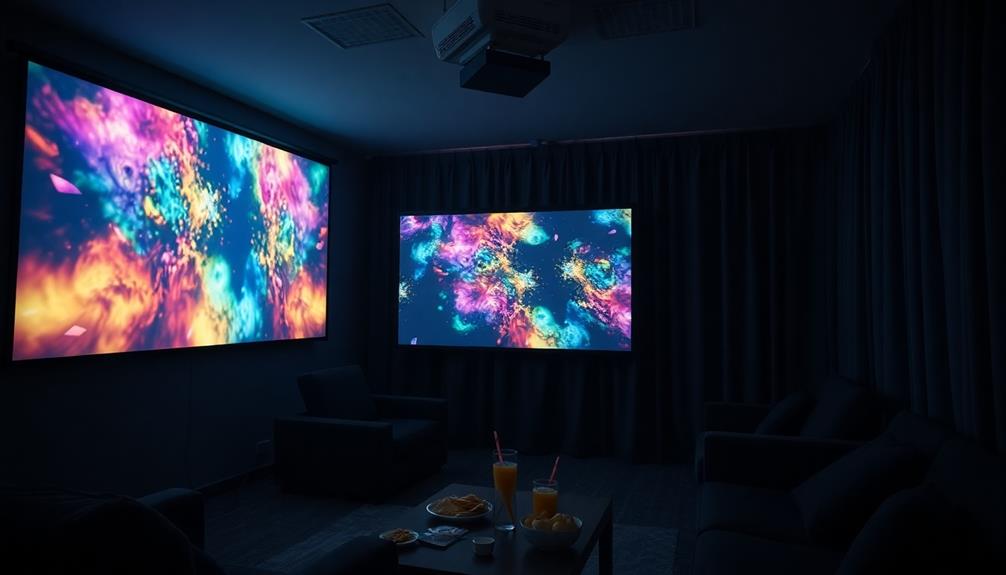
Creating the right viewing environment is crucial for maximizing your projector's performance. To control the viewing environment effectively, minimize ambient light as much as possible. Ambient light can greatly diminish picture quality and contrast, so consider using blackout curtains or shades to block out external light sources. This will help you achieve a superior viewing environment.
Next, focus on your seating arrangement. Confirm that your comfortable seating is positioned so that the center of the screen is at eye level. This setup enhances your viewing experience and keeps everyone engaged.
Don't forget to create a cozy atmosphere by adding some snacks and soft lighting, making the space inviting and enjoyable.
For an immersive audio experience, it's essential to improve sound quality, so think about adding external speakers. Position them appropriately within the viewing area to create a rich soundscape that complements your visuals.
Maintain Your Projector
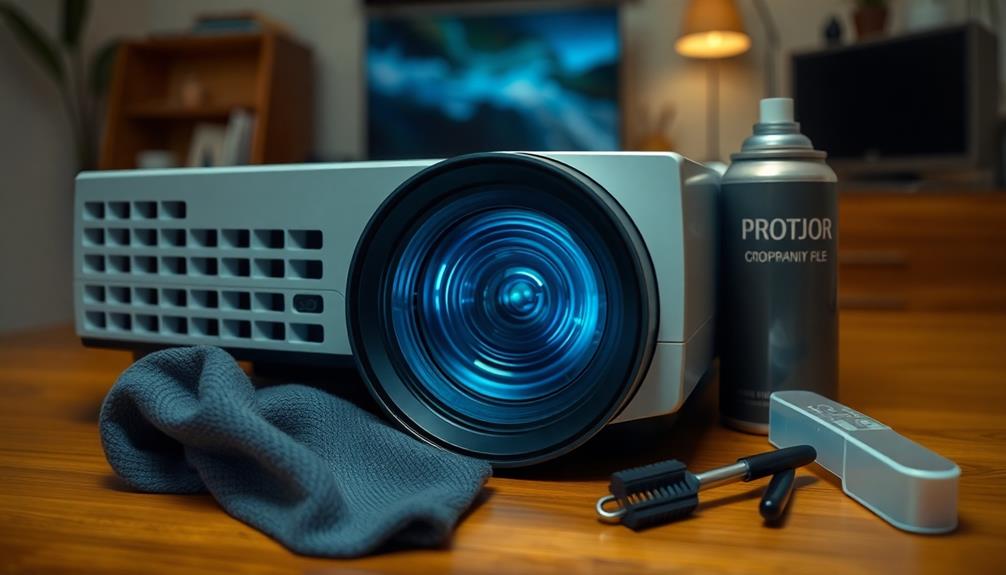
To keep your projector running smoothly and delivering high-quality images, regular maintenance is key. A little effort can make a big difference in performance and lifespan.
Here are four essential maintenance tips:
- Clean the lens: Every 3 to 4 months, take time to clean the projector lens. This prevents dust buildup that can affect image clarity.
- Check lamp hours: Monitor the lamp hours. Most projector lamps last between 2,000 to 5,000 hours. Knowing when to replace it helps maintain peak image quality.
- Inspect air filters: Verify that air filters are clean and replaced as per the manufacturer's guidelines. This prevents overheating, which can damage your projector.
- Update firmware: Periodically update the projector's firmware. This allows you to access the latest features and improvements, enhancing functionality and image quality.
Explore Advanced Features
Accessing your projector's advanced features can greatly enhance your viewing experience. Many modern projectors come equipped with 3D capabilities, allowing you to immerse yourself in captivating content when you use compatible glasses.
If you have a smart projector, take advantage of built-in streaming services like Netflix and YouTube, so you can watch your favorite shows without needing extra devices.
Consider the lens shift options available on your projector. These features enable flexible positioning, making installation easier while maintaining image quality. You won't have to stress about perfect alignment.
Additionally, high-end projectors often include advanced color calibration settings. This lets you fine-tune color accuracy for stunningly realistic images, perfect for professional presentations or creating a home theater experience.
Don't forget about regular firmware updates. They're essential for maintaining peak performance and accessing new features, ensuring your projector stays compatible with the latest technology and content formats.
Frequently Asked Questions
How Do You Set up a Projector Perfectly?
Setting up a projector perfectly starts with selecting a suitably shadowy space. Position the projector properly, calibrate the settings, connect quality cables, and conduct a thorough check to guarantee an engaging cinematic experience. Enjoy your viewing!
How Do You Use a Projector Effectively?
To use a projector effectively, make sure it's in a dark room, connect it securely to your device, adjust settings based on your content, and maintain the lens and filters for maximum performance.
How Do You Focus a Projector Perfectly?
So, you think projecting blurry images is art? Focus your projector by turning the focus ring until it's sharp. Adjust zoom and lens shift, and keep that lens clean for crystal-clear perfection.
What Are the Best Settings for a Projector?
To get the best projector settings, adjust brightness based on your room's light, use preset modes for specific environments, fine-tune contrast and color for realism, and keep firmware updated for peak performance.
Conclusion
So, you've mastered the art of projector setup, and now you're ready to impress your friends with cinematic magic. Just remember: if your image looks like a Picasso painting, it's probably time to realign! And when the sound resembles a cat fight, you might want to check those speakers. With these tips, you can transform your living room into a high-tech theater—or at least into a cozy space where everyone squints at the screen together. Enjoy!