To achieve a perfectly flat surface for your DIY projector screen, start by using quality materials like blackout cloth and 3mm poly cord. A sturdy frame made from 1×3 lumber guarantees stability, while L and T-brackets prevent warping. Use adhesive Velcro strips and elastic cords to create a secure attachment and maintain proper tension. Additionally, consider adding sand-filled weights along the edges. Regularly check and adjust the tension to eliminate any curling or irregularities. With these steps, you'll enhance your viewing experience considerably. Explore further to discover more tips for an outstanding projector screen setup.
Key Takeaways
- Use a tab tensioning system with elastic cords and weights to maintain a flat surface on your projector screen.
- Ensure quality materials, like Blackout Cloth, to enhance image quality and prevent curling over time.
- Attach elastic cords at 8.5-inch intervals along screen edges for even tension distribution and optimal flatness.
- Regularly inspect and replace worn tensioning materials, including cords and Velcro, to maintain screen performance.
- Experiment with frame designs and finishes, like rounded corners and matte black paint, to enhance both functionality and aesthetics.

SOULWIT 50Pcs Self Adhesive Cable Management Clips - Black
🔷SUPER EASY TO USE: Stick to clean surface, open tab, insert multiple cables, close the tab, enjoy the...
As an affiliate, we earn on qualifying purchases.
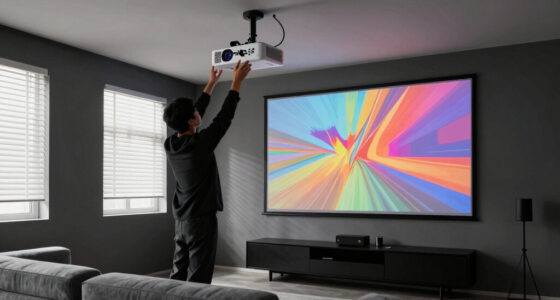
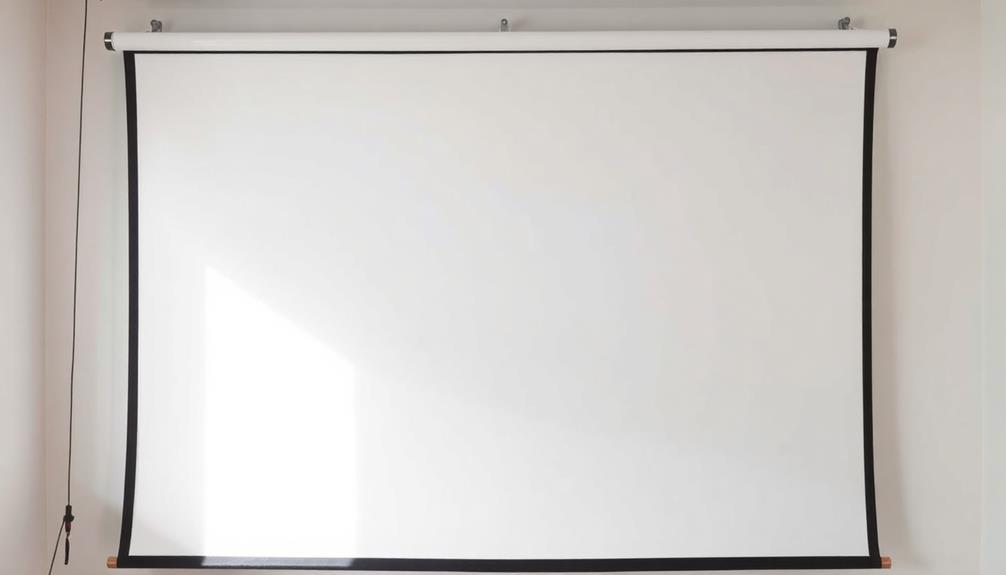
Importance of a Flat Surface
A perfectly flat surface is vital for achieving the best image quality from your projector. When you use a projector screen that's not perfectly flat, you risk distortion, which can make your images appear blurry or warped. This is where a tab tensioning system comes in handy. It addresses any waves or irregularities both vertically and horizontally, guaranteeing that your screen remains perfectly flat.
Regular cleaning of the projector filters can also help maintain peak image quality by preventing dust buildup that could affect projection clarity, especially during long viewing sessions projector bulb maintenance.
Without this system, non-tab tensioned screens might curl or develop imprints over time, leading to compromised image quality. You wouldn't want to invest in a projector only to have your visuals marred by imperfections, right?
While the cost of tab tensioned screens can be up to four times more than non-tab options, the investment pays off by providing a consistently flat projection surface that enhances your viewing experience.
Regular maintenance and adjustments to the tensioning mechanism are important, too. Environmental factors or wear can affect the screen's flatness over time. By prioritizing a perfectly flat surface, you'll guarantee that your projector delivers sharp and clear images, making every movie night or presentation a visual delight.

XHF 120 PCS Adhesive Cable Wire Clips Black, Outdoor Christmas Light Clips, Cable Management Wire Organizer Cord Holder for Under Desk, Car, Wall, TV PC Ethernet Cable
High quality material:XHF Adhesive Cable Clips are manufactured from Strong Adhesive and PA66 nylon
As an affiliate, we earn on qualifying purchases.
Selecting the Right Materials
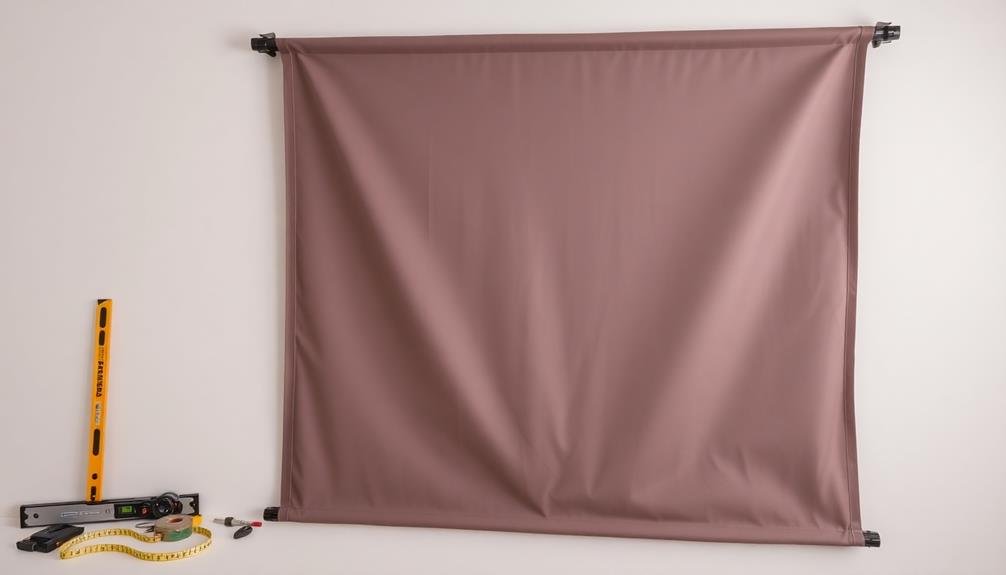
Achieving a perfectly flat surface is only part of the equation; selecting the right materials is equally important for your DIY tab tensioning system. Using quality screen material will enhance your projection experience. Blackout Cloth (BOC) is a top choice, thanks to its inner black layer that boosts image quality while providing a smooth surface.
For effective tensioning, consider using 3mm poly cord or fishing lines. The latter offers low visibility and high tensile strength, making it ideal for a tab tensioned system. To secure your screen material, adhesive Velcro strips work wonders, allowing for easy adjustments and ensuring the right tension.
Additionally, adding weights—like 1.25 kg—along the lower edge using Velcro will help maintain a flat surface and counteract curling edges. Here's a quick reference to help you choose your materials:
| Material Type | Purpose | Notes |
|---|---|---|
| Blackout Cloth (BOC) | Screen material | Enhances image quality |
| Poly Cord/Fishing Line | Tensioning system | Durable and low visibility |
| Weights | Flat surface maintenance | Attaches easily with Velcro |

120PCS XHF Adhesive Cable Wire Clips White, Cable Staples Outdoor Cable Management Wire Organizer Cord Holder for Under Desk, Car, Wall, TV PC Ethernet Cable
High quality material:XHF Adhesive Cable Clips are manufactured from Strong Adhesive and PA66 nylon
As an affiliate, we earn on qualifying purchases.
Frame Construction Techniques

When building your projector screen frame, the right material and assembly techniques are essential for success.
You'll want to choose sturdy lumber and guarantee your cuts are precise for a strong, square frame.
As you put everything together, following best practices will help you achieve a tensioned screen that's both functional and visually appealing.
Material Selection Strategies
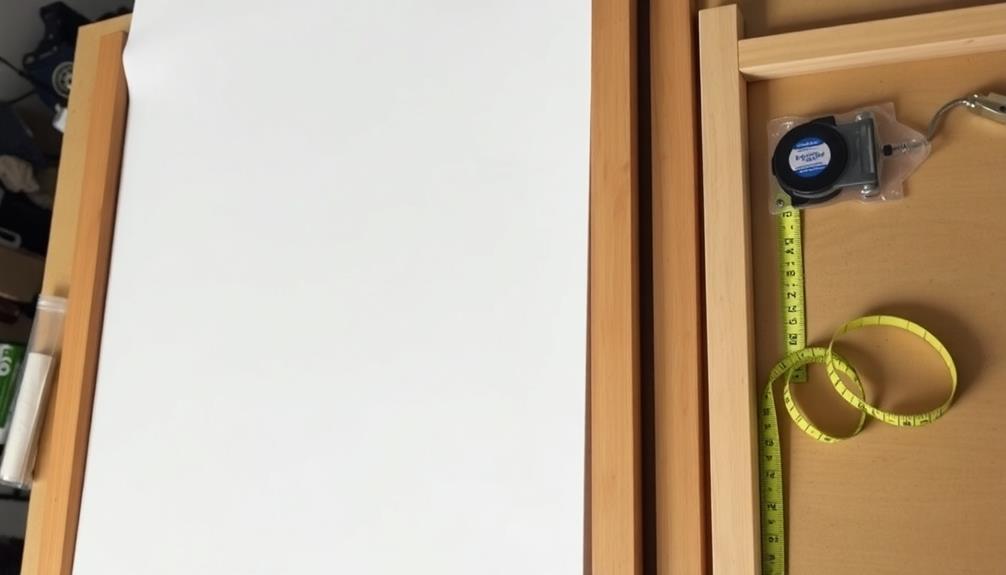
Selecting the right materials is essential for building a sturdy frame for your DIY projector screen. Start with 1×3 lumber; it's stiff, cost-effective, and easy to handle during assembly.
When applying your material selection strategies, make sure the diagonal lengths of the frame are equal. This step is critical to maintain a square shape, which directly affects your screen tension. Reflect on the importance of selecting materials that can withstand various environmental factors, which is similar to the way top reasons to reflect on robot vacuum cleaners emphasize the benefits of automation in maintaining a clean home.
For enhanced stability, use L and T-brackets to securely join the beams of your frame. This reduces the risk of warping or misalignment over time, making certain your screen stays flat.
Additionally, sand any sharp corners on the wooden frame to prevent damage to your screen fabric. This will help maintain a smooth projection surface for years to come.
Don't forget about ideal fabric tensioning; set your internal vertical beams slightly back from the screen face. This adjustment allows you to achieve the perfect tension, which is essential for a perfectly flat projection surface.
Assembly Best Practices
To kick off your assembly process, it is vital to focus on precision and technique in frame construction. Start with 1×3 lumber for its stiffness and cost-effectiveness. Make sure all cuts are precise to avoid gaps that could affect tension in your screen material. Utilize L & T-Brackets to join the wooden beams securely, and remember to sand any sharp corners to prevent damage to the fabric during installation.
While assembling the frame, set internal vertical beams slightly back from the screen face. This allows for proper tensioning of the screen material, ensuring the frame maintains its shape over time. As you work, measure and confirm that diagonal lengths are equal to keep a square frame—this is vital for achieving a properly tensioned screen.
After attaching the screen material, start tensioning from the center, gradually working towards the corners. Adjust staple positions as necessary for a smooth finish.
Here's a quick reference table to help you during assembly:
| Task | Tip |
|---|---|
| Lumber Selection | Use 1×3 for stiffness |
| Jointing Techniques | Employ L & T-Brackets |
| Frame Alignment | Check diagonal lengths |
| Screen Tensioning | Start from the center |

Mini Projector, Portable Projector with Wifi and Bluetooth, Built in Apps
【Built-in WiFi & Bluetooth Projector with Apps】Dual-band WiFi 2.4G + 5G ensures fast and stable wireless streaming. Bluetooth...
As an affiliate, we earn on qualifying purchases.
Screen Attachment Methods
When it comes to attaching your screen, you've got a couple of effective methods to take into account: Velcro strips and elastic cords.
Velcro offers flexibility for easy removal and adjustments, making it a popular choice among DIY enthusiasts who value a custom projector screen setup.
On the other hand, elastic cords can create a snug fit that maintains tension, ensuring a perfectly flat surface for ideal image quality.
Let's explore how to implement these techniques for the best results.
Velcro Strip Application
Velcro strips offer a practical solution for securely attaching your projector screen to its frame, guaranteeing a smooth and flat surface for ideal viewing.
To achieve this, position the hook side of the Velcro on the frame and the loop side on the screen material. This setup creates a strong bond that minimizes wear over time.
Before applying the Velcro strips, clean the surfaces of both the frame and screen material. This step is essential for peak adhesion, allowing the strips to withstand the tension needed to keep your screen flat.
It's also wise to choose adhesive Velcro that's at least 1 inch wide, as this increases the surface area for attachment and enhances the overall stability of your DIY tensioning system.
Regularly check the Velcro for any signs of wear and replace any worn-out sections. This practice will help maintain consistent tension and prevent curling or waviness in your screen.
Elastic Cord Techniques
Using elastic cord techniques can significantly enhance your projector screen's attachment, guaranteeing it remains taut and free of wrinkles. By utilizing strong elastic materials, you can create tension along the edges of the screen, promoting a flat surface vital for superior image quality.
One effective method is using waistband elastic to secure side bars, providing adjustable tension that eliminates wrinkles and improves screen flatness.
When implementing these elastic cord techniques, consider cutting the cords into multiple pieces, like 8.5-inch intervals. This approach allows for better tension distribution across the screen, considerably reducing the likelihood of curl at the edges.
Additionally, experimenting with V-shaped tab designs can further enhance tensioning effects, minimizing visible lines on your screen's surface.
Regular adjustments to the elastic tension are important. Make sure the cords are taut but not overly tight to maintain consistent screen performance and prevent irregularities.
By incorporating these methods, you'll achieve a perfectly flat surface, enhancing your viewing experience and maximizing your projector's capabilities.
With a little experimentation, you'll find the ideal setup for your screen attachment using elastic cord techniques.
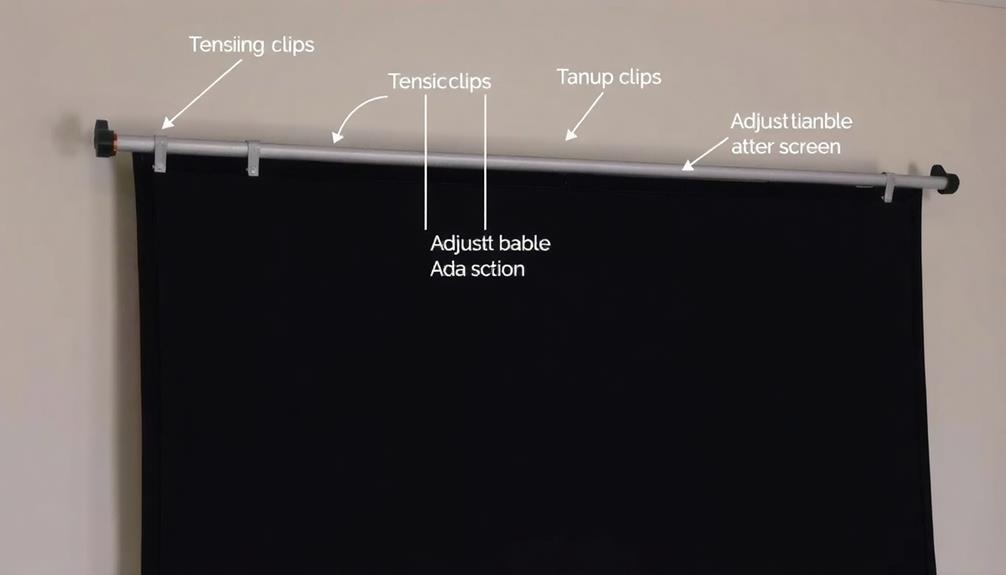
Tensioning System Options
For a successful DIY projector screen, exploring effective tensioning system options is vital. One popular choice is a tab tensioning system, which uses elastic cords and weights to keep the screen flat. This method markedly reduces waves and wrinkles, enhancing your image quality.
You can implement DIY tab tensioning with materials like 3mm poly cord, adhesive Velcro, and sand-filled weights, offering a cost-effective solution compared to professional options that can exceed £1000.
Common DIY techniques involve running elastic cords along the edges of the screen, making sure they're taut but not overly tight. This balance allows for slight give when pressed, maintaining ideal flatness.
You can also attach bottom bars filled with sand or other weights to stabilize the screen and prevent edge curling.
Don't forget that regular maintenance is essential. Periodic checks for wear on your tensioning materials will guarantee your screen stays in prime shape over time, providing you with a consistently impressive viewing experience.
Adjusting Screen Tension

To achieve a perfectly flat projection surface, adjusting screen tension is vital. This process helps eliminate waves and greatly enhances image quality. Start by utilizing elastic cords or strong fishing lines along the edges of your screen. These materials create even tension, so be certain to use multiple loops for better distribution.
Regularly inspect your screen for wear and adjust the cord lengths as needed. Pay particular attention if you notice curling or sagging at the edges, as this can compromise your viewing experience. You can also incorporate weights, like sand-filled bottom bars or specific weights (around 1.25 kg), to stabilize the screen further. Attaching these weights with Velcro will help prevent any unwanted movement during use.
If you're retrofitting an existing screen, proper alignment during the stapling or attachment process is essential. Make certain that you achieve consistent tension across the entire surface.
Using a manual pull technique can also help you adjust the tension precisely. By focusing on these steps, you can maintain ideal tension and enjoy a clear, flat projection every time.
Troubleshooting Common Issues

Troubleshoot common issues with your DIY projector screen by first identifying the symptoms you're facing.
If you notice curl at the edges of the screen, it's essential to guarantee proper tensioning. Make sure you've evenly distributed weights and secured the screen material to the frame without using excessive Velcro, as that can lead to uneven rolling.
For excessive waves or ripples after setup, adjust the length of the tensioning cords or add more loops to create a more even tension distribution.
Regularly inspect your materials for wear and tear, especially the cords and Velcro. Making timely adjustments will help maintain screen flatness and performance quality.
If inconsistencies appear during projection, experiment with stronger elastic for the tensioning mechanism to boost stability and enhance flatness.
Remember, you're not alone in this process. Engage with community forums for troubleshooting advice and share your experiences. Many users report significant improvements in screen quality through iterative adjustments based on feedback, so don't hesitate to reach out.
Enhancing Aesthetic Appeal
While you might be focused on functionality, enhancing the aesthetic appeal of your DIY projector screen can greatly elevate your viewing experience.
Start by considering the frame design; incorporating rounded corners can reduce visible lines, creating a smoother look. Using matte black paint for the frame and border tape not only enhances visual appeal but also minimizes light reflection, ensuring better image quality.
To add a touch of elegance, think about incorporating metallic gold corner details. This small addition can notably elevate the screen's appearance, making it a stylish focal point in your living space.
Additionally, choosing higher-quality materials for both the screen and frame contributes to a polished and professional look, ensuring your project withstands the test of time.
Lastly, alignment is key. Ensuring all components are properly aligned during assembly is essential for achieving a clean and visually appealing finish.
Frequently Asked Questions
How Do I Make My Projector Screen Flat?
To make your projector screen flat, you'll want to guarantee it's securely mounted. Use weights along the edges, adjust the tension, and periodically check for any wrinkles or waves that may develop over time.
How to Tension a Projector Screen?
Tensioning a projector screen can feel like trying to tame a wild stallion! You'll want to use elastic cords around the edges, adding weights at the bottom for that perfect, wrinkle-free display. Regular adjustments are key!
Are Tensioned Projector Screens Worth It?
Yes, tensioned projector screens are worth it. You'll enjoy improved image quality, reduced visual distortions, and a consistently flat surface that enhances your viewing experience, especially for high-definition content. It's a worthwhile investment.
Do You Need a Flat Surface for a Projector?
Around 80% of viewers notice distortion on uneven surfaces. You definitely need a flat surface for a projector; it enhances image quality, ensuring even light distribution and minimizing blurring or brightness inconsistencies during your viewing experience.
Conclusion
In the end, achieving a perfectly flat projector screen isn't just about the visuals; it's about creating an immersive experience that captivates your audience. By carefully selecting materials and employing effective tensioning systems, you can transform your viewing space into a cinematic haven. So, why settle for less when you can elevate your presentations and movie nights? With a little effort, you'll not only enhance your screen's performance but also impress everyone who sees it.