Using your projector for digital art and photography displays can elevate your work dramatically. Start by ensuring your projector offers at least 2,000 lumens for vibrant images. Position it 8-10 feet up for ideal lighting. You can project onto white walls or screens to maximize clarity. Experiment with colors by using gels or layering multiple images to create new visuals. Don't forget to choose high-resolution images and leverage different surfaces for unique effects. This setup not only amplifies your presentation but also invites innovative collaboration. If you're curious about techniques to enhance your displays further, there's much more to explore.
Key Takeaways
- Choose a digital art projector with at least 2,000 lumens for vibrant displays in well-lit environments.
- Ensure proper connectivity options like HDMI or USB for seamless integration with devices.
- Experiment with various projection surfaces, such as textured walls or fabric, for unique visual effects.
- Utilize color management techniques, including white balance adjustments and shooting in RAW, for accurate color representation.
- Engage in collaborative art sessions by projecting images onto large surfaces for real-time modifications and creativity.

XHF 120 PCS Adhesive Cable Wire Clips Black, Outdoor Christmas Light Clips, Cable Management Wire Organizer Cord Holder for Under Desk, Car, Wall, TV PC Ethernet Cable
High quality material:XHF Adhesive Cable Clips are manufactured from Strong Adhesive and PA66 nylon
As an affiliate, we earn on qualifying purchases.
Projector Types Overview
When you're diving into digital art, understanding the different types of projectors can really enhance your creativity. Digital art projectors are designed to project digital images and videos directly from devices like computers and smartphones, making them perfect for bright environments.
With brightness levels exceeding 2,000 lumens, you'll find clarity in your projected image even in ambient light. Additionally, utilizing a home theater setup can greatly enhance your projection experience by ensuring ideal image quality and immersive sound.
Opaque projectors, on the other hand, require a dark room. They project images from physical prints and cater to artists who enjoy traditional media. If you want to work with slides, slide projectors can still be a valuable tool. They display photographs from physical slides, allowing you to enlarge reference images accurately for your artistic projects.
Overhead projectors are commonly used in classrooms, projecting transparencies effectively. They can also help you enlarge reference photos, though you might find more affordable secondhand models.
For beginners, the Artograph EZ Tracer Art Projector offers a simple entry point for projecting images onto a large canvas, perfect for straightforward sketches. Each type of projector has its unique strengths, so choosing the right one can elevate your digital art experience.

SOULWIT 50Pcs Self Adhesive Cable Management Clips, Cable Organizers Wire Clips Cord Holder for TV PC Ethernet Cable under Desk Home Office (Black)
🔷SUPER EASY TO USE: Stick to clean surface, open tab, insert multiple cables, close the tab, enjoy the...
As an affiliate, we earn on qualifying purchases.
Importance of Brightness
Brightness plays a crucial role in your projector's performance, directly impacting how well you can see your artwork in various lighting conditions. When selecting a projector, consider the brightness measured in lumens. For clear projections in well-lit environments, aim for a projector with over 2,000 lumens.
For example, a projector with 3,000 lumens can greatly enhance your photography, allowing you to capture dynamic scenes without distortion. Additionally, using air purifiers to improve indoor air quality can create a more suitable environment for your displays, making certain that dust and allergens don't obstruct your view.
The brightness of the projected image also affects your exposure settings. An average brightness image might require settings like 1/60 second, f4, and 200 ISO for maximum image clarity. Brighter projectors not only improve clarity but also enable faster shutter speeds and lower ISO settings, which are crucial for capturing moving subjects effectively.
However, remember that while high brightness can enhance visibility, it's important to maintain a balanced color palette. Excessive brightness can overwhelm colors, detracting from the overall quality of your artwork.

120PCS XHF Adhesive Cable Wire Clips White, Cable Staples Outdoor Cable Management Wire Organizer Cord Holder for Under Desk, Car, Wall, TV PC Ethernet Cable
High quality material:XHF Adhesive Cable Clips are manufactured from Strong Adhesive and PA66 nylon
As an affiliate, we earn on qualifying purchases.
Color Management Techniques
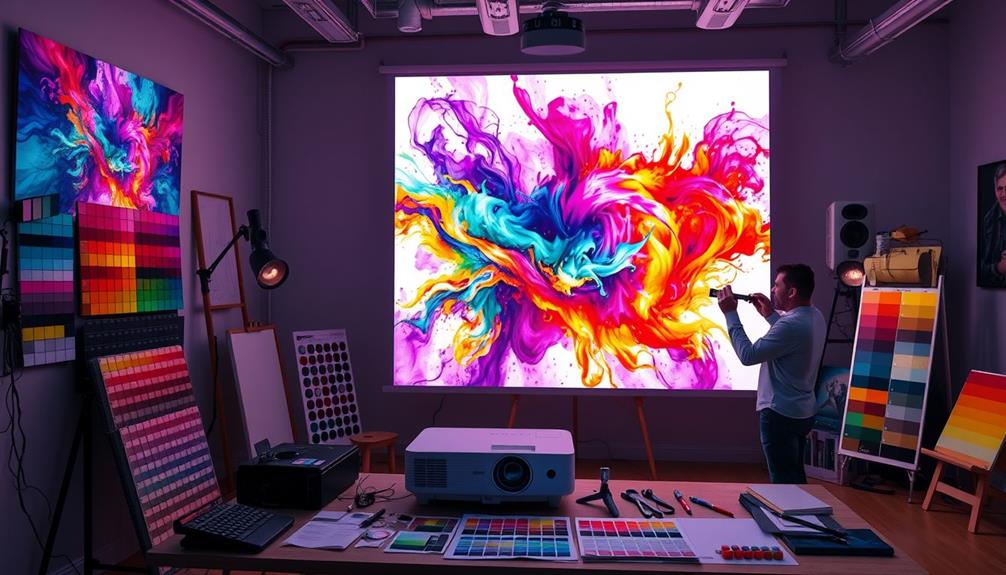
Achieving the right visual impact in your digital art goes beyond just having a bright projector; color management is key to ensuring your images look their best. Proper color management allows you to adjust the color temperature of your projector, enhancing the overall appearance of your projected images.
Incorporating techniques from yoga for back pain management can help create a comfortable environment for your creative process. Here are some techniques to keep in mind:
- Shoot in RAW format for flexible post-processing.
- Start with bright images that have large white sections to gauge projector accuracy.
- Maintain a controlled color scheme to avoid overwhelming visuals.
- Adjust white balance to correct any color casts.
- Use CTO gels on flashes to match warmer projector bulbs with surrounding lighting.
![Smart 4K Projector [Google TV Stick Built-in & 360° Stand] with WiFi 6, Bluetooth 5.3, HDR10, 30W Hi-Fi, AI Auto Focus, Outdoor Portable Short Throw Movie Projector for Home Theater Bedroom Ceiling](https://m.media-amazon.com/images/I/41zno6cZMFL._SL500_.jpg)
Smart 4K Projector [Google TV Stick Built-in & 360° Stand] with WiFi 6, Bluetooth 5.3, HDR10, 30W Hi-Fi, AI Auto Focus, Outdoor Portable Short Throw Movie Projector for Home Theater Bedroom Ceiling
[Google TV Built-in | 10,000+ Apps | Voice Control] The smart projector with wifi and bluetooth features Google...
As an affiliate, we earn on qualifying purchases.
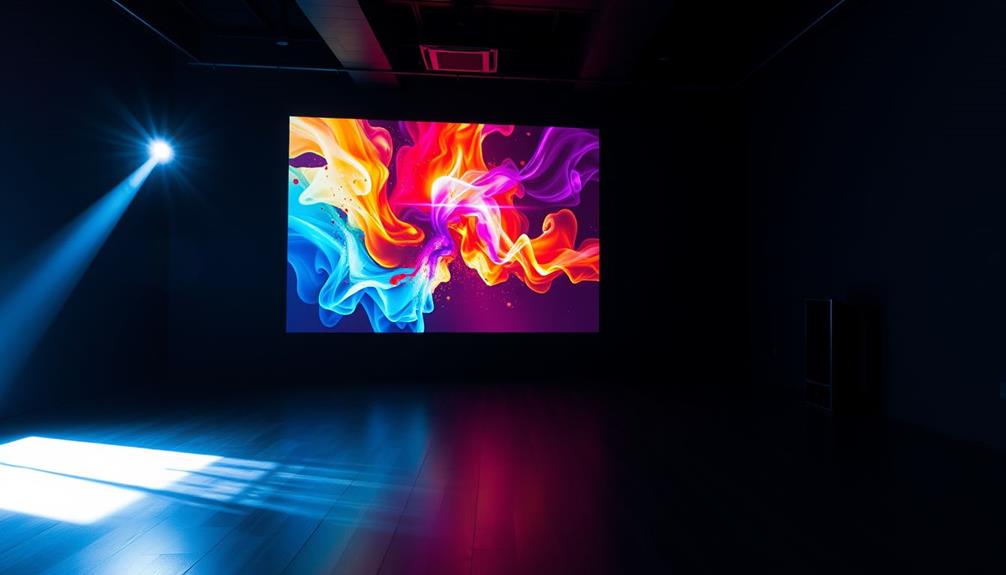
Setting Up Your Projector

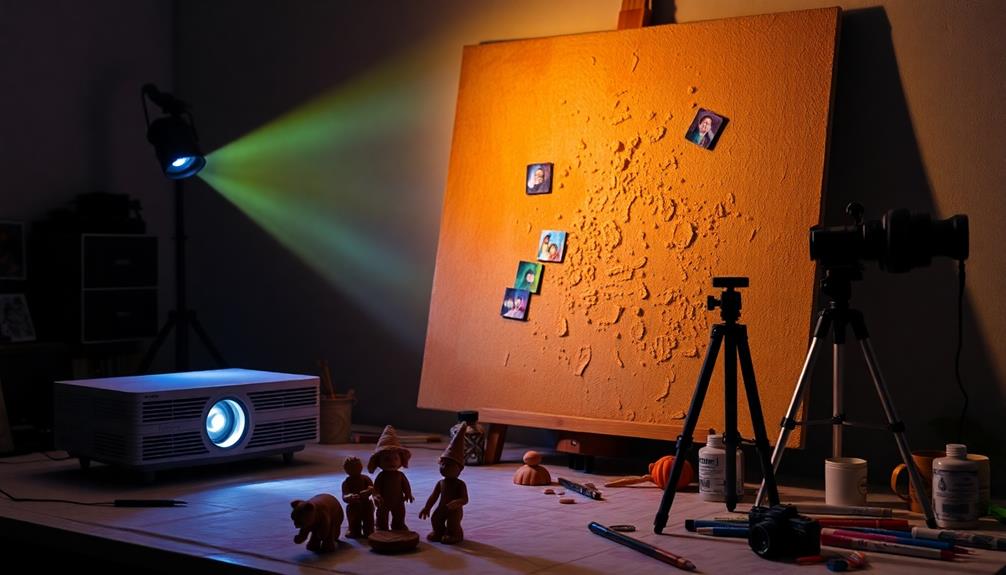
To set up your projector effectively, position it at a height that mimics natural light sources. Ideally, elevate it about 8-10 feet from the ground to create flattering lighting on your subjects, guaranteeing ideal coverage in 3/4 length shots.
It's also important to reflect on the emotional connection of your audience, similar to how cats show signs of affection upon their owner's return.
Next, check the brightness of your projector; you'll want a minimum of 2,000 lumens for clear projections, especially in well-lit environments. Adjust the exposure settings based on the type of source image you're projecting, whether it's dark or bright.
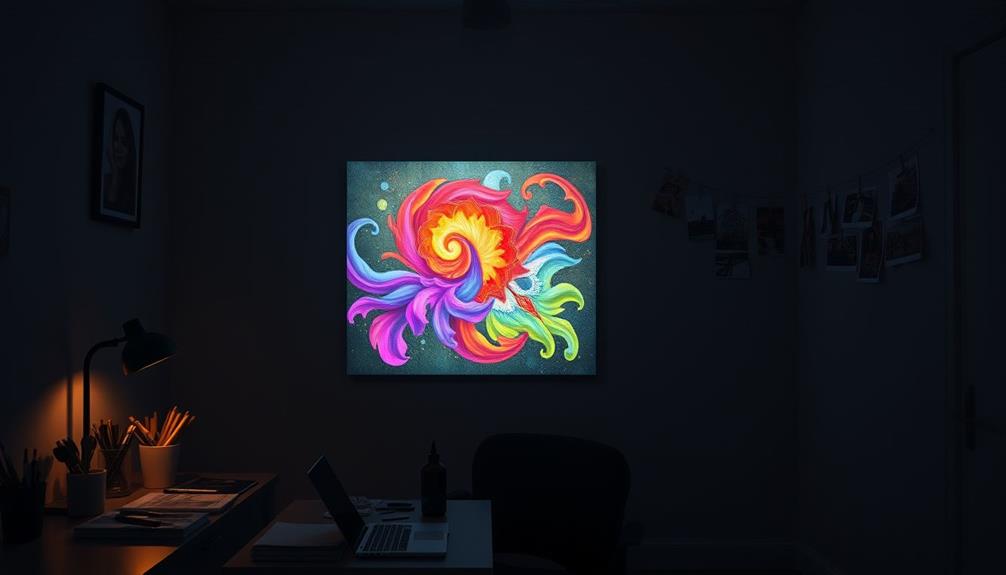
For the best image quality, project onto a white wall or screen. Experiment with different angles to enhance visibility and clarity of the projected artwork.
Additionally, verify your projector has the right connectivity options, like HDMI or USB, to seamlessly integrate with your devices during setup.
Lastly, maintain a clutter-free background and control any additional light sources to prevent them from spilling onto the projection area. This preserves the integrity and focus of your projected image, allowing your digital art to shine beautifully.
With these steps, you'll create an impressive display that captivates your audience.
Creative Experimentation Ideas

Now that you've set up your projector, it's time to get creative with unique projection techniques.
Consider incorporating elements from your cozy aesthetics and natural elements to enhance your displays.
Try collaborating with other artists to layer your work, or experiment with projecting on different surfaces for unexpected effects.
These approaches can spark fresh ideas and create engaging experiences for your audience.
Unique Projection Techniques
Exploring unique projection techniques can transform your digital art into enchanting experiences. By experimenting with various methods, you can elevate your displays and captivate your audience. Here are some ideas to get you started:
- Project images onto textured surfaces like fabric or wood for unique backgrounds.
- Use color gels or filters on your projector for dynamic mood shifts, much like how AI-generated music influences ownership debates in the music industry.
- Layer multiple projected images at different opacities for a composite effect.
- Adjust focus and zoom settings to create distortion effects that reveal new perspectives.
- Incorporate movement with video projections or animated graphics to enhance the multimedia experience.
With these techniques, you can turn your digital art into immersive displays that invite interaction and engagement.
As you experiment, consider how each method affects the overall feel of your artwork. Each unique technique offers a chance to tell a story and evoke emotions in your viewers.
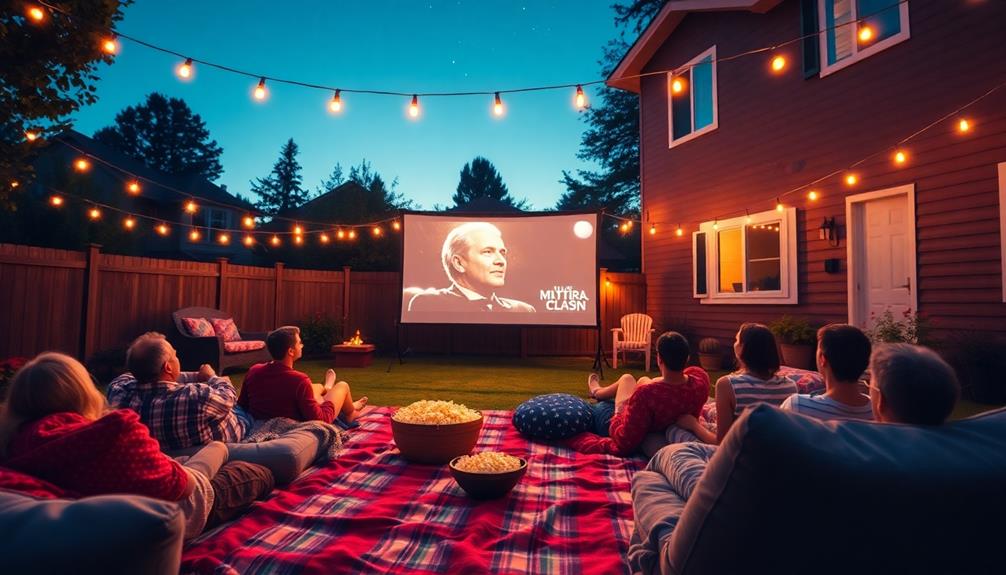
Collaborative Art Sessions
Collaborative art sessions offer an exciting opportunity to harness the power of digital projectors for collective creativity. By using a digital art projector, you can project images onto large surfaces, allowing multiple artists to trace, paint, or modify visuals in real-time. This not only enhances creativity but also fosters effective teamwork.
Here's how to maximize your collaborative art sessions:
| Action | Benefit |
|---|---|
| Use projectors still | Maintain focus and clarity |
| Adjust brightness settings | Optimize visibility for all |
| Project images onto large surfaces | Experiment with scale and perspective |
| Share photos onto canvas | Facilitate dynamic presentations |
| Explore new techniques | Foster an interactive environment |
These projectors with adjustable brightness settings work well in varying lighting conditions, ensuring everyone can see the artwork clearly. You'll find that integrating projectors into group activities encourages experimentation and enhances communication, as participants can visualize and discuss their ideas more effectively. So, gather your fellow artists and let the projector spark your creativity!
Engaging With the Community

Engaging with the community opens up a wealth of opportunities to enhance your skills in projector techniques. By connecting with others, you can discover new insights and inspiration that elevate your artistic projects.
For instance, you might find inspiration from immersive experiences at local art events or even draw parallels with attractions at water parks in Washington DC that blend excitement and creativity.
Here are some ways to get involved:
- Attend workshops to learn about projection lighting and techniques.
- Join online forums and social media groups for discussions and tips.
- Participate in local art events featuring projected artwork.
- Collaborate with fellow artists on innovative projection-based projects.
- Organize or attend exhibitions to showcase your immersive creations.
These activities not only provide valuable feedback but also foster collaboration that can lead to unique artistic expressions.
Engaging with others in your community will help you gain hands-on experience and inspire fresh ideas for your digital art and photography displays.
You'll discover that sharing techniques and visuals with fellow artists can cultivate a supportive environment where creativity thrives.
Plus, showcasing your work in exhibitions allows for interaction and feedback from viewers, further enhancing your artistic journey.
Enhancing Your Art Experience

Transform your art experience by harnessing the power of digital projectors. These devices can project high-resolution images, up to 1080p or even 4K, allowing your art and photography to shine with clarity and vividness. When you display your work, details become more visible, engaging your audience during presentations or exhibitions.
Incorporating breathtaking destinations into your art themes can enhance the overall narrative and emotional connection of your displays.
Using a projector with brightness levels exceeding 2,000 lumens guarantees your images remain vibrant, even in well-lit environments. This feature is essential for larger audiences, as it facilitates better visibility and engagement.
Imagine projecting images up to 100 inches wide—this transforms walls into canvases, creating immersive experiences that draw viewers in.
Modern digital projectors offer advanced connectivity options like Wi-Fi and HDMI support, making it simple to showcase your digital art directly from a laptop, tablet, or smartphone. You can easily switch between devices, making sure that your art is always front and center.
Experiment with different projection angles and distances to optimize the visual impact of your artwork. Elevated projector positions can enhance lighting and presentation quality, creating a stunning display that elevates your art experience.
Embrace these tools to revolutionize how you share your creative vision!
Conclusion
Using a projector for digital art and photography can transform your creative experience, but remember: it's not just about the technology. The real magic happens when you engage with your audience and explore new ideas together. Experimenting with different settings and techniques can reveal unexpected beauty in your work. So, don't just project—connect and inspire. The truth is, art thrives in community, and your projector can be a bridge to deeper conversations and collaborations.