
To create a custom home cinema remote control, start by gathering essential materials like battery clips, a remote, and a receiver. Assemble your components in a project box to organize and protect them. Next, use a soldering iron to connect wires and guarantee correct polarity for power. Incorporate an On/Off switch to prevent power leakage. Once everything is set up, test your system with a multimeter to confirm it operates correctly. This custom remote will enhance your entertainment experience and manage multiple devices. Want to discover more tips for a successful setup?
Key Takeaways
- Gather essential materials like a remote control, receiver, battery clips, and a project box for assembly.
- Use a soldering iron to connect wires securely to the receiver, ensuring correct polarity.
- Incorporate an On/Off switch to prevent power leakage when the remote is not in use.
- Test the system with a multimeter to verify functionality and secure connections before final assembly.

4K Projector with Built-in Apps, 1500ANSI Auto Focus&6D Keystone Dolby Audio Kogata Smart Projector with WiFi 6 Bluetooth Outdoor Movie Proyector for Home Theater HDR10+ UPGRADE
【UPGRADE Version】Unlimited Streaming –Compatible with Netflix & Dolby Audio& DTS Audio: The Kogata GC357 home projector comes with...
As an affiliate, we earn on qualifying purchases.
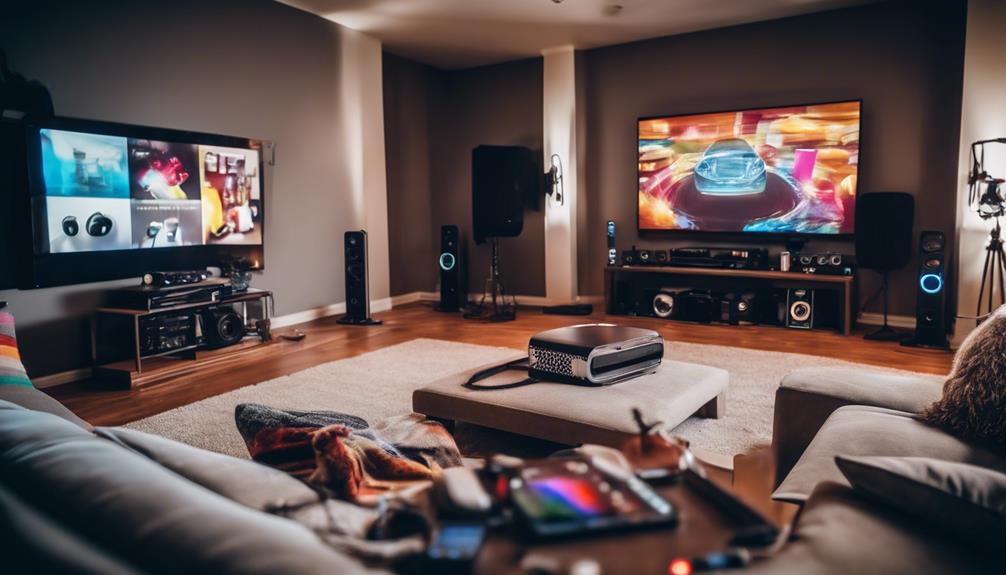
Remote Control Integration
Integrating a remote control into your home cinema setup can greatly enhance convenience and reduce clutter from tangled wires.
With a basic remote control system, you can easily operate devices from a distance, allowing you to make changes without needing to physically reach for each component. This integration typically involves a transmitter powered by a small 12V battery and a receiver that works within about 100 meters, even passing through walls and floors.
Wireless functionality not only simplifies your experience but also helps eliminate the mess of wired connections that often lead to frustration. By using a remote control, you can manage multiple devices seamlessly, whether it's adjusting the volume, switching inputs, or even controlling a compressed air rocket launcher for a fun twist in your setup.
Before getting started, verify you have the necessary materials and tools ready for assembly. Proper organization of components, verifying connections, and testing the system will guarantee everything works smoothly.
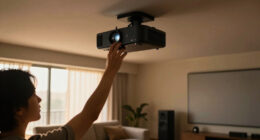
![[Built-in Apps/4K Support] Smart Outdoor Projector with WiFi and Bluetooth, Movie Projector, DoIby Audio with Dual Speaker, Auto Focus w/ YouTube&PrimeVideo Proyector, Upgrad P62 Pro](https://m.media-amazon.com/images/I/51yAGv8VI7L._SL500_.jpg)
[Built-in Apps/4K Support] Smart Outdoor Projector with WiFi and Bluetooth, Movie Projector, DoIby Audio with Dual Speaker, Auto Focus w/ YouTube&PrimeVideo Proyector, Upgrad P62 Pro
[Upgraded Classic – P62 Pro Movie Projector] Building on the reliability and low return rate of the classic...
As an affiliate, we earn on qualifying purchases.
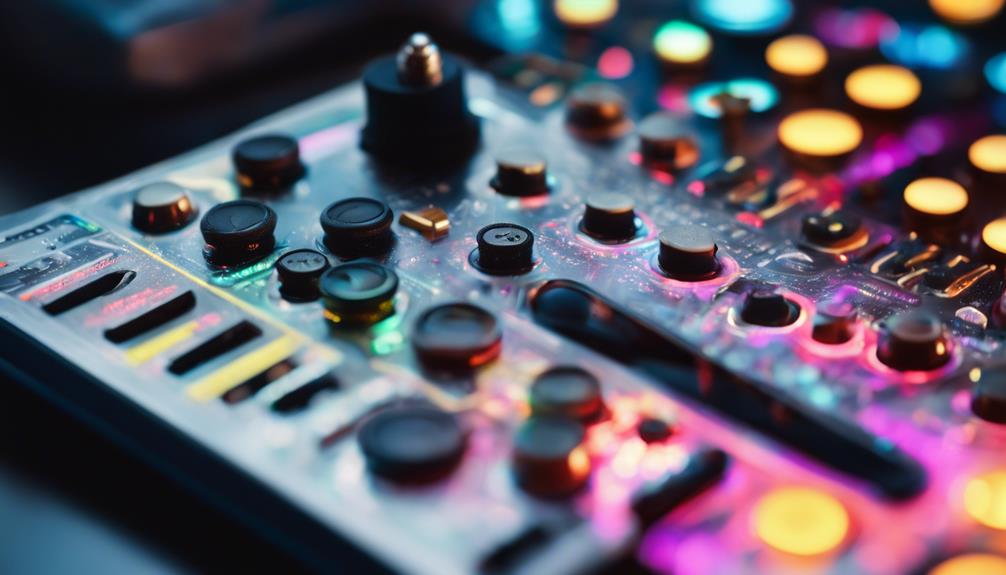
Essential Materials Needed
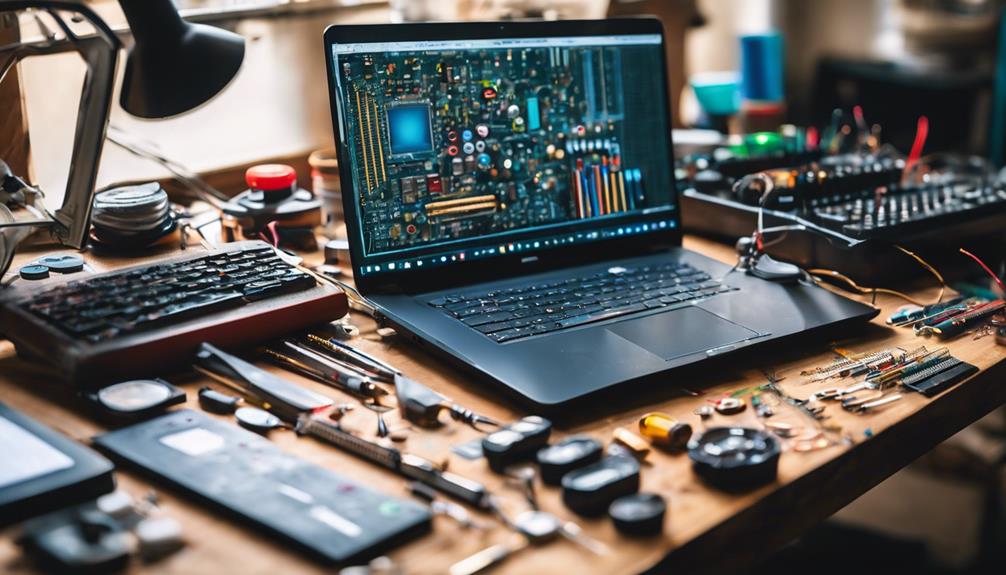
To build your custom home cinema remote control, you'll need a specific set of materials and tools to guarantee everything functions smoothly. Here's a quick list of the essential materials needed for this project:
- Two 9V battery clips – These will power your transmitter and receiver components.
- Remote control and receiver – They're vital for establishing the wireless communication necessary for your remote's functionality.
- Project box – This helps organize and protect the various components during assembly, ensuring everything stays in place.
- Wire connecting terminals – Also known as terminal blocks, these facilitate easy and secure connections between wires and components.
Additionally, don't forget about the tools required for assembly. You'll need a soldering iron for connecting wires, wire snips for cutting, a multimeter for testing, and small screwdrivers to help with the setup.
Gathering these materials and tools will set you on the right path to creating an efficient and functional remote for your home theater. With everything ready, you're one step closer to enhancing your movie-watching experience!

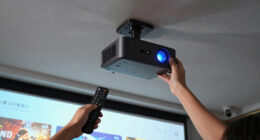
HAPPRUN Native 1080P Projector, Bluetooth Home Theater Movie Projector with Built-in Speaker, Compatible with Smartphone, HDMI, Fire Stick, PS5, Indoor & Outdoor Use -With Google TV System
[ Built-in Official Licensed Google TV ] - Without additional equipment, the smart projector can directly access Netflix,...
As an affiliate, we earn on qualifying purchases.
Understanding Functionality
Understanding how your custom home cinema remote control operates is essential for guaranteeing it meets your specific needs and enhances your viewing experience.
At its core, the system comprises a transmitter (the remote) and a receiver (base station). The remote typically runs on a small 12V battery, giving it the power needed to communicate with the base station wirelessly.
You'll find that the remote control has a range of about 100 meters, allowing you to operate devices from various locations, even through walls and floors.
To enhance functionality, you should incorporate an On/Off switch in your design. This important feature prevents power leakage from the receiver, guaranteeing safety and efficiency.
Before finalizing your setup, make sure to test the receiver using a multimeter. This step helps confirm that the relay activates correctly when you press a button on the remote, allowing power to flow seamlessly to your connected devices.
Understanding these elements of functionality will help you troubleshoot any issues that may arise and guarantee a smooth operation of your custom home cinema system.
HAPPRUN Native 1080P Projector, Bluetooth Home Theater Movie Projector with Built-in Speaker, Compatible with Smartphone, HDMI, Fire Stick, PS5, Indoor & Outdoor Use - Without Google TV System
[ Native 1080P Full HD Resolution ] - Enjoy crystal-clear visuals with HAPPRUN H1's native 1920x1080 resolution, delivering...
As an affiliate, we earn on qualifying purchases.
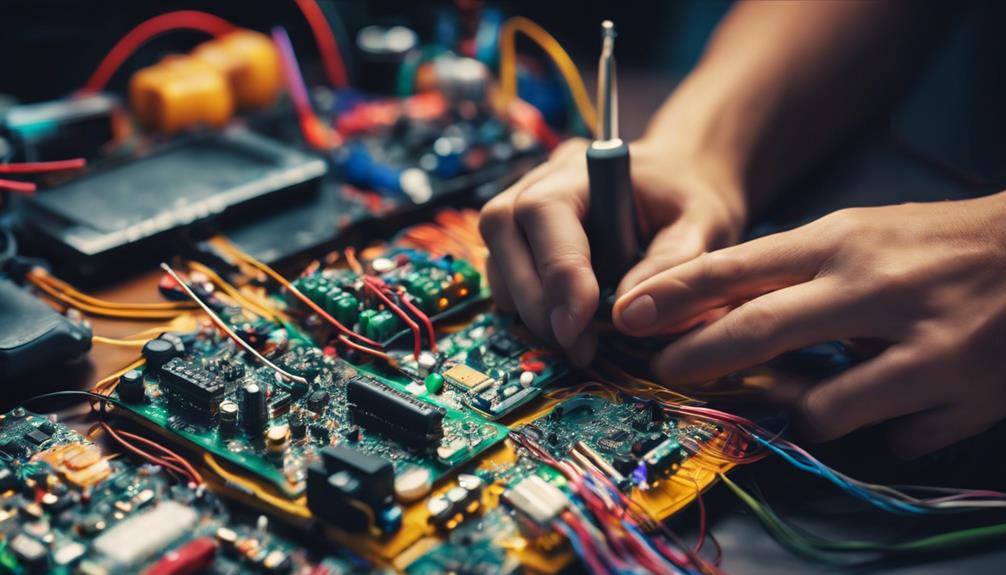
Wiring and Assembly Steps
Begin by gathering all necessary materials, including 2 x 9V battery clips, wire, a remote control and receiver, a project box, and a terminal block for easy assembly. Here's what you'll need:
- 2 x 9V battery clips
- Wire
- Remote control and receiver
- Project box
Next, it's time for wiring. Use a soldering iron to securely connect the wires to the terminals of the receiver, paying close attention to polarity to avoid any electrical issues. You have two options for powering the receiver: either use the same power source as the remote or choose a different one if your devices require varying voltage levels.
Once the wiring is complete, assemble everything within the project box for protection and organization. Be certain to install an on/off switch to prevent any power leakage from the receiver when it's not in use.
Testing and Final Setup
Testing your custom home cinema remote control guarantees that all components function correctly and that you've set everything up properly.
Begin by using a multimeter to verify that the receiver is operational and that all connections are secure. Pay special attention to the power connections, making sure they maintain correct polarity to prevent any damage to your components.
Once everything is connected, organize all parts within a project box. This not only protects your setup from physical damage but also streamlines the overall appearance.
Now, it's vital for thorough final testing. Connect your remote control to your home cinema device, and check that every function operates as intended.
If you're using a Logitech Harmony, follow the specific guidelines for integration, confirming that it recognizes all your devices accurately. During testing, document any issues you encounter. It's important to adjust wiring or settings accordingly to guarantee reliable operation.
This step is significant for a smooth user experience. After making necessary adjustments, conduct another round of testing to confirm everything works seamlessly. This diligence will pay off, providing you with a fully functional home cinema remote control.
Frequently Asked Questions
How Do I Create a Remote Home Assistant?
To create a remote home assistant, start by integrating a universal remote. Use its app for setting up activities, automate device states, and guarantee all devices communicate seamlessly. Engage with forums for tips and tricks.
Can You Use a Universal Remote for a Home Theater?
Yes, you can definitely use a universal remote for your home theater. It consolidates control of multiple devices, simplifies operations with programmable buttons, and enhances your viewing experience by reducing clutter and confusion.
How Do I Make My Universal Remote?
Making your universal remote can feel overwhelming, yet it's exciting to simplify your entertainment. Start by selecting a programmable remote, then follow the app's prompts to customize commands for your devices. Enjoy seamless control!
How to Set up a Remote Control?
To set up your remote control, start by connecting it to the device. Confirm the batteries are installed correctly, then follow the on-screen prompts or instructions to sync and test all functions. You're ready to go!
Conclusion
In the end, you've transformed a simple remote into your very own magic wand for home entertainment.
As you sit back, ready to immerse yourself in cinematic adventures, you can take pride in a creation that not only simplifies your experience but also adds a personal touch to your space.
With each button press, you're not just controlling devices; you're orchestrating a symphony of sights and sounds, turning your living room into a theater of dreams.


")