To use a projector for your digital art and photography displays, start by choosing a projector with at least 2,000 lumens for clear visibility. Position it at eye level or slightly above to reduce shadows, and maintain a distance of 8-10 feet for ideal clarity. Make sure the room is dark to prevent washed-out images and align the projector with your surface to avoid distortion. Adjust the custom white balance for accurate color representation. Finally, consider the projector type that best fits your needs. There's plenty more to explore on maximizing your projector's potential.
Key Takeaways
- Choose a digital projector with at least 2,000 lumens brightness for clear visibility in various lighting conditions.
- Set up the projector at eye level or slightly above to minimize shadows and enhance image clarity.
- Ensure the room is dark enough to prevent washed-out images and improve color fidelity.
- Use custom white balance settings to maintain consistent color accuracy across different ambient light sources.
- Align the projector correctly with the projection surface to avoid distorted images during displays.
![Outdoor-Projector-4K with WiFi and Bluetooth:[3500 Bright/60W Dolby Audio/Official Licensed Apps],Smart-Projector with AI Auto Focus,ONOAYO ONO5Pro 2.0 Movie Projector for Indoor/Outdoor 2026New](https://m.media-amazon.com/images/I/41fylkjOTIL._SL500_.jpg)
Outdoor-Projector-4K with WiFi and Bluetooth:[3500 Bright/60W Dolby Audio/Official Licensed Apps],Smart-Projector with AI Auto Focus,ONOAYO ONO5Pro 2.0 Movie Projector for Indoor/Outdoor 2026New
[Hear the Difference–Hollywood-Grade Dual 60W Dolby Audio] Why spend more on a TV + soundbar or settle for...
As an affiliate, we earn on qualifying purchases.
Understanding Projector Types

When diving into the world of projectors for digital art and photography, it's essential to understand the different types available.
Digital projectors are among the most versatile tools. They allow you to project images directly from various devices, and with brightness levels over 2,000 lumens, you can achieve clear visibility even in well-lit environments. This makes them ideal for showcasing your artwork.
On the other hand, opaque projectors are designed for physical prints. They require a dark room for peak projection quality, which is perfect if you're looking to enlarge images for large-scale artwork.
If you're working with photographs, slide projectors are another option. They specifically utilize slides to project images, ensuring accurate enlargements, though you'll need to manage the creation of those slides.
Additionally, overhead projectors can project transparencies and are often found in educational settings.
If you're on a budget, consider secondhand models, as they can be cost-effective for artists. Each type of projector has unique advantages, so understanding these differences will help you choose the right one for your digital art and photography needs.
![[Built-in Apps/4K Support] Smart Outdoor Projector with WiFi and Bluetooth, Movie Projector, DoIby Audio with Dual Speaker, Auto Focus w/ YouTube&PrimeVideo Proyector, Upgrad P62 Pro](https://m.media-amazon.com/images/I/51yAGv8VI7L._SL500_.jpg)
[Built-in Apps/4K Support] Smart Outdoor Projector with WiFi and Bluetooth, Movie Projector, DoIby Audio with Dual Speaker, Auto Focus w/ YouTube&PrimeVideo Proyector, Upgrad P62 Pro
[Upgraded Classic – P62 Pro Movie Projector] Building on the reliability and low return rate of the classic...
As an affiliate, we earn on qualifying purchases.
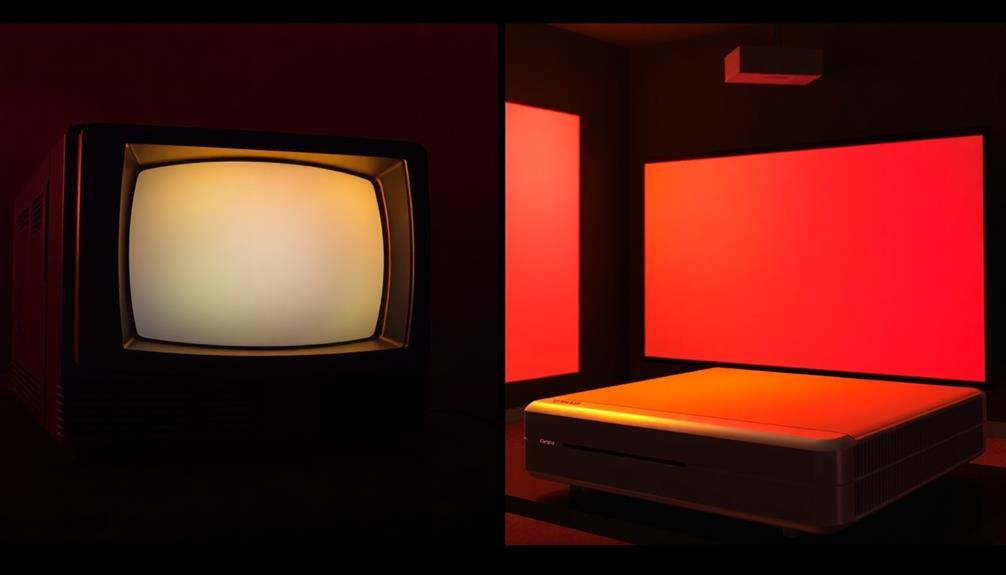
Importance of Brightness

Understanding brightness is essential for achieving stunning digital art and photography displays. Brightness, measured in lumens, directly impacts the clarity and detail of your projected image. If you're using a projector with around 3000 lumens, you'll notice a significant improvement over one with only 150 lumens.
This higher brightness not only enhances image quality but also gives you creative flexibility, allowing for faster shutter speeds and lower ISO settings in photography, which helps reduce noise and improve overall quality. Additionally, having a projector with a high contrast ratio can further enhance the depth and richness of colors, contributing to a more immersive viewing experience, especially when showcasing detailed artworks or photographs.
For more insights on achieving peak image quality, consider the role of contrast ratio.
When selecting a projector, consider how brightness can affect the visibility of fine details, especially on skin tones in projected images. If the projector isn't bright enough, you might end up with washed-out images, especially under additional lighting.
A projector with peak brightness guarantees that your artworks maintain their intended vibrancy and detail.

【Now with Netflix & 3000ANSI】Smart 4K Projector with WiFi and Bluetooth, VISSPL 3D Dolby Audio and Auto Focus Portable Outdoor Projector, Movie Home Theater Projectors for Bedroom/Ceiling
[ Netflix Ready - No Extra Devices Needed ] – VISSPL Smart Projector: No TV stick, no casting,...
As an affiliate, we earn on qualifying purchases.
Color Management Techniques
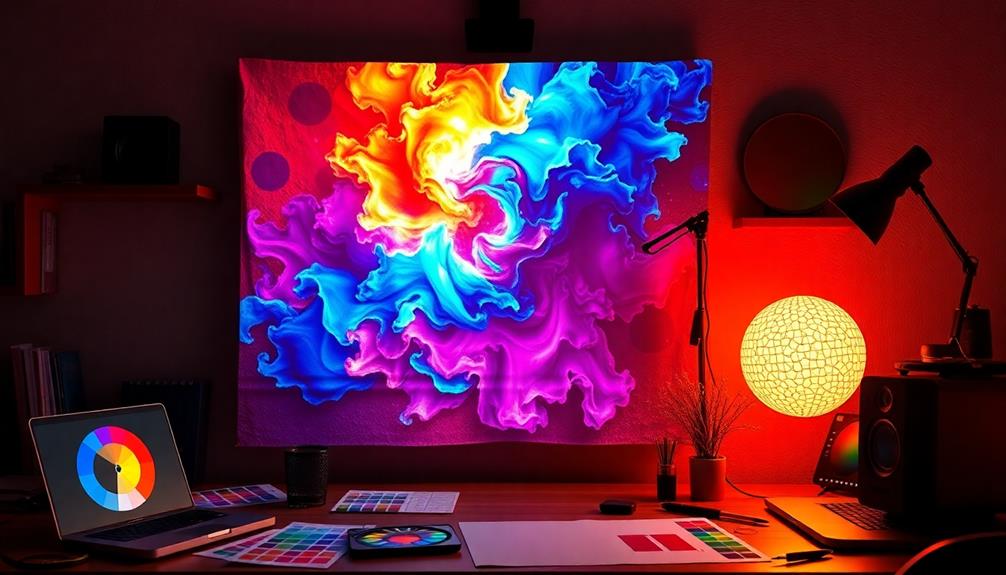
Effective color management techniques are vital for guaranteeing your digital art and photography shine when projected. Start by considering the color temperature of your projector, as it markedly impacts how your images appear. Shooting in RAW format is a smart choice, letting you adjust colors during post-processing for accurate representation.
Additionally, incorporating herbal tea benefits into your routine can enhance your focus and creativity while working on your digital displays.
When you're combining projector light with other ambient light sources, using custom white balance profiles becomes essential. This guarantees consistent color accuracy across your digital images. If your projector emits warmer light, consider using CTO gels on your flashes to balance the color temperature, creating a unified look throughout your display.
For initial experiments, bright images with ample white areas work best. They help you gauge how the projector affects overall color fidelity and exposure settings. As you select images, pay special attention to skin tones, as pixel visibility can be a concern during projection.
Experimenting with various settings will improve the quality of your images, allowing your digital art to truly shine. By mastering these color management techniques, you'll elevate the overall impact of your projected displays.

Aurzen Roku TV Smart Projector with Wifi and Bluetooth, Roku TV Built-in, 1080P FHD, DoIby Audio, Auto Focus & Keystone, Zoom, Movie Portable Outdoor Mini Projector for Soccer Football Game, White
A Roku account and internet connection are required for activation (Creating an account is free). Note: Power Supply:...
As an affiliate, we earn on qualifying purchases.
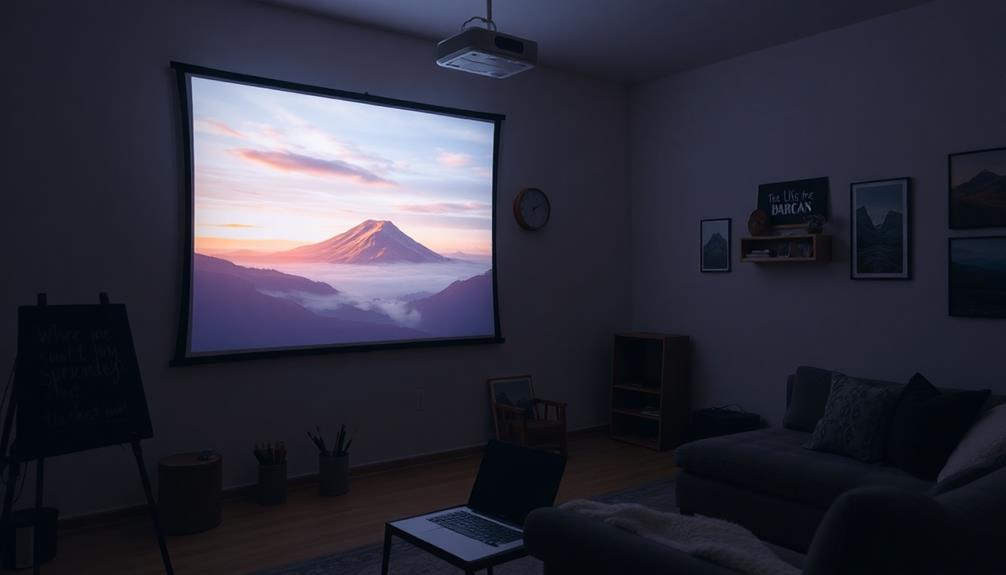
Effective Setup Strategies
Mastering color management techniques can greatly enhance your projected displays, but getting the setup right is just as important. Here are some effective strategies to guarantee your projector performs at its best:
- Position your projector at eye level or slightly above to minimize shadows.
- Maintain a distance of 8-10 feet from your subject for ideal image clarity.
- Verify the room is dark enough to prevent washed-out images.
- Use a stable surface for your drawing canvas to keep it secure during tracing.
When you position your projector, make certain it's aligned with the surface you're projecting onto. This will help avoid any awkward angles that could distort the image.
Additionally, always check and adjust the focus and keystone correction settings to ascertain the image is sharp and accurately represented.
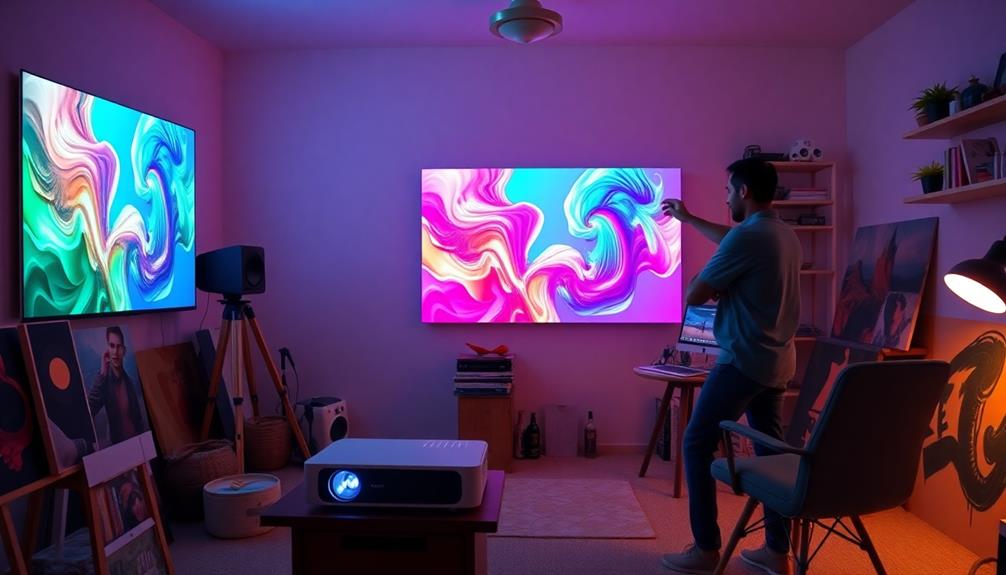
Tips for Successful Use

To make the most of your projector for digital art and photography, it's crucial to pay attention to a few key factors that can greatly impact your results.
First, verify your projector type suits your needs. Experiment with different options, like digital or opaque projectors, to find the one that offers the best image quality and portability for your setup.
Next, consider the brightness level of your projector. Aim for at least 2,000 lumens, especially if you're in a well-lit room. This guarantees clear visibility for your digital art displays.
Additionally, maintain a dark room to enhance clarity and minimize ambient light that can wash out your images.
Position the projector above the model's eye level to create flattering lighting, avoiding unintentional shadows. A distance of 8-10 feet from the screen typically provides ideal image coverage.
Finally, don't forget to adjust the custom white balance settings to match the projector's color temperature with other light sources, securing color accuracy in both art and photography displays.
Frequently Asked Questions
Can You Use a Projector for Photography?
Yes, you can use a projector for photography. It enhances your images, creating immersive experiences. Just make certain you've got the right brightness and resolution, and experiment with lighting to achieve stunning effects in your displays.
Is It Okay to Use a Projector for Art?
Using a projector for art is perfectly fine! Many artists, including masters, have embraced this technique. It can enhance accuracy, speed up the process, and even inspire creativity, so don't hesitate to try it out!
What Kind of Projector Do I Need to Trace an Image?
To trace an image effectively, you'll want a digital projector with at least 2,000 lumens, keystone correction, and wireless capabilities. This setup guarantees clear, bright projections, making your tracing process smooth and accurate.
How to Use a Projector to Enlarge Art?
"Don't put all your eggs in one basket." To enlarge art, you'll need the right projector, position it correctly, secure your canvas, and adjust for clarity. Perfecting these steps will help your art shine.
Conclusion
In the world of digital art and photography, a projector can transform your creations into breathtaking displays. Picture the vibrant colors dancing on your wall, enchanting your audience and breathing life into your work. By understanding projector types, managing brightness, and employing effective setup strategies, you're not just showcasing art; you're creating an experience. So, embrace the magic of projection—your art deserves to shine in the spotlight it craves!


![[Invitation] Galaxy Unpacked July 2026: A New Shape Unfolds](https://1hometheatreprojector.com/wp-content/uploads/2026/07/invitation-galaxy-unpacked-july-2026-a-new-shape-unfolds-featured-260x140.jpg)