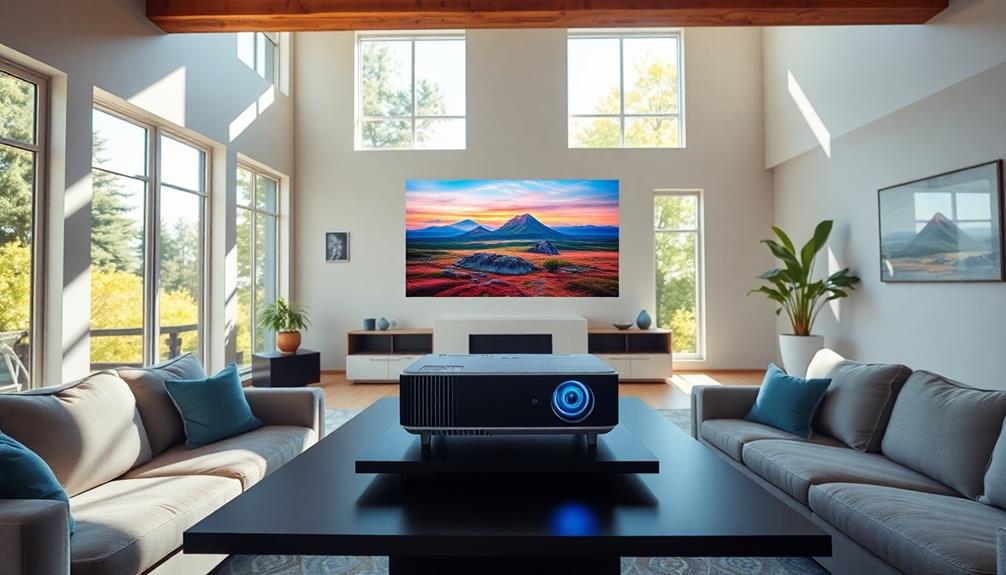
Keystone correction is your tool for transforming distorted projector images into crisp, rectangular displays. You can choose between manual adjustments, which maintain image quality, and digital corrections for quick fixes. While both methods serve a purpose, over-relying on digital options can lead to blurriness and visual artifacts. To achieve the best results, position your projector correctly and utilize lens shift features whenever possible. Effective setup minimizes the need for adjustments and enhances clarity. By mastering these techniques, you'll elevate your viewing experience remarkably. Keep exploring, and you'll discover even more ways to optimize your projector's performance.
Key Takeaways
Keystone correction ensures a rectangular image, but over-reliance can cause artifacts and loss of detail.
Manual adjustments maintain image resolution better than digital methods, providing more control.
Proper projector placement and lens shift reduce the need for keystone correction, enhancing image quality.
Advanced projectors may offer multi-axis correction features for precise adjustments without degradation.
Regular assessment of projector setup and using high-quality mounting hardware ensures consistent image clarity.
XHF 120 PCS Adhesive Cable Wire Clips Black, Outdoor Christmas Light Clips, Cable Management Wire Organizer Cord Holder for Under Desk, Car, Wall, TV PC Ethernet Cable
High quality material:XHF Adhesive Cable Clips are manufactured from Strong Adhesive and PA66 nylon
As an affiliate, we earn on qualifying purchases.
Understanding Keystone Correction
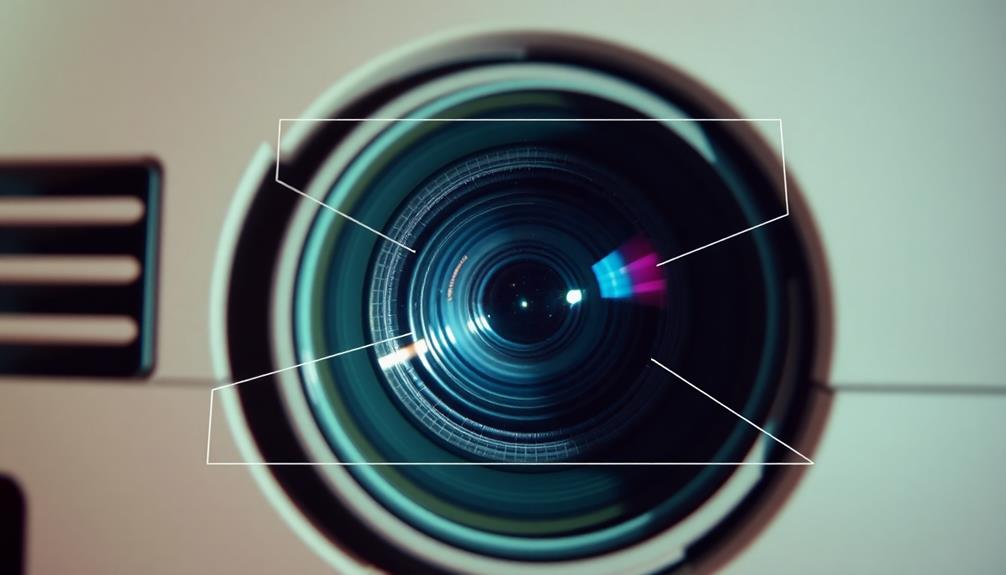
Keystone correction is like a digital tool that helps fix the images projected by your device. When your projector isn't perfectly aligned, you may notice image distortion, making the picture appear trapezoidal instead of rectangular. Keystone correction compensates for this by adjusting the shape of the projected image, ensuring it looks just right.
Proper projector setup is vital to minimize the need for such adjustments.
There are two primary forms of keystone correction: manual and digital. Manual keystone correction involves physically adjusting the projector, while digital correction uses software to alter the image geometrically. Each method has its own impact on image quality, and understanding these differences is important.
Keep in mind that over-relying on keystone correction can lead to issues such as artifacts, blurriness, and loss of detail, which might compromise your projected image's clarity.
It's essential to strike a balance between correcting distortion and maintaining image quality. By using keystone correction wisely, you can enhance your viewing experience without sacrificing the resolution and detail of your visuals.
SOULWIT 50Pcs Self Adhesive Cable Management Clips - Black
🔷SUPER EASY TO USE: Stick to clean surface, open tab, insert multiple cables, close the tab, enjoy the...
As an affiliate, we earn on qualifying purchases.
Types of Keystone Correction
When you're adjusting keystone correction, you'll encounter both manual and digital methods.
Manual adjustments give you hands-on control, allowing for precise alterations based on your specific setup.
On the other hand, digital correction can streamline the process, though it might impact image quality.
It's crucial to remember that just as air purifiers improve air quality, the right keystone correction can greatly enhance your viewing experience.
Let's explore how these techniques work and their effects on your projected images.
Manual Keystone Adjustment Techniques
Often, you'll find that manual keystone adjustment techniques provide a reliable way to correct image distortion in projectors. By physically manipulating the projector's position or settings, you can effectively address keystone distortion. This method typically involves using knobs or levers to realign the lens, allowing for both vertical and horizontal adjustments.
Here's a quick guide to help you understand the key factors involved:
Technique
Description
Manual Correction
Adjusts projector position to correct distortions.
Projector Placement
Precise positioning minimizes adjustments needed.
Lens Shift
Allows slight positional changes without losing quality.
Image Quality
Manual adjustments preserve the original image resolution.
To achieve ideal results, verify your projector is correctly placed and utilize measuring tools. This reduces the need for manual adjustments and enhances overall image clarity. Remember that unlike digital correction methods, manual adjustments maintain the integrity of the original image, providing a superior viewing experience. By mastering these techniques, you'll enhance image quality and enjoy a more professional presentation.
Digital Correction Methods Explained
Digital correction methods for projectors offer a convenient solution for addressing image distortion without the need for physical adjustments. Among these methods, digital keystone correction stands out. It modifies the image digitally, which is perfect when your projector is placed in a confined space. This method lets you quickly adjust the image to correct distortion, whether it's vertical or horizontal.
Additionally, as technology advances, users can expect innovations similar to Apple's commitment to user data protection, enhancing their overall experience with projector setups.
Automatic keystone correction takes convenience a step further. It uses sensors to detect distortions in real-time and automatically adjusts the image. However, be aware that while this is user-friendly, it may not provide the same level of precision as manual adjustments.
One thing to keep in mind is that digital correction can slightly impact image resolution and introduce visual artifacts. As a result, it's best to use it sparingly.
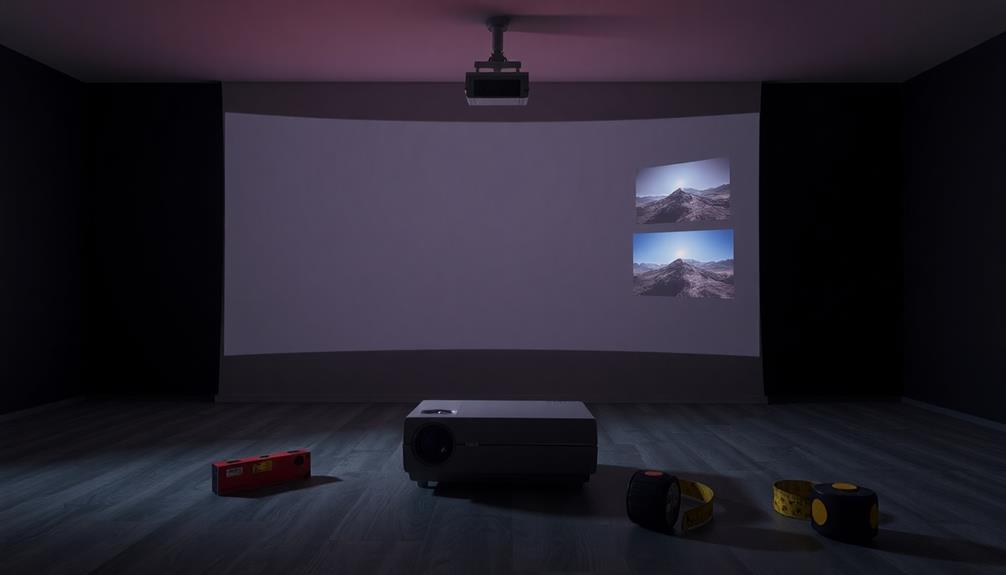
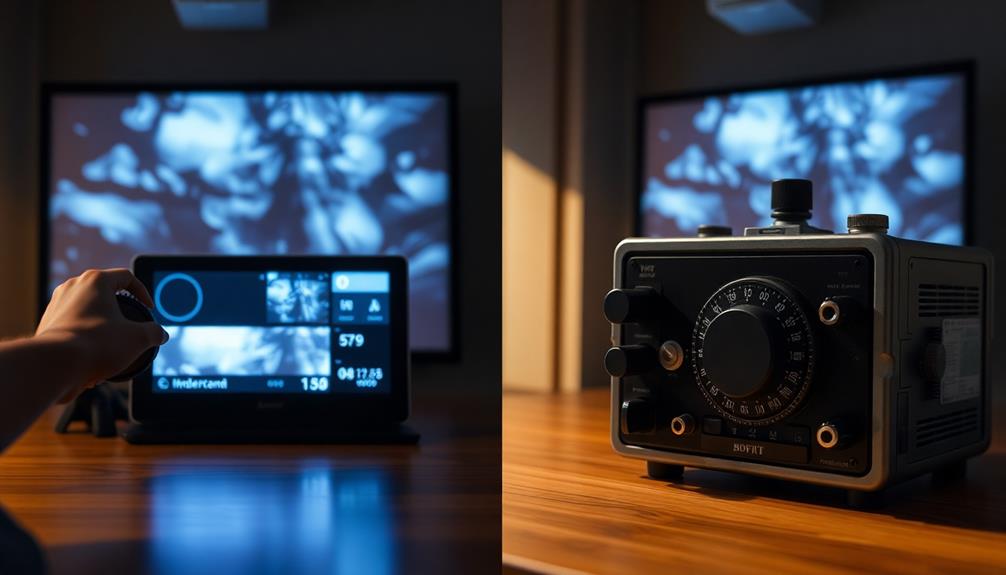
When setting up your projector, displaying patterns during adjustments can enhance the effectiveness of keystone correction. This provides a clear reference, helping you achieve precise image alignment.
Impacts on Image Quality
Keystone correction plays a significant role in maintaining image quality, particularly when it comes to the two main types: vertical and horizontal keystone correction. Vertical keystone correction addresses distortions along the vertical axis, while horizontal keystone correction fixes distortions along the horizontal axis. These adjustments guarantee your image is properly aligned, but they come with trade-offs.
Digital keystone correction can degrade image quality, as it often reduces effective pixel usage. When the projector scales the image to fit the desired shape, artifacts may appear, resulting in a softer overall image.
In contrast, manual keystone correction involves physically adjusting the projector's position, preserving the original resolution much better than digital methods. This preservation is essential, especially in high-resolution projectors where detail loss can be more pronounced.
Additionally, advanced projectors may offer geometric correction capabilities that go beyond standard keystone correction. These features enhance image quality in challenging projection environments, allowing for more precise adjustments.
Ultimately, it's important to strike a balance between flexibility in setup and maintaining image integrity for the best viewing experience.
120PCS XHF Adhesive Cable Wire Clips White, Cable Staples Outdoor Cable Management Wire Organizer Cord Holder for Under Desk, Car, Wall, TV PC Ethernet Cable
High quality material:XHF Adhesive Cable Clips are manufactured from Strong Adhesive and PA66 nylon
As an affiliate, we earn on qualifying purchases.
Digital vs. Manual Correction
When it comes to correcting image distortion in projectors, users face a choice between digital and manual methods.
Digital keystone correction uses software algorithms to make quick adjustments, which can be convenient in various scenarios. However, this method may slightly compromise image resolution and quality.
On the other hand, manual correction involves physically adjusting the projector's position and angles, allowing you to maintain the original image quality and resolution. While it demands more effort and precision, it gives you greater control over the final output.
Digital correction often includes features like automatic adjustments and presets, making it user-friendly for those who need fast fixes.
In contrast, manual correction is ideal for high-quality presentations where image fidelity is critical.
Ultimately, your choice depends on your specific needs. If you're looking for convenience and quick adjustments, digital might suit you. But if you're aiming for the best image quality, especially in important settings, manual adjustments are your best bet.
Keep in mind that over-reliance on digital corrections can lead to artifacts, detracting from the overall viewing experience.
Smart 4K Projector [Google TV Stick Built-in & 360° Stand] with WiFi 6, Bluetooth 5.3, HDR10, 30W Hi-Fi, AI Auto Focus, Outdoor Portable Short Throw Movie Projector for Home Theater Bedroom Ceiling
[Google TV Built-in | 10,000+ Apps | Voice Control] The smart projector with wifi and bluetooth features Google...
As an affiliate, we earn on qualifying purchases.
Impact on Image Quality
When you use keystone correction, you might notice a slight loss in image resolution due to pixel manipulation.
This can lead to a less sharp and detailed projection, especially if you rely on digital adjustments too often.
To maintain ideal image quality, consider using calibration tools and manual correction techniques whenever possible.
Image Resolution Loss
Image resolution loss is a significant concern when using keystone correction in projectors. When keystone correction adjusts the image, it can compress and stretch pixels, leading to a noticeable reduction in effective pixel count. This results in a less sharp and clear image, often accompanied by visual artifacts like blurriness and jagged edges.
If you're using a lower resolution projector, you might see a more pronounced degradation when applying these adjustments.
To achieve a perfect image, proper projector positioning is essential. When the projector is aligned correctly, you'll rely less on keystone correction, preserving image quality and maintaining ideal resolution.
Frequent adjustments can exacerbate image resolution loss, creating a cumulative effect that detracts from your viewing experience.
Optimization Techniques
Optimizing your projector setup can greatly enhance image quality and reduce the need for keystone correction. By focusing on projector placement and using lens shift features, you can minimize distortion and maintain sharp details. Manual adjustments often preserve the original image quality, which is vital for delivering stunning visuals.
To assist you in optimizing your projector, consider the following table highlighting key techniques:
Technique
Impact on Image Quality
Recommended Tools
Proper Projector Placement
Reduces need for keystone correction
Measuring tape, screen size guide
Lens Shift Adjustment
Maintains image resolution
Projector manual
Manual Adjustments
Preserves original quality
Physical alignment tools
Calibration Tools
guarantees accurate settings
Calibration software
Utilizing calibration tools can help you verify that your projector settings are precise before applying keystone correction. This preventive measure can greatly reduce the risk of losing image sharpness and detail. By implementing these optimization techniques, you'll enhance your projector's performance and achieve the best possible viewing experience.
Best Practices for Setup
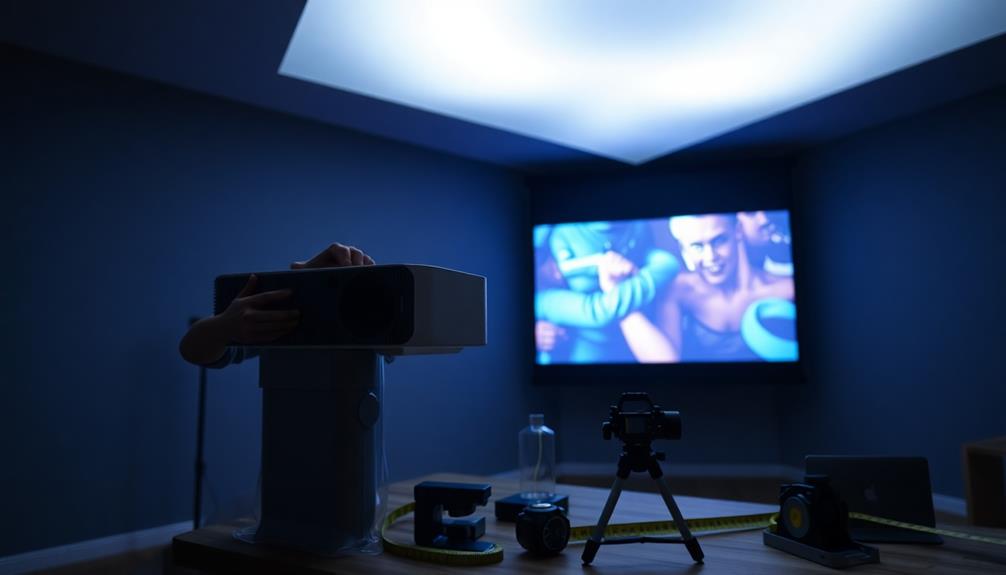
To achieve the best projector setup, start by carefully measuring the distance and angle from your projector to the screen. This minimizes the need for keystone correction and guarantees peak image quality.
Use the projector's throw distance and lens offset specifications to determine the ideal placement; this will help you avoid any adjustments later on.
Utilizing high-quality mounting hardware is vital. A stable projector reduces the risk of distortion and keeps your setup aligned, allowing you to maintain a perfectly rectangular image.
Regularly reassess and adjust the projector placement in relation to the screen, especially if any changes in your environment may affect image quality.
Experimenting with screens that have black borders can also enhance image contrast and mitigate the effects of slight misalignment. This helps you maintain a clear image without overly relying on keystone correction.
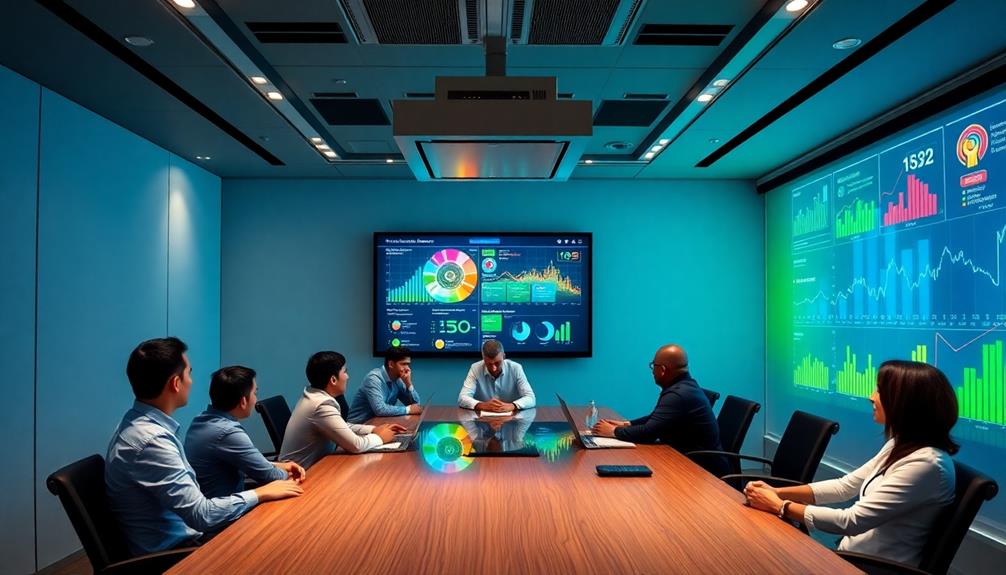
Advanced Technologies
When setting up a projector, incorporating advanced technologies can greatly enhance your viewing experience. Advanced keystone correction features, like geometric correction, allow you to make precise adjustments to complex image distortions, elevating your image quality beyond basic trapezoidal corrections.
You'll find that projectors with auto-correction capabilities utilize integrated sensors and software to automatically detect and adjust distortions. This means less manual intervention for you, speeding up your setup process.
Moreover, the latest models often come with multi-axis keystone correction, enabling you to align images across multiple planes—horizontal, vertical, and corner fit. This thorough adjustment guarantees your visuals are perfectly framed.
Innovations in projection technology, such as laser projection, further enhance color accuracy and brightness, resulting in clearer images that require less correction.
To top it off, ongoing advancements in projector software are focused on optimizing the keystone correction process. This minimizes image quality loss and boosts the clarity of your projected visuals.
Alternatives to Keystone Correction
While advanced technologies like auto-correction can greatly improve image quality, there are effective alternatives to keystone correction that can help you achieve a better setup.
One option is to use adjustable mounting brackets, allowing you to position your projector precisely. This minimizes the need for any keystone adjustments. Additionally, the lens shift feature provides a mechanical way to align your image without sacrificing quality.
If you opt for short-throw projectors, you can place them closer to the screen, which reduces the projection angle and distortion. High-quality projectors with superior optics maintain image clarity even if they're slightly misaligned, thereby reducing reliance on keystone correction.
Finally, consider advanced projection techniques like using multiple projectors. This strategy can create immersive experiences while distributing the projection across a wider area without distortion.
Here's a quick visual summary of these alternatives:
Alternative
Benefit
Considerations
Adjustable Mounting
Precise positioning
Requires installation expertise
Lens Shift Feature
Mechanical adjustment without quality loss
Limited by projector model
Short-Throw Projectors
Closer placement reduces distortion
May require specific setup
Frequently Asked Questions
What Is Keystone Correction for a Projector?
Keystone correction for a projector adjusts distorted images back into rectangular shapes. You can use digital methods or manual adjustments to achieve this, but be mindful of potential image quality loss during the process.
What Is the Keystone Effect in Projected Image?
The keystone effect distorts your projected image into a trapezoidal shape. When the projector isn't aligned properly, you'll notice the top or bottom appears wider or narrower, compromising the clarity of your presentation.
How to Fix Keystone Effect Projector?
You notice the distorted image, a trapezoid instead of a rectangle. Don't worry! Access the settings, select H/V Keystone adjustment, and use arrow buttons to correct it. Watch your image transform back to perfection!
Does Keystone Affect Picture Quality?
Yes, keystone correction can affect picture quality. When you adjust the image shape, it often leads to softened visuals and potential artifacts, compromising the sharpness and detail you want for an ideal viewing experience.
Conclusion
In the quest for that perfect projector image, mastering keystone correction is your Excalibur. By understanding its types and leveraging both digital and manual methods, you can banish distortion like a knight slaying dragons. Remember, setup is key—take the time to align your projector properly. With advanced technologies at your fingertips, you've got the tools to create stunning visuals. So, embrace the art of keystone correction and let your presentations shine like a beacon of clarity!
Using a Projector for Digital Signage: Business Applications
Achieve impactful visual communication for your business with projectors for digital signage; discover how they can transform your customer engagement today.


![Smart 4K Projector [Google TV Stick Built-in & 360° Stand] with WiFi 6, Bluetooth 5.3, HDR10, 30W Hi-Fi, AI Auto Focus, Outdoor Portable Short Throw Movie Projector for Home Theater Bedroom Ceiling](https://m.media-amazon.com/images/I/41zno6cZMFL._SL500_.jpg)