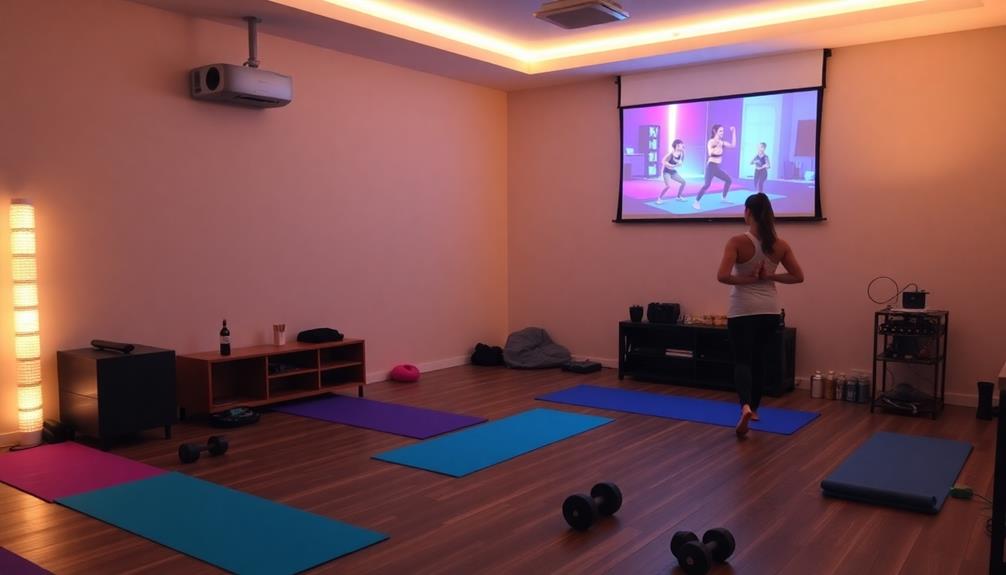
To achieve perfect projector image alignment, use tools like keystone correction and lens shift functionality. These features help eliminate distortion and refine image quality. Automatic alignment technologies streamline setup with real-time adjustments using advanced cameras and sensors. Quick setup options like Screen Fit make configuring your projector a breeze. For larger displays, edge blending techniques can create seamless visuals. You can enhance flexibility with interchangeable lenses for various environments. By mastering these techniques, you'll elevate your presentations greatly. With these insights, you'll discover even more effective methods to enhance your projection experience.
Key Takeaways
- Keystone correction and lens shift functionalities are essential for eliminating image distortion and maintaining optimal picture quality.
- Automatic alignment technologies utilize sensors and algorithms for real-time adjustments, reducing setup time and enhancing visual accuracy.
- Quick setup features, such as Screen Fit and Quick Corner, streamline projector adjustments for various environments.
- Warping and blending methods, including edge blending and image warping, create seamless visuals on irregular surfaces.
- Camera-based alignment systems minimize human error and improve accuracy in projector setup, ensuring flawless image quality.

【Now with Netflix & 3000ANSI】Smart 4K Projector with WiFi and Bluetooth, VISSPL 3D Dolby Audio and Auto Focus Portable Outdoor Projector, Movie Home Theater Projectors for Bedroom/Ceiling
[ Netflix Ready - No Extra Devices Needed ] – VISSPL Smart Projector: No TV stick, no casting,...
As an affiliate, we earn on qualifying purchases.
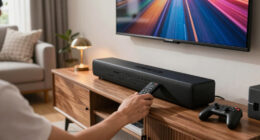
Image Alignment Control

When it comes to projector usability, image alignment control is fundamental for achieving the best picture quality. With effective image alignment, you can easily adjust your projector's settings to eliminate distortions and guarantee a crisp, clear display.
Many projectors come equipped with physical buttons and sliders that simplify manual adjustments, allowing you to fine-tune your image quality without maneuvering through complex menus.
If you prefer a more automated approach, some models offer advanced technologies that provide automatic adjustments, aligning images instantly with no user intervention. This feature can considerably enhance your experience, especially during quick setups.
Additionally, different projector models vary in their adjustability, so it's essential to choose one that meets your specific alignment needs.
Key features such as keystone correction and lens shift functionality are also critical components of image alignment control.
These tools help correct any distortions and enable you to achieve straight-edged images effortlessly. By utilizing these features, you can maximize the image quality of your projector, guaranteeing a visually engaging experience for your audience.
![[Built-in Apps/4K Support] Smart Outdoor Projector with WiFi and Bluetooth, Movie Projector, DoIby Audio with Dual Speaker, Auto Focus w/ YouTube&PrimeVideo Proyector, Upgrad P62 Pro](https://m.media-amazon.com/images/I/51yAGv8VI7L._SL500_.jpg)
[Built-in Apps/4K Support] Smart Outdoor Projector with WiFi and Bluetooth, Movie Projector, DoIby Audio with Dual Speaker, Auto Focus w/ YouTube&PrimeVideo Proyector, Upgrad P62 Pro
[Upgraded Classic – P62 Pro Movie Projector] Building on the reliability and low return rate of the classic...
As an affiliate, we earn on qualifying purchases.
Keystone Correction Techniques

Achieving a perfectly aligned image often involves employing keystone correction techniques. This process is essential for eliminating trapezoidal distortion caused by projector misalignment, ensuring your display appears as it should.
You can choose between manual and automatic keystone correction options. The automatic feature is particularly handy—it allows you to adjust the image with just a single button press, saving time and effort during setup.
Vertical keystone correction deals with distortion at the top and bottom of your image, while horizontal correction focuses on the left and right sides. Many modern projectors come equipped with automatic detection capabilities, instantly identifying when keystone correction is necessary. This functionality streamlines your setup, making it easier to achieve the best image quality.
Regularly utilizing keystone correction can greatly enhance your presentations by ensuring they look professional and visually appealing. By correcting distortions early on, you improve clarity and focus, which helps maintain your audience's attention.

Aurzen Roku TV Smart Projector with Wifi and Bluetooth, Roku TV Built-in, 1080P FHD, DoIby Audio, Auto Focus & Keystone, Zoom, Movie Portable Outdoor Mini Projector for Soccer Football Game, White
A Roku account and internet connection are required for activation (Creating an account is free). Note: Power Supply:...
As an affiliate, we earn on qualifying purchases.
Lens Shift Functionality

How can lens shift functionality enhance your projection experience?
Lens shift allows you to adjust both the vertical and horizontal positioning of your projector's lens, enabling precise image correction without sacrificing resolution. This means you can easily tweak the image height or width, giving you flexibility in projector placement, especially in tricky installations where perfect alignment with the screen isn't possible.
When you utilize lens shift, you preserve image quality far better than with digital corrections. This guarantees you get straight-edged images with uniform focus, which is vital for maintaining clarity and professionalism in presentations.
Many projectors come equipped with manual lens shift adjustments via a control bar, while some models even offer motorized options for added convenience.
![Outdoor-Projector-4K with WiFi and Bluetooth:[3500 Bright/60W Dolby Audio/Official Licensed Apps],Smart-Projector with AI Auto Focus,ONOAYO ONO5Pro 2.0 Movie Projector for Indoor/Outdoor 2026New](https://m.media-amazon.com/images/I/41fylkjOTIL._SL500_.jpg)
Outdoor-Projector-4K with WiFi and Bluetooth:[3500 Bright/60W Dolby Audio/Official Licensed Apps],Smart-Projector with AI Auto Focus,ONOAYO ONO5Pro 2.0 Movie Projector for Indoor/Outdoor 2026New
[Hear the Difference–Hollywood-Grade Dual 60W Dolby Audio] Why spend more on a TV + soundbar or settle for...
As an affiliate, we earn on qualifying purchases.
Automatic Alignment Technologies

Automatic alignment technologies frequently revolutionize the way you set up and use your projector by eliminating the need for tedious manual adjustments. These systems utilize advanced cameras and sensors that detect projector positioning and automatically adjust the image accordingly. By employing sophisticated software algorithms, they calculate necessary corrections to maintain a distortion-free image, adapting to real-time environmental changes.
Here's a quick overview of the benefits of automatic alignment technologies:
| Feature | Description |
|---|---|
| Time Efficiency | Reduces time spent on projector calibration |
| Compatibility | Works with various projector models |
| Image Quality | Maintains consistent, distortion-free images |
| Ideal for Large Events | Streamlines setup for professional applications |
| Regular Updates | Software updates enhance performance over time |
Quick Setup Features

When setting up a projector, quick setup features can make a world of difference in your experience. The Screen Fit function is a standout feature, as it automatically detects the screen size and adjusts the image's keystone and focus for ideal projector alignment without you having to lift a finger. This means less time fiddling with settings and more time enjoying your presentation.
The Quick Corner feature allows you to make independent adjustments to each corner of the image, providing you with precise control for aligning the projection with your screen surface.
If you need to adjust the image size, optical zoom capabilities enhance the image without sacrificing quality, making it easier to fit images onto various screen dimensions. Additionally, digital zoom can simulate this effect by enlarging specific portions of the image, allowing you to focus on important details without losing clarity.
With these automatic alignment tools, you'll greatly reduce setup time, ensuring a hassle-free experience whether you're in a professional setting or at home.
Embrace these quick setup features to streamline your projector alignment process and enhance your viewing experience.
Common Alignment Issues

When you set up your projector, you might notice some common alignment issues that can affect your viewing experience.
Image distortion, screen size compatibility, and leveling adjustments are key factors to evaluate for a clear and well-aligned picture.
Addressing these issues early on can save you time and enhance your overall setup.
Image Distortion Corrections
Over time, you might notice common alignment issues causing image distortion during projector use. To tackle these problems, you'll want to implement effective image distortion corrections. One major culprit is trapezoidal distortion, often resolved by using keystone correction, which offers both manual and automatic adjustments for vertical and horizontal alignment.
Additionally, lens shift functionality allows for precise adjustments of the projector's lens, ensuring your images remain sharp and clear without compromising focus or resolution.
If you find your images aren't filling the screen properly or seem too large, adjusting the zoom settings or repositioning the projector can help maintain the correct distance for ideal display.
Keep an eye out for slanted images, which usually indicate an unlevel projector or screen. In such cases, careful alignment checks are essential to achieve straight and clear displays.
Finally, if you encounter trapezoidal distortion, it might signal pitch misalignment, and adjusting the projector's angle can restore a balanced projection.
Screen Size Compatibility
Guaranteeing screen size compatibility is essential for achieving the finest projector performance. Mismatched aspect ratios between your projector and screen can lead to a projected image that's either cut off or not filling the screen properly.
To avoid these common issues, consider these tips:
- Check aspect ratios: Make sure your projector and screen share the same aspect ratio.
- Adjust zoom settings: If the projected image isn't filling the screen, zoom in or move the projector back. However, if you're already at max zoom, your screen may be too large for the room.
- Reposition the projector: If the image is too large, zoom out or bring the projector closer to the screen for a better fit.
- Regularly review settings: Keep an eye on your projector settings and distance from the screen to maintain clarity and prevent size issues.
- Native resolution matters: Verify your projector's native resolution aligns with the screen size for ideal image quality.
Leveling Adjustments Needed
Proper leveling of your projector is vital for achieving a clear, distortion-free image. If you notice slanted images, it's likely that either your projector or screen is misaligned. To prevent this, verify both are properly leveled. A skewed roll of the projector can lead to considerable alignment issues, so take the time to adjust it correctly.
Additionally, maintaining color accuracy can further enhance your viewing experience, as it plays an essential role in image quality.
You might also face yaw issues, where one side of the image appears shorter than the other. To fix this, try turning the projector horizontally until the image looks balanced. Additionally, many projectors come with lens shift functionality, allowing you to correct alignment without needing perfect positioning. This feature can help you achieve straight-edged images even if the projector isn't perfectly aligned.
To maintain ideal performance, make it a habit to regularly check the alignment of both the projector and screen. This simple practice can prevent recurring issues, guaranteeing that your images remain clear and distortion-free.
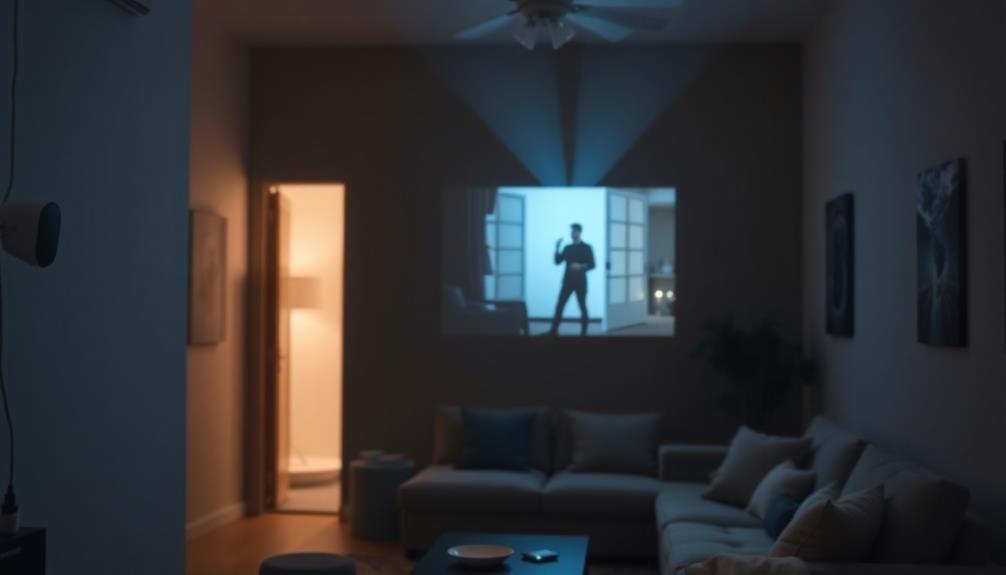
Warping and Blending Methods

When you're working with multiple projectors, edge blending techniques become essential to create a seamless image.
You'll also need surface warping adjustments to fit your visuals perfectly on irregular shapes.
Edge Blending Techniques
Edge blending techniques play an essential role in creating seamless visuals for large-scale projections, especially when you're working with multiple projectors.
These methods guarantee that images merge smoothly, eliminating any visible seams that could disrupt the viewer's experience. To achieve this, you'll need to focus on several key aspects.
- Brightness Adjustments: Balance light output across all projectors for uniformity.
- Image Warping: Adapt the projected images to fit the surface shape accurately.
- Software Tools: Use advanced software that analyzes test patterns to guarantee precise alignment.
- Camera Data Integration: Incorporate camera data to refine image outputs, enhancing overall quality.
- Professional Applications: Recognize the importance of these techniques in AV & Entertainment and professional simulators.
Surface Warping Adjustments
To create stunning visuals on irregular surfaces, surface warping adjustments are fundamental. These adjustments manipulate projected images to fit the contours of non-flat surfaces, enhancing both visual fidelity and coherence.
By employing advanced warping methods, you can utilize specialized software to adjust image geometry, guaranteeing your projections maintain high quality without distortion.
In professional settings like AV & Entertainment or simulators, precise calibration is essential. This often involves using cameras to capture test patterns, allowing you to make accurate adjustments for peak warping and blending results.
It's not just about fitting the image; it's about achieving a seamless integration that captivates the audience.
Moreover, edge blending techniques come into play when you're working with multiple overlapping images. This secures uniform brightness and color consistency across the projection area, which is crucial for large-scale presentations.
When executed correctly, surface warping adjustments and blending techniques elevate your visuals, providing an immersive experience.
Camera-Based Alignment Systems

Camera-based alignment systems revolutionize the way you achieve projection accuracy by automating the manual alignment process.
These systems leverage digital cameras to capture test patterns, allowing for precise analysis and adjustments. Depending on the size of your projection area, you might need multiple cameras to guarantee full coverage, which is essential for accurate alignment.
Here are some key benefits of using camera-based alignment systems:
- Reduced Setup Time: You'll spend less time aligning projectors, getting you up and running faster.
- Minimized Human Error: Automation helps eliminate mistakes that often occur during manual adjustments.
- Enhanced Image Quality: Data collected from cameras can assist in warping and blending images for a seamless visual experience.
- Critical Calibration: Proper calibration of cameras reduces distortion, guaranteeing a flawless projection.
- Versatile Applications: These systems work well in various environments, from corporate settings to entertainment venues.
Optional Lenses and Adjustments

Optional lenses and adjustments can greatly enhance your projection experience by tailoring the setup to your specific needs. Many projectors support interchangeable optional lenses, allowing you to choose the perfect lens based on your projection distance and environment. This feature markedly boosts versatility, enabling you to maintain excellent image quality regardless of where you're projecting.
If you're looking for convenience, consider projectors with motorized lens options. These allow you to remotely adjust zoom and focus, making it easier to adapt to various viewing scenarios without manual hassle. Additionally, some models come equipped with quick-release levers, simplifying the lens exchange process so you can swiftly switch between different lenses as needed.
For precise image alignment, the Horizontal Easy-Slide Image Correction feature is invaluable. It provides a control bar that lets you make manual adjustments, ensuring your images are perfectly aligned on the screen.
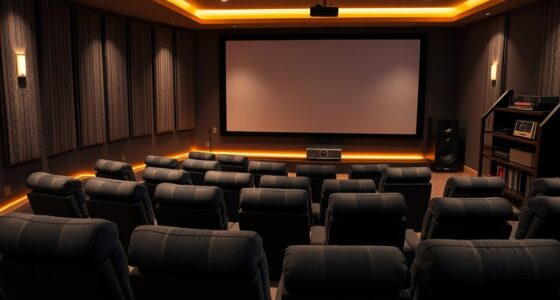
Applications Across Industries

Projector image alignment tools play an essential role across various industries, enhancing both functionality and visual impact.
Whether you're hosting a large-scale event or teaching a class, these tools guarantee that your projected images are sharp, clear, and engaging.
Consider how these applications manifest in different fields:
- Events and Conferences: Automatic alignment tools provide seamless image projection, keeping the audience captivated.
- Military and Aviation Training: They create distortion-free simulations, vital for effective learning and operational readiness.
- Education: Teachers benefit from hassle-free setups, allowing them to focus on imparting knowledge rather than adjusting technology.
- Art Installations: Advanced alignment techniques enable accurate projections on complex surfaces, enhancing the artistic expression.
- Healthcare: In professional settings, clear visual communication guarantees effective training and presentations of critical information.
Frequently Asked Questions
How to Perfectly Align a Projector?
To perfectly align a projector, start by positioning it correctly, adjust for keystone distortion, use lens shift for precise placement, and regularly check aspect ratios to guarantee a clear, well-proportioned image on your screen.
How to Get a Projector Image Straight?
Imagine a painter adjusting their canvas; you too can straighten your projector image. Level it, shift the lens, correct keystone distortions, and gently reposition it. Regular checks keep your masterpiece crisp and clear.
How Do I Adjust the Picture on My Projector?
To adjust the picture on your projector, use the zoom function to size the image, apply keystone correction for distortion, and utilize lens shift for better placement. Regularly check alignment for ideal clarity.
Why Is My Projector Image Crooked?
Did you know that nearly 30% of projector users experience image distortion due to improper setup? If your projector image's crooked, it's likely misaligned; check your projector's position, screen angle, and leveling for better clarity.
Conclusion
In the world of projectors, aligning your image is like tuning a guitar before a performance. Just as a well-tuned guitar produces harmonious melodies, proper alignment guarantees your visuals resonate perfectly with your audience. Whether you're utilizing keystone correction or automatic technologies, every adjustment brings your presentation to life. So, embrace these tools and techniques, and watch your images transform into a symphony of clarity and precision that captivates everyone in the room.