Projector Calibration 101: Achieving the Perfect Picture
Achieve stunning picture quality with essential projector calibration techniques—discover how to elevate your viewing experience and unlock your projector’s full potential!
Calibrating your projector is essential for achieving stunning picture quality. Start by setting up your projector properly and considering ambient light, as darker rooms enhance contrast. Use calibration tools like discs or software to adjust brightness and color settings. Regular recalibration every six months helps maintain image fidelity. Don't forget to optimize projector distance and apply keystone correction to avoid distortion. If you encounter challenges, like excessive brightness or color inaccuracies, dedicated tools can assist you. By mastering these techniques, you can elevate your viewing experience—stick around to discover even more strategies for perfecting your setup!
Key Takeaways
Proper calibration improves color accuracy, brightness, and contrast, enhancing overall image quality and preventing distortion.
Utilize calibration tools like colorimeters and calibration discs for precise adjustments and optimal viewing experiences.
Regular maintenance and recalibration every six months ensure sustained image fidelity and projector performance.
Ambient lighting conditions significantly affect calibration; dark rooms are ideal for achieving accurate color perception.
Implement keystone correction to maintain image alignment and avoid distortion for a clear and sharp picture.
SOULWIT 50Pcs Self Adhesive Cable Management Clips - Black
🔷SUPER EASY TO USE: Stick to clean surface, open tab, insert multiple cables, close the tab, enjoy the...
As an affiliate, we earn on qualifying purchases.
Understanding Calibration Importance
When it comes to achieving the best possible viewing experience, understanding the importance of calibration is vital. Calibration is a systematic process that fine-tunes your projector's settings to match the original source's colors, brightness, and contrast. This guarantees visual fidelity across various content types, enhancing image quality and preventing color distortion and blurriness.
Regular calibration is important for extending your projector's lifespan. By refining settings, you can reduce wear and tear on components while improving overall performance. Adjusting brightness and contrast according to room conditions and your personal viewing preferences allows for a tailored experience that maximizes your projector's capabilities beyond factory settings.
While you can make some adjustments yourself, professional calibration is often recommended, especially for high-end setups. This expert service can greatly improve picture accuracy, contrast, and texture compared to standard factory settings.
Ultimately, understanding calibration importance empowers you to create an ideal viewing environment, transforming your projector into a powerful tool for entertainment. So, don't overlook the calibration process; it's essential for enjoying the best image quality and getting the most out of your projector.
XHF 120 PCS Adhesive Cable Wire Clips Black, Outdoor Christmas Light Clips, Cable Management Wire Organizer Cord Holder for Under Desk, Car, Wall, TV PC Ethernet Cable
High quality material:XHF Adhesive Cable Clips are manufactured from Strong Adhesive and PA66 nylon
As an affiliate, we earn on qualifying purchases.
Tools for Effective Calibration
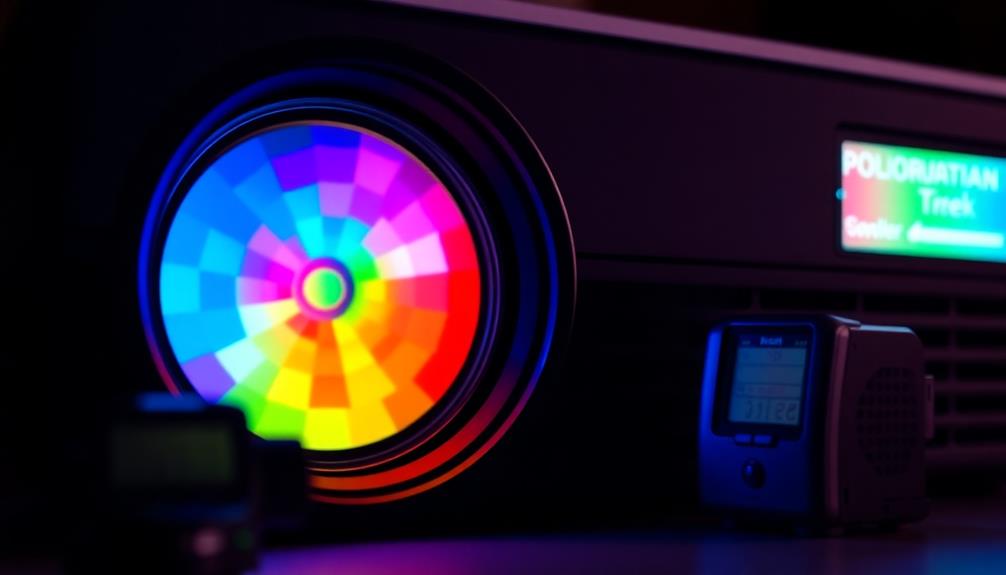
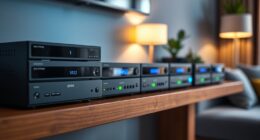
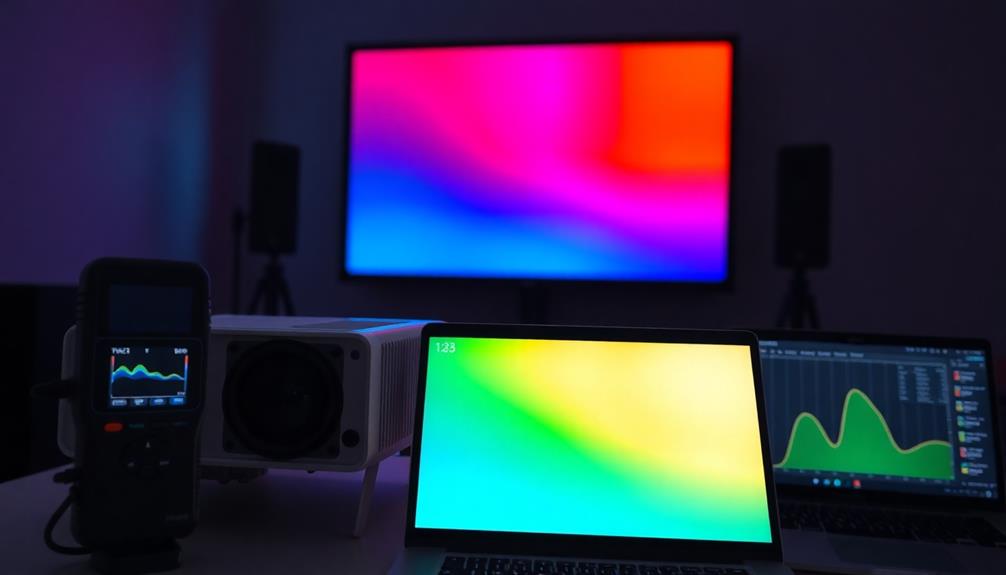
To achieve an accurate calibration, you'll need the right tools at your disposal. Start with calibration tools like software applications that guide you through adjusting your projector settings, including built-in test patterns for fine-tuning. A colorimeter is essential for measuring color accuracy, ensuring your projector output aligns with visual standards.
Additionally, consider how proper air filtration, similar to HEPA filtration effectiveness, can improve your viewing environment by reducing dust and allergens that may interfere with your projector's performance.
Don't forget about calibration discs or videos, such as the Spears & Munsil High Definition Benchmark, which help you manually adjust brightness settings, contrast, and color temperature for the best picture quality.
Using computer calibration software can provide real-time feedback, allowing you to make immediate adjustments based on measured data.
120PCS XHF Adhesive Cable Wire Clips White, Cable Staples Outdoor Cable Management Wire Organizer Cord Holder for Under Desk, Car, Wall, TV PC Ethernet Cable
High quality material:XHF Adhesive Cable Clips are manufactured from Strong Adhesive and PA66 nylon
As an affiliate, we earn on qualifying purchases.
Calibration Process Steps
The calibration process starts with ensuring your projector is set up correctly. Position it at the right distance from the screen and make sure it's level to avoid distortion, which greatly impacts image quality.
Additionally, consider the environment where you're calibrating; ambient light can affect how colors are perceived, so it might be helpful to select the right cold medication for your needs during this process.
Once that's sorted, follow these steps for effective calibration:
Use a calibration disc: This helps you access built-in test patterns for adjusting brightness and contrast, ensuring both bright and dark areas look their best.
Fine-tune focus and sharpness: Check clarity with high-contrast images to avoid any blurriness, ensuring a crisp picture.
Adjust color settings: Access the color calibration options to fine-tune color temperature and saturation, focusing on achieving natural hues, especially for skin tones.
Check aspect ratio: Make sure the aspect ratio matches your content for ideal performance and no image distortion.
Regular maintenance: Recalibrate every six months or after any notable changes to your projector setup to maintain image fidelity over time.
Smart 4K Projector [Google TV Stick Built-in & 360° Stand] with WiFi 6, Bluetooth 5.3, HDR10, 30W Hi-Fi, AI Auto Focus, Outdoor Portable Short Throw Movie Projector for Home Theater Bedroom Ceiling
[Google TV Built-in | 10,000+ Apps | Voice Control] The smart projector with wifi and bluetooth features Google...
As an affiliate, we earn on qualifying purchases.
Optimizing Picture Quality
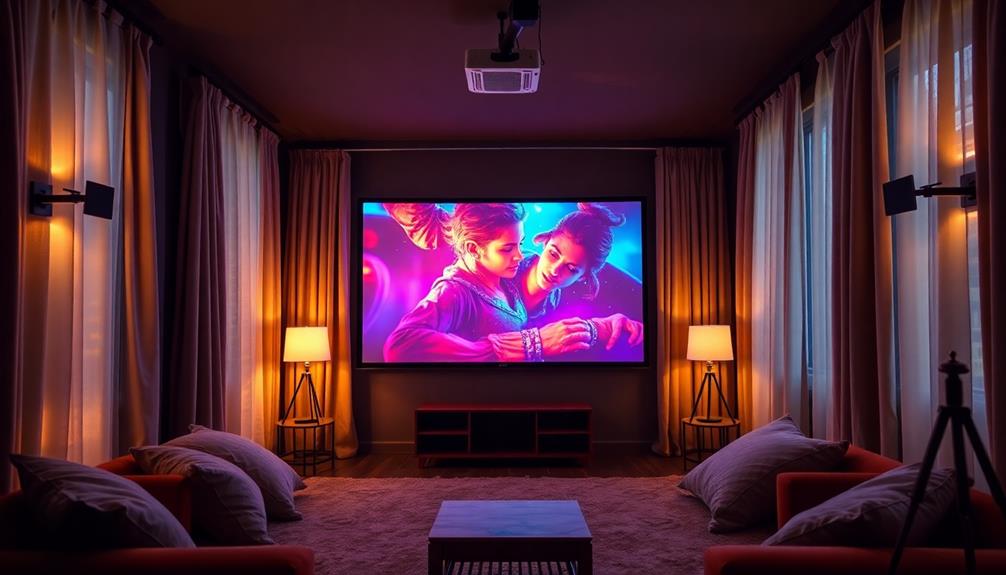
Achieving ideal picture quality involves more than just calibration; it requires attention to detail in your projector setup and environment. To attain the best image quality, start by positioning the projector at the correct distance from the screen, based on its throw ratio. This prevents image distortion and maintains clarity.
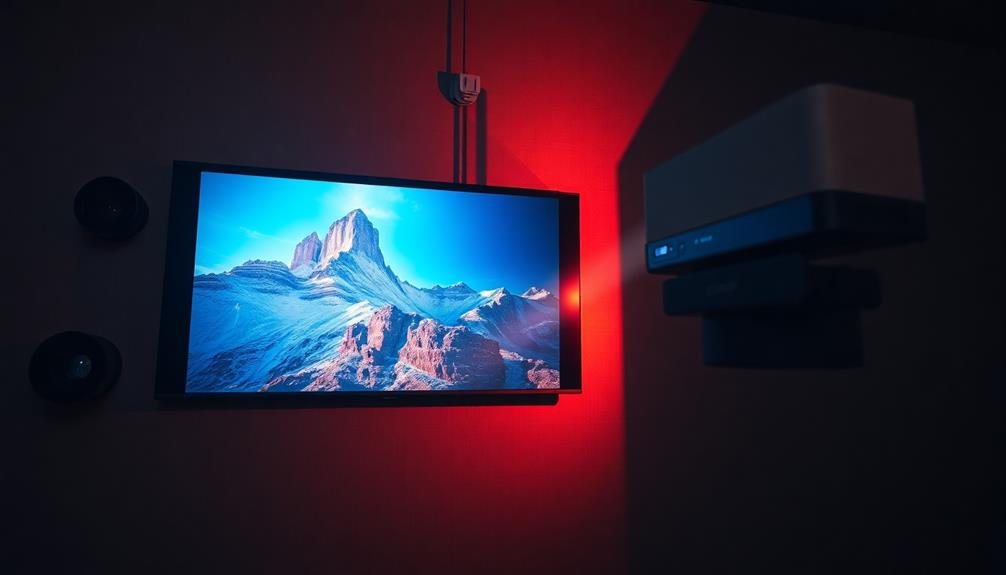
Next, consider the ambient lighting in your space. A dark room enhances contrast and overall image quality, providing the best viewing experience. Regularly adjust the brightness settings to avoid washed-out images, aiming for a balance that allows for deep blacks and vivid colors.
Utilizing high-quality projection screens or smooth white walls can greatly improve the reflection and clarity of the projected image. Keeping your screen clean is equally important to maintain sharpness.
Lastly, implement keystone correction to fix any image distortion caused by the projector's placement. This guarantees a perfectly squared image, allowing you to enjoy a stunning display that utilizes the full color space your projector offers.
Common Calibration Challenges
Many users face common calibration challenges when setting up their projectors. One of the biggest hurdles is adjusting the brightness setting. Factory defaults often prioritize showroom appeal, leading to excessive brightness that washes out details in darker scenes.
Color calibration can also be tricky without the right tools, as achieving accurate skin tones requires careful adjustments.
Additionally, ambient lighting conditions play an important role in calibration outcomes. It's best to calibrate in a dark room to avoid interference from external light sources.
Keystone correction is another challenge; it can introduce image distortion, making proper projector placement essential before making any adjustments.
To help you tackle these calibration challenges, consider the following:
Adjust brightness settings to avoid washed-out images.
Use appropriate tools for accurate color calibration.
Calibrate in dark environments for better results.
Verify proper projector placement to minimize distortion.
Regularly clean the lens to maintain picture quality.
Keystone Correction Techniques
When you're setting up your projector, keystone correction is key to ensuring that the image looks sharp and aligned.
You can choose between manual adjustment methods, which keep the resolution intact, or digital correction, which offers convenience but might slightly reduce image quality.
Understanding these techniques will help you achieve the best viewing experience possible.
Manual Adjustment Methods
Manual keystone correction techniques are vital for enhancing your projector's image quality. By physically adjusting the projector's position, you can effectively align the image and eliminate distortion caused by angled placement.
Here are some key steps to follow for manual correction:
Set the projector at the correct height: Confirm the lens is level with the center of the screen for minimal distortion.
Adjust the distance from the screen: Position it to maintain the correct aspect ratio and ideal image size.
Tilt or angle the projector: Make small adjustments to correct trapezoidal distortions.
Incremental changes are important: Avoid making excessive adjustments, as they can degrade the overall quality of the image.
Be aware of limitations: Understand that extensive manual keystone correction can compromise resolution and sharpness.
Digital Correction Advantages
While manual adjustments can considerably enhance your projector's image quality, digital keystone correction offers a modern alternative that simplifies the process. This technique uses software algorithms to quickly adjust distortion, allowing you to align the image without physically moving the projector.
It's especially helpful when your projector is positioned at an angle to the screen, as it compensates for trapezoidal distortions that can occur.
However, keep in mind that while digital keystone correction is user-friendly, it may slightly reduce image resolution and quality. The scaling and processing needed to fit the corrected image into the display area can lead to a loss of sharpness. To achieve the ideal image, it's essential to minimize reliance on these adjustments through proper initial setup.
Many advanced projectors now feature auto-correction capabilities, which automatically detect distortion and apply digital keystone corrections. This enhances your experience by streamlining setup processes and saving you time.
Nevertheless, be cautious about overusing these features, as excessive adjustments can compromise the overall image quality. Balancing digital correction with precise setup is key to enjoying a stunning viewing experience.
Advanced Calibration Insights
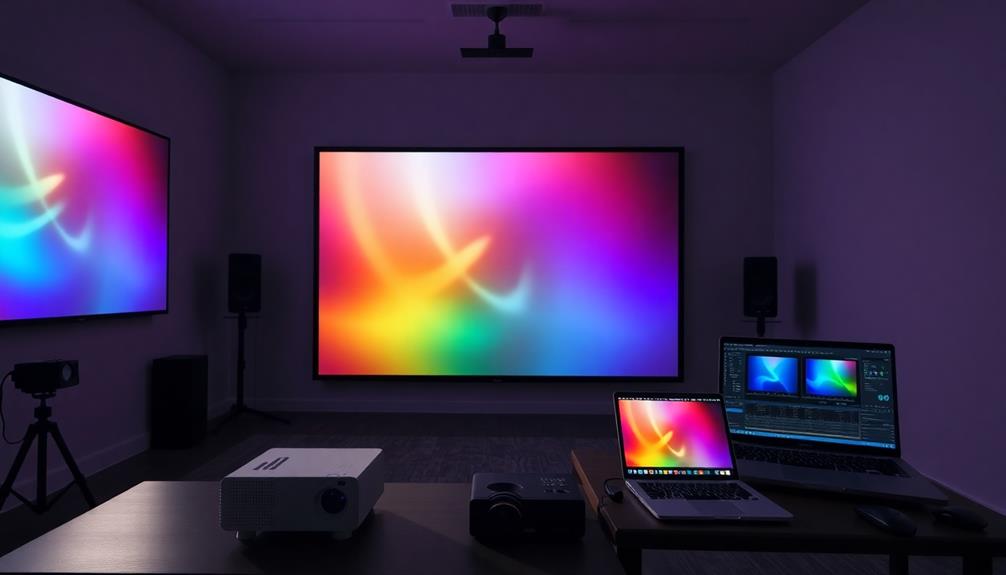
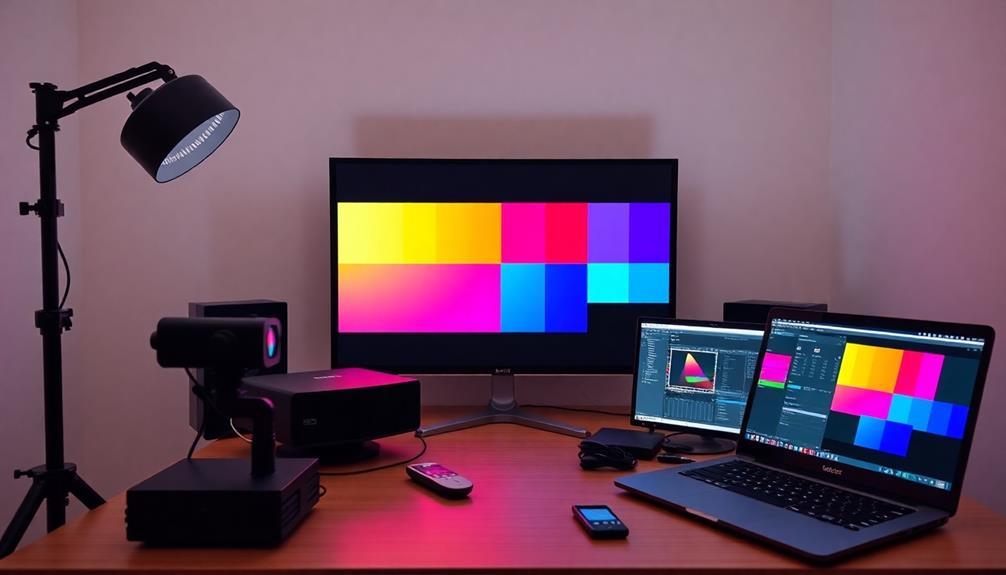
Advanced calibration techniques are essential for achieving the highest quality image from your projector. By using advanced tools like colorimeters and calibration software, you can make precise adjustments to brightness, contrast, and accurate color reproduction.
A well-calibrated projector guarantees an advanced image that looks stunning in any setting.
To get started, focus on these key calibration steps:
Adjust gamma and white point for ideal brightness.
Fine-tune RGB grayscale linearity, especially for HDR content.
Use calibration discs and built-in test patterns to check and correct black level and sharpness.
Regularly recalibrate every six months, particularly after environmental changes.
Be aware of the projector's tone-mapping algorithms, and turn off tone mapping during HDR calibration for best results.
Frequently Asked Questions
How Do I Get the Best Picture on My Projector?
To get the best picture on your projector, position it correctly, control ambient lighting, and use high-quality screens. Regularly calibrate settings like brightness and contrast to guarantee peak image quality and viewing experience.
How Do I Calibrate My Projector?
Calibrating your projector is like tuning a fine instrument. Start by positioning it correctly, adjusting brightness and contrast with test patterns, and keeping lenses clean. Regular maintenance guarantees you're always ready for a dazzling display!
How Much Does It Cost to Calibrate a Projector?
Calibrating a projector can cost between $200 and $500, depending on the technician's expertise. If you're considering DIY options, calibration tools range from $30 to $150, offering a budget-friendly alternative for adjustments.
Do Projectors Need to Be Calibrated?
While many believe projectors don't need calibration, they actually do. If you want accurate colors and ideal performance, it's essential to calibrate regularly, especially after moving the projector or changing its lamp.
Conclusion
In the world of projector calibration, you're the artist, and your screen is the canvas. By mastering the tools and techniques outlined, you can paint a vibrant picture that dances with life and detail. As you tackle challenges and refine your settings, remember that each adjustment brings you closer to cinematic perfection. So grab your remote, embrace the journey, and let your projector transform your space into a breathtaking visual masterpiece. Your audience will thank you!
Cinematic widescreen experiences await with projector anamorphic lenses, but are you ready to unlock their full potential? Discover how to elevate your viewing today!


![Smart 4K Projector [Google TV Stick Built-in & 360° Stand] with WiFi 6, Bluetooth 5.3, HDR10, 30W Hi-Fi, AI Auto Focus, Outdoor Portable Short Throw Movie Projector for Home Theater Bedroom Ceiling](https://m.media-amazon.com/images/I/41zno6cZMFL._SL500_.jpg)