To use a projector for scanning large documents and artwork, start by choosing a projector with at least 3000 lumens and 1024 x 768 resolution for clarity. Set up in a spacious area with minimal overhead lighting. Position your projector correctly and make sure your documents are stable and flat. Align the projected image carefully to avoid distortion. Capture the image with a high-resolution camera, using a tripod for stability. Finally, edit your scans using software like Photoshop to enhance quality. Explore the best practices for ideal results to further refine your technique and improve your workflow.
Key Takeaways
- Position the projector at the recommended throw distance for optimal image clarity and size when scanning large documents and artwork.
- Use a high-resolution camera to capture projected images, ensuring it meets at least 1024 x 768 pixels for clear details.
- Stabilize the camera on a tripod and adjust settings to avoid blur and achieve precise focus during image capture.
- Edit captured images with software like Adobe Photoshop to enhance quality, ensuring to save in high-resolution formats like TIFF or PNG.
- Regularly back up all high-resolution scans to preserve original details and ensure easy future access to your documents and artwork.

NothingProjector Motorized ALR Screen for Ultra Short Throw Projector, 95% Ambient Light Rejecting, 100 inch, Floor Rising, 4K/8K UHD, Active 3D, Anti Daylight, Electric Retractable Automatic NothPJ
✔ Adjustable Height, Zero Installation – Effortlessly adjust the screen to any height with a single press of...
As an affiliate, we earn on qualifying purchases.
Choosing the Right Projector
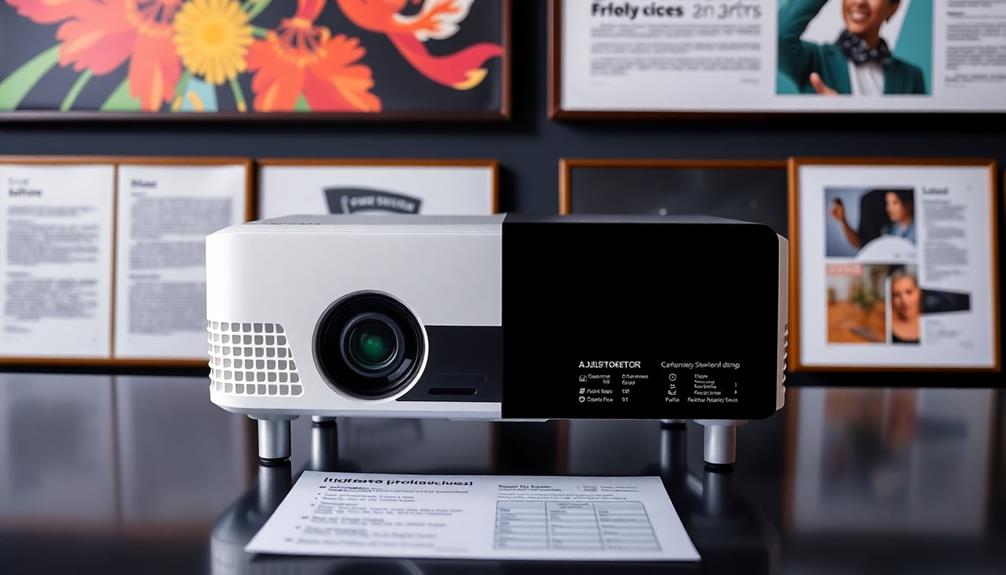
When it comes to choosing the right projector for scanning large documents and artwork, you'll want to focus on a few key features. First, opt for a digital projector with a brightness level of at least 3000 lumens. This guarantees your projected image remains clear, even in varying light conditions.
If you're working with physical prints, consider opaque projectors, which can enlarge images larger than 18 x 24 inches, making them a cost-effective choice starting around $40.
Next, pay attention to the native resolution; aim for at least 1024 x 768 pixels to maintain clarity and detail in your enlarged images. This is especially important when you're working with intricate artwork on a large canvas.
Don't overlook adjustable zoom capabilities; features like Tele and Wide allow you to zoom in on details or zoom out for a broader view, accommodating different sizes of artworks.
Lastly, verify your projector has suitable connectivity options such as HDMI or USB. This facilitates easy connections to computers or other devices, making your scanning process seamless and efficient.

Official Licensed Google TV Smart Projector, HAPPRUN 4K UHD Home Theater with Dolby Sound, Wi-Fi & Bluetooth, Built-in Streaming Apps, Compatible with Games Consoles & Smartphone, Indoor & Outdoor Use
[ Built-in Official Licensed Google TV ] - Without additional equipment, the smart projector can directly access Netflix,...
As an affiliate, we earn on qualifying purchases.
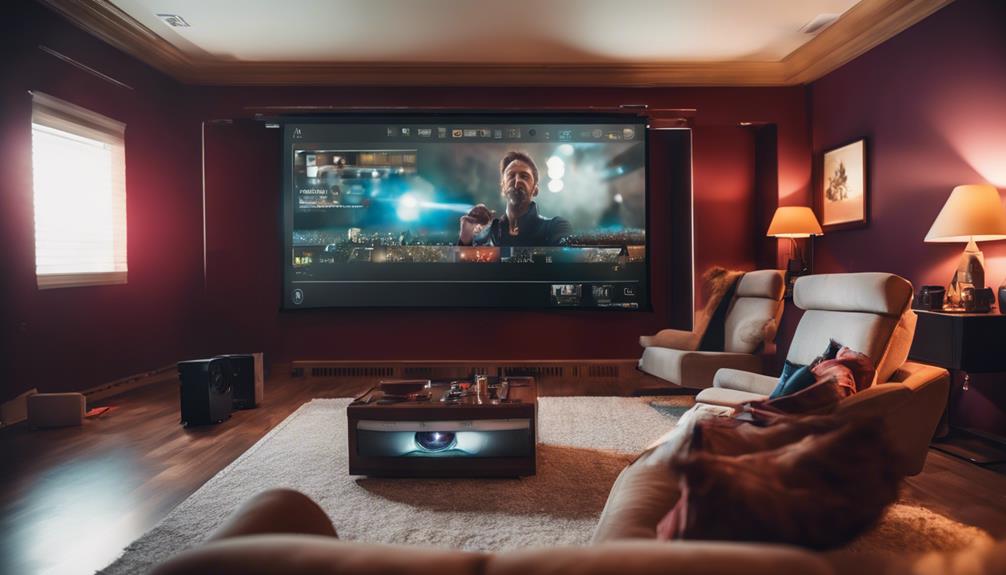
Setting Up Your Workspace
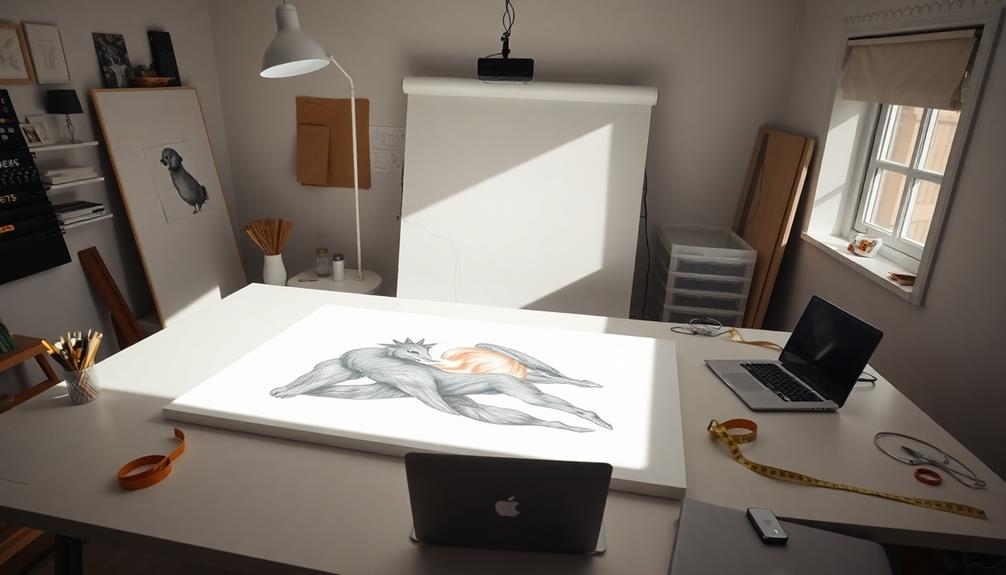
A well-organized workspace is crucial for effective scanning of large documents and artwork. Start by choosing a spacious area with minimal distractions, guaranteeing enough room for the projector and document placement. Position the projector at the right distance from the wall or screen for ideal image size and clarity, referring to the throw distance in the manual.
Next, lay your large documents or artwork on a flat, stable surface, making sure it's secure and wrinkle-free to prevent distortion. Adequate lighting is critical; turn off overhead lights to enhance projection visibility and minimize glare.
To streamline the process, organize your tools and materials within easy reach. The table below summarizes key workspace setup tips:
| Task | Description | Importance |
|---|---|---|
| Choose a spacious area | Minimize distractions and allow room for equipment | Enhances focus |
| Position the projector | Follow the manual for throw distance | Guarantees ideal image quality |
| Secure documents | Use a flat surface to avoid distortion | Maintains clarity |
| Organize tools | Keep materials handy | Streamlines the workflow |
With these elements in place, you're ready to still use the projector effectively for scanning.

ALR Projector Screen for Standard Throw- Wall Mounted - High Contrast 70% ALR High Brightness 2.7X Gain - 120 inch 16:9 Gray Screen-by SilverMagic
★【Ambient Light Rejection】 The screen effectively suppresses ambient light (70%), significantly improving image contrast. This makes it suitable...
As an affiliate, we earn on qualifying purchases.
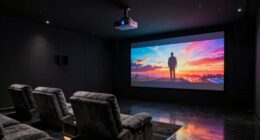
Capturing Projected Images
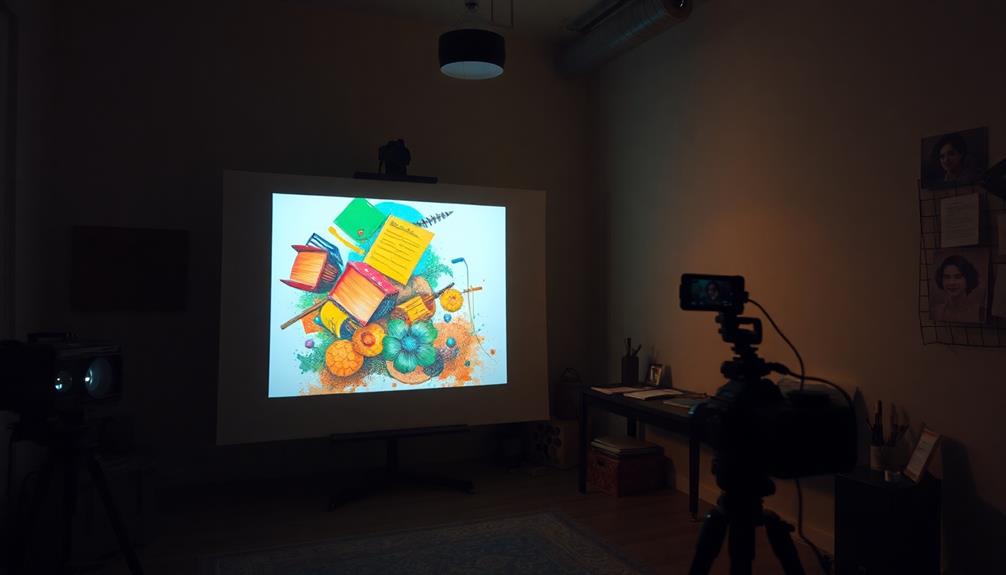
With your workspace set up, capturing projected images is the next step. To guarantee you get a high-resolution digital image, align your digital art projector properly with the surface where the image will be displayed. Misalignment can lead to distortion, affecting the quality of your final output.
Use a high-resolution camera, aiming for at least 1024 x 768 pixels, to photograph the projected image. Adjust your camera settings for proper exposure and focus; manual focus is particularly useful for sharp, clear results.
In a dark room, consider using a tripod to stabilize your camera, which helps reduce blur during longer exposure times.
When you're ready, carefully capture projected images, paying attention to accurate colors and details. After capturing, use image editing software to crop and adjust the dimensions to fit your desired aspect ratio.
This step is essential to guarantee your final digital image meets your specific needs. By following these guidelines, you'll be well on your way to successfully capturing high-quality images of your artwork or documents.

Elite Screens Lunette Series 110-Inch Curved Projector Screen 16:9, Acoustically Transparent Perforated Weave, Wall Mounted, Compatible with Standard, Short & UST Projectors, CURVE110H-A1080P3
【Dimension Size】: 110-inch diagonal fixed frame projector screen with a 16:9 aspect ratio. Viewing area measures 54.0" H...
As an affiliate, we earn on qualifying purchases.
Editing and Enhancing Scans
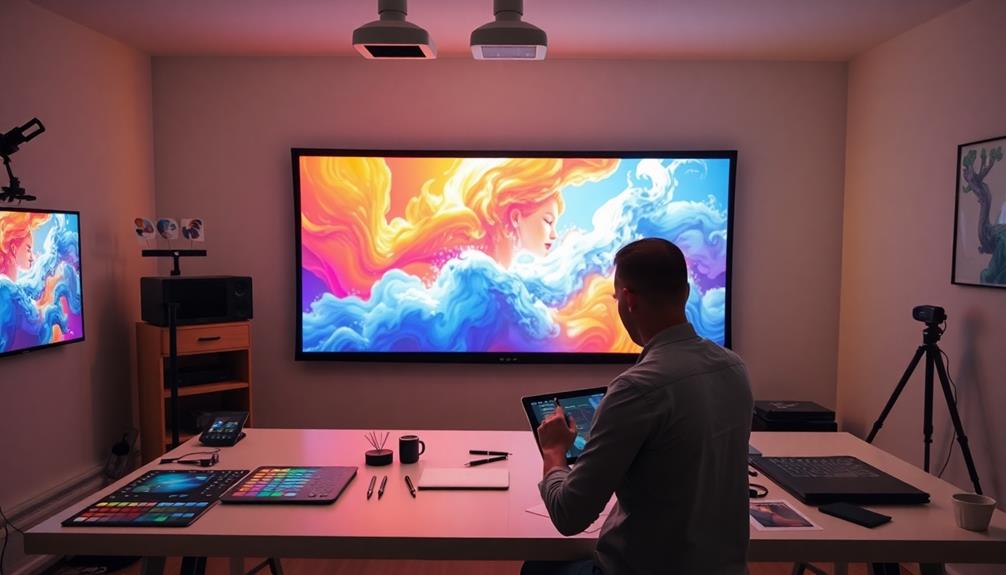
After capturing your projected images, the next essential step involves editing and enhancing your scans to bring out their best qualities. You can use software like Adobe Photoshop or GIMP for this purpose. These programs allow for precise editing, including color correction, cropping, and retouching.
To guarantee your digital images maintain their quality, save them in high-resolution formats like TIFF or PNG. This way, you can perform extensive editing without compromising detail.
Utilize layers in your editing software to make non-destructive adjustments. This technique lets you experiment with changes while keeping your original scan intact. When enhancing an enlarged image, apply sharpening filters cautiously to boost clarity. However, avoid over-sharpening, which can introduce artifacts and degrade the quality of your work.
As you edit, remember to regularly back up your scans and maintain high-resolution originals. This practice guarantees you can revert to the unaltered image if needed.
With the right editing techniques, you can transform your scans into stunning digital images that reflect the true essence of your artwork or documents.
Best Practices for Quality Scanning
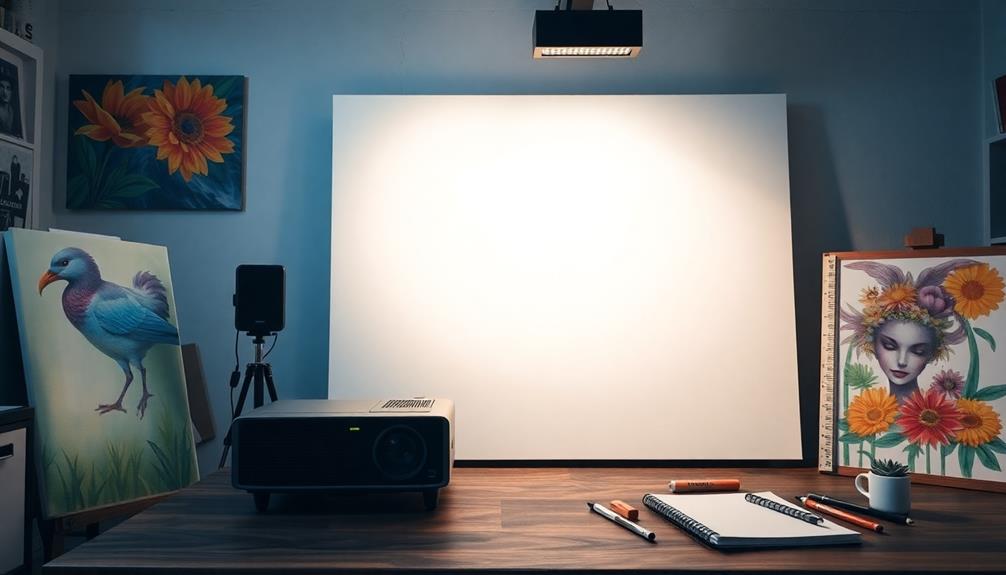
Achieving high-quality scans begins with the right equipment and settings. Start by using a high-resolution scanner, ideally one that reaches up to 7200 ppi. This guarantees you capture intricate details of your source image, vital for maximum quality scanning.
Maintain consistent scanning settings across different images to achieve uniformity in your final output.
When projecting your scans, consider the intended use; for projection purposes, a resolution of 1024 x 768 pixels is often sufficient. Regularly check and calibrate your optical projector settings, focusing on brightness and clarity. This will enhance the accuracy of the projected images during the scanning process.
Additionally, always create backups of your high-resolution files. Preserving these originals is essential as technology evolves, assuring you retain access to the details you worked hard to capture.
Using a projection screen can also help reduce glare and improve image quality, making it easier to view your artwork or documents clearly.
Frequently Asked Questions
How to Use a Projector to Enlarge Art?
To enlarge art, position your artwork under the projector, adjust the distance for size, and guarantee the projector's level. Use zoom for fine-tuning and minimize ambient light for a clearer image.
Is It Okay to Use a Projector for Art?
Using a projector for art is like painting with light; it's not just okay, it's a brilliant way to enhance your creativity. Embrace the technique to accurately enlarge and trace your inspiring images.
What Kind of Projector Do I Need to Trace an Image?
You need a digital projector for tracing images. Look for one with at least 2000 lumens brightness and a resolution of 1024 x 768 pixels. This'll guarantee clear visibility and detail in your artwork.
What Kind of Projectors Do Artists Use?
Artists often use digital projectors for versatility, opaque projectors for physical prints, and slide projectors for precise enlargements. You might find it beneficial to own both digital and opaque projectors for various artistic needs.
Conclusion
By using a projector to scan large documents and artwork, you're opening up a world of creative possibilities that's practically limitless! With the right setup and techniques, you can capture stunning images that bring your projects to life. Remember to edit and enhance your scans for the best results. So go ahead, release your inner artist, and transform your workspace into a vibrant hub of creativity that'll make everyone else green with envy!