Using a projector for your digital art and photography displays can elevate your creative process. Start by choosing the right projector; look for one with at least 720p resolution and 2000 lumens for clarity. Set it up on a stable surface, ensuring proper distance for the desired image size. Adjust brightness and keystone correction for ideal viewing. Use darker sketching materials for tracing, and step back regularly to check alignment. Don't forget to maintain the projector by cleaning the lens and replacing bulbs as needed. There's plenty more to explore, so keep going to discover more tips and techniques!
Key Takeaways
- Choose the right projector type, such as digital or opaque, based on your project needs and desired image size.
- Ensure high image quality by selecting a projector with at least 720p resolution and a minimum of 2000 lumens for vibrant displays.
- Properly set up your projector by securing the drawing surface and adjusting keystone correction for accurate image alignment.
- Use darker sketching tools for better visibility against projections and regularly check for alignment during the tracing process.
![[Now with Netflix & 2000ANSI] 4K Smart Projector with WiFi and Bluetooth,Auto Focus & Keystone Portable Mini Projector with Stand,Outdoor Home Theater Small Proyector for bedroom white](https://m.media-amazon.com/images/I/51+w1LIZZBL._SL500_.jpg)
[Now with Netflix & 2000ANSI] 4K Smart Projector with WiFi and Bluetooth,Auto Focus & Keystone Portable Mini Projector with Stand,Outdoor Home Theater Small Proyector for bedroom white
[Built in APP- Cinema-Quality Streaming] This Smart projector with wifi and bluetooth comes with pre-installed with YouTube, and...
As an affiliate, we earn on qualifying purchases.
Types of Projectors for Art
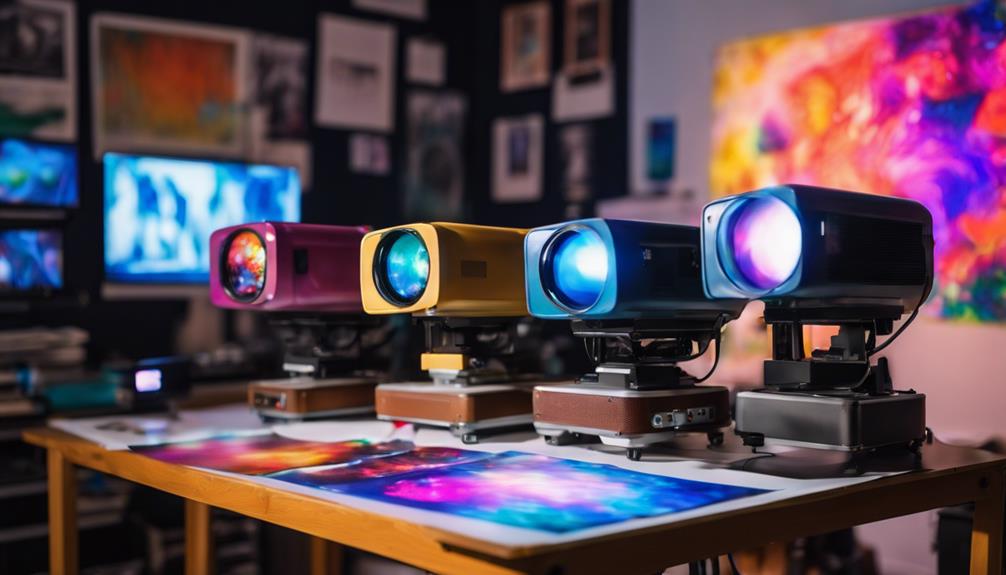
When exploring projectors for art, you'll find several types tailored to different needs, each offering unique advantages for your creative process.
Digital projectors are versatile and affordable, making them a popular choice among artists. With basic LED models starting around $80 and lasting over 30,000 hours, they're perfect for tracing and enlarging your artwork.
Opaque projectors are another economical option, especially if you need to work with physical images. They allow you to enlarge prints for larger projects, up to 18×24 inches or more, with basic models starting at just $40.
If you prefer crisp enlargements for tracing, slide projectors might be your go-to, though you'll need to create slides from your photographs.
Overhead projectors are also worth considering for their clear image quality. They utilize transparencies of printed reference photos, but keep in mind that new models can be pricey.
When choosing a projector for art, focus on digital projectors that come with artist-specific features, like grid layouts, to help you accurately trace and scale your images.
Each type of projector has its strengths, so pick one that aligns with your artistic needs.
![[3500 ANSI/ Official Apps/65W Audio] Outdoor 4K Projector with WiFi and Bluetooth, Auto Focus, Auto Keystone Smart Projector Support DoIby Audio, 2026 Upgrade GO2 Short Throw Projector with 360°Stand](https://m.media-amazon.com/images/I/41-laeqxhwL._SL500_.jpg)
[3500 ANSI/ Official Apps/65W Audio] Outdoor 4K Projector with WiFi and Bluetooth, Auto Focus, Auto Keystone Smart Projector Support DoIby Audio, 2026 Upgrade GO2 Short Throw Projector with 360°Stand
3500 ANSI Lumens & 360°Rotatable Stand---With upgrade 3500 ANSI lumens brightness, the GO2 outdoor projector offers bright, vibrant...
As an affiliate, we earn on qualifying purchases.
Setting Up Your Projector
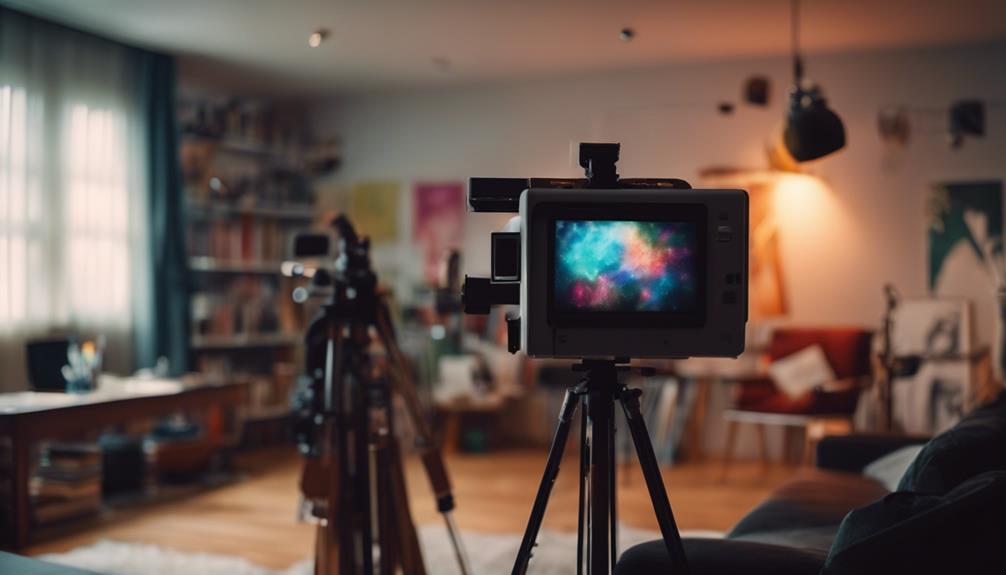
Setting up your projector correctly is vital for achieving precise and clear projections during your artistic process. Follow these steps to guarantee your projector is fine-tuned for peak performance:
- Secure Your Surface: Make sure your drawing surface is stable. Tape paper to a table or wall, or keep your canvas upright on an easel to avoid any movement while you work.
- Distance Matters: Position the projector at the right distance from the projection surface. This helps you achieve your desired image size. Consider using a tripod mount socket for added stability.
- Adjust Settings: Tweak the projector's settings, focusing on brightness and keystone correction to enhance clarity. This minimizes the need for digital corrections later on.
- Control Lighting: Turn off the lights in your workspace to boost visibility, especially when you're working with darker images. Creating ideal lighting conditions is essential for seeing all the details.
![Outdoor-Projector-4K with WiFi and Bluetooth:[Ultra-High Bright/60W Dolby Audio/Official Licensed Apps],Smart-Projector with AI Auto Focus,ONOAYO ONO5Pro 2.0 Movie Projector for Indoor/Outdoor 2026New](https://m.media-amazon.com/images/I/41fylkjOTIL._SL500_.jpg)
Outdoor-Projector-4K with WiFi and Bluetooth:[Ultra-High Bright/60W Dolby Audio/Official Licensed Apps],Smart-Projector with AI Auto Focus,ONOAYO ONO5Pro 2.0 Movie Projector for Indoor/Outdoor 2026New
[Hear the Difference–Hollywood-Grade Dual 60W Dolby Audio] Why spend $500 on a TV + soundbar or settle for...
As an affiliate, we earn on qualifying purchases.
Choosing the Right Projector

When you're choosing the right projector for your digital art, consider the type that best fits your needs.
Focus on image quality, as higher resolution and brightness can make a noticeable difference in how your artwork translates.
With the right features, you'll enhance your creative process and achieve better results.
Projector Type Selection
Choosing the right projector for your digital art and photography is essential, as it directly impacts the clarity and detail of your displays. To help you with your projector type selection, consider the following options:
- Digital Projectors: Aim for a model with a minimum resolution of 720p. This guarantees you can capture fine details in your artwork.
- Opaque Projectors: Perfect for those on a budget, starting around $40. However, they require printed images and work best in darker environments.
- Portable LED Projectors: These are great for artists who need flexibility. Basic models start at about $80, and they boast a lifespan of over 30,000 hours.
- Features to Look For: Prioritize models with keystone correction and wireless connectivity. These features enhance usability and can adapt to various creative setups.
When buying a projector, don't forget to assess your budget and consider secondhand options. This can greatly reduce costs while still meeting your artistic needs.
Image Quality Considerations
Image quality is essential for showcasing your digital art and photography, so you'll want to focus on high resolution and the right projector technology. Start by selecting a projector with at least 720p resolution for detailed work, while 480p can suffice for basic tracing. The type of projector technology also matters; digital projectors like DLP, LCS, or LCoS typically provide superior brightness and clarity.
Here's a quick comparison to help you choose:
| Feature | Recommended Value | Importance |
|---|---|---|
| Resolution | 720p or higher | Detailed artwork |
| Lumens Rating | 2000 lumens minimum | Visibility in light |
| Keystone Correction | Yes | Clear projections |
When you're evaluating options, verify the projector has a good lumens rating for vibrant displays, especially in well-lit environments. Also, look for keystone correction features to adjust for any image distortion. These image quality considerations will help guarantee your artwork is presented in the best possible light.

Pyle 10 Outlet Power Sequencer Conditioner - 13 Amp 2000W Rack Mount Pro Audio Digital Power Supply Controller Regulator w/Voltage Readout, Surge Protector, for Home Theater Stage/Studio Use - PCO875
2000W POWER: Pyle's Professional Power Sequence Controller is designed to improve the quality of power supplied to your...
As an affiliate, we earn on qualifying purchases.
Tracing Techniques and Tips

Start by outlining larger shapes and major reference points to keep your artistic freedom intact and avoid getting lost in minute details. Using a projector can greatly enhance your tracing process, especially on a larger surface. Here are some essential tips to keep in mind:
- Choose the Right Tools: Use darker sketching utensils, like charcoal or thinned paint, to guarantee your marks stand out against the projection. This visibility is vital for effective tracing.
- Check Alignment: Take advantage of your projector's keystone correction feature. This will help align the projected image accurately with your drawing surface, reducing distortion.
- Step Back Regularly: Periodically reassess your work. Stepping back allows you to spot any misalignments or inaccuracies, confirming your trace remains true to the original image.
- Take Breaks: Don't forget to take breaks! This prevents fatigue, which can lead to errors. A fresh perspective will help improve your overall tracing accuracy.
Projector Maintenance and Care
To keep your projector in top shape, you'll want to establish a regular bulb replacement schedule and clean the lens and filters regularly.
Additionally, consider the importance of having a reputation and reviews from past clients when choosing a service for projector maintenance.
Proper storage and handling are vital too, as they can greatly impact the projector's performance and lifespan.
Let's explore these maintenance tips to guarantee your projector serves you well for all your digital art and photography needs.
Regular Bulb Replacement Schedule
Maintaining ideal brightness and image quality in your projector hinges on a regular bulb replacement schedule. Projector bulbs typically last between 2,000 to 5,000 hours, depending on usage. To guarantee peak brightness and avoid interruptions during important displays, follow these maintenance tips:
- Keep a spare bulb: Always have a replacement bulb on hand, especially if you use your projector frequently for art displays or photography.
- Check manufacturer guidelines: Adhere to the specific replacement intervals recommended by your projector's manufacturer to prolong bulb life.
- Reset the lamp timer: After replacing a bulb, reset the projector's lamp timer to track the new bulb's usage accurately.
- Store bulbs properly: Keep replacement bulbs in a cool, dry place to prevent degradation and guarantee they function when needed.
Cleaning Lens and Filters
Cleaning the projector lens and filters is essential for achieving the finest image quality in your digital art and photography presentations.
Start by regularly cleaning the lens with a soft, lint-free cloth to prevent dust and smudges that can affect your projections. Avoid using harsh chemicals or abrasive materials, as these can scratch the lens and damage your projector.
Next, check and replace the filters according to the manufacturer's recommendations. Clogged filters can lead to overheating, reducing the projector's lifespan. Depending on your usage, some models may need filter cleaning every few months.
To maintain ideal airflow and cooling performance, use compressed air to gently blow out dust from the vents and internal components. Always verify the projector is turned off and cooled down before cleaning to prevent burns and damage to internal components.
Storage and Handling Tips
Proper storage and handling of your projector can greatly extend its lifespan and guarantee peak performance during your digital art and photography sessions. To keep your projector in top shape, follow these essential tips:
- Store the projector in a cool, dry place, using a protective case to prevent dust accumulation and physical damage when not in use.
- Clean the projector lens regularly with a microfiber cloth to avoid dust and smudges that can affect image clarity.
- Monitor projector bulbs and replace them according to the manufacturer's recommendations. Typically, bulbs last between 2,000 to 5,000 hours, so keep track of your usage.
- Ascertain proper ventilation during operation to prevent overheating, which can diminish the lifespan of internal components.
Benefits of Using Projectors
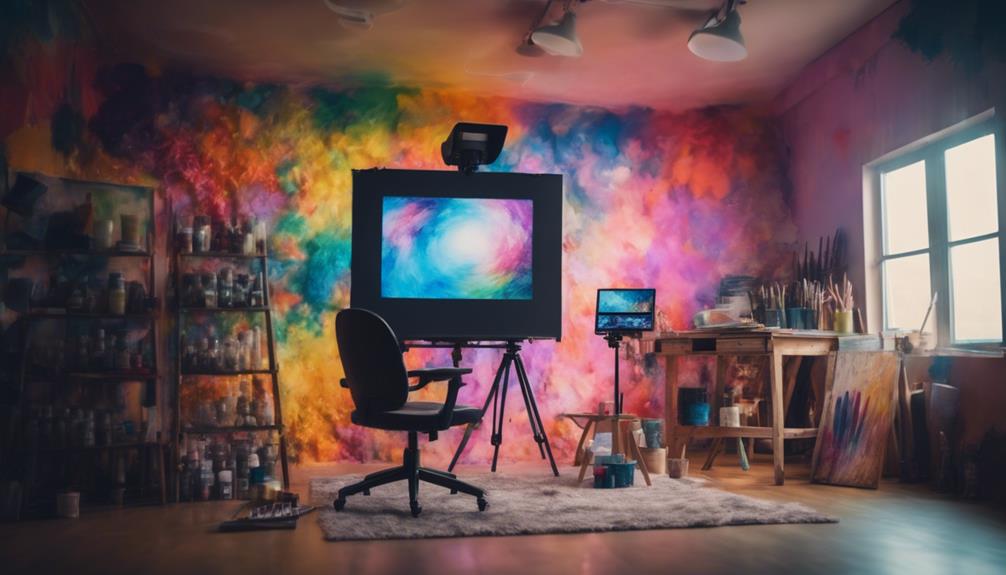
Why not take advantage of projectors to enhance your digital art and photography, as they offer numerous benefits that can streamline your creative process? Using a projector allows you to quickly enlarge images, making it easier to trace or display your work. This is especially useful for detailed portraits or complex patterns, guaranteeing consistency across your pieces.
Additionally, projectors provide creative flexibility. You can combine elements from different compositions, experimenting with designs before committing to your final artwork. You'll maintain artistic freedom, focusing on larger shapes during the initial stages instead of getting bogged down in minute details.
The technology behind modern art projectors, like keystone correction and high brightness, enhances visibility in various lighting conditions, making it a great tool for your home theater setup as well.
Here's a quick comparison of the benefits:
| Benefit | Description |
|---|---|
| Speed | Quickly translate digital images into larger formats |
| Flexibility | Combine and experiment with different compositions |
| Accuracy | Guarantee consistency in enlarged images |
| Visibility | Enhanced clarity for working in various lighting conditions |
Frequently Asked Questions
How Do You Use a Projector for Art?
To use a projector for art, you'll want to select the right type, secure your setup, turn off ambient lights, and use dark materials. Focus on larger shapes to maintain artistic freedom during your process.
Can You Use a Regular Projector for Art Tracing?
Can a regular projector really capture the intricate details of your art? While it can be used for tracing, its lower resolution and brightness may hinder your results compared to a dedicated digital projector.
What Type of Projector Do Artists Use?
Artists often use digital projectors for their versatility and ease. If you need crisp enlargements, slide projectors work well. Consider opaque or overhead projectors for specific projects, but make certain they fit your creative needs.
How to Show Pictures on a Projector?
To show pictures on a projector, verify your device's compatibility, connect it properly, adjust brightness and contrast, and secure the surface. Also, check the image resolution for the best display quality.
Conclusion
By embracing the power of projectors, you're stepping into a world reminiscent of the Renaissance, where art transformed spaces.
Whether you're displaying your own creations or showcasing photography, the right projector can elevate your work to new heights.
Remember, the magic lies not just in the technology but in how you use it.
So, release your creativity, and let your art shine like a masterpiece in the grand galleries of old.
Your vision deserves to be seen!