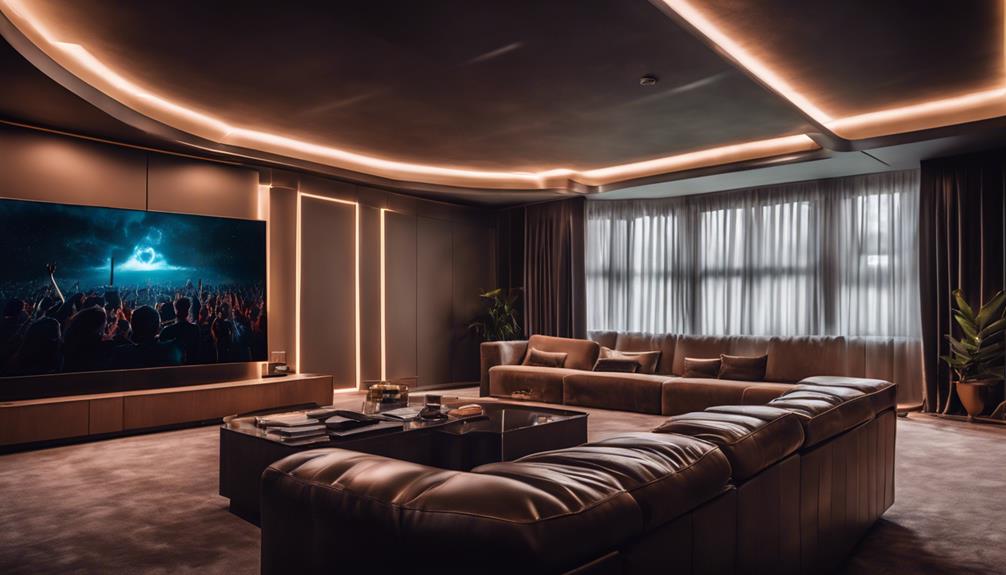
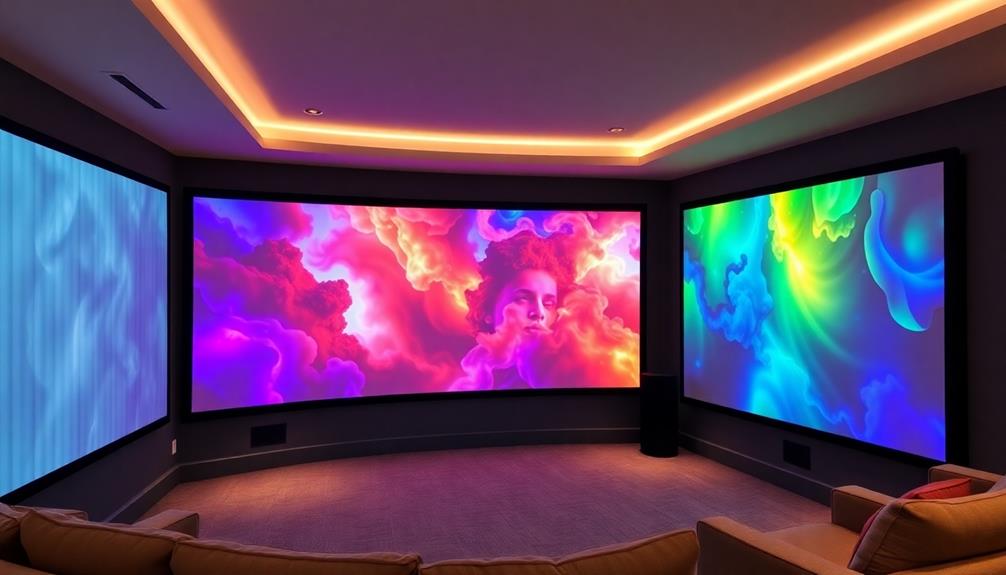
To create a rear projection setup, you'll want to focus on several key factors. Start by choosing the right projector, ideally an ultra-short throw model, to maximize space efficiency. Opt for specialized rear projection screens that enhance brightness and color. While this setup boasts advantages like improved audience engagement and reduced noise, it does come with challenges, such as brightness management and a steeper learning curve. Planning your layout and considering light management strategies are vital for success. Keep in mind that understanding these nuances can greatly enhance your overall experience. More insights about techniques and equipment await your exploration.
Key Takeaways
- Evaluate space requirements and select a suitable location for the projector and screen to optimize performance and audience sightlines.
- Choose specialized rear projection screens and short-throw lenses to enhance image quality and accommodate your specific setup needs.
- Implement effective light management strategies, such as using diffusion materials and adjustable lighting, to improve clarity and contrast.
- Regularly maintain and clean the projector and screen to ensure optimal performance and longevity of the equipment.
- Consider the advantages of rear projection, like enhanced engagement and reduced noise, against potential drawbacks, such as brightness challenges and setup complexity.

SOULWIT 50Pcs Self Adhesive Cable Management Clips, Cable Organizers Wire Clips Cord Holder for TV PC Ethernet Cable under Desk Home Office (Black)
🔷SUPER EASY TO USE: Stick to clean surface, open tab, insert multiple cables, close the tab, enjoy the...
As an affiliate, we earn on qualifying purchases.
Advantages of Rear Projection
One of the key advantages of rear projection is its space-saving design. By placing the projector behind the screen, you optimize the available area in front, making it perfect for audience engagement or other setups.
This arrangement allows for a clean, unobstructed view, making your rear projection setups more effective.
Another significant benefit is the enhanced image quality. With ambient light helping to improve clarity, you'll notice better contrast and true color depiction on various screen types.
The closer placement of the projector also reduces lumen requirements, which can lead to lower rental costs for equipment—an appealing financial aspect.
Additionally, rear projection systems generate less noise from projector fans, creating a more pleasant viewing experience for your audience.
You won't have to worry about distractions from loud equipment. Plus, these setups effectively minimize shadowing from viewers or objects in front of the screen, ensuring a clear and uninterrupted display.
When considering the pros and cons of rear projection, it's clear that the advantages can vastly improve your presentations and events, making them more engaging and visually appealing.

XHF 120 PCS Adhesive Cable Wire Clips Black, Outdoor Christmas Light Clips, Cable Management Wire Organizer Cord Holder for Under Desk, Car, Wall, TV PC Ethernet Cable
High quality material:XHF Adhesive Cable Clips are manufactured from Strong Adhesive and PA66 nylon
As an affiliate, we earn on qualifying purchases.
Disadvantages of Rear Projection

While rear projection offers several advantages, it also comes with its share of disadvantages that you should consider. One significant drawback is the brightness loss inherent in this setup. Since light reflects back to the rear projector, you might need a model with higher lumens output to maintain adequate image quality. This can quickly drive up costs, as more powerful projectors tend to be pricier.
Additionally, you'll need specialized screens designed to allow light passage, which limits your options compared to standard front projection screens. This necessity can further complicate your planning and increase expenses, making rear projection less budget-friendly.
The complexity of the setup is another factor to keep in mind. Coordinating the installation can take more time and expertise, adding to your overall event planning.
If you're not familiar with rear projection technology and equipment, you may find the learning curve steep.

120PCS XHF Adhesive Cable Wire Clips White, Cable Staples Outdoor Cable Management Wire Organizer Cord Holder for Under Desk, Car, Wall, TV PC Ethernet Cable
High quality material:XHF Adhesive Cable Clips are manufactured from Strong Adhesive and PA66 nylon
As an affiliate, we earn on qualifying purchases.
Comparison With Front Projection

When comparing rear projection to front projection, you'll notice significant differences in viewing angles and light management strategies.
Rear projection often provides better viewing angles for your audience since the projector is behind the screen, reducing the chance of obstructions.
However, you'll need to think carefully about how to manage light to guarantee your images remain bright and clear.
Viewing Angle Differences
Viewing angles can make or break your presentation experience, especially when comparing rear and front projection setups.
With rear projection, you often face limited viewing angles, meaning the brightness can drop by up to 50% if you're more than 30 degrees off-center. This can greatly impact your audience's visibility and overall engagement.
On the other hand, front projection screens maintain higher brightness levels and offer a much wider viewing angle, allowing more attendees to enjoy clear visuals without losing image quality.
The type of screen you choose also plays an essential role. White screens typically provide the widest viewing angles, while black screens narrow them, affecting the clarity for your audience.
If you opt for rear projection, remember that careful placement is key. You'll need to guarantee viewers positioned at the edges still receive adequate brightness and clarity, which can complicate your setup process.
While soft diffusion screens in rear projection can enhance clarity for those directly in front, they often struggle with consistent brightness across wider angles, unlike the more uniform performance you get with front projection systems.
Light Management Strategies
Effective light management is essential for optimizing your presentation experience, especially when comparing rear projection to front projection systems.
With a rear projection setup, you can tackle ambient light challenges more effectively, resulting in superior image quality. Regular maintenance of your projector, including bulb replacement and filter cleaning, can further enhance performance in various lighting conditions projector bulb maintenance.
Here are some strategies to enhance your light management:
- Use Diffusion Materials: Choose a projection screen designed with diffusion properties; this minimizes ambient light interference and maintains clarity.
- Select Appropriate Projector Placement: Position the projector behind the screen to reduce light bouncing back, which enhances contrast ratio and image quality.
- Incorporate Adjustable Lighting: Design your space with flexible lighting options around the seating area; rear projection can thrive in varied lighting conditions compared to front projection.
- Consider Screen Type: Utilize screens specifically engineered for rear projection, as they're better at rejecting unwanted light and preserving the projected image even in less-than-ideal lighting.
SOULWIT 50 Pcs Self Adhesive Cable Management Clips, Cable Organizers Sticky Wire Clips Cord Holder for TV PC Laptop Ethernet Cable Desktop Home Office (Black)
🔷EASY TO USE: Simply peel and stick, making your home look tidier.
As an affiliate, we earn on qualifying purchases.
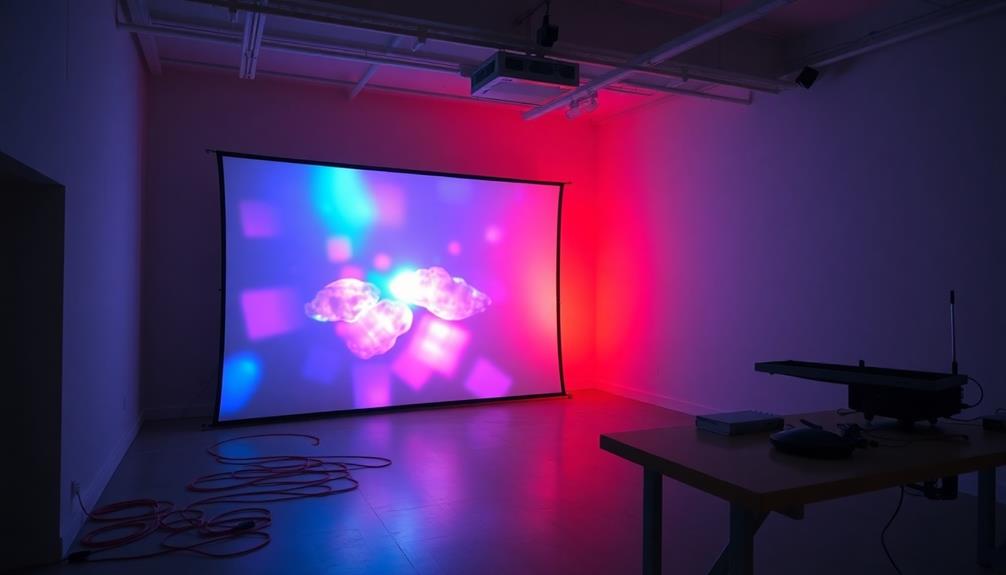
Types of Rear Projector Screens
Rear projector screens come in various types, each tailored to specific setups and environments. If you're looking for a fixed screen, these are designed with a metal frame and tensioned projection material, making them perfect for dedicated spaces.
Just remember, careful installation is key to achieving peak performance. Wall-mounted screens can be fixed or portable, but they require a dedicated space behind the screen for setup, which might limit your flexibility.
Ceiling-mounted screens with brackets offer convenience, creating a dark space behind the screen that enhances image quality for rear projection. For those who want ease of use, pull-down screens can be manually or electrically operated, allowing for simple storage when not in use.
However, they mightn't be as durable as fixed screens. If you're considering temporary setups, roll-up screens are motorized and extend upward, providing a more convenient solution, though they often come at a higher cost than pull-down options.
Each type of rear projector screen has its pros and cons, so think about your specific needs and the space behind the screen before making a decision.
Key Considerations for Setup

When setting up your rear projection system, you need to take into account both the space requirements and the layout to guarantee peak performance.
You'll also want to choose the right equipment and materials, like specialized screens and a short-throw lens, for the best image quality.
Taking these factors into consideration will help streamline your installation and enhance your viewing experience.
Space Requirements and Layout
Setting up a rear projection system requires careful consideration of space and layout to achieve the best results. You'll need to guarantee you have adequate room both behind the screen and around the projector. Here are some key factors to keep in mind:
- Space Requirements: Typically, you need at least 2-6 feet behind the screen for ultra-short throw projectors and 8-10 feet for standard projectors. This guarantees the projector is far enough away to maintain picture quality.
- Light Management: Ambient light can drastically affect how light is reflected back from the screen. Plan for light management strategies to prevent interference.
- Audience Sightlines: Consider how the layout affects audience sightlines. Make sure there are no obstructions blocking views, whether you're using a front or rear projector.
- Additional Equipment: If you're using stands or mounts for the projector, factor this into your layout. The configuration of these elements can influence your overall setup complexity.
Equipment and Material Choices
Choosing the right equipment and materials is essential for a successful rear projection setup. Start with the projector; you'll want one that's compatible with this type of installation. Ultra-short throw projectors are ideal for limited spaces and can deliver high-quality images, especially if you opt for DLP technology, which enhances image clarity.
Next, consider the screen. Your choice of screen type will depend on how you plan to use it. Fixed screens provide stability in dedicated areas, while pull-down or roll-up screens offer versatility for multi-purpose spaces.
Materials like fabric or hard acrylic are excellent options since they allow light to pass through, resulting in better clarity, even under ambient light conditions.
Lastly, keep in mind the budget. Rear projection setups often incur higher costs for specialized screens and short throw lenses compared to standard front projection systems.
Don't forget about maintenance; cleaning your screens every three months is vital for maintaining ideal image quality and prolonging the lifespan of your materials.
Maintenance and Care Tips

Maintaining your rear projection setup is essential for ensuring ideal performance and longevity. Regular care will keep your projector and screen functioning at peak efficiency. Here are some key maintenance tips:
- Cleaning the Screen: Clean your rear projection screen every three months or as needed. Use a soft, lint-free cloth and follow manufacturer guidelines for cleaning solutions, like mild soapy water or specialized cleaners.
- Projector Alignment: Regularly check the alignment and calibration of your projector. Adjustments may be necessary after cleaning or repositioning to maintain image clarity and prevent distortion.
- Dust Inspection: Inspect for dust accumulation within the projector's internal components. Clean the filters and vents according to the manufacturer's schedule to enhance performance and cooling.
- Humidity Control: Be mindful of environmental factors like humidity and direct sunlight exposure. These can degrade both your screen and projector over time, so consider proper storage or protective measures.
Frequently Asked Questions
What Is the Rear Projection Technique?
Rear projection's a technique where you place a projector behind a translucent screen. This setup lets light pass through, creating a clear image while reducing noise, making it ideal for presentations and immersive experiences.
How Do You Set up Back Projection?
Setting up back projection's a breeze, right? You'll just need to position your projector carefully, select a proper screen, control ambient light, and maintain everything regularly. It's simple—if you enjoy constant adjustments and fine-tuning!
What Are the Disadvantages of Rear Projection?
Rear projection has its downsides. You'll face brightness loss, limited projector options, and fewer screen materials. Plus, the setup can be complex and costly, often requiring specialized equipment that strains your budget and planning time.
How Do You Make a Projector Rear Projection?
To make a projector rear projection, position an ultra-short throw projector behind your screen, use suitable material for the screen, and guarantee proper throw distance. Don't forget to calibrate and maintain your setup regularly for peak performance.
Conclusion
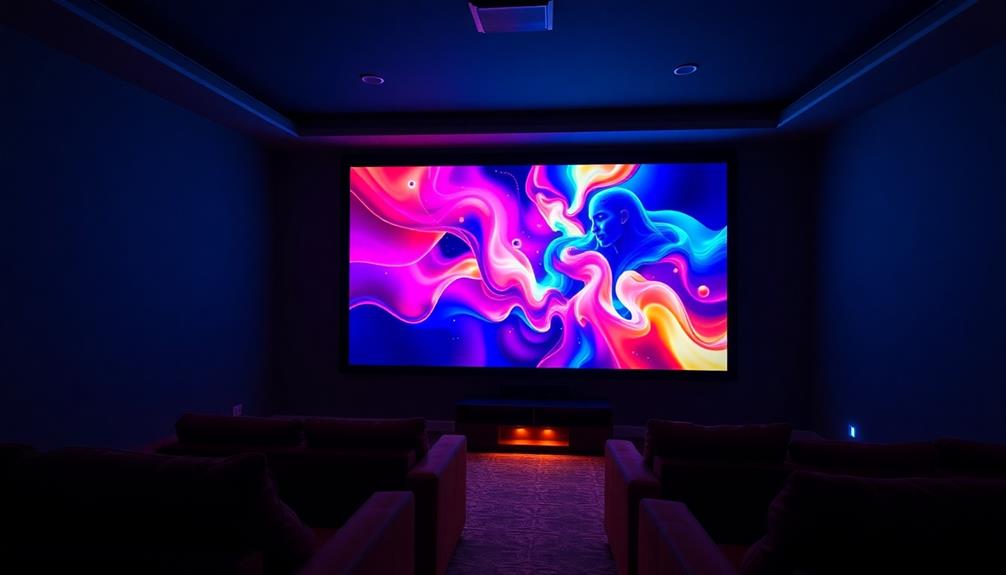
To sum up, while some might worry that rear projection lacks the brightness of front projection, the immersive experience it offers can be truly enchanting. Imagine a stunning image glowing vividly behind a translucent screen, creating a magical atmosphere for your audience. By carefully choosing the right screen and setup, you can transform any space into a visual wonderland. Embrace rear projection, and watch as your presentations or events come to life in ways you never thought possible.