Creating a home planetarium experience with your projector is easier than you might think. Start by building a simple dome using cardboard panels to enhance image quality. Use an HD projector for brighter images and download Stellarium software to simulate the night sky. Make sure your room's interior is dark to minimize light interference. Don't forget proper ventilation—incorporate a fan or door to keep the air fresh. With the right setup, you'll enjoy stunning imagery and engaging family stargazing sessions. There's so much more to explore to elevate your planetarium experience further!
Key Takeaways
- Assemble a sturdy dome using 50 cardboard pieces, ensuring proper sealing to enhance darkness and image visibility.
- Download Stellarium software, set local coordinates, and adjust projector settings for optimal celestial projections.
- Use an HD projector and incorporate an 18" half-dome mirror for clearer, immersive images of the night sky.
- Maintain a dark interior and effective ventilation with an electric fan to improve comfort during stargazing sessions.
- Regularly check projector alignment and adjust settings to maximize image clarity and enhance the overall viewing experience.

SOULWIT 50Pcs Self Adhesive Cable Management Clips - Black
🔷SUPER EASY TO USE: Stick to clean surface, open tab, insert multiple cables, close the tab, enjoy the...
As an affiliate, we earn on qualifying purchases.
Importance of Home Planetariums
Home planetariums transform your understanding of the night sky by providing a hands-on learning experience that's hard to match in a traditional classroom. With a home planetarium, you can observe the sky projected right in your living room, overcoming the limitations of daytime schedules that often restrict astronomy lessons.
This unique setup allows you to explore celestial motions and identify constellations visible on any given night, enhancing your educational experience considerably. Additionally, incorporating a quality home theater setup can elevate the visual and audio experience, creating a more immersive atmosphere for your celestial observations.
When you engage with a personal planetarium, you dive deep into observational astronomy. You can see how stars rise and set, grasp the concept of the celestial equator, and even understand seasonal changes in the night sky.
This interactive environment makes learning immersive and tailored to your specific interests. Moreover, using a home planetarium fosters a greater engagement with astronomy. You're not just memorizing facts; you're experiencing the cosmos firsthand.
This approach accelerates your comprehension of complex concepts and inspires a lasting interest in celestial phenomena. So, if you want to elevate your astronomy knowledge, investing in a home planetarium is a fantastic choice. Get ready to explore the universe from the comfort of your home!

XHF 120 PCS Adhesive Cable Wire Clips Black, Outdoor Christmas Light Clips, Cable Management Wire Organizer Cord Holder for Under Desk, Car, Wall, TV PC Ethernet Cable
High quality material:XHF Adhesive Cable Clips are manufactured from Strong Adhesive and PA66 nylon
As an affiliate, we earn on qualifying purchases.
Building the Dome

To build your dome, you'll need 50 cardboard pieces, including triangles and rectangles, all of which you can create using simple templates.
The process of creating a home planetarium can be simplified by embracing the principles of minimalist living, similar to the Tiny House Movement Overview, where efficiency and functionality are key.
Start by gathering the necessary materials and follow the assembly steps to guarantee a sturdy structure.
With careful construction, you'll set the stage for an amazing home planetarium experience.
Materials Needed for Dome
Creating a geodesic dome for your planetarium requires specific materials to assure both stability and functionality. For a 12-foot diameter dome, you'll need 50 cardboard pieces: 40 triangles and 10 rectangles. The triangles should have dimensions of 44.5 inches for the blue sides and 39.75 inches for the red sides, while the rectangles should measure between 3 to 4 feet on a side.
Using a quality air purifier can enhance your building experience by improving air quality, guaranteeing a comfortable environment as you work on your project. Air purifiers improve indoor air quality considerably, making it easier to focus.
To guarantee precision in your construction, use a compass and straightedge technique to create accurate templates for the triangles. As you build, arrange the isosceles triangles into pentagons, filling gaps with equilateral triangles for added stability. Finally, a pentagon will serve as the keystone to complete your structure.
Don't forget about proper sealing; this is essential for maintaining darkness inside the dome, which enhances the quality of images your projector would display.
Also, consider incorporating an additional door or ventilation method, like placing an electric fan near the entry, to prevent the dome from becoming stuffy during use. With these materials, you're well on your way to creating an immersive home planetarium experience.
Dome Assembly Steps
As you plunge into the dome assembly process, start by organizing your cardboard pieces. You'll need 50 panels: 40 triangles and 10 rectangles. Use a compass and straightedge to cut precise templates for the triangles, guaranteeing dimensions are accurate for effective assembly.
To enhance your creativity in this project, consider the principles of design thinking, which can help you approach problem-solving in innovative ways.
Begin by arranging the triangular panels into pentagons, filling any gaps with equilateral triangles to create a sturdy structure. The final pentagon will serve as your keystone, providing essential stability.
Once assembled, proper sealing is vital. This step helps maintain darkness, which enhances the visibility of your projector's images. Consider painting the interior of the dome black to prevent light reflections.
Ventilation is also important for comfort. Create an entry method by removing a wall panel and adding a door. Position an electric fan near this door to improve airflow within the dome.
Follow these dome assembly steps carefully to guarantee a successful build. You'll not only create a fantastic home planetarium experience but also a cozy space to enjoy those starry nights.
With everything in place, you're just a step away from projecting the universe right into your living room!

120PCS XHF Adhesive Cable Wire Clips White, Cable Staples Outdoor Cable Management Wire Organizer Cord Holder for Under Desk, Car, Wall, TV PC Ethernet Cable
High quality material:XHF Adhesive Cable Clips are manufactured from Strong Adhesive and PA66 nylon
As an affiliate, we earn on qualifying purchases.
Projector Setup and Configuration

Setting up your projector correctly is vital for achieving a stunning home planetarium experience. Start by downloading Stellarium software and setting your location to local coordinates. This guarantees the projected image accurately represents your night sky.
For the best results, use an HD projector; it greatly enhances the clarity and brightness of the stars displayed. Additionally, making sure your environment is free from strong scents, like citrus, can help maintain a more enjoyable viewing experience for both you and your pets, as cats may dislike strong odors.
Next, incorporate an 18" half-dome security mirror into your projector setup. This mirror will warp the projected image, allowing it to fit seamlessly onto the hemispherical shape of your dome.
After installing the mirror, regularly check and adjust the alignment of your projector. Maintaining a clear and focused image is vital for ideal viewing.
Don't forget to enable spheric mirror distortion in Stellarium's settings. This adjustment guarantees that celestial features are accurately represented in your dome setup, creating a more immersive experience.
With the right projector setup and configuration, you'll transform your living space into a fascinating celestial environment that invites you to explore the stars from the comfort of your home. Enjoy the universe at your fingertips!

Mini Projector, Portable Projector with Wifi and Bluetooth, Built in Apps
【Built-in WiFi & Bluetooth Projector with Apps】Dual-band WiFi 2.4G + 5G ensures fast and stable wireless streaming. Bluetooth...
As an affiliate, we earn on qualifying purchases.
Interior Design and Ventilation
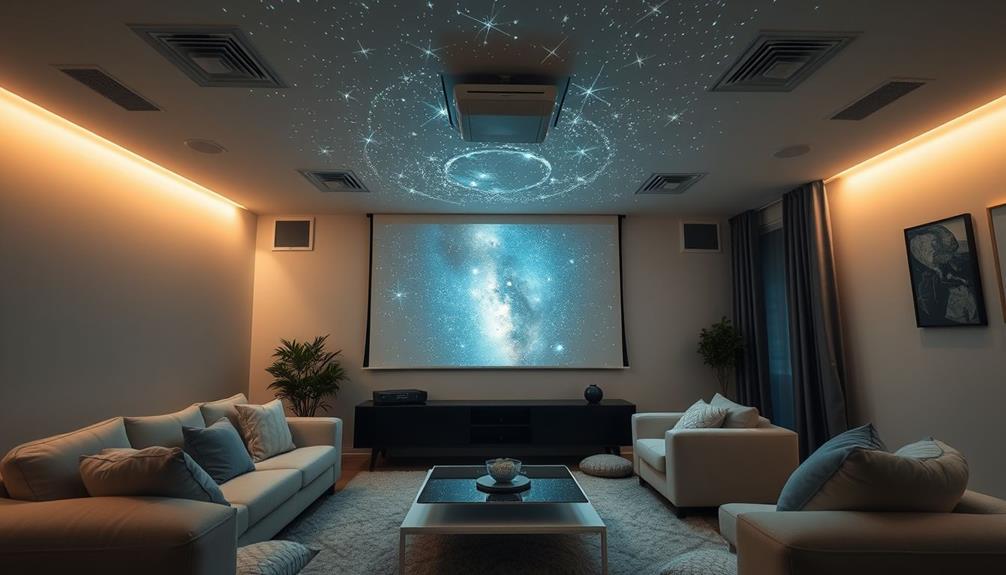
To create the best home planetarium experience, consider painting your walls black to enhance image visibility, though it's not a strict requirement.
You'll also need to focus on effective ventilation; removing a wall panel can help, but adding a door and placing an electric fan nearby guarantees fresh air circulation.
Dark Interior Benefits
Creating a dark interior for your home planetarium is essential if you want to enhance the visibility of your projected images. A dark room minimizes ambient light interference, which can compromise the quality of what's being projected onto your dome. While painting your walls black is a common practice, it's not strictly necessary; however, proper sealing of your dome structure is vital for maintaining darkness.
Here's a quick overview of the benefits of a dark interior:
| Benefit | Description | Impact on Experience |
|---|---|---|
| Improved Visibility | Reduces ambient light interference | Clearer and sharper images |
| Enhanced Immersion | Creates a more engaging atmosphere | Feels like you're in space |
| Projection Quality | Prevents reflections on surfaces | Better image fidelity |
| Overall Comfort | A well-sealed dome enhances comfort levels | More enjoyable viewing |
For the best experience, consider incorporating an additional door for improved ventilation, especially if you're sharing the space with others. With these adjustments, you'll be well on your way to creating an immersive planetarium experience right in your home.
Effective Ventilation Strategies
Effective ventilation is essential for guaranteeing a comfortable and enjoyable experience in your home planetarium. To enhance airflow, consider installing an additional door or a removable wall panel. This makes access easier and boosts ventilation, especially during longer sessions.
A high-speed electric fan positioned near the entrance can further promote circulation, preventing the space from becoming stuffy when you're hosting multiple occupants. Additionally, incorporating a modern ceiling fan can improve air circulation and help maintain an even temperature, allowing you to enjoy your stargazing without discomfort from heat energy savings and comfort benefits.
While painting the interior walls black can improve projection quality, it's not a strict necessity if you manage ventilation and ambient light effectively. Make sure the dome's construction prioritizes sealing to minimize light leakage while still maintaining a sturdy, well-ventilated environment.
Regularly check the effectiveness of your ventilation strategies to guarantee a comfortable atmosphere, allowing for longer stargazing sessions without discomfort from heat or humidity.
Entry Design Considerations
When designing the entryway for your home planetarium, the balance between accessibility and light control is crucial. You want to create an entry design that allows for easy access while minimizing light leakage. A simple solution is to remove a wall panel, but adding a door is recommended for better ventilation and to keep the darkness intact.
To enhance the overall experience, consider how toilet water flow can serve as a metaphor for the smooth entry into your planetarium, where everything flows seamlessly.
Proper ventilation is vital. Without it, your dome can quickly become stuffy, especially with multiple occupants. Placing an electric fan near the entryway can greatly improve airflow, guaranteeing everyone remains comfortable during your shows.
Pay attention to detail during the construction process; proper sealing of the dome will help maintain the dark environment needed for ideal projection quality.
While painting the walls black can enhance the experience, it's not strictly necessary—just focus on sealing and minimizing light from the entry.
Incorporating these elements into your entry design won't only provide accessibility but also guarantee a truly immersive planetarium experience, where the focus remains on the stunning visuals above.
Recommended Resources and Tools

To set up an impressive home planetarium experience, you'll need a mix of essential resources and tools. First, consider using Stellarium Software. This free program offers realistic night sky simulations and lets you manipulate time and location, making it critical for accurate celestial displays.
For your setup, a high-definition projector is a must. Investing in an HD projector will greatly enhance image quality, ensuring clear and vibrant star projections. Embracing a healthy lifestyle can also enhance your overall experience, as being in good physical shape may improve your ability to enjoy and engage with astronomy.
Next, don't forget about the hemispherical mirror. An 18" half-dome security mirror is essential for warping the projected image to fit your dome's shape, which elevates the visual experience.
If you're looking to create your own setup, check out various DIY resources. Community forums and projects from experts like Jeff Adkins and Paul Bourke provide valuable guidance and inspiration for building your planetarium.
Lastly, consider subscribing to educational materials such as the BBC Sky at Night magazine, which offers downloadable star charts and additional resources. These tools and resources will enhance your understanding and enjoyment of astronomy, making your home planetarium truly spectacular.
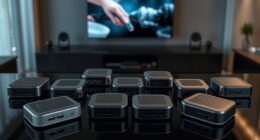
Pricing Options for Projectors

Choosing the right projector for your home planetarium can greatly impact your stargazing experience. When it comes to pricing options, you'll find popular projector models typically range from $50 to $150 on Amazon. For quality, you should expect to spend between $100 and $200.
If you're just starting out, the Dark Skys Skyview model, priced at $45, is an affordable choice that utilizes a blue laser for projection. Additionally, just like the self-cleaning brush roll feature found in pet hair vacuums that enhances performance, investing in a projector with good specifications can greatly improve your viewing experience.
While this budget-friendly option may seem enticing, user feedback often raises skepticism about the accuracy of star count claims. Before making a purchase, it's crucial to research and read reviews to confirm the projector meets your expectations.
Additionally, many lower-cost planetarium projectors come with free shipping options, making them even more accessible for budget-conscious buyers.
Although you can find affordable choices, be aware that advanced projection techniques and higher-end models usually offer superior image quality and detail, justifying their higher price points.
Ultimately, consider your budget and stargazing ambitions to find the right projector that enhances your home planetarium experience.
Projection Techniques and Performance

Creating an engaging home planetarium experience hinges on understanding projection techniques and performance. A well-set-up projector can create stunning sky images that transform your ceiling into a celestial canvas. The Skyview model, for instance, uses a textured disk to enhance projection accuracy, delivering a laser-generated image of the night sky.
Using LCD projectors like the HY320 allows you to cast star maps directly from your smartphone, providing an interactive experience. Advanced projection techniques enable real-time star rotation, so you can explore celestial movements with apps like SkySafari.
Here's a quick comparison of some effective projection options:
| Projector Model | Key Feature | Best Use |
|---|---|---|
| Skyview | Textured disk for accuracy | Static sky images |
| HY320 | Smartphone screencasting | Interactive star maps |
| Standard LCD | Brightness for larger areas | Immersive ambiance |
| Compact Projector | Portability and easy setup | Small spaces |
| High-end Projector | Enhanced brightness and detail | Professional setups |
While projector brightness might surpass that of traditional planetariums, you'll want to manage expectations regarding star visibility and brightness variations among celestial objects.
User Feedback and Experiences
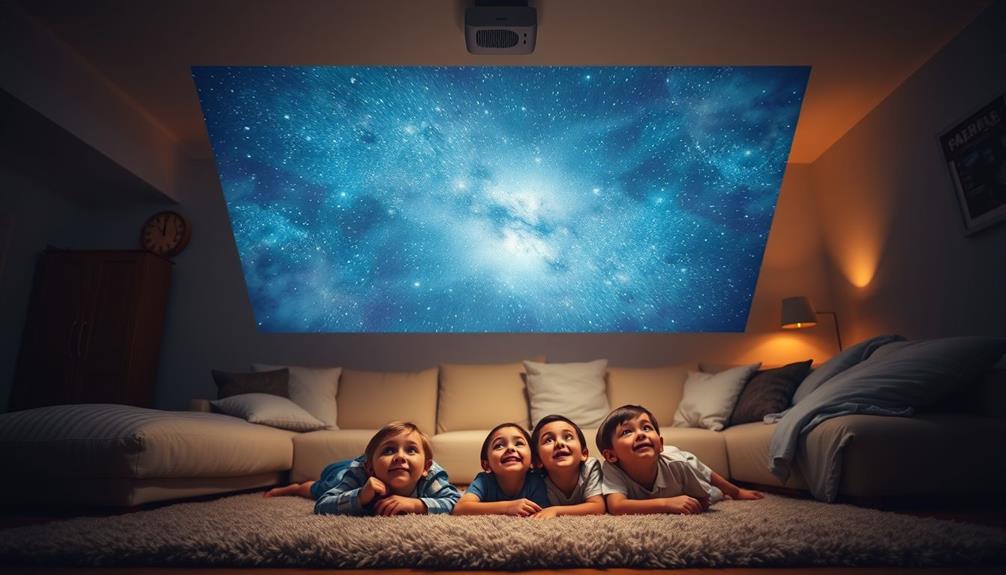
User experiences reveal that many find budget-friendly projectors surprisingly effective, often delivering sharpness and detail that rivals pricier models. While some users note that certain models may not meet advertised star counts, the overall feedback highlights a fun and engaging experience, especially for families.
Incorporating technology into family learning can amplify the enjoyment of such setups, making them a part of strategies for fostering a creative environment at home. To give you a clearer picture of what others have encountered, consider these insights from user feedback:
- Many appreciate how these projectors can create a cozy atmosphere for family movie nights or stargazing sessions.
- Users emphasize the importance of setting realistic expectations about brightness and projection quality; some stars may appear uniform due to exposure settings.
- DIY planetarium setups have been praised for enhancing educational activities, effectively teaching constellation navigation and celestial patterns.
- Community forums have become valuable resources for troubleshooting issues and sharing experiences, fostering a supportive environment for homemade planetarium enthusiasts.
Educational Benefits of Planetariums

The engaging experiences shared by families with home planetariums highlight their potential as powerful educational tools. By allowing you to identify constellations and observe celestial motions in real-time, a home planetarium enhances your observational skills.
With software like Stellarium, you can manipulate time and location settings to demonstrate how stars rise and set, creating a dynamic learning experience. These planetarium activities serve as an engaging introduction to scientific concepts, sparking interest in STEM fields among both students and families.
The immersive environment of a planetarium makes it easier for you to grasp complex astronomical phenomena, helping you understand the scale and movement of celestial bodies in the night sky. Additionally, educational sessions can be tailored to different age groups and knowledge levels, fostering curiosity and promoting lifelong learning about the universe.
Whether you're teaching children about the basics of astronomy or diving deeper into advanced topics, a home planetarium can adapt to meet your educational needs. Embrace this unique opportunity to explore the cosmos right from your living room, turning your family's fascination with the night sky into a rewarding educational journey.
Conclusion
Creating a home planetarium experience is like flipping a switch to bring the cosmos into your living room. You've transformed your space into a celestial haven, where starlit nights are just a projector away. With the right setup, you'll not only enjoy stunning visuals but also spark curiosity and learning. So, grab your projector, dim the lights, and let your imagination soar through the universe, making every night a journey among the stars!