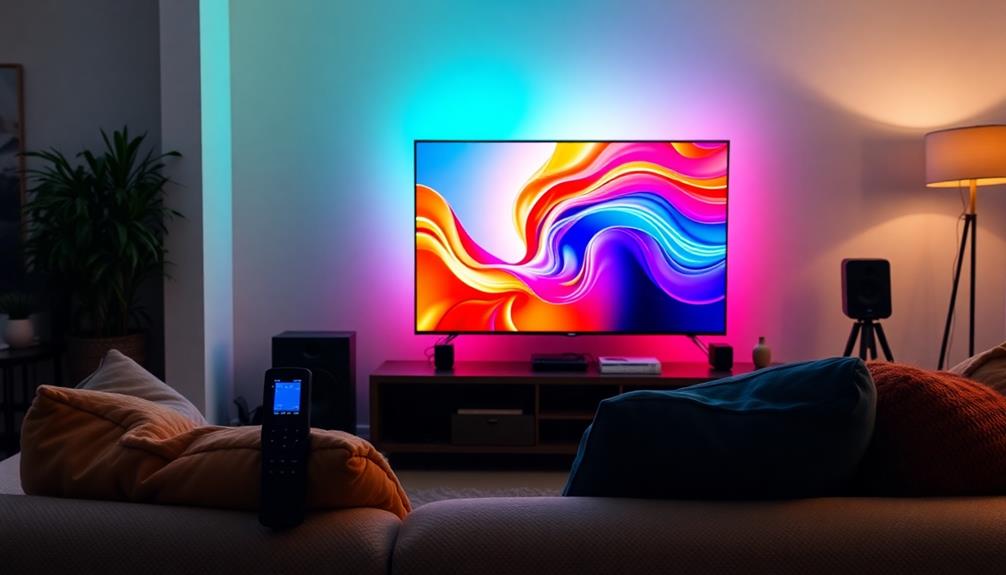
To calibrate your TV for the best picture quality, start by selecting picture modes like Movie or Filmmaker for accurate colors. Adjust brightness to see deep blacks without losing detail in dark scenes. Tweak contrast to avoid clipping whites while maintaining brightness. Use the SMPTE color bar pattern to refine color and tint settings, and lower the sharpness to eliminate graininess. Regularly assess your settings based on your viewing environment and content type for ideal results. With these basics, you'll be on your way to getting the most out of your TV, and there's even more to explore.
Key Takeaways
- Start with picture modes like Movie or Filmmaker to enhance color accuracy and brightness for better viewing experiences.
- Use the SMPTE color bar pattern to adjust color and tint settings effectively for optimal picture quality.
- Set brightness to achieve deep blacks while retaining detail in dark areas and balance contrast to avoid clipping whites.
- Fine-tune sharpness settings to low or zero to eliminate artificial edges and graininess in the picture.
- Consider professional calibration for advanced adjustments, ensuring tailored settings for different content types and viewing conditions.

SOULWIT 50Pcs Self Adhesive Cable Management Clips - Black
🔷SUPER EASY TO USE: Stick to clean surface, open tab, insert multiple cables, close the tab, enjoy the...
As an affiliate, we earn on qualifying purchases.
Understanding Calibration and Setup
When it comes to getting the best picture quality from your TV, understanding the difference between calibration and setup is essential.
Calibration is an advanced process that often requires professional assistance. It focuses on achieving accurate color reproduction and peak brightness, enhancing picture quality by 10% to 20% with specialized tools. Additionally, just like in the role of color accuracy for home cinema projectors, making sure your TV's color settings are precise can greatly improve your viewing experience.
On the other hand, setup involves basic adjustments you can make yourself, like fine-tuning brightness and contrast or selecting appropriate picture modes.
While setup can greatly improve your viewing experience without extensive technical knowledge, it's generally limited to initial adjustments. You might tweak the color settings and switch between picture modes, but you won't engage with the complex settings found in calibration, such as gamma and color management.
If you're satisfied with basic adjustments and want a quick fix, setup can work well. However, if you're after the highest level of accuracy and detail, investing in professional calibration services might be worthwhile.

XHF 120 PCS Adhesive Cable Wire Clips Black, Outdoor Christmas Light Clips, Cable Management Wire Organizer Cord Holder for Under Desk, Car, Wall, TV PC Ethernet Cable
High quality material:XHF Adhesive Cable Clips are manufactured from Strong Adhesive and PA66 nylon
As an affiliate, we earn on qualifying purchases.
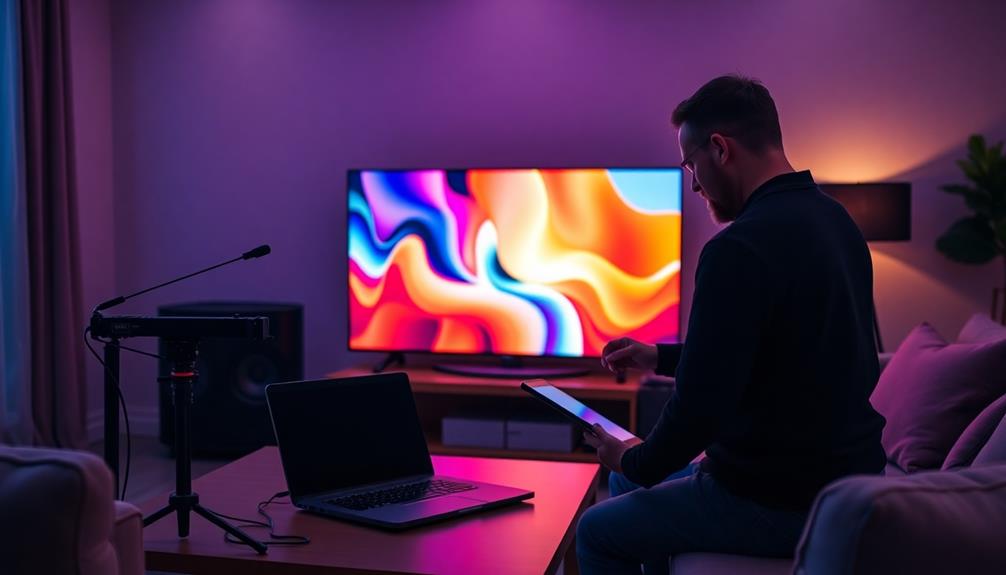
DIY Calibration Techniques
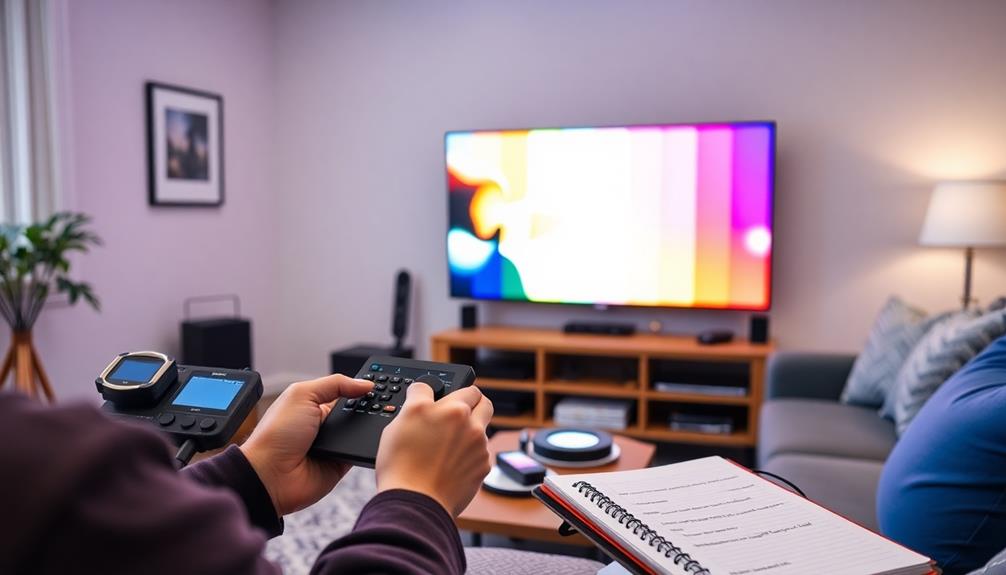
Calibrating your TV at home can greatly enhance your viewing experience, and you don't need to be a tech expert to do it. Start by selecting the appropriate picture mode—Movie, Cinema, or Filmmaker modes are your best bets for accurate color and clarity.
Additionally, ensuring your viewing environment is ideal can considerably impact the overall picture quality, similar to maintaining efficient toilet flushing mechanisms for better performance.
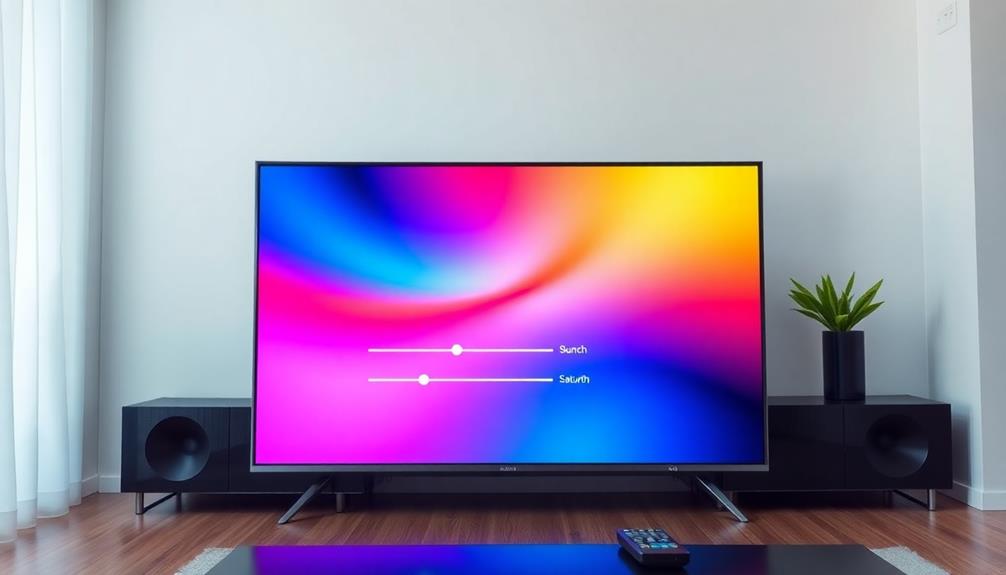
Next, use the SMPTE color bar pattern to adjust your color and tint settings; aim for natural hues without oversaturation or washout.
Now, focus on your brightness setting and contrast ratio. Make sure you can see all the bars in the test pattern without losing detail, typically by setting them to default or maximum.
For the sharpness setting, dial it down to a low value or zero to prevent artificial edges and graininess that can ruin picture quality.
If you're feeling adventurous, tweak the advanced settings. Set the gamma to 2.2 and color temperature to Warm for a more realistic image.

120PCS XHF Adhesive Cable Wire Clips White, Cable Staples Outdoor Cable Management Wire Organizer Cord Holder for Under Desk, Car, Wall, TV PC Ethernet Cable
High quality material:XHF Adhesive Cable Clips are manufactured from Strong Adhesive and PA66 nylon
As an affiliate, we earn on qualifying purchases.
Advanced Calibration Methods
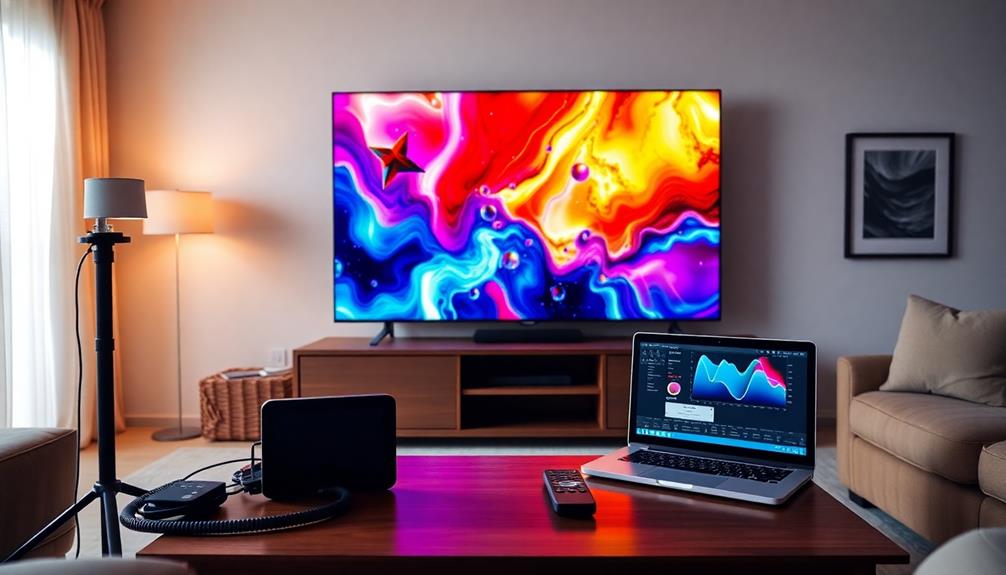
For those looking to take their TV viewing experience to the next level, advanced calibration methods offer considerable improvements in picture quality. Utilizing professional tools like the Calibrite ColorChecker Display Pro, you can enhance your viewing experience by 10% to 20%. This device, costing around $275, allows for DIY calibration that rivals professional calibration services, which typically range from $250 to $400.
Additionally, just as with understanding the tax implications of Gold IRAs, being aware of the tools and settings can greatly impact your overall viewing experience.
When you employ a colorimeter, it connects to your laptop, enabling detailed tests and adjustments. You can precisely tweak your gamma settings, ideally setting it to 2.2 for ideal shadow detail, and adjust the color temperature to 'Warm' for accurate color reproduction.
Additionally, fine-tuning backlighting settings guarantees that you achieve the best contrast and brightness for your environment.
Don't forget to save your calibration settings for different inputs and viewing conditions. This practice helps maintain picture quality tailored to various content types and environments, guaranteeing you enjoy ideal viewing experiences every time you turn on your TV.
With these advanced calibration methods, you can truly elevate your home theater setup.

【Now with Netflix & 3000ANSI】Smart 4K Projector with WiFi and Bluetooth, VISSPL 3D Dolby Audio and Auto Focus Portable Outdoor Projector, Movie Home Theater Projectors TV Lamp Bulb for Bedroom/Ceiling
[ Netflix Ready - No Extra Devices Needed ] – VISSPL Smart Projector: No TV stick, no casting,...
As an affiliate, we earn on qualifying purchases.
Key Picture Settings
Achieving the best picture quality on your TV hinges on understanding key picture settings. Start by selecting the Movie or Filmmaker picture mode. These modes are designed to reflect the director's intent and provide enhanced settings for accurate color reproduction and ideal brightness.
Next, adjust brightness carefully. You want deep blacks without losing details, so set it to a level where all dark elements remain visible, especially in dimly lit environments.
For contrast, find a balance that maintains detail in bright scenes without clipping whites; this preserves your overall image quality.
When it comes to color settings, be cautious with color saturation. Extreme adjustments can lead to oversaturation or washed-out colors, so stick to the default settings in Movie mode for good accuracy.
Finally, fine-tune sharpness to a low value or even zero. This will help eliminate artificial edges and provide a more natural appearance without introducing noise or graininess.
Personal Preferences and Environment
When tuning your TV settings, personal preferences and your viewing environment play an essential role in shaping your overall experience. Your taste in brightness, contrast, and color saturation can greatly affect how much you enjoy what you watch.
Lighting conditions in your room also influence how you should adjust the settings for ideal performance.
Consider these factors to enhance your viewing experience:
- Your preferred brightness level can impact mood and immersion.
- Color saturation can either energize or calm the atmosphere.
- Sharpness affects the clarity of details, especially in fast-moving scenes.
- The type of content—whether it's movies, sports, or gaming—demands different settings.
- Room lighting, whether bright or dark, necessitates adjustments to avoid glare or enhance warmth.
You should regularly assess and adjust the settings based on changes in your viewing environment or personal taste.
For example, you might want a warmer color temperature in a dimly lit room or a cooler one in bright conditions.
Frequently Asked Questions
How Do I Calibrate My TV to Get the Best Picture?
To get the best picture, start by selecting the right picture mode, then adjust color and tint settings. Fine-tune brightness and contrast, and set sharpness low for natural image quality. Consider using a colorimeter for precision.
How Do I Make My TV Picture Better Quality?
Imagine your favorite movie scene coming to life. To enhance your TV's picture, switch to Cinema mode, adjust brightness and contrast, fine-tune colors, and consider the lighting. You'll enjoy a stunning visual experience every time.
Can You Calibrate a TV at Home?
Yes, you can definitely calibrate your TV at home! Just use the preset picture modes or make basic adjustments like brightness and contrast. Regularly check your settings to keep your viewing experience ideal.
Does My TV Need to Be Calibrated?
Think of your TV as a canvas; if the colors don't pop, it might need calibration. If you notice dullness or inaccuracies, it's worth considering. Personal preferences and room lighting also play essential roles.
Conclusion
Now that you know how to calibrate your TV for ideal picture quality, imagine sinking into your couch, surrounded by perfect color and clarity. You can transform your living room into a cinematic paradise, where every detail pops and every shadow deepens, making you feel like you're right there in the action. With a little effort, your viewing experience can shift from ordinary to extraordinary, turning movie nights into unforgettable adventures. You owe it to yourself to enjoy the best!