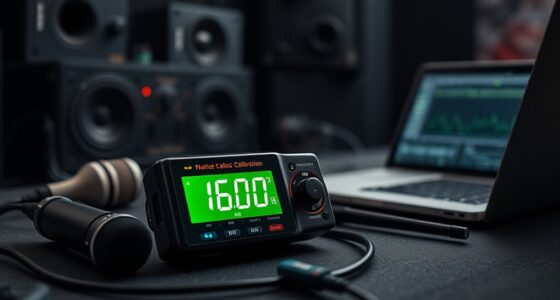

To use an SPL meter for precision tuning, start by selecting a model with accurate calibration and the right frequency range for your system. Position it at ear level, facing the sound source, in a quiet environment. Regularly calibrate and maintain the device, keep measurements consistent, and record conditions. Adjust speaker levels and equalization based on SPL readings to optimize sound quality. Keep improving your setup as you learn more about measurement techniques and environment factors.
Key Takeaways
- Properly calibrate the SPL meter using a reference tone before tuning sessions.
- Position the microphone at ear level and consistent distance from the sound source for accurate readings.
- Minimize room reflections and ambient noise by using sound-absorbing materials or a controlled environment.
- Use SPL readings to adjust speaker or vehicle levels, ensuring balanced sound across all frequencies.
- Record measurement conditions and settings to maintain consistency and track tuning progress over time.
Polk Audio T30 Home Theater Center Channel Speaker - Vocal Clarity, Deep Bass Response, Dolby and DTS, Home Speaker, Single, Black
DUAL 5.25" WOOFERS & 1" TWEETER FOR CLEAR, FULL-RANGE SOUND – As TV speakers, the T30’s two 5.25"...
As an affiliate, we earn on qualifying purchases.
Selecting the Right SPL Meter for Your Needs
Choosing the right SPL meter depends on your specific needs and application. First, consider the calibration standards it meets; accurate readings rely on devices that comply with recognized standards. Look for models with advanced signal processing capabilities, which help filter noise and provide clearer measurements. Determine if you need a basic meter for simple tasks or a more sophisticated one for detailed analysis. Think about the frequency range and dynamic response, especially if you’re tuning complex audio systems. Budget also plays a role, but investing in a meter with reliable calibration and signal processing features ensures precise results. Additionally, understanding sound measurement principles can enhance your ability to interpret SPL data accurately, especially in relation to AI-driven diagnostics that optimize equipment performance. Being aware of sound level thresholds is also crucial for maintaining safe listening environments and ensuring your measurements stay within recommended limits. Incorporating proper measurement techniques can further improve the accuracy and consistency of your readings, making your tuning process more efficient and effective. Familiarity with standardized testing procedures can help ensure your measurements are consistent over time and across different settings.

Yamaha Audio NS-C210BL Center Channel Speaker - Each (Black)
Yamaha NS-C210 2-Way Bass-Reflex Center Speaker - 4m Speaker Cable - Yamaha Warranty
As an affiliate, we earn on qualifying purchases.
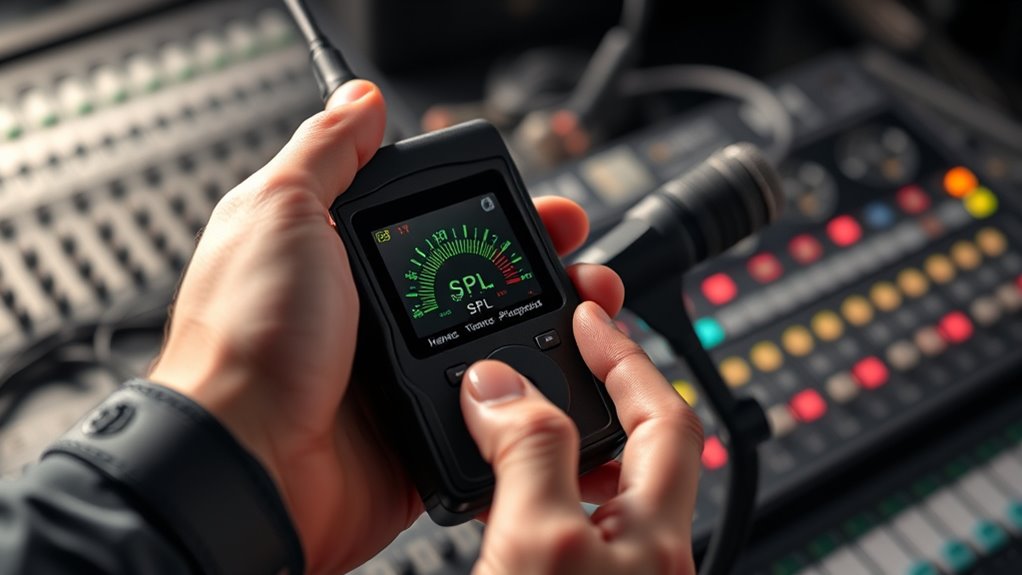
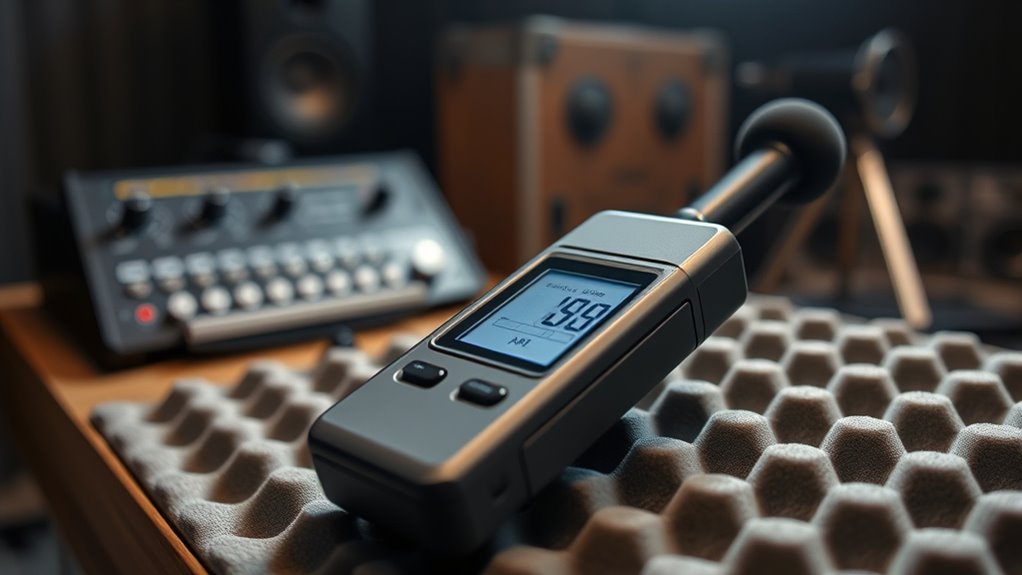
Proper Placement of the SPL Meter During Measurement
To guarantee accurate sound level measurements, you need to place the SPL meter correctly during testing. Proper microphone positioning is essential to avoid skewed readings. Position the meter at ear level, facing the sound source directly, and keep it steady without obstructions. Consider the measurement environment; avoid reflective surfaces or objects that could cause sound reflections or interference. Ensure the meter is placed away from walls, corners, or other surfaces that might amplify or diminish sound levels. Maintain a consistent distance from the sound source for each measurement to ensure comparability. Additionally, be mindful of security concerns that could affect the installation environment or interfere with accurate readings. Being aware of sound reflection sources and their impact can help prevent sound reflections or interference from skewing results. Paying attention to environmental factors can help prevent sound reflections or interference from skewing results. Proper placement also involves understanding how room acoustics influence measurements, which can vary significantly based on the space. For example, sound absorption materials can significantly alter the sound environment and should be considered when setting up your measurement area. By carefully positioning the SPL meter within your environment, you’ll ensure that your readings accurately reflect real-world conditions, leading to more precise tuning of your audio system.

Polk Monitor XT35 Slim Center Channel Speaker - Hi-Res Audio Certified, Dolby Atmos & DTS:X Compatible, 1" Terylene Tweeter & Four 3" Dynamically Balanced Woofers, Wall-Mountable, Midnight Black
SLIM CENTER CHANNEL THAT WON’T BLOCK TV - Enjoy crisp, focused dialogues & dynamic, hi-res sound with Polk...
As an affiliate, we earn on qualifying purchases.
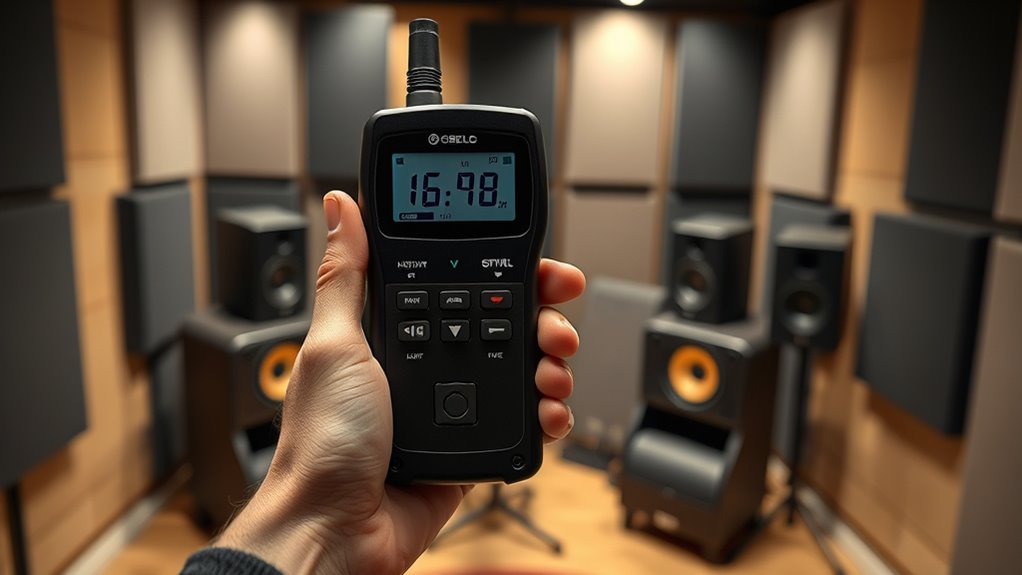
Calibrating Your Audio System Using the SPL Meter
Calibrating your audio system with an SPL meter guarantees that your sound levels are accurate and balanced. To do this effectively, consider room acoustics, as reflections and reverberations can skew measurements. Proper microphone calibration ensures consistency, so your readings reflect true sound pressure levels. When calibrating, keep these points in mind:
Calibrating your audio with an SPL meter ensures accurate, balanced sound levels for optimal listening.
- Position the SPL meter at your listening spot for realistic results
- Adjust for room acoustics by minimizing reflective surfaces or using diffusers
- Use a reference tone to set a baseline for your system
- Record measurements to compare and maintain consistent levels over time
- Be aware of essential oils for respiratory health that can influence indoor air quality and affect acoustic perception
- Paying attention to curiosity benefits can help you better understand and optimize your listening environment
- Additionally, understanding air purifier types and their effects can help create a cleaner, healthier space that enhances overall sound quality
- Incorporating sound absorption strategies can further improve calibration accuracy by reducing unwanted reflections
- Considering remote work setups can also influence how you position your audio equipment for optimal listening experiences
This process helps you optimize your soundscape, ensuring even volume and clarity across your space. Accurate calibration leads to a more immersive and enjoyable listening experience.
Polk Audio TL1 Center Channel Speaker, Center Speakers for Home Theater (Each, Black)
Time Lens technology aligns the drivers for better soundstaging and imaging in bookshelf speakers
As an affiliate, we earn on qualifying purchases.
Fine-Tuning Speaker Levels and Equalization
Once you’ve completed your initial calibration, the next step is to fine-tune your speaker levels and equalization to achieve a balanced and natural sound. Pay attention to room acoustics, as reflections and absorption can affect how sound is perceived. Use your SPL meter to measure consistent levels across all speakers, making small adjustments to volume as needed. Additionally, rely on microphone calibration to guarantee your measurements are accurate, considering room characteristics that might skew readings. Adjust equalization settings to smooth out frequency response, reducing harshness or dullness caused by room effects. Understanding Mazda Tuning principles can help you better interpret how your environment influences sound quality. This process helps you tailor the sound to your environment, ensuring clarity and balance without overcompensating for room imperfections. Proper sound calibration ensures optimal audio performance and a more precise listening experience. Incorporating knowledge of music production workflow can further enhance your setup efficiency. Fine-tuning allows you to enjoy a more precise and immersive listening experience. Additionally, paying attention to speaker placement can significantly improve overall sound quality, making your calibration more effective. Regularly checking and updating your settings based on headphone compatibility considerations can also lead to better results in various listening scenarios.
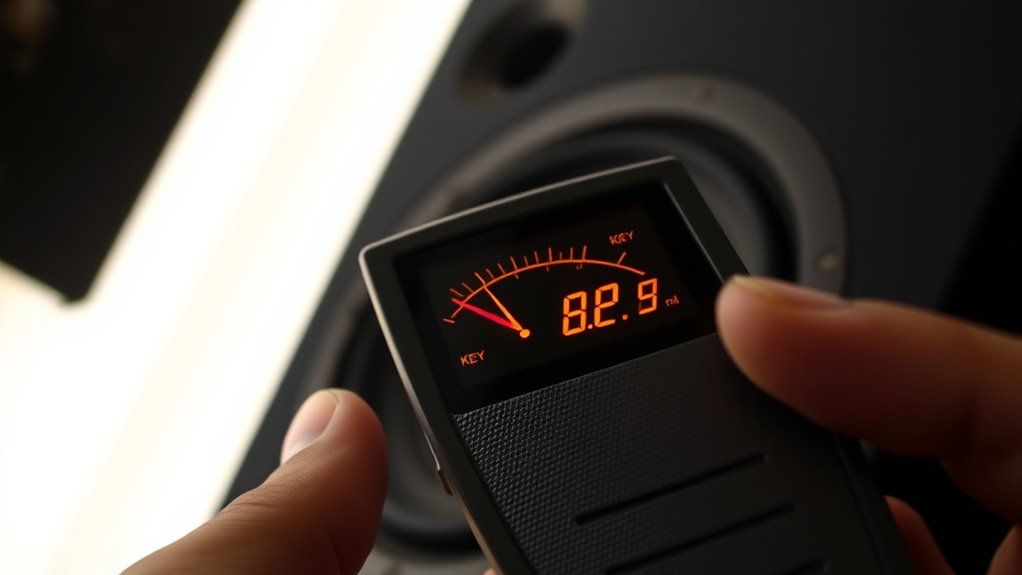
Tips for Maintaining Accurate and Consistent Measurements
Maintaining accurate and consistent measurements with your SPL meter requires careful attention to detail and regular checks. Proper volume calibration guarantees your readings reflect true sound levels, so revisit your calibration periodically. Be mindful of noise interference, which can skew your measurements—use a quiet environment or soundproof the area if possible. To stay precise, always use the same microphone placement and measurement settings. Avoid fluctuating volume levels during tests to ensure consistency. Additionally, check your SPL meter’s batteries and calibration settings routinely. Keep your equipment clean and protected from dust or damage. Understanding the horsepower of electric dirt bikes can also help you better interpret your sound measurements, especially when tuning for performance. Being aware of regional legal resources can provide insights into the regulations affecting sound levels in your area. Regularly verifying your measurement techniques and sound level standards will further ensure your readings remain reliable, leading to better tuning results and more precise sound calibration.
Frequently Asked Questions
Can SPL Meters Measure Noise Levels in Outdoor Environments?
Yes, SPL meters can measure noise levels in outdoor environments. For outdoor noise monitoring and environmental sound measurement, they are effective tools. You just need to select a model with a suitable frequency range and high accuracy. Keep in mind that environmental factors like wind and weather can influence readings, so you should use windshields and take multiple measurements for reliable data. This way, you guarantee precise outdoor noise monitoring.
What Is the Ideal SPL Range for Home Theater Systems?
You want the ideal SPL range for your home theater, typically between 75 and 85 dB, to guarantee clear audio without distortion. During calibration procedures, use your SPL meter’s features, like frequency weighting and response settings, to obtain accurate readings. This helps you fine-tune your system, avoiding excessive volume that could harm speakers or your ears, and ensuring an immersive, balanced sound experience.
How Do Temperature and Humidity Affect SPL Meter Accuracy?
Temperature and humidity can impact your SPL meter’s accuracy because environmental influences affect sound measurements. High temperatures may cause calibration procedures to drift, while humidity can alter air density, leading to inconsistent readings. To guarantee precise results, you should regularly calibrate your SPL meter in the current environment and account for environmental influences. This way, you can trust your measurements and achieve accurate tuning for your home theater system.
Are There Specific SPL Meters Recommended for Professional Audio Tuning?
Imagine fine-tuning audio with pinpoint accuracy—choose professional brands like Brüel & Kjær or RS proportional to their calibration standards. These meters are engineered for precision, ensuring reliable measurements in critical settings. Their robust build and adherence to industry calibration standards give you confidence, making them ideal for professional audio tuning. Investing in trusted brands guarantees your measurements stay consistent, helping you achieve the perfect sound balance every time.
How Often Should I Recalibrate My SPL Meter for Optimal Results?
You should recalibrate your SPL meter at least once every six months for maximum accuracy. Regular calibration frequency depends on how often you use the meter and the environment where it’s stored. Proper meter maintenance includes keeping it clean and stored in a stable environment. By staying on top of calibration and maintenance, you ensure precise measurements and reliable tuning results every time.
Conclusion
Now, imagine your sound system as a finely tuned instrument, each component harmonizing perfectly. With your SPL meter in hand, you’re like a skilled conductor guiding the orchestra to clarity and balance. Regular calibration and mindful placement guarantee your music flows seamlessly, filling your space with rich, precise tones. Keep measuring, fine-tuning, and maintaining—your listening experience will become a vibrant symphony of crisp highs and deep lows, truly a feast for your ears.