
To guarantee your modern projector delivers crisp, immersive 3D visuals, you can’t skip essential calculations like ideal throw distance, screen size, and aspect ratio. Properly aligning your projector’s position and adjusting convergence are key to reducing ghosting and eye strain. Synchronizing frame rates and calibrating brightness and contrast also matter for smooth images. Keep these calculations in check, and you’ll open impressive 3D support—continue exploring to master every crucial detail.
Key Takeaways
- Ensure projector specifications include true 3D support, including frame rate and input compatibility.
- Calculate proper throw distance and screen size to maintain accurate depth perception and image clarity.
- Verify alignment and convergence calibration to prevent ghosting and crosstalk in 3D images.
- Synchronize projector and source device frame rates (e.g., 60Hz, 120Hz) for flicker-free 3D viewing.
- Adjust brightness, contrast, and color settings to optimize depth cues and viewer comfort during calibration.

Official Licensed Google TV Smart Projector, HAPPRUN 4K UHD Home Theater with Dolby Sound, Wi-Fi & Bluetooth, Built-in Streaming Apps, Compatible with Games Consoles & Smartphone, Indoor & Outdoor Use
[ Built-in Official Licensed Google TV ] - Without additional equipment, the smart projector can directly access Netflix,...
As an affiliate, we earn on qualifying purchases.
Understanding the Basics of 3D Projection Geometry

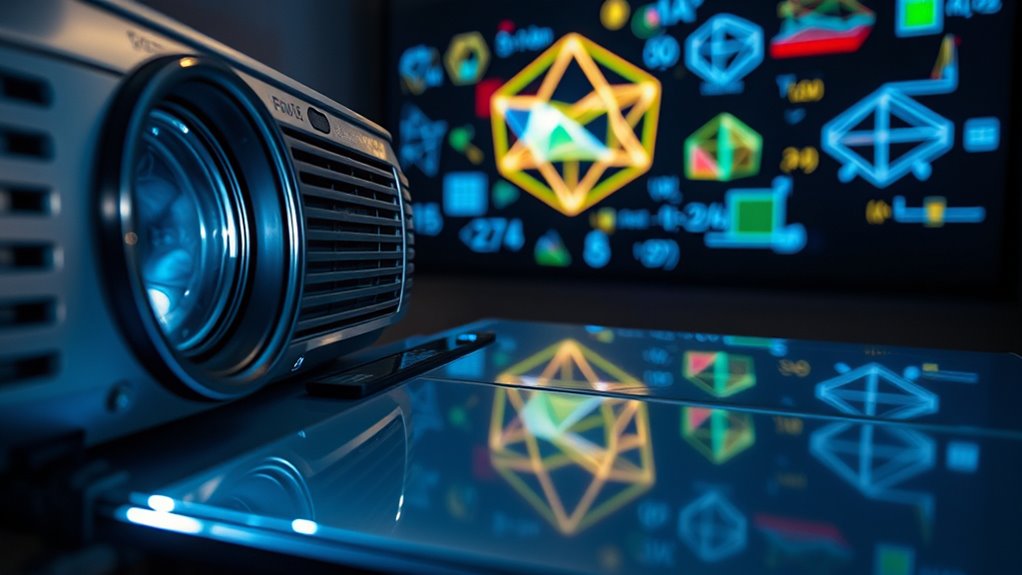
Have you ever wondered how 3D images appear so realistic on a flat screen? It all comes down to understanding stereoscopic principles, which mimic how our eyes perceive depth. When viewing 3D content, each eye sees a slightly different image, creating parallax. Parallax calculations determine this difference, or disparity, between the two images. By adjusting these calculations, projectors can produce the correct amount of parallax, giving the illusion of depth. This process involves precise geometric alignment to guarantee each eye receives the appropriate image. When done correctly, your brain combines these images seamlessly, creating a convincing 3D effect. Mastering the basics of projection geometry is essential for delivering high-quality 3D visuals that feel immersive and natural. Additionally, understanding the geometric relationships involved helps optimize calibration and viewing comfort.

Epson Home Cinema 980 3-Chip 3LCD 1080p Projector 4,000 Lumens Color and White Brightness, Streaming/Gaming/ Media Room, Built-In Speaker, Auto Picture Skew, 16000:1 Contrast, 2 HDMI Ports
Exceptional Picture Quality — Provides stunning, detailed 1080p images and fast data processing that’s optimized for fast-action sports,...
As an affiliate, we earn on qualifying purchases.
Calculating the Optimal Throw Distance for 3D Content
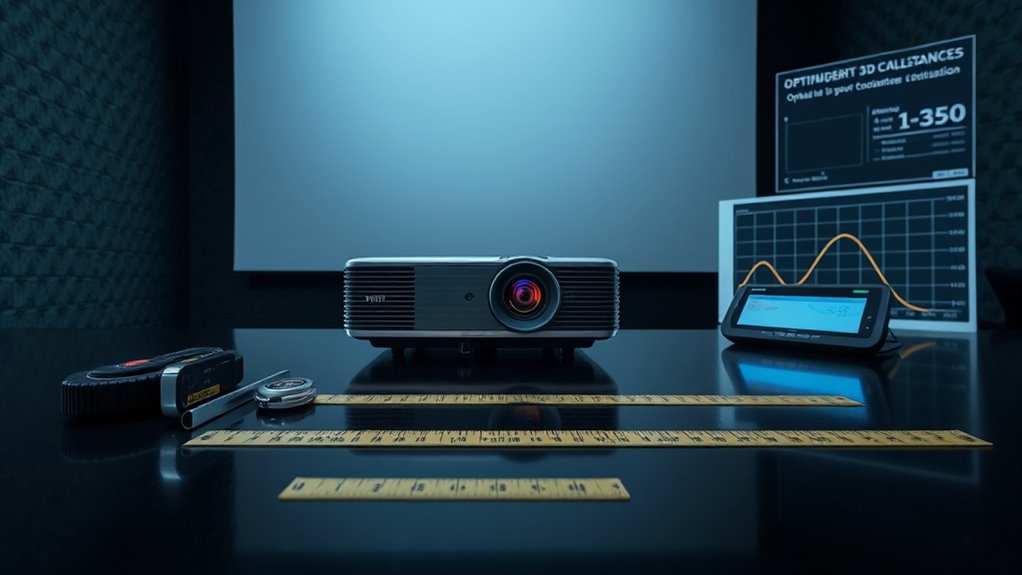
Determining the ideal throw distance is essential for achieving clear and immersive 3D images, as it directly affects image size, focus, and depth perception. To maximize viewer experience, position yourself at a distance that balances image clarity with proper depth cues. Too close, and the 3D effect can become distorted, reducing depth perception; too far, and the image may appear flat or blurry. You should consult your projector’s throw ratio and perform calculations based on your screen size to find the optimal distance. This ensures your eyes perceive accurate spatial differences, enhancing depth perception. Proper viewer positioning at the calculated throw distance guarantees a seamless, immersive 3D experience without distortions or eye strain. Additionally, understanding the relationship between projector placement and image quality helps optimize your setup for the best visual results. Recognizing how projection distance impacts 3D effects can also aid in fine-tuning your setup for optimal immersion. Being aware of vital calculation methods for throw distance can further assist in achieving precise positioning for enhanced 3D viewing. Moreover, considering the desired image size is crucial for setting the correct throw distance, ensuring the visual impact aligns with your viewing environment. Knowing about proper calibration techniques can further improve your 3D image quality and viewer comfort.

2000 ANSI 4K Decoding Projector with WiFi and Bluetooth, HAPPRUN Movie Home Theater with Auto Focus, 300'' Display for Indoor/Outdoor, Smart Proyector Compatible with Phone/TV Stick/PC/PS5
[EASIER OPERATION: AI Smart Screen Adjustment] HAPPRUN projector comes with auto focus and 6D auto-keystone technology, enjoy a...
As an affiliate, we earn on qualifying purchases.
Determining the Correct Screen Size and Aspect Ratio
Choosing the right screen size and aspect ratio is essential for creating an engaging 3D viewing experience. First, determine the ideal screen size based on your room dimensions and viewer distance. Second, select an aspect ratio that matches your content—common options include 16:9 and 16:10—to guarantee proper image proportions. Third, verify your projector’s native aspect ratio and compatibility to avoid distortion or black bars. Keep in mind that a larger screen enhances immersion but may require more powerful projectors and better calibration. Additionally, considering the cost and budgeting involved in acquiring the right equipment can help you plan effectively. Matching your screen size and aspect ratio ensures excellent 3D depth and clarity. Incorporating natural elements into your viewing area can also promote a calming environment that enhances your overall experience. Being aware of the projector’s native aspect ratio can prevent image distortion and ensure optimal picture quality. By carefully considering these factors, you’ll create a seamless, comfortable 3D environment that maximizes your projector’s capabilities.
1500 ANSI Official Licensed Google TV Smart Projector, HAPPRUN 4K Full HD Home Theater with Auto Focus, Dolby Sound, Wi-Fi Bluetooth, Built-in Apps, Compatible with Phone & PC, Indoor & Outdoor Use
[ Built-in Officially Licensed Google TV ]-Enjoy the reliability of an officially certified Google TV projector. Stream Netflix,...
As an affiliate, we earn on qualifying purchases.
Adjusting Projector Settings for 3D Synchronization

To guarantee smooth 3D viewing, you need to fine-tune your projector settings. Start by calibrating brightness levels, syncing frame rates, and adjusting color settings for peak performance. These steps help eliminate flickering and color errors, providing a seamless 3D experience. Additionally, understanding industry trends can help you stay updated on the latest industry techniques for optimal synchronization. Incorporating personal development practices such as mindfulness can also improve your focus during calibration, ensuring more precise adjustments. Regularly reviewing security measures can help protect your equipment from cyber threats that could disrupt your viewing experience. Staying informed about quality standards in product reviews can also guide you toward choosing reliable equipment. Moreover, considering advancements in AI security can assist in safeguarding your projector’s firmware and network connections from potential vulnerabilities.
Calibrate Brightness Levels
Calibrating brightness levels is essential to make certain your 3D projector displays synchronized images without flicker or ghosting. Proper brightness ensures good depth perception while reducing eye strain. To achieve this, you should:
- Adjust the brightness settings until the images appear vivid but not overly bright, which can cause discomfort.
- Test the 3D effect with a calibration disc or pattern, focusing on smooth progressions between images.
- Fine-tune the contrast and brightness balance so that depth cues are clear and eye fatigue is minimized.
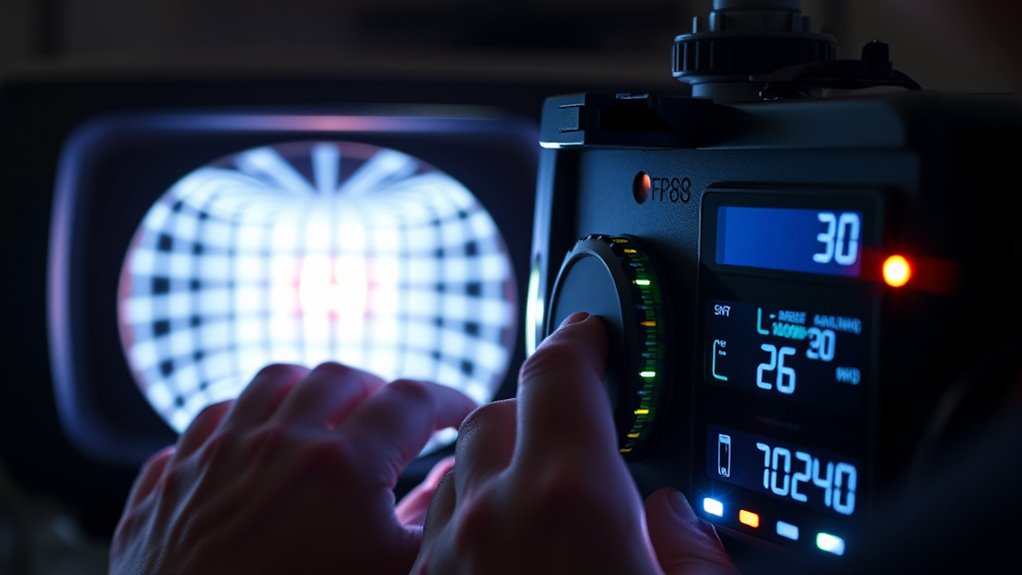
Syncing Frame Rates
After adjusting the brightness and contrast, the next step is guaranteeing your projector’s frame rates are synchronized for seamless 3D viewing. Frame rate compatibility is essential; mismatched rates cause flickering or double images. To minimize synchronization delay, set both the projector and source device to the same frame rate—commonly 60Hz or 120Hz. Use the following table to understand key settings:
| Setting | Description | Effect |
|---|---|---|
| Frame Rate Match | Ensures projector and source run at same rate | Reduces flicker and lag |
| Synchronization Delay | Adjusts timing between signals | Prevents double images |
| Compatibility Check | Confirms hardware supports chosen rates | Ensures smooth playback |
Proper synchronization eliminates visual artifacts, delivering a more immersive 3D experience.
Adjusting Color Settings
Have you considered how color settings impact your 3D viewing experience? Proper adjustment guarantees vibrant, accurate images. Start with these key steps:
- Perform a thorough color calibration to balance brightness, contrast, and color accuracy, ensuring the 3D images aren’t washed out or overly dark. Calibration techniques are essential for achieving consistent results.
- Adjust the hue to fine-tune color reproduction, making sure reds, greens, and blues appear natural and consistent.
- Check the projector’s 3D mode settings to synchronize color output with your glasses, avoiding color ghosting or mismatch.
- Remember to verify color settings regularly to maintain optimal 3D performance over time.
Measuring and Calibrating 3D Convergence and Alignment
To guarantee your 3D images appear seamless, you need to measure and calibrate convergence and alignment accurately. Using effective convergence adjustment techniques and alignment precision methods is essential for ideal viewing. Helpful calibration tools and tips can make this process straightforward and improve your overall 3D experience. Incorporating proper calibration procedures ensures consistent image quality and minimizes viewer discomfort. Additionally, understanding the angel numbers associated with love and connection can provide insight into the emotional and spiritual aspects of your viewing experience. Regularly performing calibration checks can help maintain optimal alignment over time, preventing drift that may affect image quality. Moreover, advancements in nanotechnology are beginning to influence the development of more precise calibration tools, leading to even better alignment accuracy.
Convergence Adjustment Techniques
Proper convergence adjustment is essential for achieving sharp, comfortable 3D images. To do this effectively, you need to focus on parallax correction and convergence calibration. First, identify misalignments by observing the ghost images or double contours. Then, follow these steps:
- Use the projector’s convergence controls to fine-tune the alignment, ensuring the images overlap perfectly at the screen.
- Adjust the parallax correction to minimize eye strain and improve depth perception.
- Continuously test with 3D content, making small tweaks to maintain ideal convergence throughout different scenes.
Alignment Precision Methods
Accurate measurement and calibration are essential for achieving precise 3D convergence and alignment in modern projectors. Proper alignment ensures your eyes can comfortably fuse the images, enhancing depth perception and reducing eye convergence strain. To do this, you should first verify that the projected images are perfectly overlapping at the convergence point. Use test patterns or alignment screens to check for discrepancies between the left and right images. Adjust the projector’s physical and electronic settings to align the images precisely. Consistent calibration minimizes crosstalk and maximizes 3D effect clarity. Remember, even slight misalignments can cause discomfort and reduce the immersive experience. Regularly evaluating and fine-tuning these parameters guarantees your 3D projection maintains ideal depth perception and eye convergence for viewers. Additionally, understanding the flat iron bike technology can help you select equipment with better calibration capabilities for enhanced performance.
Calibration Tools and Tips
Using the right calibration tools is essential for achieving precise 3D convergence and alignment in your projector setup. Proper calibration guarantees your 3D glasses work seamlessly with the projector, delivering a sharp, comfortable image. To get started:
- Use a dedicated projector calibration disc to identify alignment issues and fine-tune your 3D glasses settings accordingly.
- Employ a convergence meter or specialized software to measure and adjust the projector’s convergence points accurately.
- Regularly test with a 3D test pattern to verify alignment, making incremental adjustments as needed.
- Understanding the Volkswagen Tuning principles can help you better grasp the importance of precise adjustments for optimal performance.
These tools help you pinpoint misalignments, ensuring your projector delivers exemplary 3D performance. Proper calibration minimizes ghosting, crosstalk, and eye strain, making your 3D viewing experience more immersive and comfortable.
Managing Brightness and Contrast for 3D Clarity

Balancing brightness and contrast is essential to achieving clear and comfortable 3D visuals on modern projectors. Too much brightness can cause glare, reducing 3D depth and causing eye strain, especially in environments with ambient lighting. Conversely, insufficient contrast dulls the image, making 3D effects less vivid. To optimize clarity, adjust your projector’s brightness settings based on room lighting and screen size. Use glare reduction techniques, like dimming ambient lighting or adding curtains, to enhance 3D perception. Keep contrast levels high enough to distinguish depth cues without washing out the image. Regularly fine-tune these settings to match changing conditions, ensuring your 3D experience remains sharp, comfortable, and free of distractions.
Evaluating Screen Material and Its Impact on 3D Quality

Have you considered how your screen material influences 3D image quality? The right choice can enhance clarity and color accuracy. First, check the screen reflectivity**—a surface with ideal reflectivity directs more light toward viewers, improving brightness and depth perception. Second, evaluate material durability—a sturdy screen resists warping and scratches, maintaining consistent 3D performance over time. Third, consider surface texture; a smooth, matte finish reduces glare and ghosting, sharpening 3D images**. These factors directly impact how well the projector’s light interacts with the screen, affecting overall 3D quality. Selecting a material with the right reflectivity and durability ensures your 3D projection remains vibrant, sharp, and immersive, giving you the best viewing experience possible.
Troubleshooting Common 3D Projection Issues Through Math
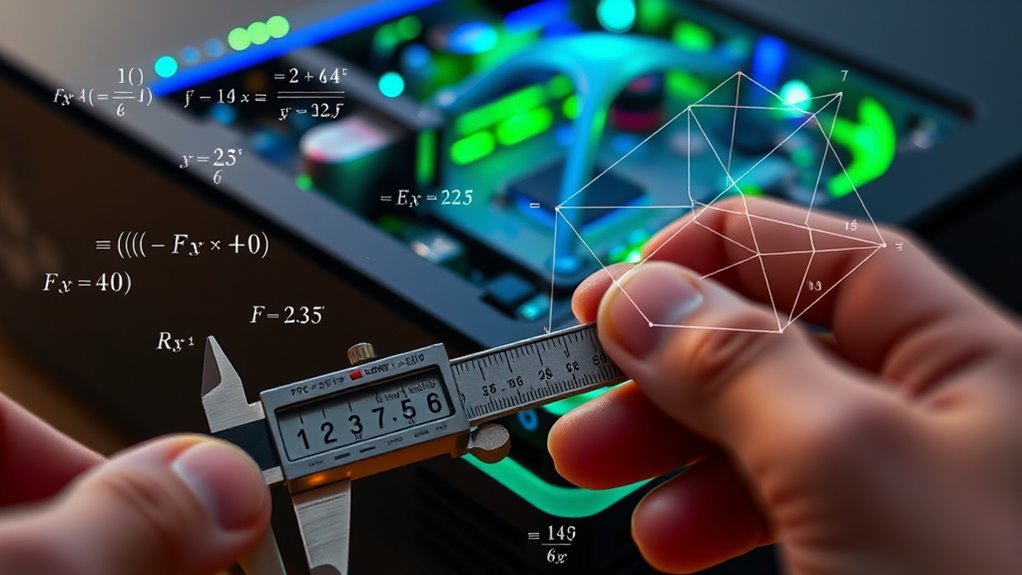
When you encounter issues with 3D projection quality, applying mathematical principles can help pinpoint the root causes. Start by analyzing 3D projection angles, ensuring they’re properly aligned for seamless stereo imaging. Misaligned angles can cause crosstalk or double images, degrading the experience. Next, examine polarized filter calibration, which is essential for proper separation of images for each eye. Small deviations in polarization can lead to ghosting or dim images. Use formulas to verify the angles of polarization relative to the projector’s output and screen surface. If issues persist, recalibrate the polarized filter orientation based on these calculations. Math provides a clear, objective way to troubleshoot and fine-tune your 3D system, making sure the projection angles and polarized filters work harmoniously for ideal 3D quality.
Estimating Power and Signal Requirements for 3D Systems
Accurately estimating power and signal requirements is essential for peak performance of 3D projection systems. First, confirm the projector’s glasses compatibility aligns with your target audience’s needs, as incompatible glasses can cause discomfort or visual fatigue. Second, evaluate the signal bandwidth needed to support smooth 3D images, reducing flicker and enhancing viewing comfort. Third, consider the projector’s luminance and contrast levels to maintain vivid images without straining viewers’ eyes. Proper calculations help prevent signal loss or insufficient power, which can lead to poor 3D quality. By focusing on these factors, you optimize both glasses compatibility and viewing comfort, ensuring your 3D system operates efficiently while delivering a seamless experience for viewers.
Frequently Asked Questions
How Does Projector Lens Distortion Affect 3D Image Alignment?
Lens distortion can considerably impact your 3D image alignment, causing images to appear warped or misaligned. When the lens introduces distortion, it skews the projected image, making it harder to perfectly align left and right views. To get a clear, seamless 3D experience, you need to account for and correct lens distortion during calibration. This guarantees your images stay properly aligned, reducing eye strain and enhancing the overall 3D viewing quality.
What Safety Guidelines Should Be Followed During 3D Projector Calibration?
Think of calibration as fine-tuning a musical instrument; safety protocols are your shield. During calibration procedures, always power off the projector before adjustments, avoid direct eye exposure to laser or bright beams, and wear protective gear if recommended. Keep the environment clear of obstructions, and guarantee proper ventilation. By following these safety guidelines, you protect yourself and ensure accurate calibration, giving you a perfect 3D viewing experience without risks.
How Do Ambient Light Conditions Influence 3D Projection Quality?
Ambient light greatly impacts your 3D projection quality by reducing contrast and making images less vivid. When there’s too much ambient light, your projection appears washed out, and the 3D effect diminishes. To improve quality, control the ambient light in your viewing area, use blackout curtains or dimmable lights, and choose projectors with higher contrast ratios. These steps ensure your 3D images stay sharp, vibrant, and immersive.
Can 3D Support Be Integrated With Existing 2D Projector Setups?
You can’t teach an old dog new tricks, but you can upgrade it. Yes, 3D support can be integrated with existing 2D projectors, especially if they feature upgrade-compatible hardware. Check for 2D compatibility and verify your setup supports necessary 3D modules. Upgrading may involve adding a 3D-capable HDMI port or external converter, making it a cost-effective way to enjoy 3D without replacing your entire projector.
What Are the Long-Term Maintenance Considerations for 3D Projection Systems?
You should prioritize regular maintenance scheduling to keep your 3D projection system in top shape. Be mindful of component durability, especially for the lenses and projectors’ internal parts, as they wear over time. Clean filters and check alignment frequently to prevent performance issues. Investing in quality parts and timely servicing guarantees your system remains reliable and delivers crisp 3D visuals, minimizing costly repairs and downtime in the long run.
Conclusion
Mastering 3D support in projectors is like guiding a delicate dance—every calculation shapes the immersive experience. When you understand the geometry, calibration, and setup, you’re not just projecting images; you’re crafting worlds that leap off the screen. Embrace these math-driven steps as your compass, turning technical precision into a vessel of wonder. With each adjustment, you breathe life into your visuals, transforming mere projection into a portal of limitless possibility.