
To troubleshoot common home theater issues like no sound or no signal, start by double-checking all cable connections for security and damage. Make certain your devices are powered on, and select the correct input mode on your display. Reset your devices if needed, update their firmware, and look for any loose or faulty cables. If you keep these tips in mind, you’ll find it easier to identify and fix most problems quickly and efficiently.
Key Takeaways
- Check all connections, cables, and wiring for damage or loose fittings to ensure proper signal and sound transmission.
- Verify input source and display settings are correctly selected and compatible with connected devices.
- Reset devices like sound systems and displays to resolve minor glitches, and update firmware regularly.
- Confirm power supplies are functioning and devices are properly powered on.
- Inspect Bluetooth/Wi-Fi pairing, device range, and environment to troubleshoot wireless connectivity issues.
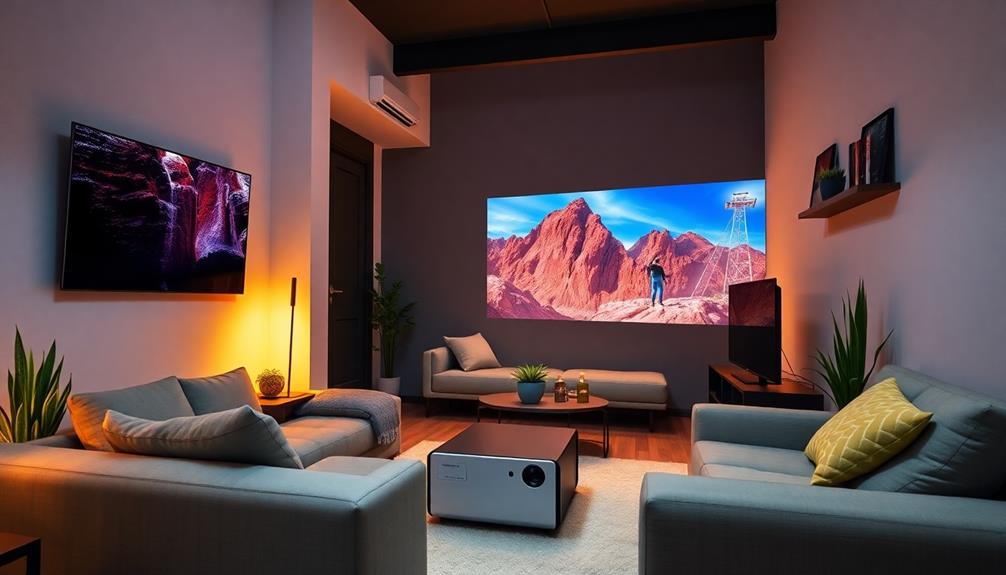
Setting up a home theater can be exciting, but when issues arise, they can quickly become frustrating. You’ve invested time and money into creating the perfect viewing experience, so it’s normal to feel annoyed when something doesn’t work as expected. The first thing to do is stay calm and systematically troubleshoot the problem. For example, if you’re experiencing no sound, start by checking your audio connections. Make sure your speaker wires are securely plugged into the right ports and that none are loose or damaged. If your speakers connect via Bluetooth or Wi-Fi, ensure the devices are paired correctly and within range. Sometimes, simply turning the sound system off and on again can resolve minor glitches. Additionally, verifying your audio settings ensures your system is configured correctly for the best sound output.
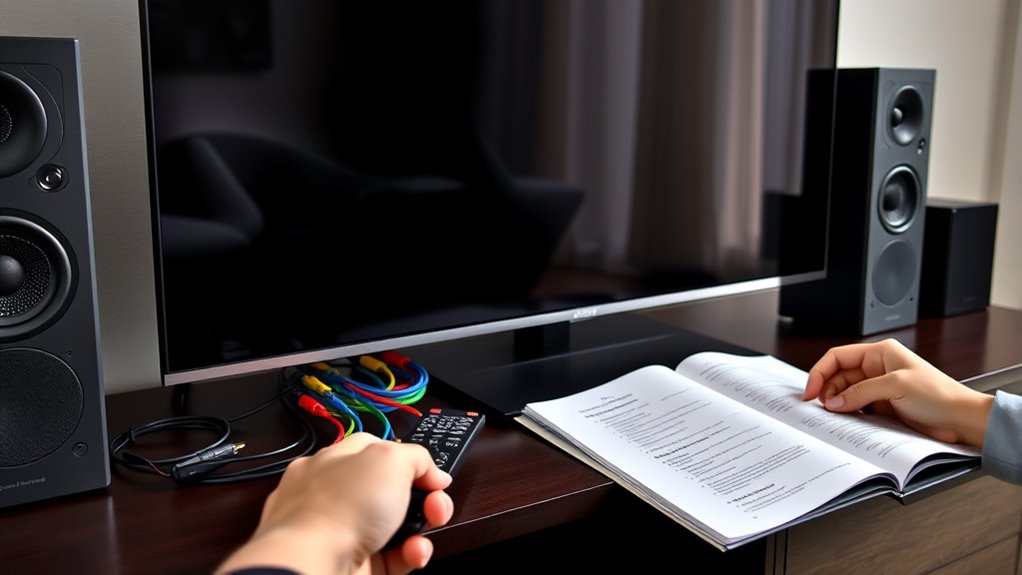
Stay calm and check your connections when troubleshooting home theater issues.
If you’re not getting a signal on your display, check your input sources. Confirm that your device, like a Blu-ray player or streaming box, is powered on and connected properly. Verify that the correct input is selected on your TV or projector. Sometimes, you might accidentally switch to the wrong HDMI port or input mode. If your cable or satellite box isn’t displaying, ensure that all cables are firmly connected and the box is functioning correctly—try restarting it or replacing the HDMI cable if needed. Also, confirm that your display’s firmware is up to date, as outdated software can cause compatibility issues. Performing firmware updates regularly can help prevent such problems and improve device performance.
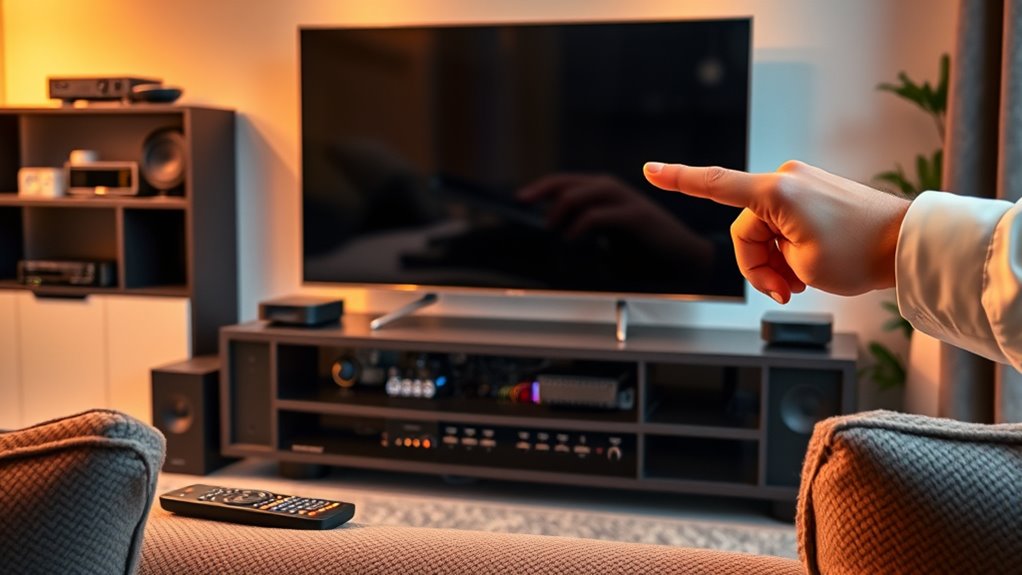
When you’re troubleshooting no picture or a fuzzy image, start by inspecting your cables. Damaged or loose HDMI or component cables can lead to poor picture quality or no signal at all. Replace any suspect cables and see if the issue resolves. Adjust your display settings—sometimes, incorrect resolution settings can cause the image to appear distorted or not show up at all. Check your device’s output settings and match them to your TV or projector’s supported resolution. If you’re using a projector, ensure it’s properly focused and aligned, as misalignment can result in a blurry or off-center image. Regularly cleaning your display and lens can also improve picture clarity and prevent dust buildup that affects image quality. Keep in mind that cable quality can significantly impact your visual experience, so investing in high-quality cables often yields better results.
In addition to hardware checks, software updates can fix bugs that cause playback or connectivity issues. Regularly check for firmware updates for your AV receiver, streaming devices, and display. Keep in mind that air quality can influence the performance of electronic devices, especially in dusty or polluted environments. Resetting your devices to factory settings can also help clear persistent issues, but remember to back up any custom settings beforehand. Always keep spare cables and batteries on hand—many issues boil down to simple connection problems or power issues. By systematically checking connections, settings, and updates, you’ll often find the source of your problem and restore your home theater to its full glory with minimal hassle.

Klipsch R-12SW Powerful Deep Bass Front Firing 12" Copper-Spun Driver 400W Digital Power Subwoofer 14" X 18.5" X 16"
Powerful 12" copper-spun front-firing woofer
As an affiliate, we earn on qualifying purchases.
Frequently Asked Questions
How Do I Reset My Home Theater System to Factory Settings?
You want to reset your home theater system to factory settings. Usually, you can do this by accessing the system’s menu using your remote. Look for options like “Settings,” “Setup,” or “System Reset.” Select “Factory Reset” or “Reset to Default,” then confirm your choice. If you’re unsure, check your user manual or manufacturer’s website for specific instructions tailored to your model.
Why Does My Home Theater Keep Overheating?
If your home theater keeps overheating, it’s likely due to poor ventilation, dust buildup, or prolonged use. You should guarantee vents are clear and unobstructed, clean out dust from fans and vents regularly, and avoid leaving it on for extended periods. You might also consider placing it in a cooler, well-ventilated space. Addressing these factors helps prevent overheating and keeps your system running smoothly.
Can I Connect Multiple Devices to My Receiver Simultaneously?
Yes, you can connect multiple devices to your receiver simultaneously. Most receivers come with several HDMI, optical, or coaxial inputs, allowing you to hook up various sources like gaming consoles, Blu-ray players, or streaming devices. Make sure your receiver has enough input ports for your needs. Use the receiver’s input selector to switch between devices easily, ensuring seamless changeover without unplugging and replugging.
How Do I Update the Firmware on My Home Theater Components?
Updating your home theater firmware is like giving your system a fresh coat of paint—it keeps everything running smoothly. You’ll typically visit the manufacturer’s website, download the latest firmware file, and follow their specific instructions, which often involve connecting your device to a computer or USB drive. Make certain your device is powered on and stable during the process to avoid any hiccups. Regular updates ensure ideal performance and new features.
What Should I Do if My Remote Control Stops Working?
If your remote control stops working, first check the batteries and replace them if needed. Make sure nothing is blocking the sensor on the remote or the device. Try resetting the remote by removing and reinserting batteries. If that doesn’t work, reprogram or re-pair the remote with your device. Sometimes, simply restarting your home theater system can resolve connectivity issues.

Klipsch R-120SW Subwoofer, Black
12" high excursion spun-copper Imp woofer
As an affiliate, we earn on qualifying purchases.
Conclusion
Just like a skilled conductor restoring harmony to an orchestra, you can troubleshoot your home theater with patience and focus. Remember, each issue is a note waiting to be tuned—no sound or signal is insurmountable. With a little perseverance, you’ll bring your system back to life, transforming chaos into a symphony of clear visuals and crisp audio. Trust your instincts, and soon you’ll be enjoying your cinematic masterpiece as effortlessly as the stars shine in the night sky.

Official Licensed Google TV Smart Projector, HAPPRUN 4K UHD Home Theater with Dolby Sound, Wi-Fi & Bluetooth, Built-in Streaming Apps, Compatible with Games Consoles & Smartphone, Indoor & Outdoor Use
[ Built-in Official Licensed Google TV ] - Without additional equipment, the smart projector can directly access Netflix,...
As an affiliate, we earn on qualifying purchases.

Epson Home Cinema 980 3-Chip 3LCD 1080p Projector 4,000 Lumens Color and White Brightness, Streaming/Gaming/ Media Room, Built-In Speaker, Auto Picture Skew, 16000:1 Contrast, 2 HDMI Ports
Exceptional Picture Quality — Provides stunning, detailed 1080p images and fast data processing that’s optimized for fast-action sports,...
As an affiliate, we earn on qualifying purchases.