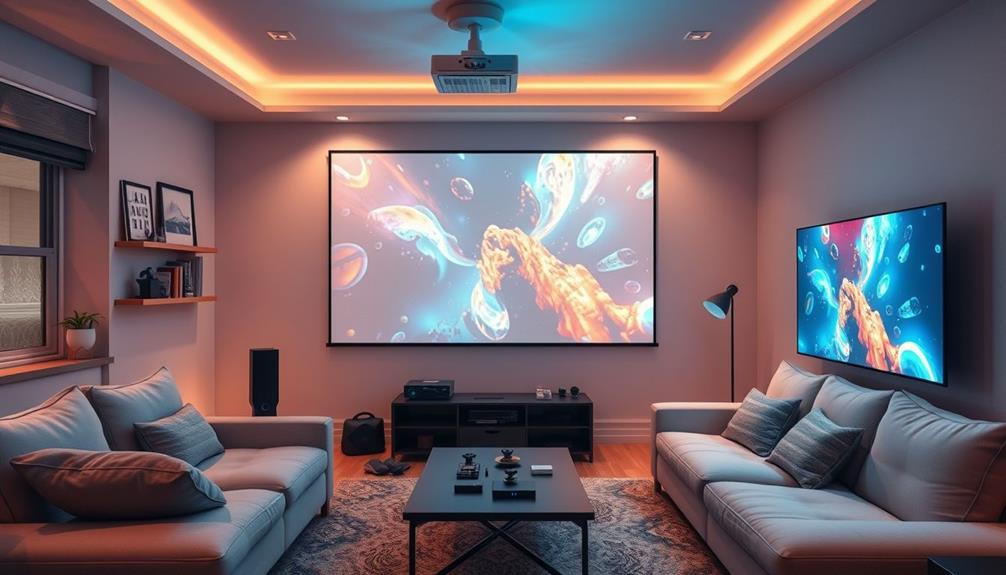
When troubleshooting common projector issues, start with basic checks. Confirm your power cord's plugged in and the power button's on. If the image looks blurry, adjust the focus and check the input source. For sound problems, secure audio connections and verify volume levels. If your projector's overheating, clear any dust from the air filter and confirm proper ventilation. Finally, inspect remote control batteries and verify no obstructions block the infrared sensor. These steps can quickly resolve many issues, but there are more tips and tricks to explore for a seamless experience.
Key Takeaways
- Verify power connections and check the power indicator light for functionality issues before proceeding with further troubleshooting.
- Adjust focus settings and ensure correct input source for optimal image quality during presentations.
- Maintain proper ventilation and clean air filters to prevent overheating and ensure projector longevity.
- Confirm all audio connections and select the correct audio input source to resolve sound issues effectively.

SOULWIT 50Pcs Self Adhesive Cable Management Clips - Black
🔷SUPER EASY TO USE: Stick to clean surface, open tab, insert multiple cables, close the tab, enjoy the...
As an affiliate, we earn on qualifying purchases.
Power and Functionality Issues
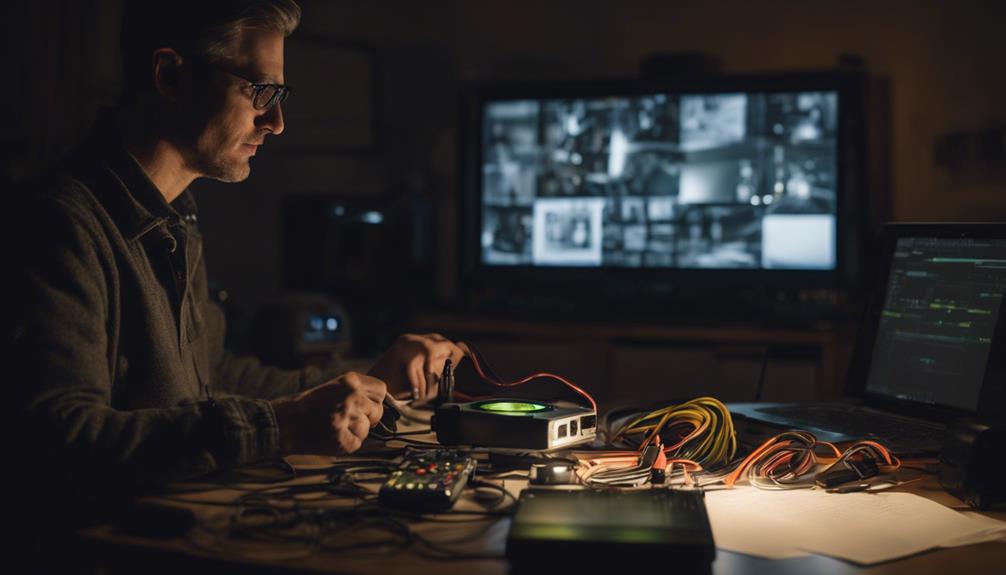
When your projector won't power on, it's essential to check a few key components to identify the issue.
Start by verifying that the power cord is securely connected, both to the projector and a working power outlet. If the connection seems fine but the projector still doesn't turn on, look at the power indicator light. If it's not lit, you might be dealing with a power issue or a blown fuse.
Next, confirm the power button is flipped to the "On" position. This minor detail can often be overlooked during troubleshooting. If you've checked both the power cord and button, try plugging the projector into a different power outlet. This helps rule out any problems with the original outlet.
If you've gone through these steps and your projector still won't power on, it might be time to seek professional help. Consult the manufacturer's technical support for further diagnostics and repair options. They can guide you through additional troubleshooting steps or suggest necessary repairs, making sure your projector gets back to functioning properly.

XHF 120 PCS Adhesive Cable Wire Clips Black, Outdoor Christmas Light Clips, Cable Management Wire Organizer Cord Holder for Under Desk, Car, Wall, TV PC Ethernet Cable
High quality material:XHF Adhesive Cable Clips are manufactured from Strong Adhesive and PA66 nylon
As an affiliate, we earn on qualifying purchases.
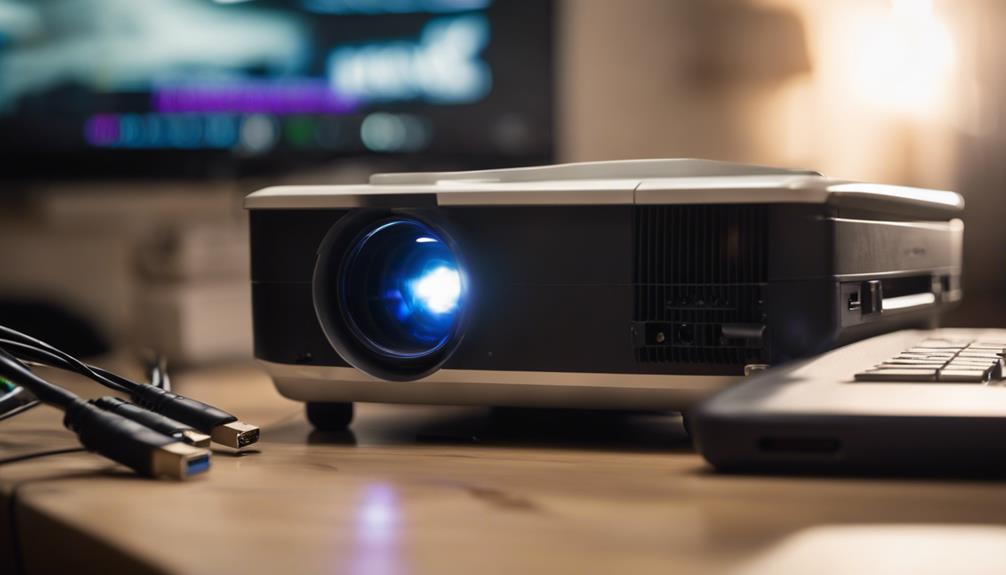
Image Quality Troubles

After resolving power and functionality issues, the next step is to address any image quality troubles that may arise during projector use. Start by checking the focus settings using the focus ring on the projector—improper focus can lead to blurry visuals.
Next, confirm the aspect ratio settings on both the projector and the source device match to avoid distortion or cropping. It's also vital to verify the correct input source is selected, as the wrong choice can result in no image or poor quality output.
Regularly cleaning the projector lens and air filters can greatly enhance image quality by improving light transmission. Finally, check the distance between the projector and the screen; it should be within the recommended range for best projection quality.
Here's a quick reference table for troubleshooting image quality issues:
| Issue | Solution | Additional Tip |
|---|---|---|
| Blurry Image | Adjust the focus ring | Verify distance to screen |
| Distorted Image | Match aspect ratio settings | Check both projector and source |
| Poor Brightness | Clean the projector lens | Regular maintenance is key |
| No Image Displayed | Confirm the input source is correct | Double-check all connections |
| Low Resolution | Adjust resolution settings | Use native resolution for best results |

120PCS XHF Adhesive Cable Wire Clips White, Cable Staples Outdoor Cable Management Wire Organizer Cord Holder for Under Desk, Car, Wall, TV PC Ethernet Cable
High quality material:XHF Adhesive Cable Clips are manufactured from Strong Adhesive and PA66 nylon
As an affiliate, we earn on qualifying purchases.
Overheating Concerns
Overheating can quickly become a serious issue for projectors, leading to automatic shutdowns that protect the device from damage. To combat overheating, guarantee your projector has proper ventilation. This means keeping it in an open space, away from walls or clutter that can restrict airflow. Regularly clean the air filter, as dust and debris can block airflow and contribute to overheating.
Consider using eco mode, which reduces brightness settings, lowers heat output, and helps prolong the lifespan of your projector. Be mindful of the ambient temperature in the room; excessively high temperatures can exacerbate overheating issues. Keeping your environment cool is essential for ideal projector performance.
If you experience persistent overheating concerns, check the internal fans. They should be functioning properly to circulate air effectively. If you're unsure, it might be time to consult a technician who can examine the internal components.
Addressing these overheating issues promptly won't only enhance your projector's performance but also extend its lifespan, making sure you get the most out of your investment.

Mini Projector, Portable Projector with Wifi and Bluetooth, Built in Apps
【Built-in WiFi & Bluetooth Projector with Apps】Dual-band WiFi 2.4G + 5G ensures fast and stable wireless streaming. Bluetooth...
As an affiliate, we earn on qualifying purchases.
Sound and Audio Problems
When you're facing sound and audio problems with your projector, start by checking all your audio connections to make sure they're secure.
You may also want to contemplate using headphone extension cables to enhance sound quality by reducing interference.
Next, adjust the volume settings on both the projector and the source device, as they could be too low or muted.
Taking these steps can often resolve the issue quickly.
Check Audio Connections
To guarantee clear sound during your presentation, start by checking the audio cable connections between the projector and your source device. Confirm that the connections are secure and properly plugged in.
If you're still facing issues, follow these steps:
- Verify that the correct audio input source is selected on the projector.
- Check the audio cable for any visible damage that might affect sound quality.
- Inspect any external speakers connected to the projector, confirming their connections and settings are functioning correctly.
Adjust Volume Settings
Adjusting volume settings is essential for guaranteeing that your presentation is heard clearly and effectively.
Start by checking that the correct audio source is selected on your projector. If the wrong source is active, you won't hear any sound.
Next, look at the volume settings on both the projector and the connected audio device, as they often have independent controls.
If you're using external speakers, verify the audio cables are securely connected and the speakers are powered on, with their volume set appropriately.
Sometimes, a simple restart of both the projector and the audio source can help troubleshoot any audio conflicts. This reset can fix issues that arise from incorrect settings.
If you're still facing sound problems after these steps, explore the projector's audio settings menu. There may be specific audio enhancements or settings that need adjusting.
Connection and Compatibility
Guaranteeing the right connection type and compatibility between your projector and source device is essential for avoiding display issues. Projectors can encounter various problems if the connection isn't set up correctly.
To troubleshoot, follow these key steps:
- Verify that all cables are securely connected and free from damage. Loose or damaged cables can disrupt the signal.
- Check the correct input source on the projector. If it's not set to the right source, you might see no image at all.
- Assess compatibility between the projector and your input sources. Confirm both devices support the same resolutions and refresh rates for peak performance.
Remote Control Difficulties

If your projector's remote control isn't responding, the first thing you should check is the battery.
Make certain they're fresh and inserted correctly, as this simple step can often solve the issue.
You might also want to adjust the remote control settings to guarantee everything's aligned for proper functionality.
Battery Inspection and Replacement
Start by checking the remote control batteries to verify they're properly installed and making contact with the terminals.
Perform a thorough battery inspection to ascertain everything is in order. If your remote control is unresponsive, it's likely due to weak or dead batteries, a common issue with electronic devices.
Here's how to address the problem:
- Use fresh, high-quality batteries that match the specifications in the remote control's manual, usually AA or AAA.
- Check the battery compartment for any corrosion or dirt that could interfere with electrical connections.
- Replace batteries if the remote is still unresponsive after inspection.
After replacing the batteries and verifying the sensors are clear, test your remote control again.
If issues persist, further troubleshooting may be needed, but often battery inspection and replacement will resolve the problem.
This simple step can save you time and frustration as you attempt to get your projector up and running smoothly.
Remote Control Settings Adjustment
Adjusting the remote control settings can considerably enhance its responsiveness and improve your overall projector experience. To tackle common remote control issues, follow these steps:
| Step | Action | Notes |
|---|---|---|
| 1 | Check Batteries | Confirm your remote has fresh batteries. Low power can affect performance. |
| 2 | Inspect Obstructions | Verify no obstructions are blocking the remote controls infrared sensor on the projector. |
| 3 | Verify Input Source | Make certain the correct input source is selected on the projector. An inactive source can prevent response. |
| 4 | Reset Remote | If issues persist, remove the batteries, press any button for 10 seconds, then reinsert them to reset. |
If you're still having trouble, consult the projector's manual for specific troubleshooting steps tailored to your model. Additionally, check the settings on your computer to confirm they align with the projector screen's requirements. Following these steps to fix common projector remote control difficulties can lead to a smoother presentation experience, helping you focus on your content rather than technical glitches.
Frequently Asked Questions
How Do You Troubleshoot a Projector Problem?
To troubleshoot a projector problem, start by checking the power source and connections. Confirm the correct input is selected. If issues persist, clean the lens, adjust settings, or consult the manual for guidance.
What Is the Most Likely Cause of the Projector's Display Problems?
Imagine a ship lost at sea; the most likely cause of its display problems is a misdirected compass. You've probably selected the wrong input source or connected loose cables, preventing the projector from shining bright.
Why Is My Projector Not Displaying?
If your projector's not displaying, check the input source, inspect cables for damage, verify the bulb's working, power cycle the devices, and confirm alignment with the screen. These steps usually resolve display issues.
What Is the Most Common Cause of a Dim Display for a Projector?
Did you know that about 60% of projector users experience a dim display? Often, it's due to an aging lamp. Check your brightness settings, clean the lens, and consider ambient light for better visibility.
Conclusion
To summarize, troubleshooting your projector doesn't have to feel like climbing Mount Everest!
By tackling power issues, image quality, and sound problems with this step-by-step guide, you'll transform your projector woes into triumphs faster than a cheetah on roller skates.
Remember, every glitch has a solution waiting just for you.
So, don't let a little hiccup ruin your movie night—grab your toolkit and show those projector problems who's boss!
You've got this!


")


")