Proper projector color calibration is essential for achieving true-to-life colors and enhancing your viewing experience. Start by evaluating the default settings using built-in test patterns. Then, use a colorimeter and calibration software to adjust RGB values for accuracy. Fine-tune brightness, contrast, and saturation to improve overall picture quality. Remember to regularly recalibrate your projector, especially after moving it or changing your room's lighting. Creating custom profiles for different viewing conditions will further enhance your setup. By following these steps, you'll enjoy vibrant and realistic images. There's plenty more where that came from if you want to enhance your projector's performance!
Key Takeaways
- Regular calibration ensures accurate colors and brightness, enhancing overall picture quality and extending projector lifespan.
- Use a colorimeter and calibration software for precise adjustments to RGB values and image settings.
- Proper room lighting and screen choice significantly impact picture quality; opt for matte screens and controlled lighting environments.
- Troubleshoot common issues like color distortion and blurriness by adjusting RGB settings and ensuring lens clarity.
- Save calibrated settings for different viewing conditions and conduct maintenance checks every six months to maintain color accuracy.

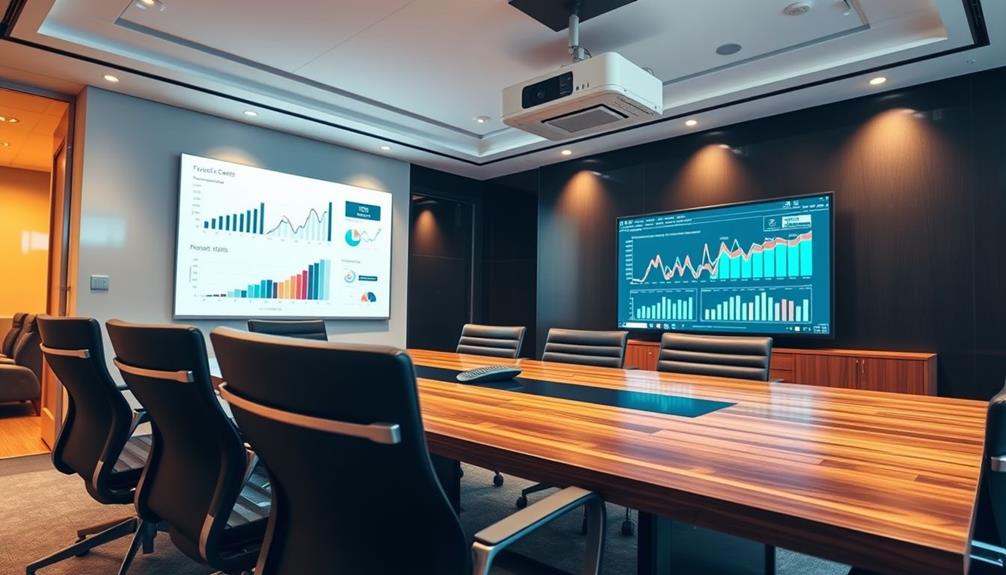
ViewSonic LS740W 5500 Lumens WXGA Laser Projector with 1.3X Optical Zoom, H/V Keystrone, 360 Degrees Projection for Auditorium, Conference Room, and Education
High Brightness Laser Projector: WXGA (1280x800p) resolution with a 1.2-1.5 throw ratio and 5,500 ANSI lumens for clear,...
As an affiliate, we earn on qualifying purchases.
Understanding Calibration Importance

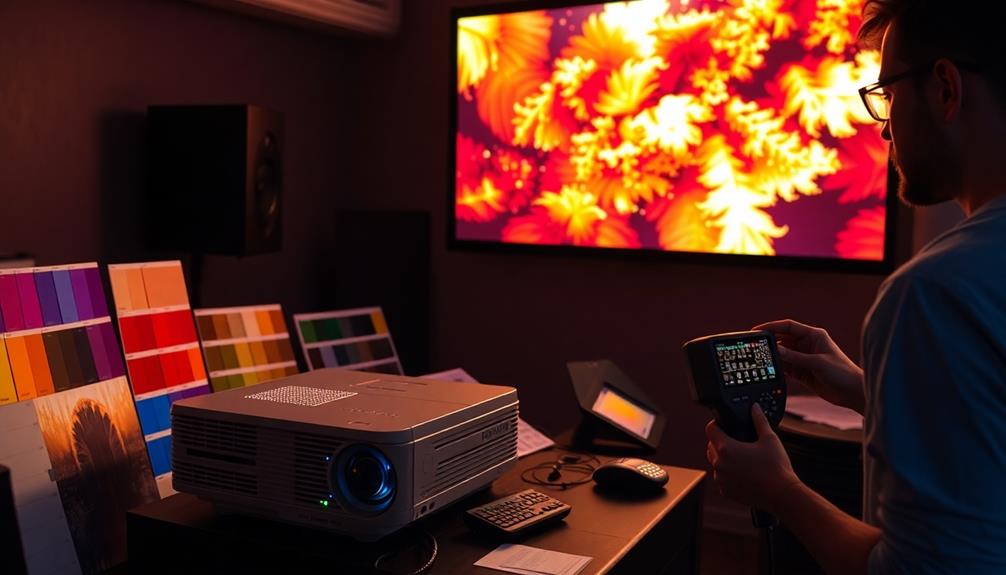
When it comes to enjoying your favorite movies or presentations, calibration is essential for getting the most accurate colors and brightness from your projector. Proper calibration guarantees your projector produces true-to-life colors, closely matching the original source material. This isn't just about aesthetics; it greatly enhances picture quality, preventing color distortion and blurriness that can detract from your viewing experience.
By regularly calibrating your projector, you can refine its settings for various lighting conditions. This means you'll achieve consistent and accurate color reproduction, whether you're watching a movie in a dim room or giving a presentation in bright daylight.
A well-calibrated projector also tailors settings beyond factory defaults, allowing you to create the best image for your personal preferences.
Moreover, calibration extends your projector's lifespan by reducing wear and tear, making it a smart investment in the long run. As you maintain ideal settings, you'll notice improved performance and increased cost-efficiency over time.

Denon AVR-X1700H 7.2 Channel AV Receiver - 80W/Channel, Advanced 8K HDMI Video w/eARC, Dolby Atmos, DTS:X, Built-in HEOS, Amazon Alexa Voice Control
HIGH-PERFORMANCE 7-CHANNEL AMPLIFIER WITH NEXT-GEN MOVIE IMMERSION - Enjoy Denon sound in movies, games, and music with full...
As an affiliate, we earn on qualifying purchases.
Essential Calibration Tools

Achieving ideal projector performance hinges on the right calibration tools. One of the most essential tools for this task is a colorimeter. This device measures color accuracy, allowing you to adjust your projector's color settings to meet industry standards for true-to-life visuals.
If you prefer a more interactive experience, calibration software or apps can guide you through the process, offering feedback on brightness and color balance adjustments.
For manual calibration, calibration discs or videos are invaluable. They feature test patterns specifically designed to help you fine-tune your projector for peak performance. Additionally, many projectors come with built-in test patterns that you can use for initial adjustments, guaranteeing your color and brightness are on point before diving into more advanced settings.
If you're looking for high precision, consider using a spectrophotometer. This hardware tool provides the most accurate measurements, making it ideal for professional calibrators focused on achieving unparalleled color reproduction.
With the right calibration tools at your disposal, you can guarantee your projector delivers stunning image quality and accurate picture settings that bring your content to life.

2000 ANSI 4K Decoding Projector with WiFi and Bluetooth, HAPPRUN Movie Home Theater with Auto Focus, 300'' Display for Indoor/Outdoor, Smart Proyector Compatible with Phone/TV Stick/PC/PS5
[EASIER OPERATION: AI Smart Screen Adjustment] HAPPRUN projector comes with auto focus and 6D auto-keystone technology, enjoy a...
As an affiliate, we earn on qualifying purchases.
Step-by-Step Calibration Process

Calibration is vital for releasing your projector's full potential. Start by using the built-in test patterns to evaluate your projector settings. Look for any obvious distortions or inaccuracies in color representation.
Once you've assessed the defaults, grab your colorimeter and calibration software. Measure and adjust the RGB values to align with standard reference points like Rec. 709 for HD content.
Next, focus on making fine adjustments to your brightness, contrast, and saturation settings based on feedback from the calibration tools. This step is important for achieving a balanced and vibrant image that reflects true-to-life colors.
Don't forget to run a uniformity check by projecting a single color across the screen. This will help you identify any inconsistencies or color imbalances. Make the necessary adjustments to guarantee even color distribution.
Finally, save your calibrated settings and create multiple profiles for different viewing conditions or content types. This way, you'll have quick adjustments ready based on your preferences or environmental changes.
- Assess default settings with test patterns
- Measure RGB values with a colorimeter
- Adjust brightness and contrast for balance
- Save profiles for varied viewing conditions

NexiGo Aurora Pro MKII, 4K Tri-Color Laser UST Projector, 30000:1 Contrast Ratio, Dynamic Iris & Laser Dimming, 0.21:1 Throw Ratio, Dolby Vision & Atmos, HDR10+, 3D, 4.2ms ~ 8ms Low Latency (Renewed)
【Scene Adapt Engine】Enjoy higher-contrast visuals with our Scene Adapt Engine (SAE), the technology behind Dynamic Iris and Dynamic...
As an affiliate, we earn on qualifying purchases.
Timing and Maintenance Recommendations

After you've calibrated your projector, it's important to contemplate how often you should check and maintain its settings. Start by performing an initial calibration right after setup to guarantee peak performance and accurate color reproduction.
Keeping in mind the role of color accuracy in overall image quality, recalibration is necessary if you make significant changes, like moving the projector or replacing the lamp.
To maintain color accuracy over time, schedule regular maintenance checks every six months. This helps adjust for any drift in color and makes certain your image remains sharp.
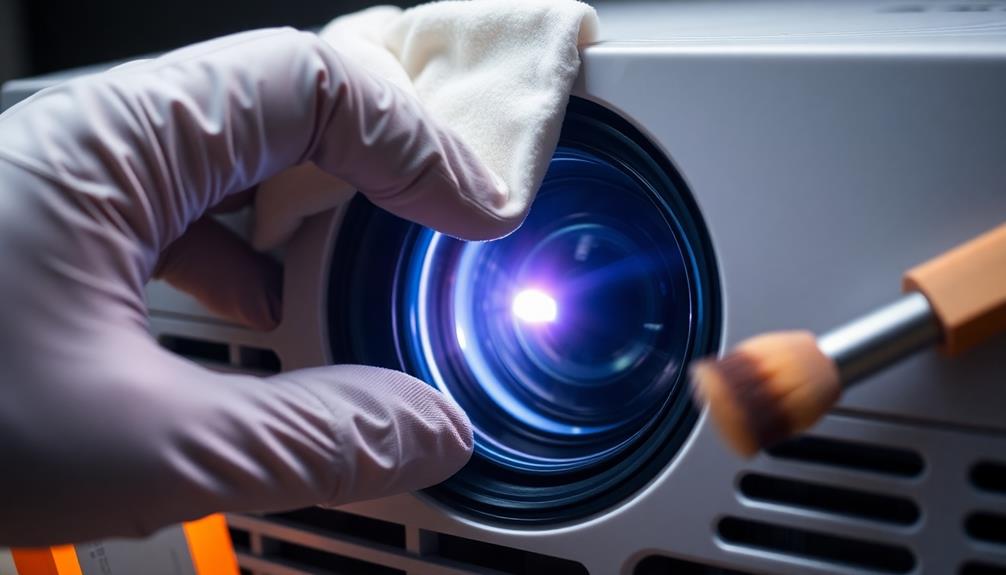
Don't forget that keeping the projector's lens and filters clean is vital for preventing image degradation, which can negatively impact your calibration efforts.
Additionally, make it a habit to regularly update your projector's software and firmware. This can resolve potential color distortion issues and enhance overall performance.
By staying on top of these timing and maintenance recommendations, you'll guarantee that your projector consistently delivers the true-to-life colors you expect.
Achieving Optimal Picture Quality

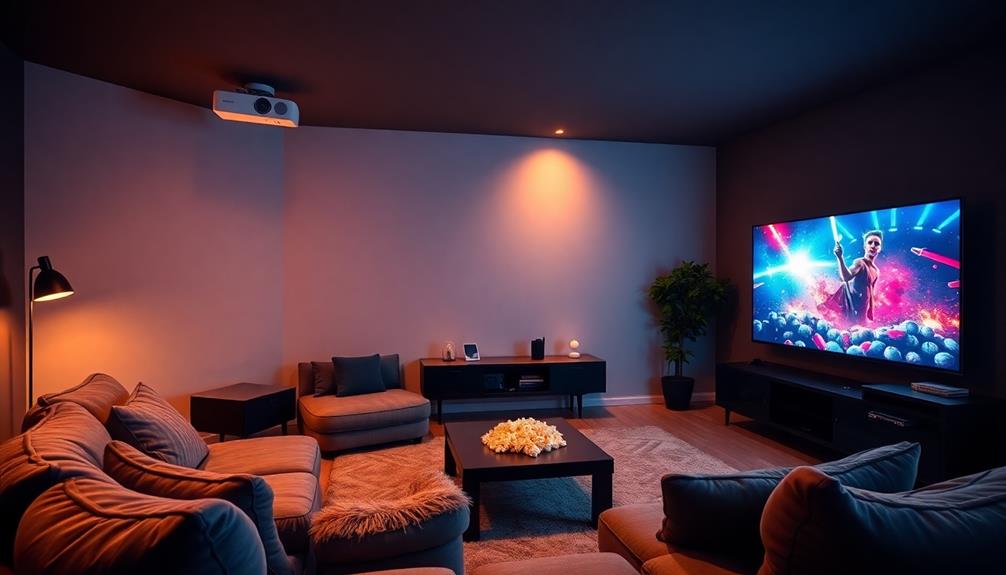
To achieve ideal picture quality, you need to take into account both room lighting and screen choice.
A darkened room can greatly enhance contrast, making your images pop, while selecting the right screen guarantees better color reproduction.
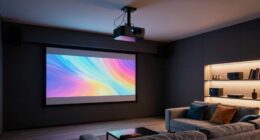
Optimal Room Lighting
Achieving ideal picture quality with a projector hinges on the right room lighting. To enhance your projected image, focus on creating suitable room lighting that minimizes ambient light and maximizes contrast and color depth.
Here are some key tips for achieving the best results:
- Use blackout curtains or shades to greatly reduce external light and improve image quality.
- Incorporate dimmable or indirect lighting to maintain a balanced environment, making sure the projector's brightness isn't overwhelmed.
- Choose a matte white or gray screen as it enhances brightness and color accuracy, especially in less-than-ideal lighting conditions.
- Position the projector correctly; consider its height and angle relative to the screen to avoid distortion and make suitable adjustments to brightness and contrast settings.
Proper Screen Choice
Selecting the right screen for your projector is essential for ideal picture quality, as it directly impacts brightness, contrast, and overall color accuracy. To achieve the best results, focus on proper screen choice. A white screen enhances brightness and color fidelity, while a gray screen offers improved contrast and black levels, particularly in brighter environments.
Make sure the screen's gain aligns with your projector's output; a gain of 1.0 is typically best for most projectors to maintain consistent brightness and color integrity. If you're working in a well-lit room, consider investing in ambient light rejection screens. These can considerably minimize reflections and uphold picture quality, ensuring your colors remain true-to-life.
Additionally, pay attention to the screen's texture and surface. Smoother surfaces provide better image quality from wider viewing angles, which helps maintain accurate colors across the entire screen.
Don't forget about screen size—select one based on your projector's resolution and your viewing distance to prevent pixelation. This careful consideration of screen choice will help you achieve optimal picture quality and a truly immersive viewing experience.
Troubleshooting Common Issues

When you're facing common projector issues like color distortion or blurry images, it's essential to address them promptly.
Start by adjusting the RGB settings for color balance and check the focus and lens for clarity.
These simple steps can greatly enhance your viewing experience.
Color Distortion Solutions
Color distortion can be frustrating, but there are effective solutions to troubleshoot and resolve these common issues. Start by recalibrating your projector to guarantee the color balance settings align with the original source material.
Regularly check for the "red push" issue, where excessive red tones dominate the image. This indicates misalignment of the RGB panels, which can be corrected through precise adjustments.
Utilizing calibration discs or software is vital to identify color inaccuracies. These tools guide you in adjusting brightness, contrast, and saturation levels for a balanced image.
If you still notice color distortion after making adjustments, inspect the projector's lens for dirt or smudges, as a dirty lens can notably affect color quality.
Finally, verify that your projector is properly aligned and level, as this prevents geometric distortions that might contribute to perceived color inaccuracies.
Here are some quick color distortion solutions to contemplate:
- Use calibration discs for accurate adjustments.
- Regularly clean the projector lens to remove dirt.
- Check and adjust RGB panel alignment.
- Verify proper keystone correction to maintain image integrity.
Blurry Image Fixes
After addressing color distortion, you might encounter blurry images, which can be just as frustrating. To tackle this issue, start by checking the projector lens for dirt and dust. A clean lens is vital for clarity.
Next, adjust the focus ring—this should be your final step after positioning and zoom adjustments. If you're still facing blurriness, make sure that the projector is aligned correctly. Use keystone correction to fix any trapezoidal distortion, which can contribute to a blurry appearance.
Also, double-check the distance between the projector and the screen. Being too close or too far can lead to image blurriness, so aim for the manufacturer's recommended distance.
Lastly, regular maintenance is important. Inspect your cables for any damage, and verify proper ventilation to prevent overheating, which can affect image focus and clarity.
Final Calibration Steps

Achieving the perfect projector setup requires a careful approach to final calibration steps.
You'll want to utilize a colorimeter along with specialized software to make precise color adjustments. This guarantees your projector output matches the original content as closely as possible.
Here are some key steps to follow:
- Conduct a uniformity check by projecting a single color across the screen to detect inconsistencies in brightness and color.
- Use built-in calibration patterns and test images to fine-tune settings for brightness, contrast, and saturation.
- Save your calibrated settings for various viewing environments or content types, allowing for quick adjustments based on preferences or lighting conditions.
- Regularly check color accuracy after significant usage or environmental changes to maintain peak performance and avoid drift over time.
Resources for Continued Support

For those looking to maintain and enhance their projector's color accuracy, a variety of resources can provide invaluable support.
Start by utilizing calibration discs or videos, which guide you through adjustments for achieving true-to-life colors. These tools can considerably enhance your overall viewing experience. If you're serious about precision, consider investing in a colorimeter. This device offers accurate measurements, enabling you to make detailed calibration adjustments that lead to higher fidelity in color reproduction.
Additionally, don't overlook the importance of accessing support resources like manufacturer manuals and online forums. These platforms are great for sharing tips and solutions for common calibration challenges, fostering a sense of community and shared learning.
Regularly check for software and firmware updates, as they often include improvements and fixes for color calibration processes. This guarantees your projector remains up-to-date with the latest standards.
Lastly, don't hesitate to engage with customer support services provided by your projector's manufacturer. They can provide personalized assistance and expert advice tailored to your specific model, helping you achieve ideal color calibration with ease.
Frequently Asked Questions
How to Get True Color on Display?
To get true color on display, use a colorimeter and calibration software. Adjust brightness, contrast, and saturation based on test patterns, and optimize the environment to enhance color fidelity and eliminate distortions.
How Do I Fix the Color Distortion on My Projector?
When colors dance like a painter's palette gone awry, you can fix distortion by recalibrating settings, checking alignment, using a colorimeter, and cleaning the lens. Guarantee proper setup distance to prevent further inaccuracies.
How to Professionally Calibrate a Projector?
To professionally calibrate a projector, you'll need a colorimeter and software. Assess color accuracy, adjust RGB balance, and check brightness and contrast. Save settings for different viewing environments and recalibrate regularly to guarantee peak performance.
Why Does My Projector Keep Changing Colors?
Your projector might keep changing colors due to incorrect settings, automatic adjustments, overheating, or faulty cables. Regular recalibration and ensuring proper ventilation can help maintain consistent color output and improve your viewing experience.
Conclusion
Now that you've navigated the essential steps to calibrate your projector, you're just one adjustment away from transforming your viewing experience. Imagine the thrill of seeing colors pop with stunning accuracy, bringing your favorite films to life like never before. But wait—before you plunge into your next movie night, make certain you've covered all the final touches. Don't let those small oversights ruin your masterpiece. Get ready to reveal a whole new world of vibrant visuals!