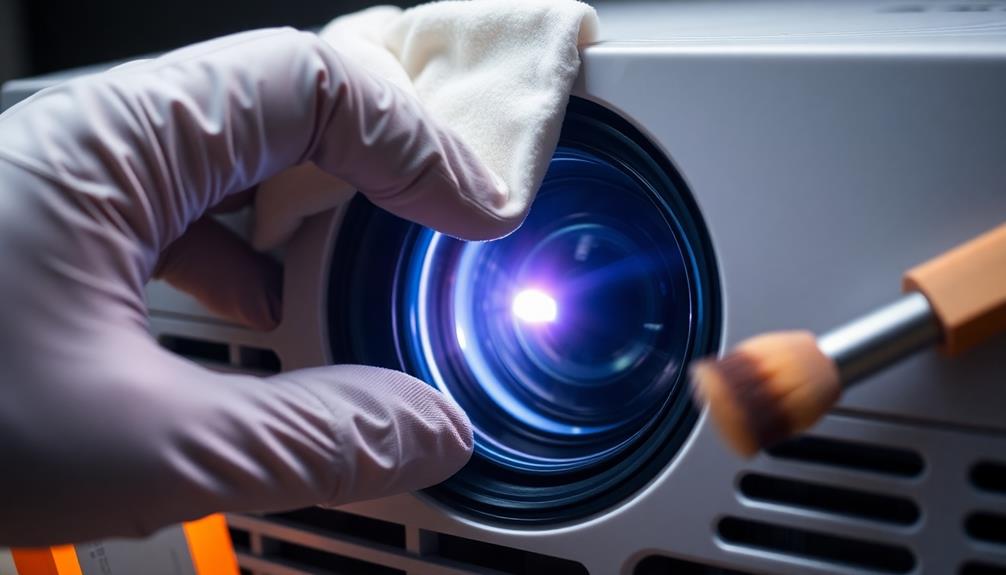

To maintain ideal image quality, regularly clean your projector lens. Start by powering off the projector and letting it cool for at least 20 minutes. Use compressed air to remove loose dust, then gently wipe the lens with a microfiber cloth dampened with lens cleaner. Always avoid spraying directly on the lens. Keep a log of your cleaning dates, and inspect the lens frequently for dust or smudges. Store your projector in a dust-free area and use a lens cap when it's not in use. Discover more essential tips to keep your projector performing at its best.
Key Takeaways
- Regularly inspect and clean the projector lens every few months to maintain optimal image quality and performance longevity.
- Use quality lens cleaners and microfiber cloths to avoid damaging lens coatings during the cleaning process.
- Always power off the projector and allow it to cool before cleaning to ensure safety and visibility.
- Store the projector in a dust-free environment with stable temperature conditions to prevent lens fogging and damage.
- Use a lens cap when not in use to protect the lens from dust and scratches.

SOULWIT 50Pcs Self Adhesive Cable Management Clips - Black
- 🔷SUPER EASY TO USE: Stick to clean surface, open...
- 🔷PREMIUM MATERIAL: Made from eco-friendly Polyamide66 material,...
- 🔷STICKY IN MANY SURFACES: Works on all clean surfaces...
As an affiliate, we earn on qualifying purchases.
Cleaning Tools and Supplies
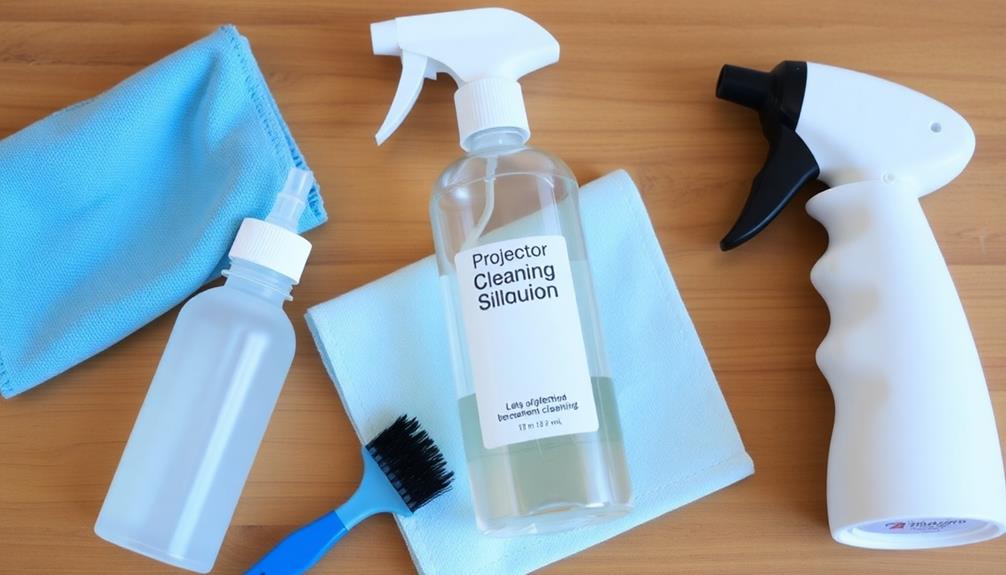
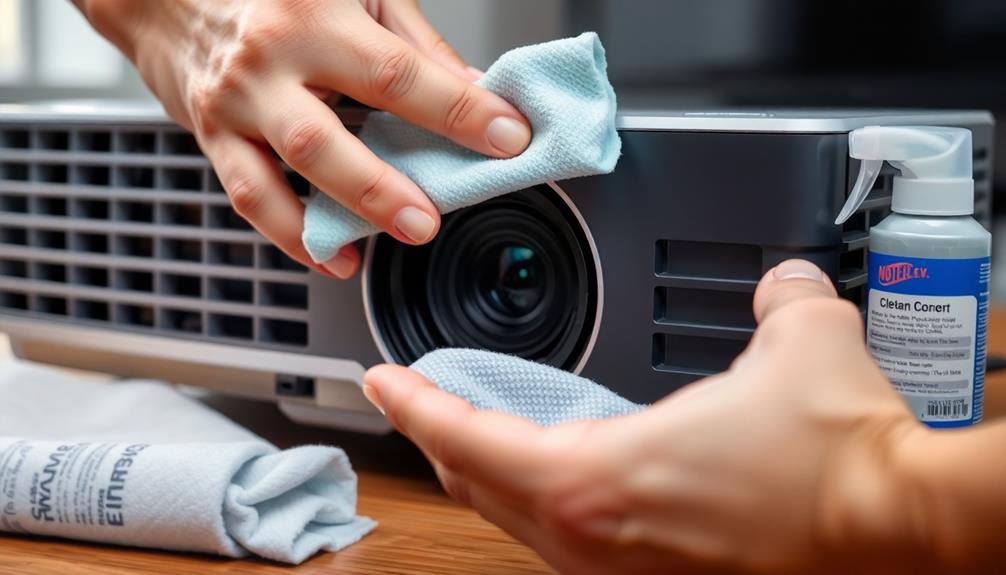
When it comes to keeping your projector lens in top shape, having the right cleaning tools and supplies is vital. Start with a quality lens cleaner specifically designed for optical surfaces. This guarantees you won't damage any special coatings during cleaning.
A microfiber cloth is your go-to for a smudge-free finish, while a lens brush or soft brush helps gently remove dust accumulation without scratching the lens.
Using compressed air or a manual blower is also important; it dislodges loose dust particles effectively. Avoid using alcohol wipes, as they can harm those delicate coatings. For added convenience, pre-moistened lens wipes offer a safe and effective cleaning solution that minimizes the risk of harsh chemicals.
Regularly inspect the lens to spot any dirt or smudges that could affect your image quality. Store your cleaning products, like microfiber cloths and lens brushes, in a dust-free environment to keep them contamination-free.

XHF 120 PCS Adhesive Cable Wire Clips Black, Outdoor Christmas Light Clips, Cable Management Wire Organizer Cord Holder for Under Desk, Car, Wall, TV PC Ethernet Cable
- High quality material:XHF Adhesive Cable Clips are manufactured...
- Widely used: USB Cable, Ethernet Cable, Outdoor...
- Size: Base 5/8" x 5/8", inner...
As an affiliate, we earn on qualifying purchases.
Preparations for Cleaning

Your projector's lens deserves careful preparation before cleaning to confirm ideal results. Start by making sure your projector is powered off and has cooled down for at least 20 minutes. This step not only prevents burns but also confirms your safety while handling the lens.
Next, inspect the lens closely for any visible dust, fingerprints, or smudges. This assessment will help you determine the level of cleaning required.
Here are three essential preparations to follow:
- Consult the User Manual: Refer to your projector's user manual for specific cleaning instructions tailored to your model, as different projectors may have unique care requirements.
- Use Compressed Air: Before using any cloth, apply short bursts of compressed air to gently remove loose dust particles from the lens without introducing moisture or risking damage.
- Test Cleaning Solutions: If you plan to use a lens cleaning solution, always test it on a small area first. This way, you can confirm it won't damage the lens coating before applying it more broadly.

120PCS XHF Adhesive Cable Wire Clips White, Cable Staples Outdoor Cable Management Wire Organizer Cord Holder for Under Desk, Car, Wall, TV PC Ethernet Cable
- High quality material:XHF Adhesive Cable Clips are manufactured...
- Widely used: USB Cable, Ethernet Cable, Outdoor...
- Size: Base 5/8" x 5/8", inner...
As an affiliate, we earn on qualifying purchases.
Cleaning Process Steps
To achieve a crystal-clear projection, follow these cleaning process steps carefully. First, power off your projector and unplug it, allowing it to cool for at least 20 minutes to prevent burns or electrical hazards.
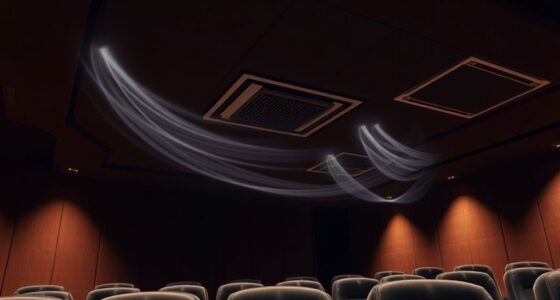
Once it's cool, grab a can of compressed air. Use short bursts of compressed air to remove loose dust particles from the lens, starting at the center and moving outward to avoid pushing debris further onto the surface. Maintaining the lens is essential, especially for top projector performance when watching movies or playing games.
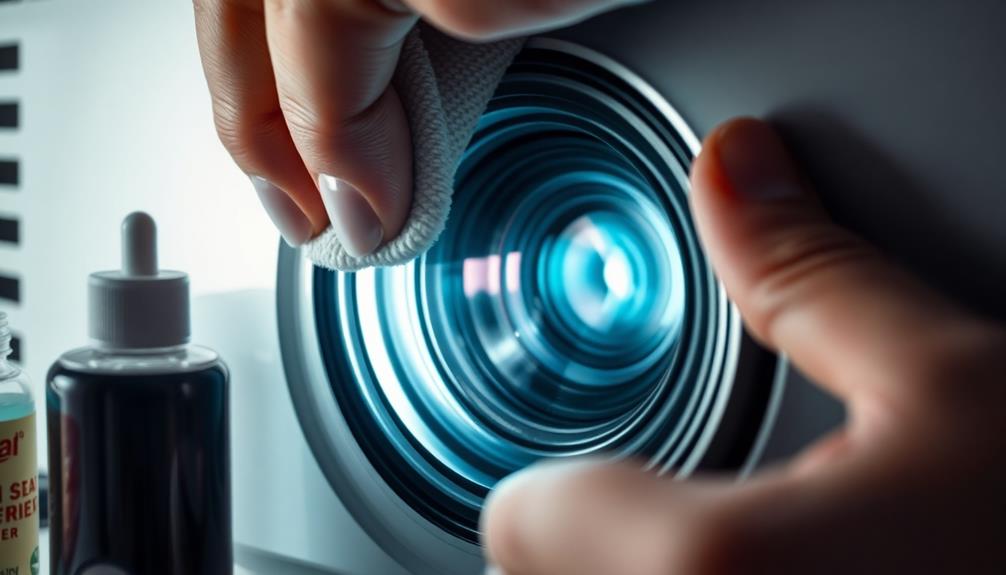
Next, take a soft, lint-free cloth and dampen it with a cleaning solution—never spray it directly on the lens. Gently wipe the lens in a circular motion to prevent streaks and scratches.
After cleaning, inspect the lens to verify no smudges or dust remain. If necessary, repeat the gentle wiping process with a clean area of the cloth or a new one.
To maintain peak image quality, regularly check and clean your projector lens based on usage and environmental conditions, ideally every few months or more frequently in dusty areas.
Following these steps will help keep your projector in excellent condition and enhance your viewing experience.

Mini Projector, Portable Projector with Wifi and Bluetooth, Built in Apps
- 【Built-in WiFi & Bluetooth Projector with Apps】Dual-band WiFi...
- 【HD Projection, Supports 4K Video Playback & Stereo...
- 【Dynamic Starry Sky Mode & 180° Rotatable Design】Activate...
As an affiliate, we earn on qualifying purchases.
Important Dos and Don'ts
Regularly following a few important dos and don'ts can greatly enhance the longevity and performance of your projector lens.
By taking the right precautions, you can guarantee ideal image quality while protecting your investment. Here are some key guidelines:
- Do use lens-specific cleaning solutions: Always opt for cleaners designed for projector lenses, as these will protect special coatings. Avoid using alcohol wipes, which can cause long-term damage.
- Do turn off your projector before cleaning: This guarantees safety and prevents overheating while you clean the lens. Additionally, it allows you to see any dust on the lens more clearly.
- Don't spray directly on the lens: Instead, apply the cleaning solution to a microfiber cloth. Gently wipe the lens in circular motions to avoid streaks and maintain an even application.
Remember to regularly inspect your lens for dust and smudges, but don't over-clean, as excessive wiping can wear down coatings.
Risks and Cleaning Frequency

How often should you clean your projector lens? The cleaning frequency largely depends on your usage and environment. Generally, it's wise to clean your lens every few months to maintain the best image quality.
If your projector operates in dusty conditions, you'll need to increase the frequency to combat dust buildup, which can degrade performance over time.
However, be cautious—over-cleaning can be just as damaging as neglecting your lens. Excessive cleaning might lead to wear on the lens coatings and potential damage. That's why it's important to conduct regular visual inspections to determine when cleaning is truly necessary. This proactive approach can save you from costly repairs or replacements.
When it comes to cleaning, be aware of the risks associated with improper techniques. Using abrasive materials can scratch the lens, while harsh chemicals might damage it further.
Stick to gentle cleaning techniques to promote longevity. Remember, maintaining your projector lens isn't just about cleaning; it's about doing it right to preserve image quality and extend the life of your equipment.
Additional Maintenance Tips
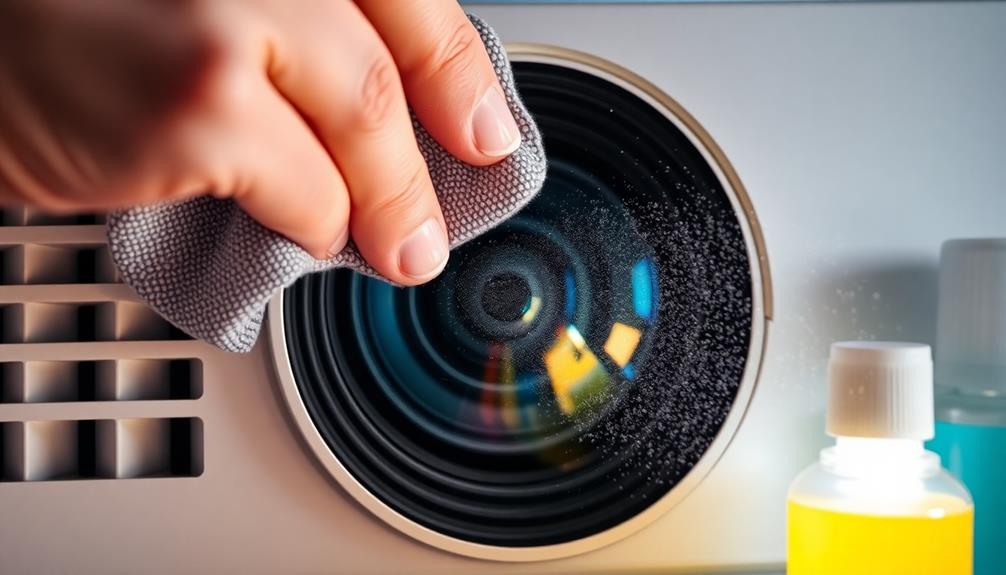
To keep your projector lens in top shape, regularly inspect it for dust and smudges that could hinder image quality.
Proper storage is equally important; always use the lens cap when the projector's not in use to protect against dust and scratches.
Regular Inspection Practices
Before each use, taking a moment to inspect your projector lens can greatly enhance image quality. A clean projector lens guarantees the projected image remains sharp and vibrant. Regular inspection practices help you catch any issues early, preventing deterioration in performance.
Here are three essential inspection practices:
- Visual Check: Examine both external surfaces and look for signs of internal dust accumulation. If you notice significant buildup, it might require professional servicing.
- Remove Loose Dust: Use a lens blower to gently eliminate any loose dust. This quick step can prevent scratches and maintain the lens's integrity.
- Gently Brush Remaining Dust: Utilize a microfiber cloth or a lens brush to gently wipe away any remaining dust or smudges. This guarantees you're not only maintaining clarity but also protecting the lens from damage.
Maintaining a log of your inspection dates and cleaning schedules is also vital. This habit helps you avoid the buildup of contaminants and guarantees peak performance.
If you operate in a dusty environment, you may need to increase the frequency of your inspections to keep your projector lens in top shape.
Proper Storage Techniques
Proper storage techniques are essential for maintaining the longevity and performance of your projector lens. Start by always using a lens cap when the projector isn't in use. This simple step helps protect the lens from dust, scratches, and accidental contact that could damage its coatings.
When you store projectors, choose a dust-free environment, ideally a dedicated case or bag. This minimizes exposure to particulate matter that can accumulate on the lens.
Make certain your storage area is cool and dry. Excessive heat or humidity can lead to lens fogging or harm internal parts, impacting projector maintenance and peak image quality. Avoid placing the projector near heat sources or in direct sunlight, as prolonged exposure can distort the lens and degrade its performance.
Regularly check your cleaning area to make certain it's free of dust and debris. Keeping your storage conditions in check not only maintains the projector's performance but also extends its lifespan.
Frequently Asked Questions
How to Properly Clean a Projector Lens?
To properly clean a projector lens, power off the device and let it cool. Use compressed air to remove dust, then gently wipe with a damp microfiber cloth in a circular motion for ideal clarity.
How Often Do You Need to Clean a Projector Lens?
When it comes to projector lens cleaning, you've got to strike while the iron's hot. Generally, every few months works, but if you're in a dusty area, monthly checks might be necessary to keep clarity sharp.
Does Projector Lens Shift Affect Picture Quality?
Yes, projector lens shift can affect picture quality. If you overdo it, you might notice distortion or reduced brightness. Keep adjustments within the recommended range to maintain clear, vibrant images and avoid any degradation.
Can You Use Alcohol Wipes on a Projector Lens?
You shouldn't use alcohol wipes on a projector lens. They can damage the lens coatings, impairing image quality. Instead, opt for microfiber cloths and lens-specific cleaning solutions to keep your projector in top shape.
Conclusion
By keeping your projector lens in pristine condition, you'll guarantee a consistently brilliant viewing experience. Embrace the art of gentle care and regular maintenance, as this not only enhances image clarity but also extends the lifespan of your equipment. Remember, a little attention goes a long way in preserving the integrity of your visuals. So, treat your projector lens with the respect it deserves, and it will reward you with exceptional performance for years to come.