
To use your projector for video conferencing, start by ensuring it's connected to the internet. Next, download the TeamViewer Meeting app, connect your webcam and speakers via USB, and adjust the projector height for eye-level visibility. Launch the app, select "Start Meeting," and share the meeting ID with participants. During the meeting, activate your microphone and camera for clear communication. Finally, regularly check your audio settings and adjust the speaker volume for clarity. These steps will create a professional virtual meeting space, and there's even more to explore to optimize your setup.
Key Takeaways
- Ensure the projector is connected to a network with Internet access and verify power supply before starting the meeting.
- Download and install the TeamViewer Meeting app on the projector for video conferencing functionality.
- Connect a webcam and peripheral devices to the projector's USB ports for enhanced audio-visual communication.
- Adjust the projector height and lens orientation to capture participants at eye level for a professional appearance.
- Regularly test all equipment and settings, including audio and video quality, to resolve issues before the meeting starts.

Official Licensed Google TV Smart Projector, HAPPRUN 4K UHD Home Theater with Dolby Sound, Wi-Fi & Bluetooth, Built-in Streaming Apps, Compatible with Games Consoles & Smartphone, Indoor & Outdoor Use
[ Built-in Official Licensed Google TV ] - Without additional equipment, the smart projector can directly access Netflix,...
As an affiliate, we earn on qualifying purchases.
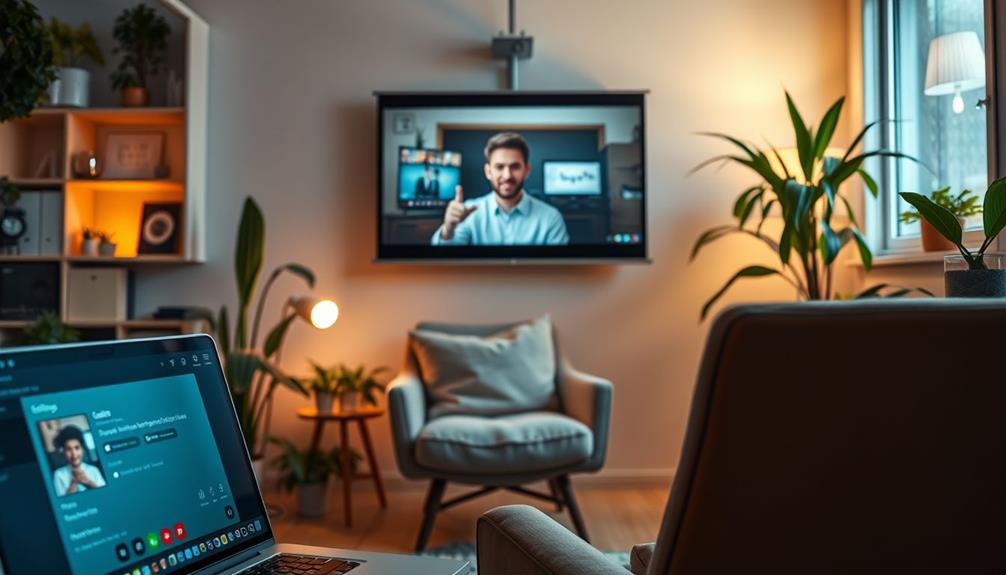
Preparing for Video Conferencing
Preparing for video conferencing starts with ensuring your smart projector is set up for ideal performance. First, check that your Wireless Smart projector is connected to a network with Internet access. This connection is fundamental for seamless video conferences and virtual meetings.
Additionally, using a headphone amplifier can greatly enhance your audio experience, especially when paired with high-impedance headphones. Next, download and install the TeamViewer Meeting app via the BenQ Suggests app on the projector to access fundamental video conferencing features.
To enhance your video and audio quality, connect a webcam and any necessary peripheral devices, like external speakers or a keyboard, using the USB port on the projector.
Proper positioning is vital; adjust the projector's height and lens orientation to capture participants at eye level. This adjustment fosters better engagement during meetings.
![Projector with 5G WiFi and Bluetooth, Native 1080P Projector[Projector Screen Included], Full HD 18000LM Movie Projector, 100" Display Home Theater, Compatible with Phone/Laptop/TV Stick](https://m.media-amazon.com/images/I/51tJ+dTl5qL._SL500_.jpg)
Projector with 5G WiFi and Bluetooth, Native 1080P Projector[Projector Screen Included], Full HD 18000LM Movie Projector, 100" Display Home Theater, Compatible with Phone/Laptop/TV Stick
【2.4G/5G Dual-Band Wifi & Bluetooth Connection】 Roconia projector supports screen mirroring on iOS, Android and Windows devices without...
As an affiliate, we earn on qualifying purchases.
Setting Up the Projector
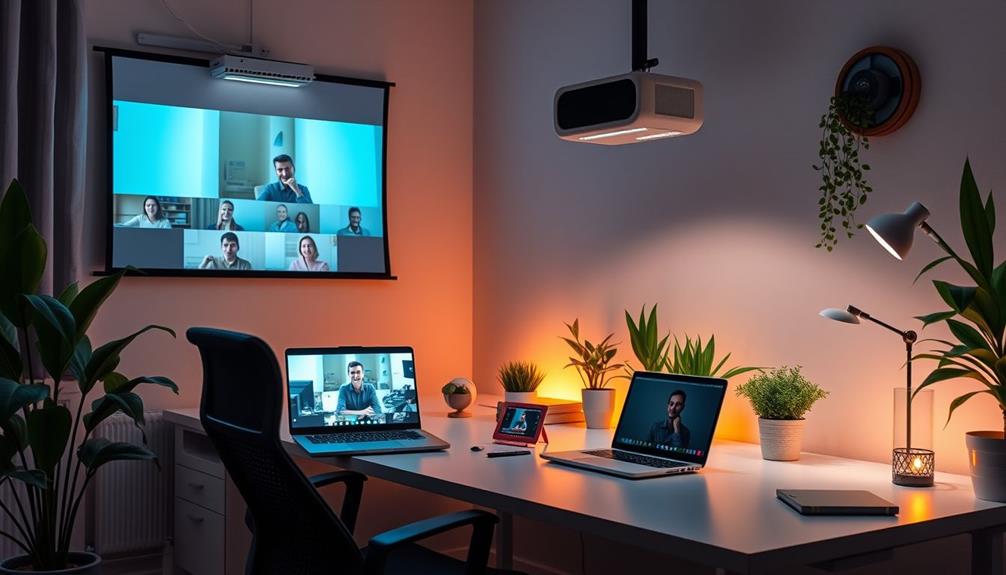
When setting up your projector for video conferencing, it's essential to verify everything is in working order. First, make certain your smart projector is connected to a network with Internet access and check its power supply.
Once that's confirmed, download and install the TeamViewer Meeting app from the BenQ Suggests app found in the projector's Corporate tab. This app will provide the necessary video conferencing capabilities and enhance your overall meeting experience, similar to how unique voiceover style enhances storytelling.
Next, connect any peripheral devices like a webcam, external speakers, or a keyboard to the projector's USB ports. This step enhances functionality and guarantees a smoother experience during your meeting.
After connecting your devices, launch the TeamViewer Meeting app and select "Start Meeting." Don't forget to share your meeting ID with remote participants to facilitate their access to the video conference.

Epson Home Cinema 980 3-Chip 3LCD 1080p Projector 4,000 Lumens Color and White Brightness, Streaming/Gaming/ Media Room, Built-In Speaker, Auto Picture Skew, 16000:1 Contrast, 2 HDMI Ports
Exceptional Picture Quality — Provides stunning, detailed 1080p images and fast data processing that’s optimized for fast-action sports,...
As an affiliate, we earn on qualifying purchases.
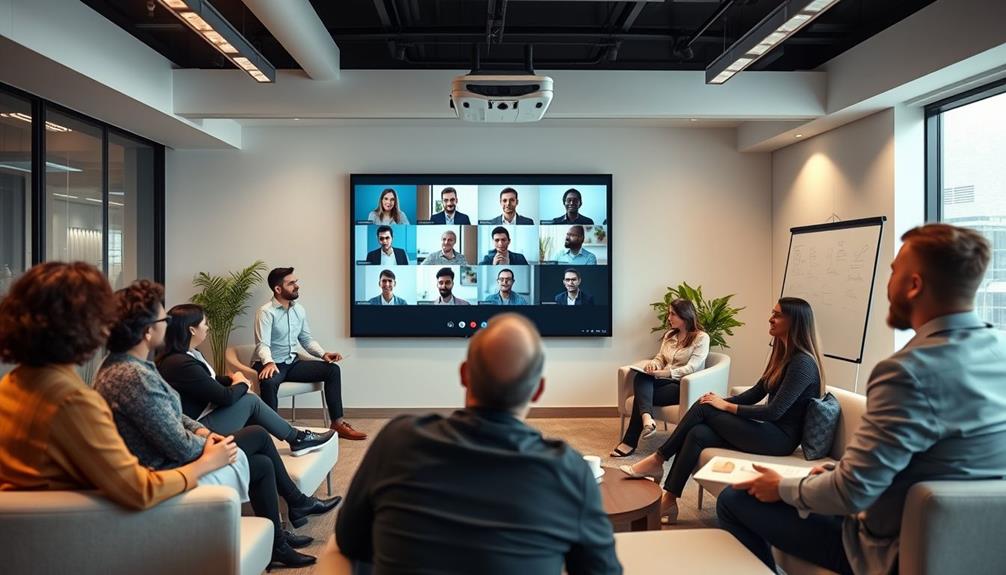
Conducting the Meeting

With everything set up and ready to go, it's time to conduct your meeting. Start by launching the TeamViewer Meeting app on your smart projector and selecting "Start Meeting." This generates a unique meeting ID for your video conference. Distribute this ID to remote attendees so they can join seamlessly.
Integrating AI security measures can enhance your video conferencing experience by guaranteeing the protection of sensitive information shared during the meeting, acting as a silent guardian of sensitive information.
Next, focus on the audio-visual setup:
- Activate the microphone and video features: This guarantees everyone can hear and see each other clearly.
- Adjust the speaker volume: Set it to a comfortable level within the conference room, avoiding distortion or echo.
- Utilize projector adjustments: Make sure to fine-tune the height and keystone settings, guaranteeing a clear and well-framed image for all participants.
- Encourage engagement: Directly involve remote attendees by asking for their input and addressing them by name.
1500 ANSI Official Licensed Google TV Smart Projector, HAPPRUN 4K Full HD Home Theater with Auto Focus, Dolby Sound, Wi-Fi Bluetooth, Built-in Apps, Compatible with Phone & PC, Indoor & Outdoor Use
[ Built-in Officially Licensed Google TV ]-Enjoy the reliability of an officially certified Google TV projector. Stream Netflix,...
As an affiliate, we earn on qualifying purchases.
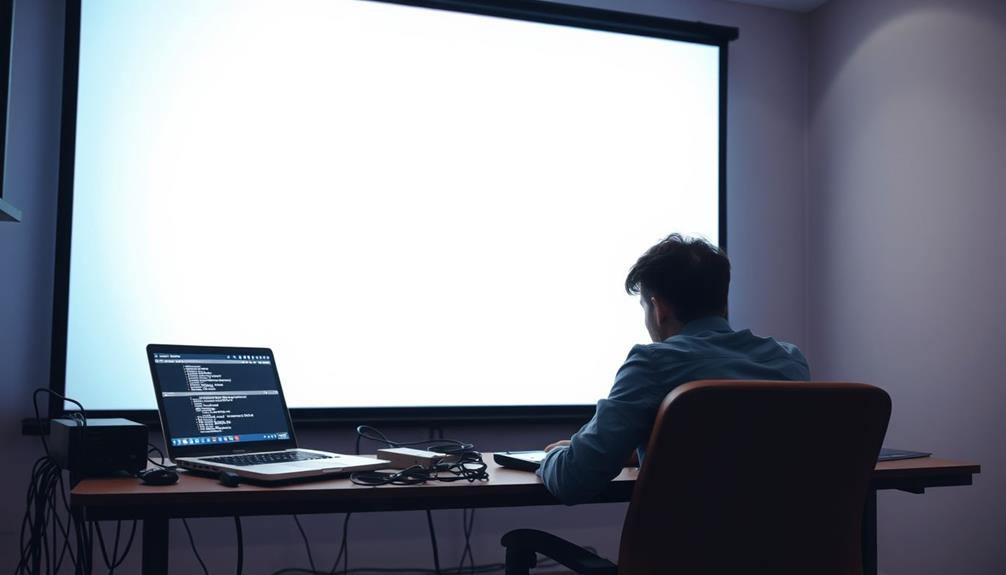
Adjusting Equipment Settings
To guarantee a smooth video conferencing experience, fine-tuning your equipment settings is essential. Start by adjusting the height of your projector using its height adjustment components. This confirms the projection angle is ideal for viewing during your meetings.
Position your webcam slightly above head level to enhance eye contact with remote participants, which boosts engagement. Additionally, consider using a faster application method to streamline your setup process, similar to how airless paint sprayers efficiently cover large surfaces.
Next, utilize the remote control to modify the keystone settings. This helps correct any image distortions caused by projector placement. Remember, higher values will shrink the bottom of the image, while lower values will shrink the top.
Adjust the projector lens orientation to focus on eye level for a more professional appearance during video calls.
Don't forget about audio! Regularly check and adjust the speaker volume settings on the projector to confirm audio clarity and an appropriate volume for all meeting participants.
The screen size also matters; make sure your projected image fits well within the meeting room space, so everyone can see clearly. By carefully adjusting these equipment settings, you'll create an ideal environment for effective virtual meetings.
Troubleshooting Common Issues
During video conferencing, common issues can disrupt your meeting and reduce engagement. Here are some troubleshooting tips to help you stay connected and guarantee a smooth experience:
1. Check Connections: Make sure all devices, including your projector, webcam, and speakers, are properly connected and recognized by your system. A loose cable can lead to frustrating interruptions.
Additionally, confirm that your projector is compatible with your computer's output settings to avoid any connectivity issues.
2. Adjust Keystone Settings: If your projector's image looks distorted, use the remote control to adjust the keystone settings. This is especially important if the projector isn't positioned directly in front of the screen.
For ideal image quality, verify that the distance between the projector and the screen is appropriate for your specific model, similar to how proper suction in a vacuum enhances cleaning performance self-cleaning brush roll.
3. Verify Audio Settings: If you're experiencing audio problems, double-check that your microphone and speaker settings are enabled in the TeamViewer Meeting app.
Don't forget to adjust the volume on both the projector and any external speakers.
4. Enhance Video Quality: For poor video quality, position the webcam at eye level and confirm there's adequate lighting in your space.
This helps remote participants see you clearly.
Conclusion
In the domain of virtual meetings, your projector can transform a dull conference into a dynamic experience, much like a spotlight illuminating a stage. By following these steps, you'll create an engaging environment where ideas flow and collaboration thrives. Remember, with a little preparation and the right adjustments, you can turn your living room into a boardroom, making every meeting feel as impactful as a TED Talk. So go ahead, let your projector shine!