To create a virtual window effect with your projector, start by choosing a high-lumen projector (ideally over 9,500 lumens) for vibrant images. Set up your space in a dark room and use blackout curtains to minimize light interference. Connect your projector to OBS, ensuring it's selected as the display output, and utilize the transform feature to crop images perfectly. Select engaging, high-quality video content that offers stunning visuals. Finally, layer in ambient sounds that match your visuals for added immersion. There are more tips and tricks that can elevate your experience even further.
Key Takeaways
- Choose a high-lumen projector (above 9,500 lumens) to ensure vibrant and clear visuals for an immersive window effect.
- Select high-quality, scenic video content that showcases natural landscapes to enhance the virtual window experience.
- Utilize blackout curtains and dim ambient lights in the room to create a darkened space that enhances projection clarity.
- Adjust the projector's aspect ratio and use OBS to crop and transform images for a polished, realistic window effect.
- Incorporate ambient soundscapes synchronized with visuals to deepen immersion and create a cohesive virtual environment.
![[Now with Netflix & 2000ANSI] 4K Smart Projector with WiFi and Bluetooth,Auto Focus & Keystone Portable Mini Projector with Stand,Outdoor Home Theater Small Proyector for bedroom white](https://m.media-amazon.com/images/I/51+w1LIZZBL._SL500_.jpg)
[Now with Netflix & 2000ANSI] 4K Smart Projector with WiFi and Bluetooth,Auto Focus & Keystone Portable Mini Projector with Stand,Outdoor Home Theater Small Proyector for bedroom white
[Built in APP- Cinema-Quality Streaming] This Smart projector with wifi and bluetooth comes with pre-installed with YouTube, and...
As an affiliate, we earn on qualifying purchases.
Choosing the Right Projector
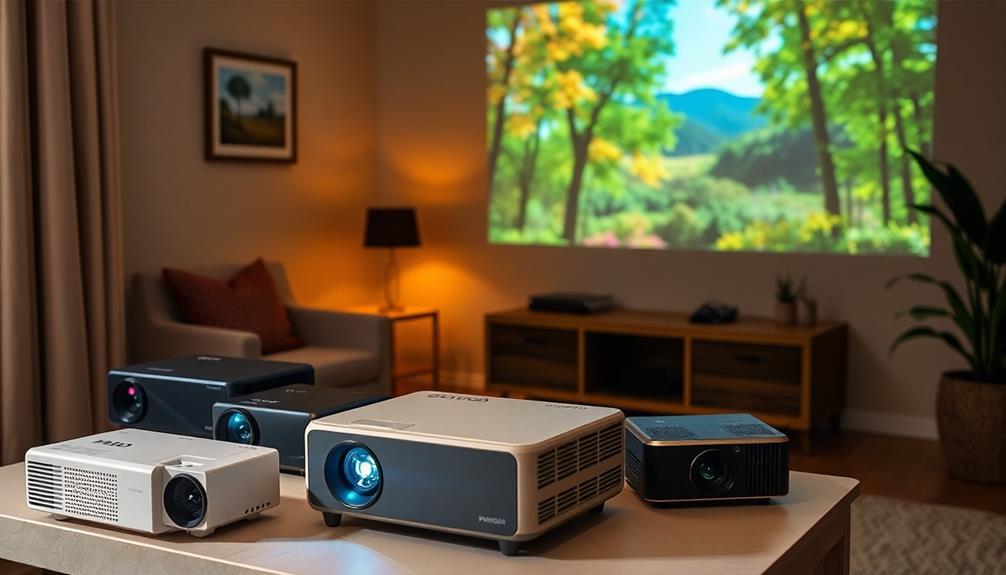
When you're choosing the right projector for creating a virtual window effect, aim for models with lumen ratings above 3,000. High lumen ratings are vital to guarantee bright and vibrant images, especially in varied lighting conditions. You don't want your simulated window to fall flat or appear washed out, so verify the lumen ratings by reading customer reviews—manufacturers' claims can often be misleading.
Additionally, proper projector bulb maintenance can greatly enhance the brightness and longevity of your projector's performance. Next, consider the projector's resolution. A minimum of 1080p is recommended for clear, detailed imagery that enhances the virtual window effect. If the resolution is too low, the visuals may not look convincing, which could detract from the experience.
Additionally, look for projectors that allow for easy image cropping and transforming within your streaming software. This feature is important, as it guarantees you can tailor the projected visuals to fit your preferred window dimensions seamlessly. The ability to adjust the aspect ratio can make all the difference in achieving a polished, professional look.
![[3500 ANSI/ Official Apps/65W Audio] Outdoor 4K Projector with WiFi and Bluetooth, Auto Focus, Auto Keystone Smart Projector Support DoIby Audio, 2026 Upgrade GO2 Short Throw Projector with 360°Stand](https://m.media-amazon.com/images/I/41-laeqxhwL._SL500_.jpg)
[3500 ANSI/ Official Apps/65W Audio] Outdoor 4K Projector with WiFi and Bluetooth, Auto Focus, Auto Keystone Smart Projector Support DoIby Audio, 2026 Upgrade GO2 Short Throw Projector with 360°Stand
3500 ANSI Lumens & 360°Rotatable Stand---With upgrade 3500 ANSI lumens brightness, the GO2 outdoor projector offers bright, vibrant...
As an affiliate, we earn on qualifying purchases.
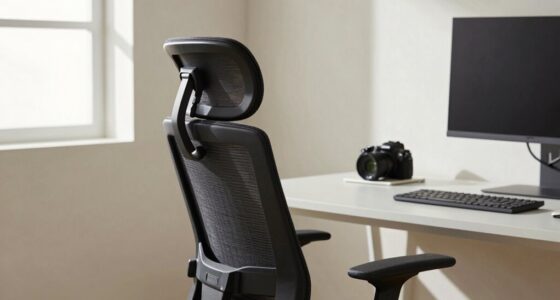
Setting Up Your Space
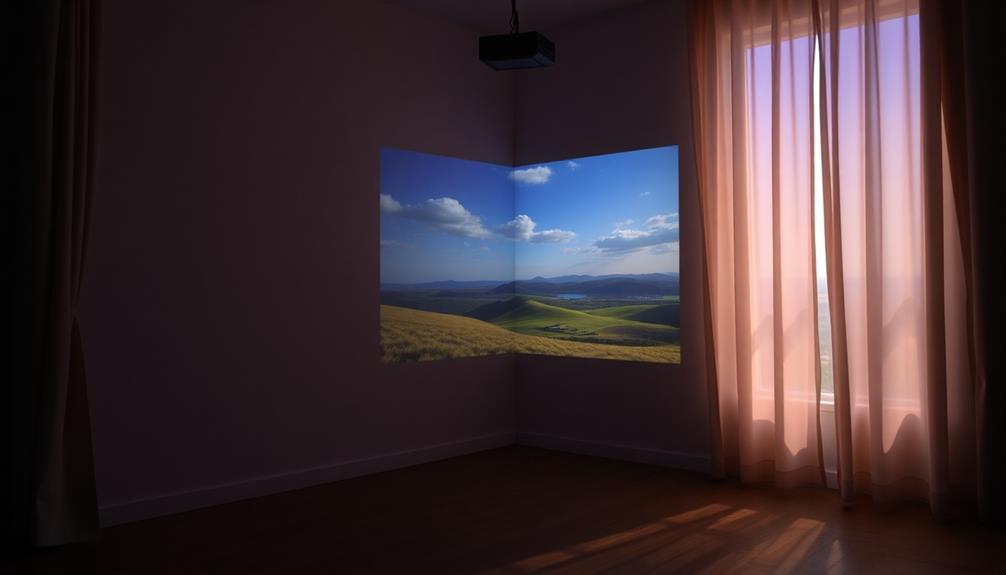
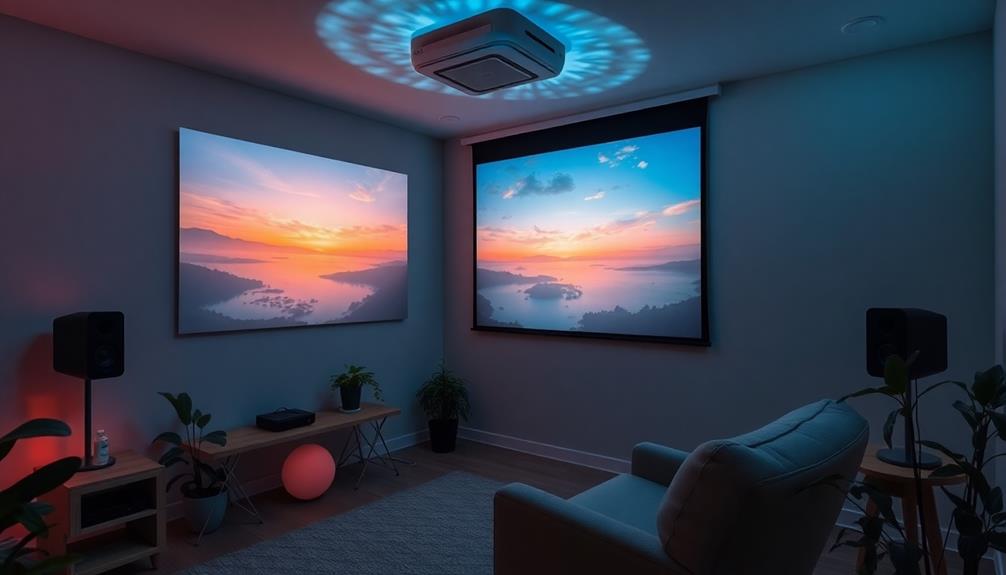
Creating the right atmosphere is essential for achieving a stunning virtual window effect with your projector. Start by ensuring your streaming space is dark; minimizing ambient light greatly enhances the clarity and vibrancy of the projected image. This means incorporating blackout curtains on your windows to eliminate any external light interference, allowing the projected content to stand out effectively.
Next, choose a projector with a high lumen rating—ideally over 9,500 lumens. This will improve visibility and create a more realistic effect, as verified by customer reviews.
Position your projector creatively to maintain a clean aesthetic in your streaming environment. Consider using black wrap and decorative elements to conceal any equipment, keeping the focus on the projection itself.

【Officially-Licensed APP & Native 1080P】 Thinnest 1.81" Smart Mini Projector with WiFi and Bluetooth, Auto Focus & Keystone Portable Outdoor Projector, VOPLLS 4K Support Home Movie Projector
【Compatibe with Netflix, No Extra Devices Needed】This isn’t just a projector—it’s your "Hollywood Digital Pass." Instantly access a...
As an affiliate, we earn on qualifying purchases.
Configuring OBS for Projection
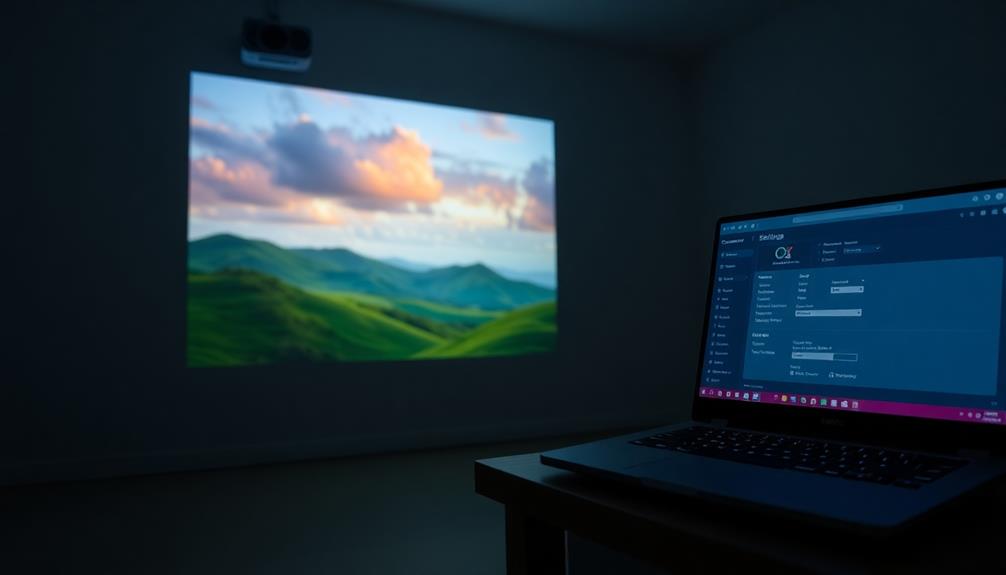
Configuring OBS for projection is a straightforward process that can greatly enhance your virtual window effect. First, make sure your projector is connected and recognized as a monitor within the OBS settings. This will allow you to utilize full-screen preview capabilities, which is essential for an immersive experience.
Next, you'll need to select the projector as the display for the OBS canvas. You can do this by directing to the "Settings" menu and choosing the appropriate display output option. This guarantees that your content is projected accurately.
Lastly, use the "Transform" feature in OBS to crop and adjust the projected images. This helps fit the desired aspect ratio and guarantees ideal visual alignment.
To help you get started, here are some key steps:
- Connect your projector and check its recognition in OBS.
- Set the projector as your display output in OBS settings.
- Adjust your media sources and transform settings for the best visual experience.

TMY 1080P Full HD Portable Mini Projector, Bluetooth Movie Projector, Compatible with TV Stick/Smartphone/PC/Game Console/HDMI/USB, Indoor & Outdoor Use, with Projector Screen
【Everything You Need – 80" Foldable Projector Screen Included】No need to spend extra on a separate screen. We’ve...
As an affiliate, we earn on qualifying purchases.
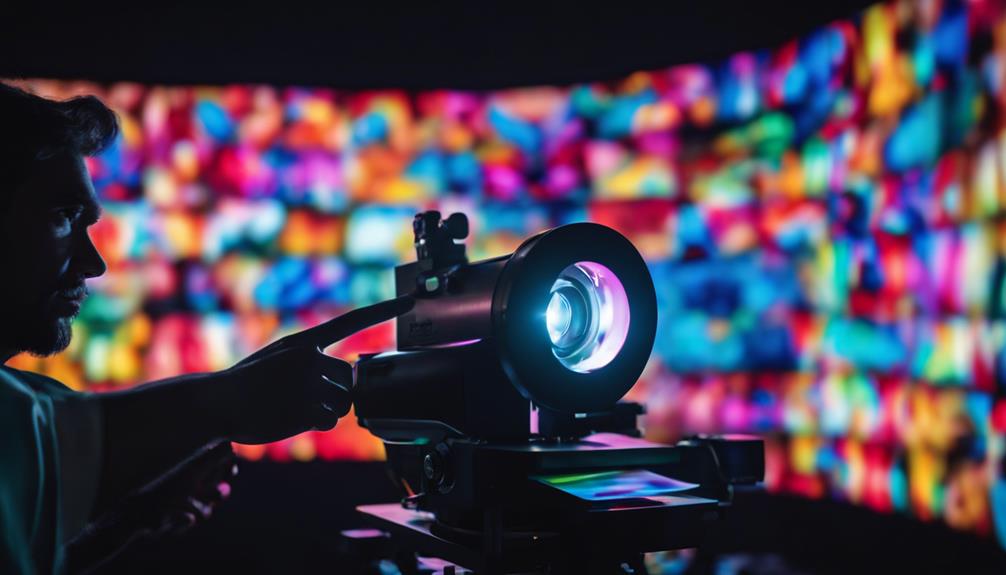
Optimizing Lighting Conditions
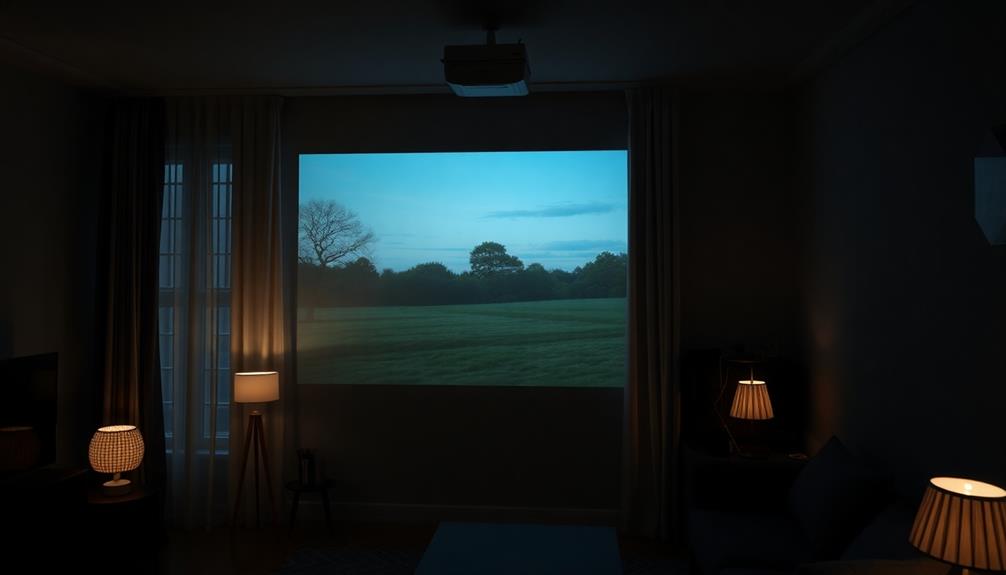
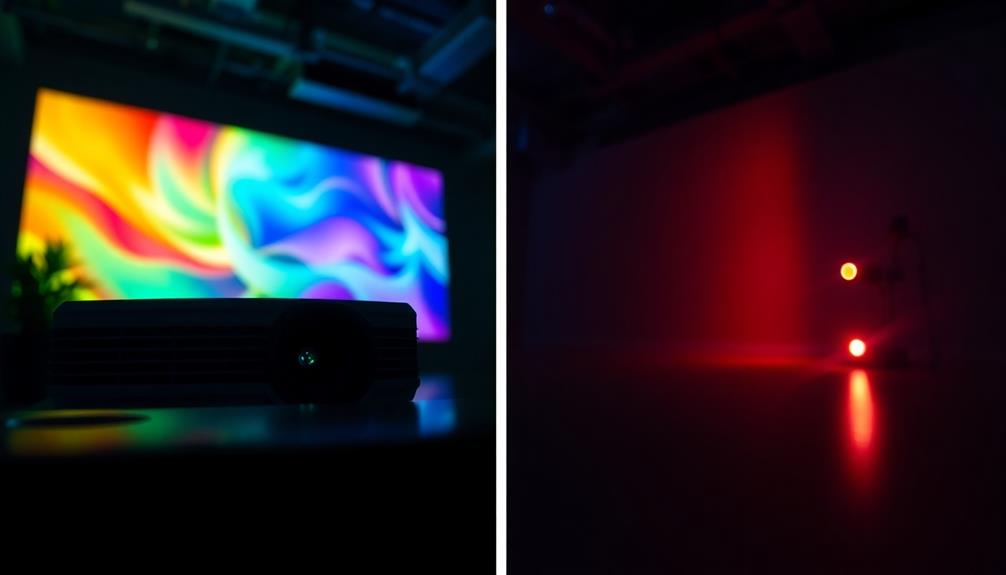
Achieving the best projection quality requires careful attention to your lighting conditions. To create a stunning virtual window effect, you'll want to minimize ambient light in your streaming room. A darkened space enhances the vibrancy and clarity of your projected images, making them more immersive.
Dimming the lights not only elevates the aesthetic but also reduces glare and distractions, allowing your content to shine.
When working in low-light conditions, consider using a high-quality camera like the Blackmagic Pocket 4K, which can dramatically improve color and exposure capture. This will guarantee your projection appears dynamic and engaging.
Additionally, you should carefully adjust your camera settings, including exposure and focus, to complement the controlled environment you're aiming for.
Selecting Appropriate Content
When it comes to selecting appropriate content for your virtual window effect, the right visuals can transform your streaming room into an immersive experience. To achieve this, focus on using high-quality videos that captivate your audience and enhance the overall atmosphere.
Here are three key points to take into account:
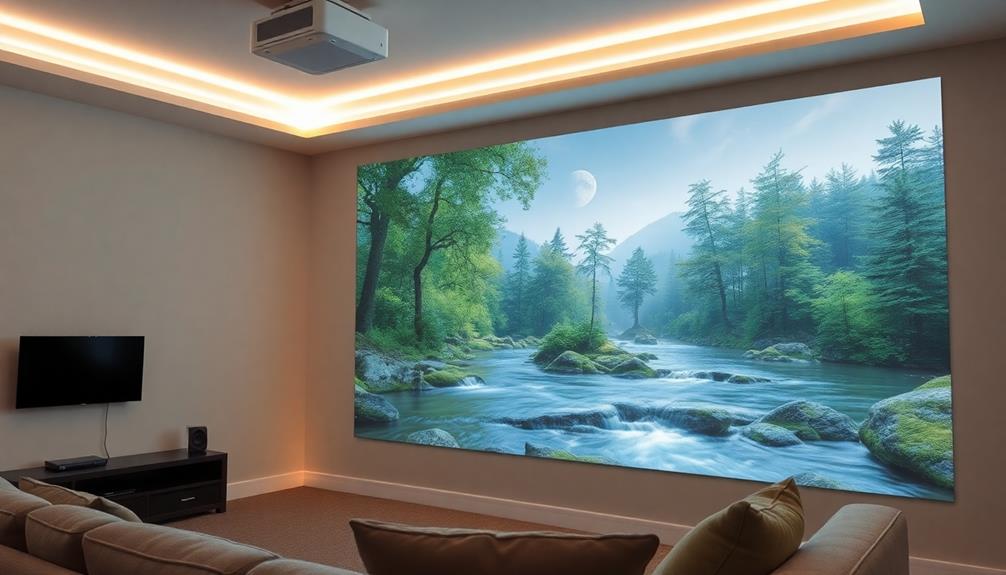
- Choose Scenic Content: Opt for high-quality videos or animated clips that showcase breathtaking landscapes, cityscapes, or nature scenes. These visuals will create a realistic virtual window effect.
- Enhance Visuals with Vibrant Colors: Make certain to select video content with vibrant colors and high resolution. This won't only enhance the visual experience but also draw viewers into the scene.
- Match Aspect Ratios: Confirm your content is formatted to match the aspect ratio of your projector setup. This helps avoid distortion and maintains a seamless appearance, making the projection even more immersive.
Testing different types of content, like time-lapse or slow-motion videos, can also help you find what best captures viewer attention and enhances your streaming space.
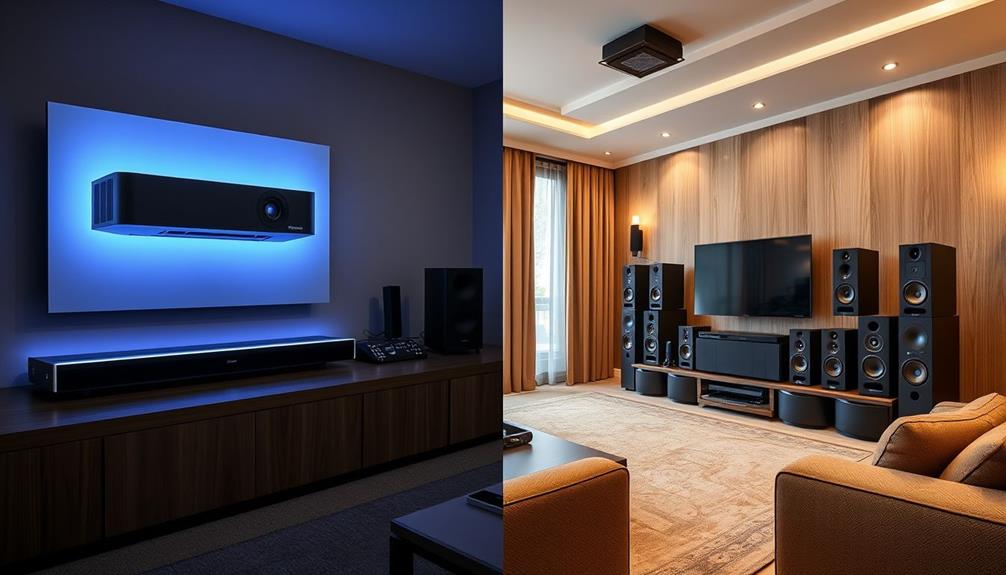
Enhancing With Ambient Sounds
To really bring your virtual window to life, you'll want to select ambient soundscapes that match your visuals, like ocean waves for a beach scene.
Synchronizing these sounds with the projected imagery enhances the immersive experience and makes it feel more authentic.
Selecting Ambient Soundscapes
Selecting the right ambient soundscapes can considerably elevate your virtual window experience, making it feel more immersive and engaging. By choosing sounds that complement your visuals, you'll create a cohesive environment that pulls your audience in.
Here are three tips to help you select the perfect ambient sounds:
- Align with Your Theme: Pick soundscapes that match your visuals, like nature sounds for a tranquil scene or city ambiance for an urban setting. This alignment strengthens the immersive experience.
- Use High-Quality Audio: Access platforms like Epidemic Sound or Artlist for high-quality, royalty-free ambient audio tracks. Quality matters; poor audio can distract from the visuals and diminish engagement.
- Adjust Volume Levels: Make certain the ambient sounds enhance the experience without overpowering any live audio or commentary. Finding the right balance is key to maintaining audience focus.
Experimenting with layering multiple soundscapes can also enrich the auditory experience, evolving throughout your stream.
This keeps the audience engaged and adds depth to the virtual window effect, making it truly unforgettable.
Synchronizing Sound With Visuals
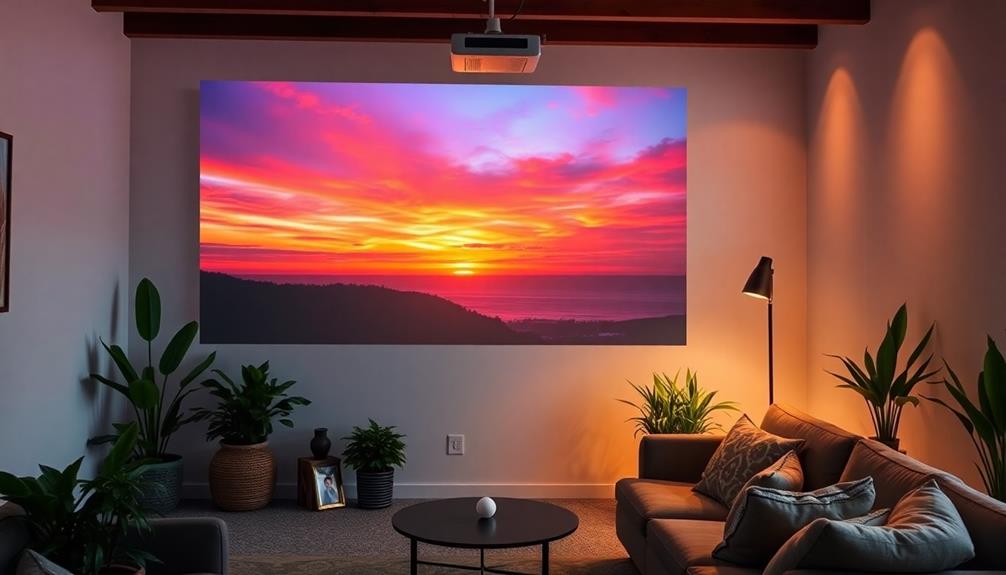
Enhancing the virtual window effect hinges on effectively synchronizing sound with visuals. To create a truly immersive experience, incorporate ambient soundscapes that complement the projected imagery. For example, when showcasing a vibrant sunset scene, consider adding gentle waves lapping against the shore or the distant call of seagulls to enhance the mood.
Use audio editing software to layer sounds that correspond with the visuals, ensuring the volume levels are balanced so they don't overpower the images. For instance, during a nature scene, adding bird chirps or the rustling of leaves can deepen viewer engagement by synchronizing sound cues with visual changes.
Additionally, the role of color accuracy in home cinema projectors can further enhance the visual aspect of your projection, making the colors more vibrant and lifelike. Always prioritize high-quality audio sources to prevent distortion and maintain clarity, which elevates the overall production value of your virtual window effect. The clearer the sound, the more it enhances the realism of the experience.
Additionally, consider using directional speakers to focus sound in specific areas of the streaming space. This technique creates a more realistic auditory environment that perfectly complements the projected visuals.
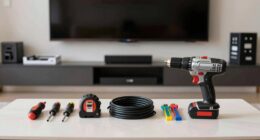
Integrating Remote Controls
Integrating remote controls into your virtual window setup can greatly elevate your streaming experience. By using a remote control via WebSocket, you can seamlessly manage video playback, making it pretty much effortless to switch between different media sources.
Here are three key ways remote controls can enhance your setup:
- Stream Deck Usage: A Stream Deck provides visual cues and customizable buttons, allowing you to quickly access alerts and scenes, making the shift a lot nicer for your audience.
- Automated Commands: By programming specific commands into your remote control, you can automate shifts and interactions, which not only streamlines your performance but also keeps viewers engaged.
- Interactive Elements: Incorporating elements that respond to Twitch chat commands lets your audience influence projected visuals in real-time, creating a more dynamic experience.
These integrations not only enhance your control over the content but also make your stream more engaging.
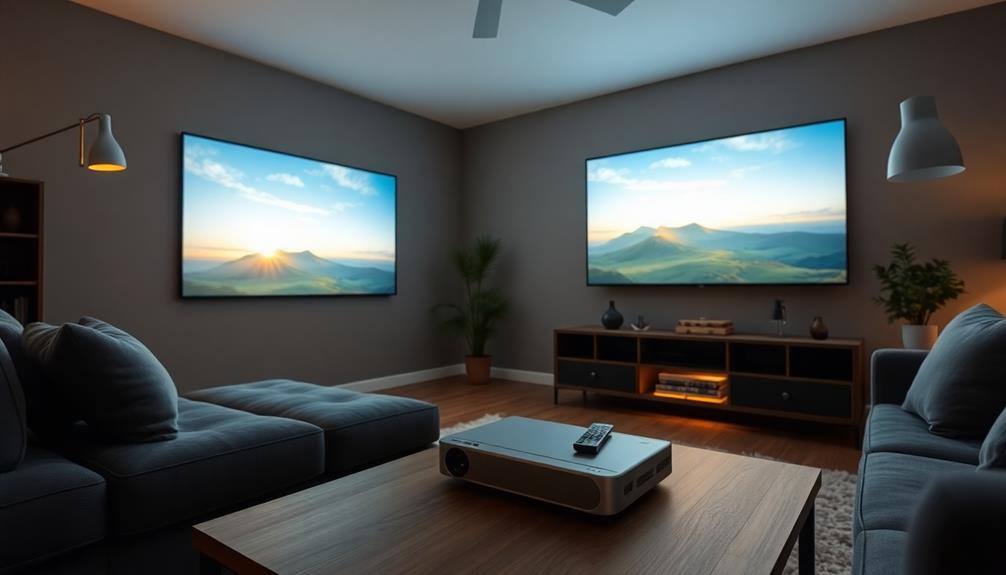
Creating an Immersive Experience

To create an immersive experience with your virtual window effect, start by confirming your projector is strategically mounted to enhance the overall aesthetic of your streaming setup. Use concealment techniques like black wrap and fake plants to blend the projector seamlessly into your environment. This helps maintain a clean look while also focusing attention on the projected visuals.
Next, utilize OBS on your MacBook to integrate the projector as a monitor. This allows for a full-screen preview and specific cropping of images to fit your desired aspect ratio, making your virtual window feel real.
Opt for a high-lumen projector, ideally above 9,500 lumens, to confirm vibrant and clear image quality, especially in a dimly lit room.
To take things further, consider using After Effects to create alerts and visual content that fit perfectly within the projected area. This adds depth and interaction to your virtual window effect.
Frequently Asked Questions
How Do You Display a Window on a Projector?
To display a window on your projector, you'll need to set it up as a monitor. Adjust the settings, ensuring proper brightness and clarity, then choose and project suitable visuals to create the desired effect.
Can I Use My Projector on a Window?
Yes, you can use your projector on a window. Just position it correctly, ensuring it projects onto a suitable surface like a blackout curtain. This setup enhances your viewing experience, making it more immersive and enjoyable.
How Do I Split My Screen on Windows With a Projector?
Did you know that multitasking can boost productivity by up to 40%? To split your screen with a projector, connect it, press Windows key + P, and select "Extend" for seamless multitasking across both displays.
How Do You Make a Projector Effect on Stage?
To create a projector effect on stage, you'll need a high-lumen projector and a flat surface. Incorporate dynamic visuals, use strategic lighting, and layer your projections to engage your audience effectively. Experiment and adjust as needed.
Conclusion
By following these steps, you'll create a stunning virtual window effect that brings your space to life, just like a classic film reel in a cozy theater. Remember, the right projector and setup can transform your room into an enchanting escape. With immersive content and sounds, you'll feel like you've stepped into another world—no time machine needed! So grab your remote, sit back, and let the magic unfold right on your wall. Enjoy the view!