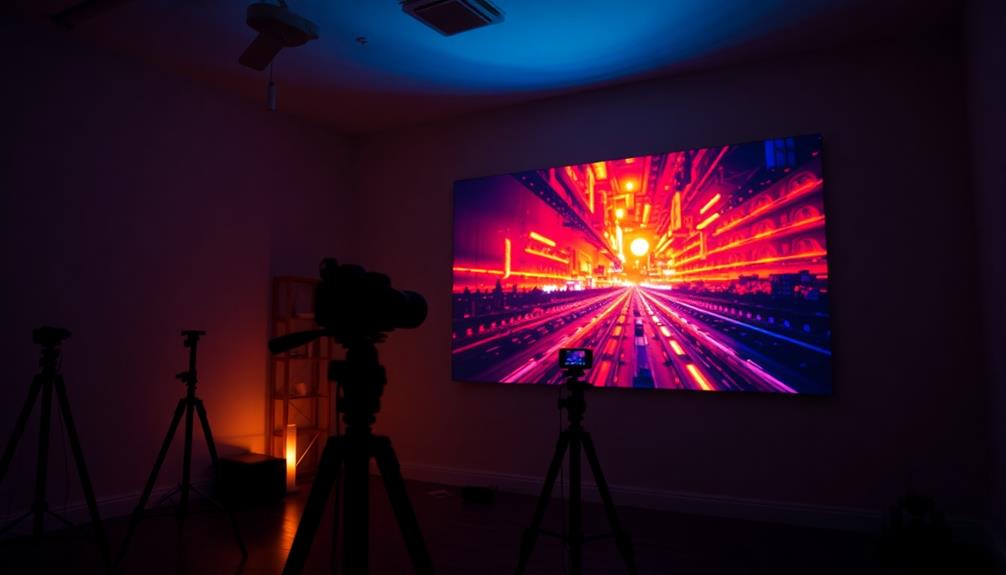
How to Use a Projector for Time-Lapse Photography Display
Jump into the world of time-lapse photography with projectors and discover the secrets to creating captivating displays that leave your audience wanting more.
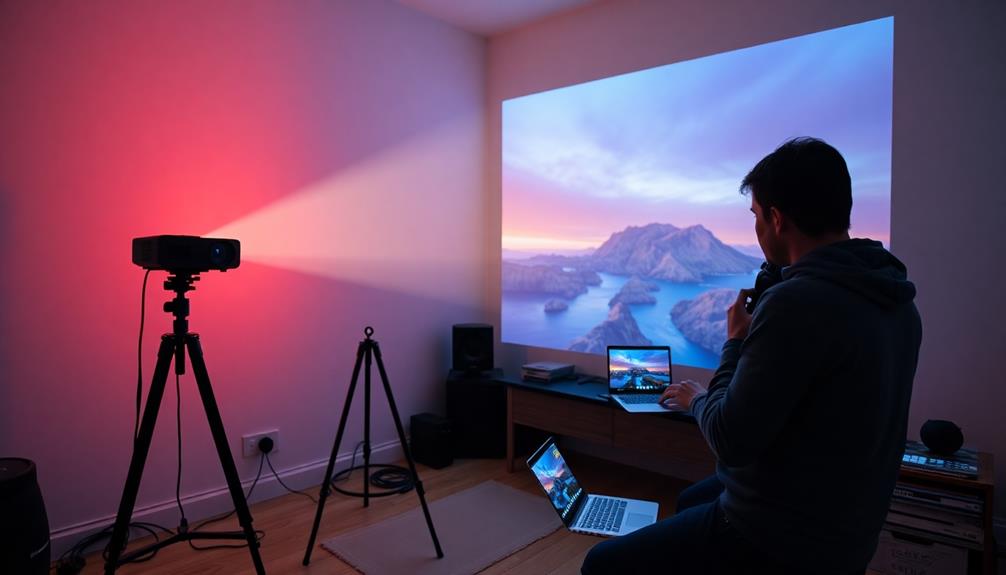
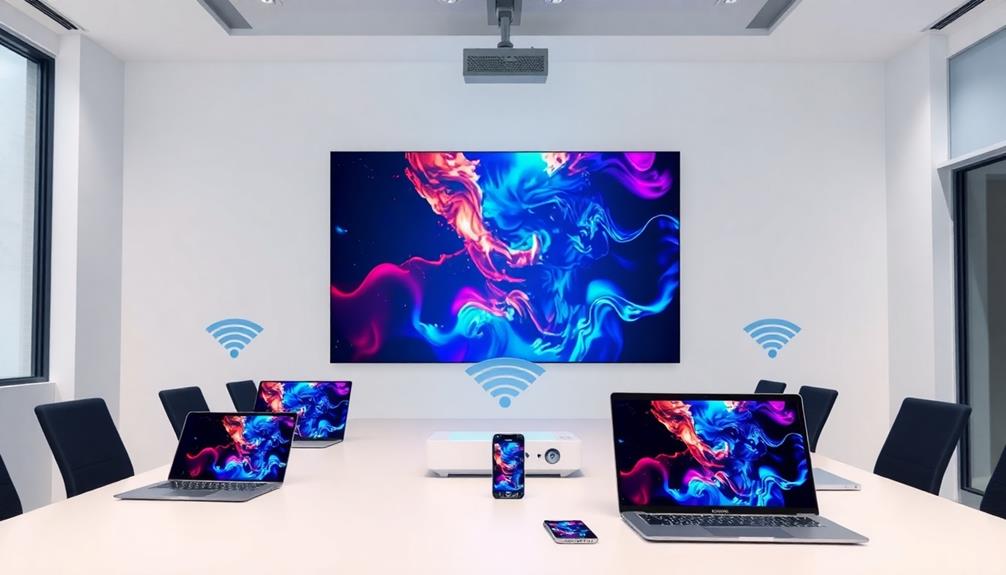
To use a projector for time-lapse photography displays, start by selecting a digital projector with at least 3000 lumens for clarity. Position it above eye level to avoid shadows and maintain a distance of 8-10 feet for proper coverage. Adjust your camera settings to manual mode, locking in exposure and white balance to guarantee consistency. Test the projector's brightness and color settings to match your lighting. Capture images at calculated intervals to achieve smooth playback. With these tips, you'll create stunning displays while discovering essential techniques to enhance your results and make your presentation stand out.
Choose a digital projector with at least 3000 lumens for optimal brightness and visibility in various lighting conditions.
Adjust projector settings, including custom white balance and brightness, to ensure accurate color reproduction and image clarity.
Position the projector above the model's eye level, maintaining an 8-10 feet distance to avoid distortion and shadows.
Use manual camera settings for consistent exposure and white balance, ensuring a cohesive look throughout the time-lapse.
Confirm setup with pre-tests to check alignment, focus, and brightness before starting the time-lapse photography display.
ViewSonic LS740W 5500 Lumens WXGA Laser Projector with 1.3X Optical Zoom, H/V Keystrone, 360 Degrees Projection for Auditorium, Conference Room, and Education
High Brightness Laser Projector: WXGA (1280x800p) resolution with a 1.2-1.5 throw ratio and 5,500 ANSI lumens for clear,...
As an affiliate, we earn on qualifying purchases.
Understanding Projector Types
When it comes to choosing the right projector for your time-lapse photography, understanding the different types available is vital.
You'll find two main categories: OG projectors and digital projectors. OG projectors, popular in the 1960s and 70s, use slide film to create 35mm transparencies. While they may seem outdated, you can creatively repurpose them in your photography projects today.
Digital projectors have become the standard for most photographers. They connect seamlessly to various devices, allowing you to project images directly from your computer or camera. Prices have dropped considerably, making them accessible for you.
However, keep in mind that digital projectors can suffer from the dreaded pixel problem. This issue can cause visible pixels on skin tones, which may detract from your time-lapse displays.
When using a projector, proper placement is essential. Aim to position it above your model's eye level and about 8-10 feet away. This setup helps achieve ideal image coverage, ensuring your time-lapse photography stands out.
2000 ANSI 4K Decoding Projector with WiFi and Bluetooth, HAPPRUN Movie Home Theater with Auto Focus, 300'' Display for Indoor/Outdoor, Smart Proyector Compatible with Phone/TV Stick/PC/PS5
[EASIER OPERATION: AI Smart Screen Adjustment] HAPPRUN projector comes with auto focus and 6D auto-keystone technology, enjoy a...
As an affiliate, we earn on qualifying purchases.
Importance of Brightness
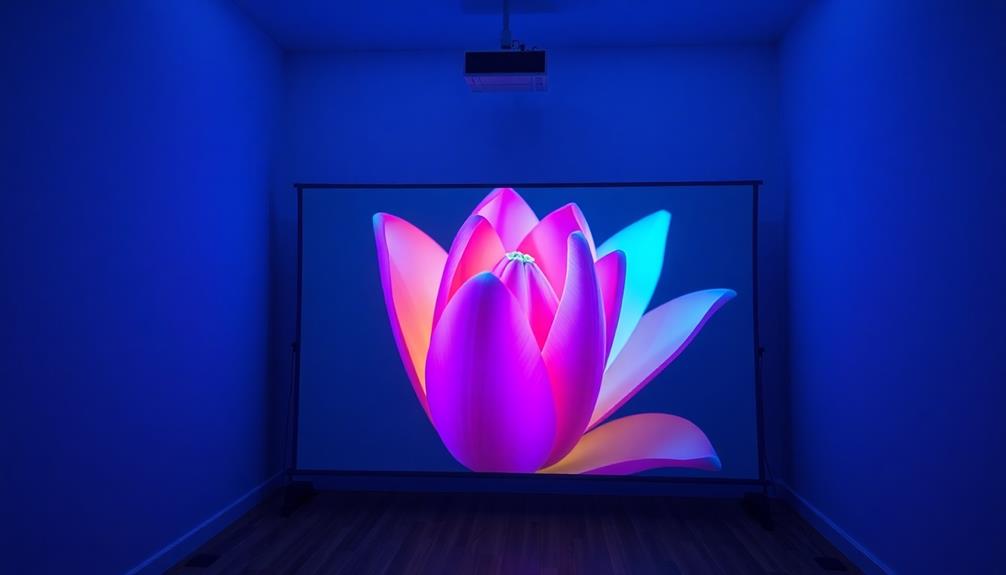
Brightness is a critical factor in time-lapse photography, greatly impacting how well your projected images are seen and appreciated. When you're choosing a projector, consider its brightness, measured in lumens. A projector with 3000 lumens or more is ideal, especially in well-lit environments. This level of brightness enhances image visibility and detail, allowing the captured sequences to shine.
Additionally, projectors with high refresh rates are beneficial for displaying smooth shifts in time-lapse sequences, as they help maintain the fluidity of motion Top 5 Projectors for Gaming Enthusiasts.
Moreover, the brightness of your projector influences your photography's exposure settings. If you opt for a projector with lower lumens, you might need to adjust your shutter speeds or increase ISO settings, which could compromise image quality. A brighter projector also minimizes the risk of pixel visibility on skin tones, ensuring your presentations maintain a professional appearance.
It's essential to balance the brightness of your projected images with the ambient lighting in the room. A bright projector can help prevent your time-lapse footage from being washed out, preserving the intended visual effects.
Epson Home Cinema 980 3-Chip 3LCD 1080p Projector 4,000 Lumens Color and White Brightness, Streaming/Gaming/ Media Room, Built-In Speaker, Auto Picture Skew, 16000:1 Contrast, 2 HDMI Ports
Exceptional Picture Quality — Provides stunning, detailed 1080p images and fast data processing that’s optimized for fast-action sports,...
As an affiliate, we earn on qualifying purchases.
Managing Color Temperature
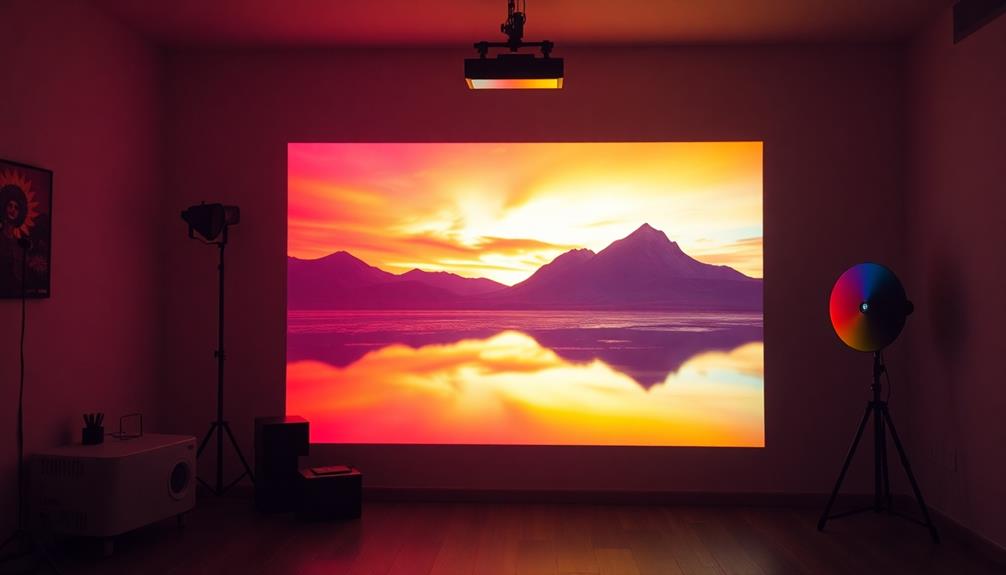
Achieving accurate color reproduction in your projected images is essential for showcasing your time-lapse photography effectively. One of the key aspects of managing color temperature is setting a custom white balance on your projector to align with its specific color output.
Projectors usually emit a warmer color temperature than natural light, which can impact how your images appear. To counter this, consider using CTO gels on any additional lighting sources to create a balanced environment.
Shooting in RAW format is another smart move. It gives you the flexibility to adjust the color temperature during post-processing, ensuring you can achieve the visual results you want.
Keep in mind that a projector's brightness and color temperature can greatly affect your final output. Warmer projections might require you to tweak your camera settings to prevent color casts.
[Official Google TV]Smart Projector 4K Supported with WiFi & Bluetooth, Built-in Official Apps, GoogIe Voice, Outdoor Movie Projector with DoIby Audio, Auto Focus, Home Theater Proyector WIMIUS G1
[All-in-One Google TV Built-In] G1 Smart projector comes fully integrated Google TV—no website version, no stripped-down system. Access...
As an affiliate, we earn on qualifying purchases.
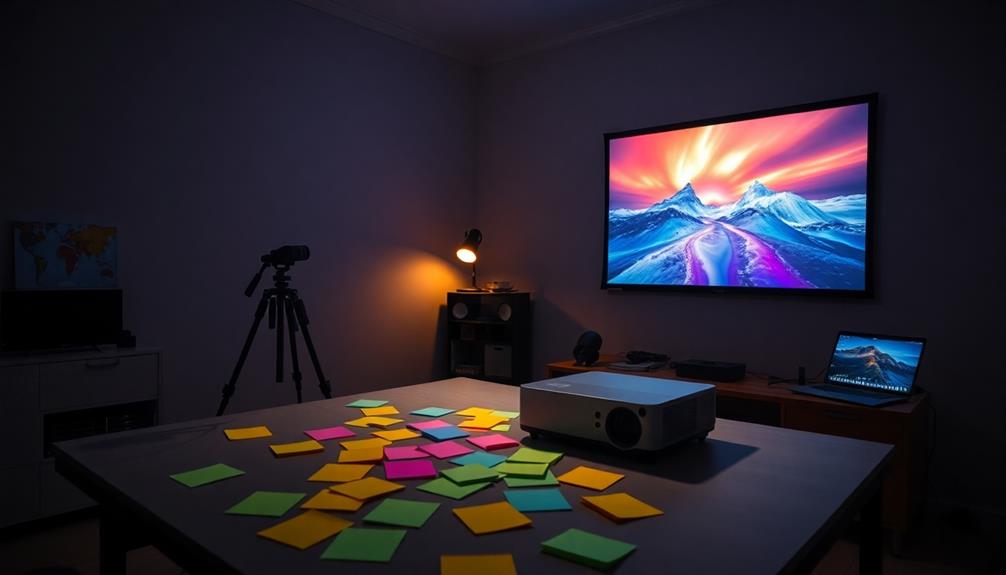
Setting Up Your Projector
Properly setting up your projector is essential for capturing stunning time-lapse photography. To guarantee the best results, follow these key steps:
Position your projector above the model's eye level to avoid unflattering shadows and enhance image quality.
Maintain a distance of 8-10 feet from the model to guarantee the projected image covers the area without distortion.
Adjust the brightness settings based on your surrounding lighting conditions. A brighter projector (3000 lumens or higher) offers more flexibility for detailed time-lapse sequences.
Utilize custom white balance settings to guarantee color accuracy in your projected images, especially when combining projections with other light sources.
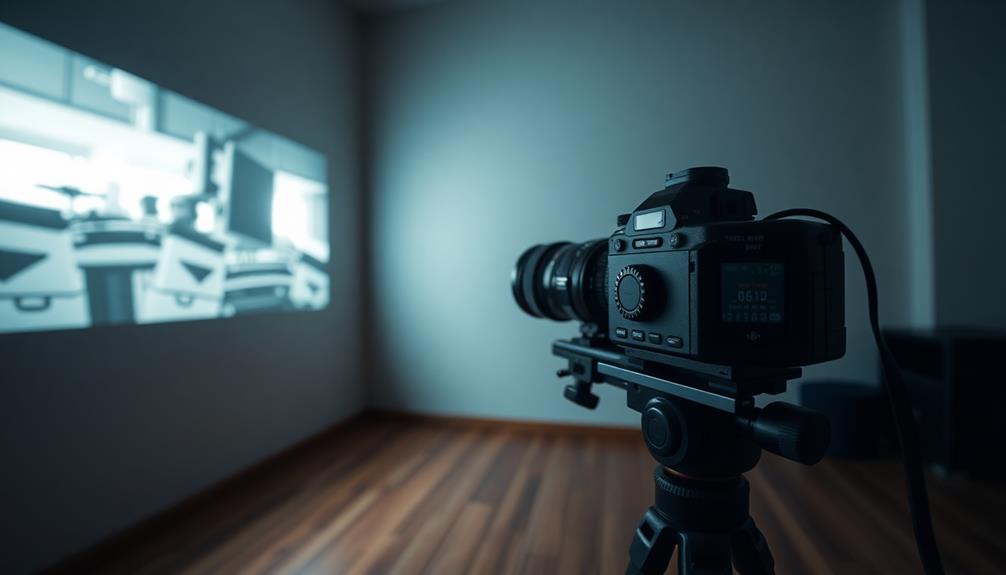
Before starting your time-lapse sequence, take the time to test the projector's alignment and focus. This guarantees that the projected images remain sharp and correctly framed throughout your shoot.
Camera Settings for Time-Lapse
When you're setting up for time-lapse photography, you'll want to use manual exposure settings to keep your brightness and contrast consistent throughout the sequence.
This helps eliminate any unwanted variations that could distract from the final product.
Additionally, establishing a steady white balance guarantees your footage maintains a cohesive look, no matter how the lighting changes.
Manual Exposure Settings
To create a seamless time-lapse sequence, it's important to use manual exposure settings on your camera. This guarantees consistent brightness and contrast across all frames, resulting in a polished final product.
Here are some key steps to take into account:
Set your camera to manual mode: This allows you to lock in your exposure settings for the entire shoot.
Manually adjust the focus: Avoid autofocus to prevent flicker or inconsistencies in sharpness during playback.
Fix your white balance: Set a specific white balance instead of using Auto White Balance (AWB) to eliminate color shifts throughout your time-lapse.
Optimize exposure settings: Tailor your shutter speed and aperture for the lighting conditions, aiming for a slow shutter speed with a frame rate of 30 FPS for smooth playback.
Additionally, a sturdy tripod is vital for stability.
Even slight movements can disrupt the continuity of your footage. By paying close attention to these manual exposure settings, you'll create a time-lapse that captivates and engages your audience.
Consistent White Balance
Achieving consistent white balance in your time-lapse photography is essential for guaranteeing accurate color reproduction throughout your sequence. To achieve this, set your white balance manually instead of relying on Auto White Balance (AWB), which can lead to unwanted fluctuations.
Start by using a color target or grey card during your initial setup to create a custom white balance setting, helping you maintain color accuracy across varying lighting conditions.
Keep an eye on your lighting environment for any changes, especially when shooting outdoors or in different indoor settings. If you're combining projector light with other sources, adjust the white balance to match the projector's color temperature, as it may differ from the ambient light.
Additionally, consider shooting in RAW format. This allows for post-processing adjustments to the white balance, giving you greater flexibility to correct any color casts during editing.
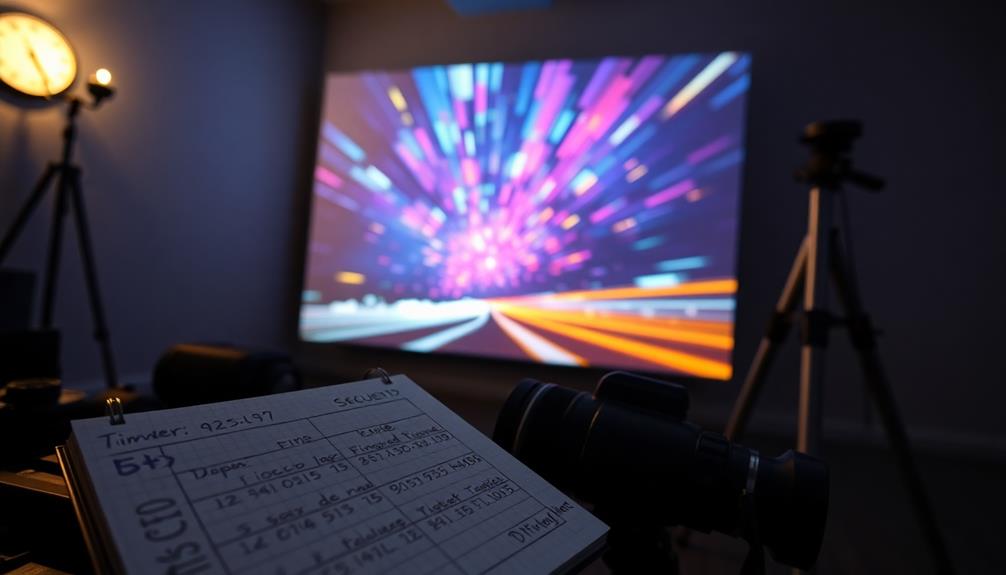
Interval and Frame Calculations
Calculating the right intervals and frames is essential for creating smooth and enchanting time-lapse videos.
You'll want to find the perfect balance between how often you capture an image and how long your final video will be. For daytime scenes, an interval of 3-5 seconds is common, striking a nice rhythm for playback.
Here's how to approach your calculations:
Decide the desired length of your final video (in seconds).
Multiply that length by your playback frame rate (e.g., 30 FPS).
This gives you the total number of frames you need.
Adjust your interval to match your recording duration.
For instance, if you use a 5-second interval, you'll capture 12 images per minute.
Over a 25-minute session, that totals 300 frames. When played back at 30 FPS, you'll end up with a 10-second video clip.
Enhancing Image Quality
To enhance your time-lapse photography, you'll want to guarantee your projector has a high lumen output, ideally above 3000 lumens, for bright and clear images.
Adjusting the color temperature to match your surroundings can also make a significant difference in color accuracy.
With these adjustments, you'll achieve a more vibrant and engaging visual experience.
Proper Projector Brightness
Proper projector brightness is essential for delivering high-quality time-lapse photography displays.
When you choose a projector, the brightness—measured in lumens—plays a vital role in how your images appear. Higher lumens, like 3000, enhance clarity and provide creative flexibility compared to lower options, such as 150 lumens.
Here are some key points to remember about proper projector brightness:
It reduces pixelation visibility, especially in skin tones.
Supports ideal exposure with average camera settings: 1/60 sec shutter speed, f4 aperture, and ISO 200.
Helps maintain the integrity of color temperature, ensuring accurate color representation.
Balances with additional lighting to avoid washing out images.
Color Temperature Adjustments
Adjusting color temperature is crucial for achieving vibrant and accurate projections in time-lapse photography. Color temperature adjustments considerably affect how your images appear, so take the time to verify your projector displays colors as intended. When working with multiple light sources, creating custom white balance profiles can help maintain consistent colors across the board.
Here's a quick reference table to guide your color temperature adjustments:
Light Source
Color Temperature (K)
Adjustment Technique
Daylight
5500-6500
Use CTO gels for warmer tones
Tungsten Bulbs
2800-3200
Adjust projector settings
LED Sources
3500-5000
Create custom profiles
Projector Bulbs
4000-5000
Use bright images for calibration
Shooting in RAW format offers flexibility, allowing you to tweak color temperature during post-processing without sacrificing quality. Start your calibration with bright images featuring large white areas to effectively assess and adjust your projector's color temperature. By following these tips, your time-lapse displays will captivate your audience with stunning accuracy.
Experimenting With Techniques
Experimenting with different techniques can greatly enhance your time-lapse photography projects. By using various methods, you can discover what works best for your creative vision. Here are some techniques to ponder:
Capture images at different intervals: Try a 5-second interval to see how timing affects the overall sequence and visual impact. Utilizing advanced technology can also help in achieving better results, similar to how high-performance heat pumps optimize temperature regulation.
Utilize manual settings: Set your camera to manual focus and exposure to maintain consistent image quality and avoid flicker throughout your project.
Test projected images with higher brightness: Use a projector with at least 3000 lumens for better visibility and creative flexibility in your presentations.
Incorporate additional lighting: Control shadows and background spill to guarantee your projected images remain vibrant and clear.
Additionally, reflect on shooting in RAW format. This allows for greater post-processing adjustments, especially when you're managing color temperature differences between your projector and ambient lighting.
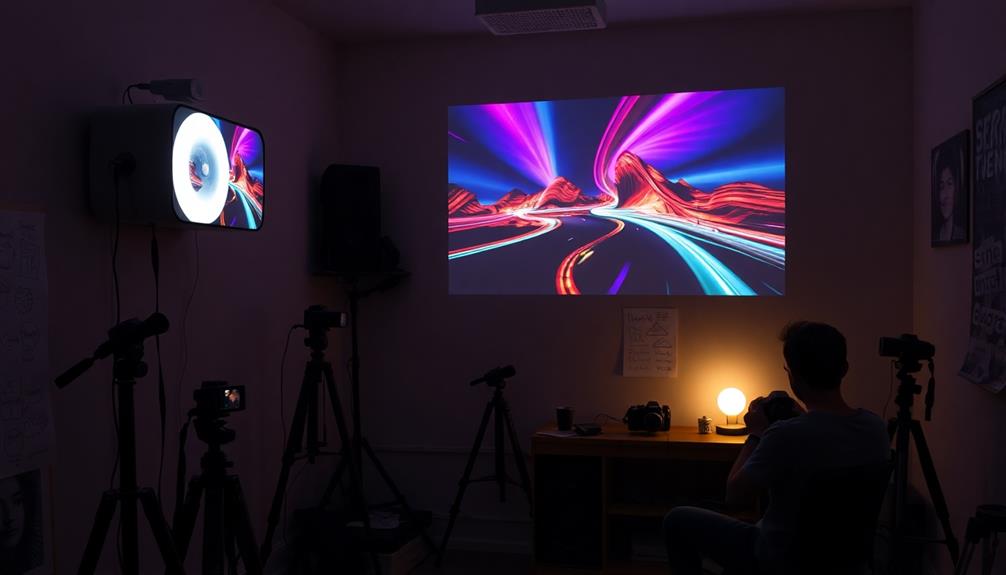
Finalizing Your Presentation
Finalizing your presentation is essential for effectively showcasing your time-lapse photography. Start by confirming your projector is set to the right brightness level, ideally around 3000 lumens, to enhance clarity and vibrancy. Use editing software to refine your footage, incorporating engaging visuals and dynamic shifts that keep your audience interested.
Next, adjust the projector's color temperature settings to match the lighting conditions from your filming session. This guarantees a consistent visual experience. It's vital to test your setup beforehand. Confirm that focus, alignment, and resolution are ideal for the best viewing experience.
Here's a quick reference table to help you finalize your presentation:
Task
Importance
Set projector brightness
Enhances image clarity and vibrancy
Use a sturdy tripod
Prevents shake and misalignment
Test projector setup
Guarantees ideal viewing experience
Frequently Asked Questions
How to Do a Photoshoot With a Projector?
To do a photoshoot with a projector, set it above eye level, choose vibrant images, adjust the color temperature, and use manual settings. Experiment with lighting and compositions until you find what works best for you.
How to Show Photos on a Projector?
To show photos on a projector, connect your device via HDMI or VGA, select the correct input source, adjust brightness, and use presentation software for smooth shifts. Make sure your images are high resolution for clarity.
How to Use a Projector for Backdrops?
To create stunning backdrops with a projector, you'll need high-resolution images. Position it at eye level, adjust for ambient light, and play with layering techniques to craft an enthralling visual experience that enhances your photography.
How Do You Do Time-Lapse Photography?
To do time-lapse photography, you'll capture frames at set intervals using a tripod for stability. Set your camera to manual mode, maintain consistent white balance, and later stitch the images together in post-production.
Conclusion
Now that you've mastered the essentials of using a projector for your time-lapse photography display, it's time to reveal your masterpiece. Envision this: the moment your audience gazes in awe, captivated by the seamless flow of images. But wait—did you remember to adjust the brightness just right? And what about that perfect color temperature? As you finalize your presentation, keep those details in mind; it's the finishing touches that'll leave everyone breathless. Are you ready?
How to Choose the Perfect Projector for Your Home Theater
Just when you think you’ve found the right projector, discover the essential factors that could elevate your home theater experience to the next level.


![[Official Google TV]Smart Projector 4K Supported with WiFi & Bluetooth, Built-in Official Apps, GoogIe Voice, Outdoor Movie Projector with DoIby Audio, Auto Focus, Home Theater Proyector WIMIUS G1](https://m.media-amazon.com/images/I/515NcMYy-FL._SL500_.jpg)