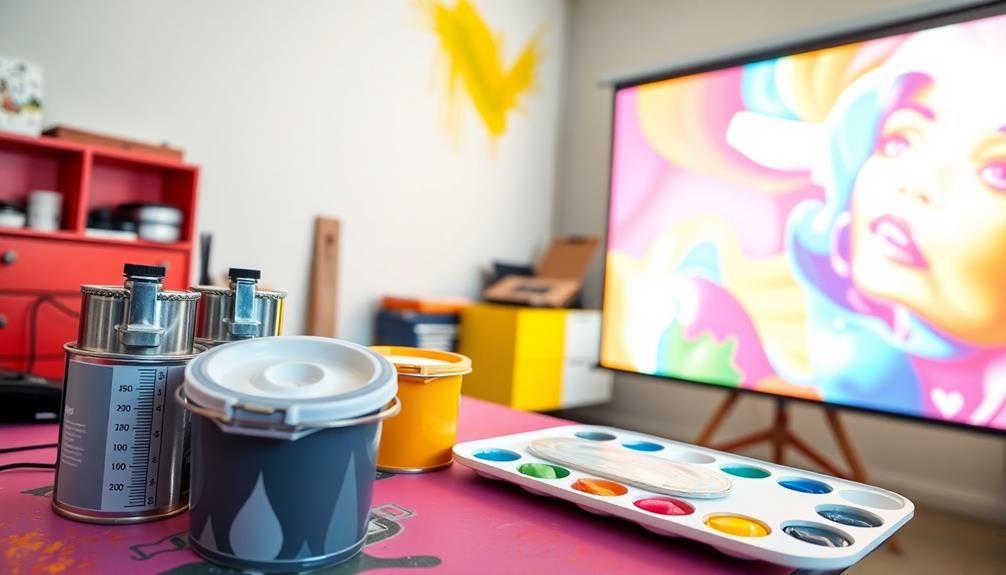
To create the perfect screen surface with DIY projector paint, start with surface preparation. Clean and sand your wall for a smooth finish. Choose between gray or white paint based on your desired contrast and brightness. A 2:1 mix of Behr Silver Screen and Metallic Pearl is a great option for balancing both. Apply two coats using a tight nap roller, allowing time for drying between layers. Remember, proper application and mixing ratios greatly impact performance and image quality. Want to guarantee the best results? There's more to explore on techniques and tips to maximize your DIY projector experience.
Key Takeaways
- Choose between gray and white projector paints based on desired contrast and brightness levels, with gray enhancing blacks and white maintaining color vibrancy.
- Proper surface preparation includes thorough cleaning, sanding, and applying a primer to ensure a smooth, high-quality finish for painting.
- Use a tight nap roller for applying two coats of paint, allowing 4-6 hours of drying time between each coat for optimal results.
- A 2:1 mix of Behr Silver Screen and Metallic Pearl paint can enhance contrast while preventing detail loss in projections.
- DIY projector screens can be created for $100 to $200, offering a cost-effective alternative to expensive commercial options while allowing customization.

SOULWIT 50Pcs Self Adhesive Cable Management Clips - Black
- 🔷SUPER EASY TO USE: Stick to clean surface, open...
- 🔷PREMIUM MATERIAL: Made from eco-friendly Polyamide66 material,...
- 🔷STICKY IN MANY SURFACES: Works on all clean surfaces...
As an affiliate, we earn on qualifying purchases.
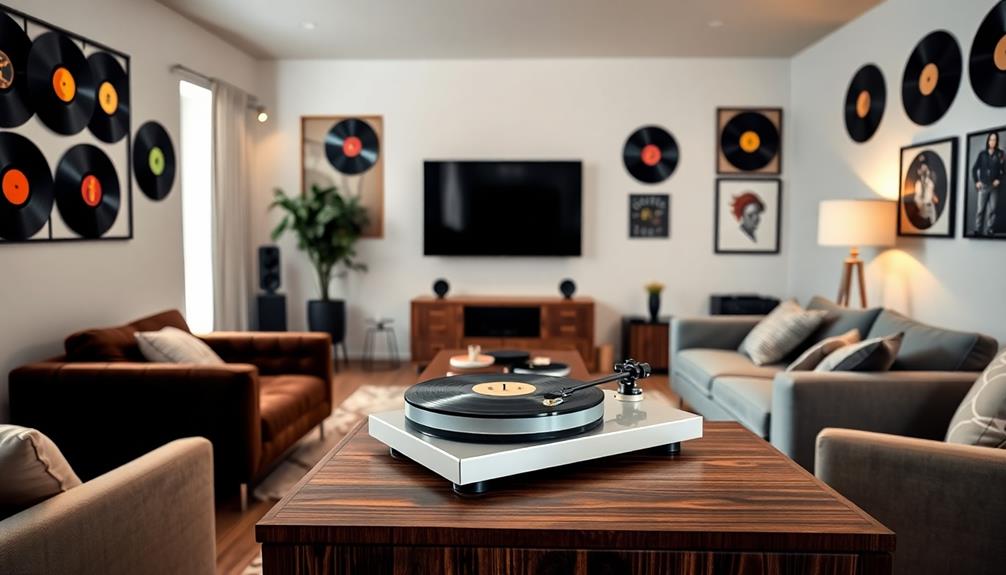
Projector Setup Essentials

When setting up your projector, there are a few essentials to keep in mind for the best viewing experience. First, consider your projector screen options. A dedicated screen typically provides a better image than a simple white surface, but if you're going the DIY route, using screen paints can elevate your setup considerably.
Additionally, you might want to explore best compact kitchen appliances that can help maximize your space, especially if you're setting up a home theater in a smaller area.
For instance, if you choose to paint your screen, a flat or matte light-grey mixture—like a 2:1 blend of Behr Silver Screen and Metallic Pearl—can enhance contrast and overall image quality. This is particularly vital for maintaining detail in dark scenes, especially when watching in a dedicated theater room with minimal ambient light.
Additionally, make sure your installation is clean and professional. Properly bolted, smoothed, and framed drywall with 1×3 wood will give you a solid foundation for your projector and screen setup.
Don't forget to adjust your projector's brightness and gamma settings. These tweaks will greatly improve the viewing experience, ensuring you get the most out of your projector's capabilities.

XHF 120 PCS Adhesive Cable Wire Clips Black, Outdoor Christmas Light Clips, Cable Management Wire Organizer Cord Holder for Under Desk, Car, Wall, TV PC Ethernet Cable
- High quality material:XHF Adhesive Cable Clips are manufactured...
- Widely used: USB Cable, Ethernet Cable, Outdoor...
- Size: Base 5/8" x 5/8", inner...
As an affiliate, we earn on qualifying purchases.
Choosing the Right Paint
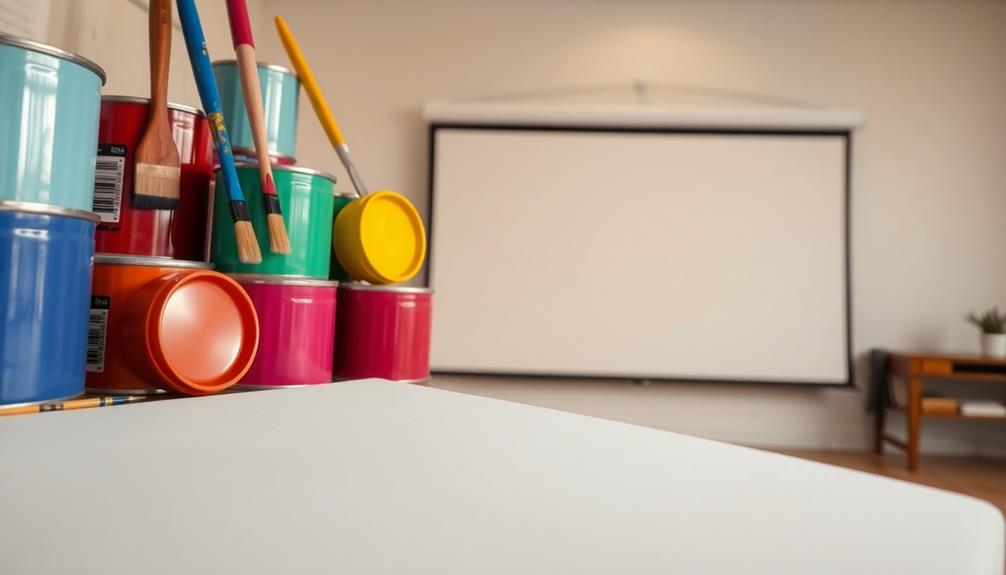
When you're picking paint for your DIY projector screen, you'll want to take into account the type that best suits your needs.
Gray paints can enhance contrast but may dull colors, while white options help maintain accuracy.
Additionally, understanding proper application techniques will guarantee you get the best results from your paint choice.
Paint Types Overview
How can you choose the right paint for your DIY projector screen? The paint types overview is essential for achieving ideal image quality. Specialty projection paints like Screen Goo and Paint on Screen are designed to enhance clarity and gain, making them excellent choices for high-quality screen surfaces.
If you're using a short throw projector, consider flat or matte light-grey paints. These options improve detail in dark scenes while minimizing glossiness. A popular mix, like a 2:1 ratio of Behr Silver Screen and Metallic Pearl, can provide a balanced outcome.
While gray screens can enhance black levels, they often reduce overall color saturation, leaving images dimmer than those projected on high-quality white surfaces like Studiotek 100.
It's important to maintain consistency in your application; uneven surfaces can lead to inconsistent projection quality. As a result, thorough preparation and priming are crucial for ideal performance.
In environments with minimal ambient light, a neutral white paint is generally preferred to avoid color distortion. By understanding these paint types, you'll be better equipped to create the perfect DIY projector screen.
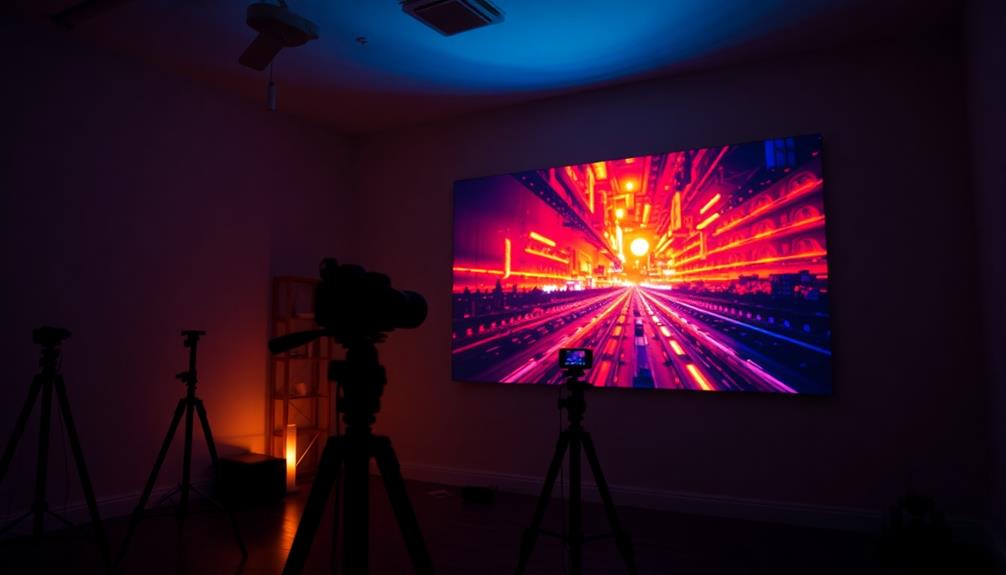
Gray vs. White
Choosing between gray and white paint for your DIY projector screen can greatly impact your viewing experience. Gray paint, like Behr Silver Screen, enhances black levels but can make images appear up to 27% dimmer than high-quality white screens, such as Studiotek 100.
If your projector has high contrast capabilities, it typically performs better on white surfaces, especially in low ambient light conditions.
On the other hand, white paint reflects more light and enhances color vibrancy. Warmer whites can improve flesh tones but might dull other colors, so it's essential to select a neutral white for accurate representation.
When considering reflective qualities, remember that glossy surfaces can create hot spots, which may distract from your viewing. Matte finishes are generally better for reducing glare and improving viewing angles, particularly in wider rooms.
Additionally, durability matters. Look for paints like Valspar Satin, which provide a balance of color and contrast without warping or rippling over time.
Ultimately, the choice between gray and white paint should align with your projector's capabilities and the kind of viewing experience you want to achieve.
Application Techniques Explained
For a successful DIY projector screen, mastering application techniques is key to achieving the finest results.
Start by selecting a flat or matte light-grey paint, which enhances contrast without losing detail in darker scenes. A recommended mixture is a 2:1 ratio of Behr Silver Screen and Metallic Pearl, striking the right balance between brightness and detail retention.
Before you plunge into painting, don't forget to apply a primer. This step improves adhesion and creates a smoother finish, ensuring better overall paint performance.
Here are some essential tips to keep in mind:
- Use a tight nap roller (1/4 nap) for application to minimize imperfections.
- Always allow adequate drying time between coats (4-6 hours) so the paint dries in order and achieves a smooth application.
- Apply multiple thin coats rather than one thick coat for ideal results.
- Test the surface with a small projector setup before finalizing your screen.

120PCS XHF Adhesive Cable Wire Clips White, Cable Staples Outdoor Cable Management Wire Organizer Cord Holder for Under Desk, Car, Wall, TV PC Ethernet Cable
- High quality material:XHF Adhesive Cable Clips are manufactured...
- Widely used: USB Cable, Ethernet Cable, Outdoor...
- Size: Base 5/8" x 5/8", inner...
As an affiliate, we earn on qualifying purchases.
Recommended Paint Mix Ratios
When you're mixing paint for your DIY projector, the right ratios can make all the difference in image quality.
For instance, a 2:1 mix of Behr Silver Screen to Metallic Pearl offers a great balance of contrast and brightness.
Consider how different combinations affect your viewing experience, as each paint type brings unique benefits to the table.
Ideal Paint Combinations
To achieve the best projection quality, consider using a 2:1 mix of Behr Silver Screen and Metallic Pearl. This combination strikes a balance between brightness and contrast, making it ideal for short throw projectors.
Additionally, using paint options with high color accuracy can enhance your viewing experience, especially for home cinema setups, as noted in the role of color accuracy. If you're looking for a cost-effective solution, Valspar Satin paint can deliver image quality comparable to pricier commercial options like Studiotek 100.
Here are some key points to keep in mind when selecting your paint:
- Use gray paints like Behr Silver Screen to enhance black levels, but note they may reduce color saturation.
- Opt for flat or matte light-gray paints to minimize reflections, improving the overall image quality.
- Aim for consistent application to avoid imperfections that can affect the projected image quality.
- Remember that while gray paints can lower brightness, they may provide a higher gain in contrast.
Mixing Ratio Considerations
Achieving the right mixing ratios is key to maximizing the performance of your DIY projector paint. A recommended mixing ratio for ideal projection surfaces is a 2:1 blend of Behr Silver Screen and Metallic Pearl. This combination enhances contrast and detail, giving your projected images a vibrant look.
When you're working with gray paints, remember that while they can improve black levels, they may reduce color saturation. So, choose your shades carefully to maintain the richness of your images.
If you're using a paint sprayer, stick to flat or matte light-gray paints. These minimize reflections and improve image quality, especially for short throw projectors. Additionally, metallic mixes with concentrated ratios can effectively enhance reflective properties without introducing unwanted glossiness, which can ruin your display.
Consistency in mixing ratios is essential. Exceeding recommended coverage can compromise the paint's reflective qualities and overall performance of your projection screen.

Mini Projector, Portable Projector with Wifi and Bluetooth, Built in Apps
- 【Built-in WiFi & Bluetooth Projector with Apps】Dual-band WiFi...
- 【HD Projection, Supports 4K Video Playback & Stereo...
- 【Dynamic Starry Sky Mode & 180° Rotatable Design】Activate...
As an affiliate, we earn on qualifying purchases.
Community Experiences and Tips
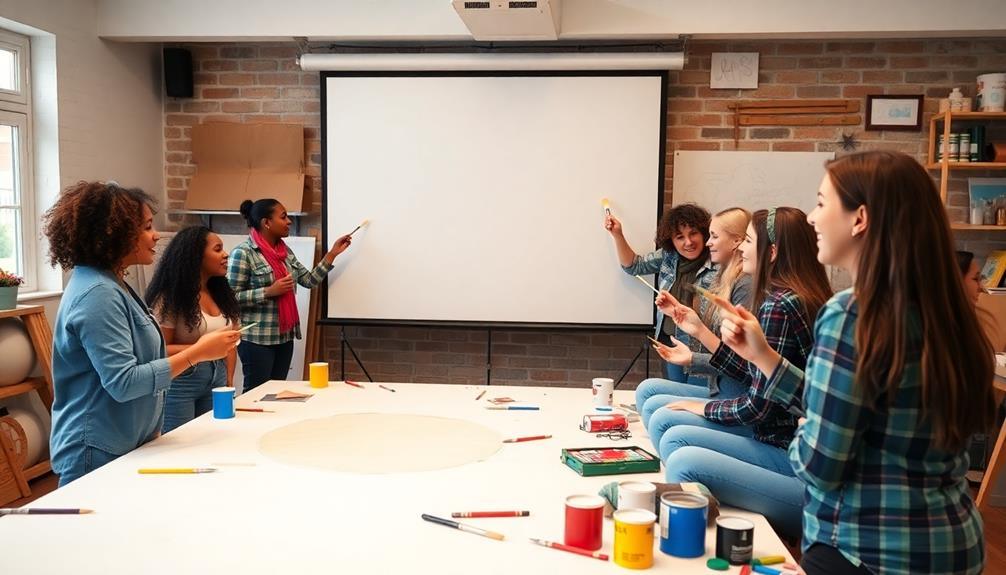
Many DIY projector enthusiasts have shared their experiences and tips, creating a valuable resource for anyone looking to enhance their home theater setup.
Community feedback consistently highlights some key points that can help you achieve the best projection results. Understanding the importance of the screen surface is essential, as it can greatly affect your overall viewing experience, much like how heat pumps utilize the refrigeration cycle for efficient temperature control.
- Use a flat finish paint to minimize hot spots and glare. This maximizes your viewing angles and improves overall image quality.
- A 2:1 mix of Behr Silver Screen and Metallic Pearl paint has been praised for boosting contrast without losing detail in dark scenes.
- Experimenting with different formulas, like Valspar Satin, can yield better results than glossier options, which might distort projected colors.
- For ambient light rejection, consider applying multiple coats of specially mixed paints to improve your viewing experience even in less-than-ideal lighting conditions.
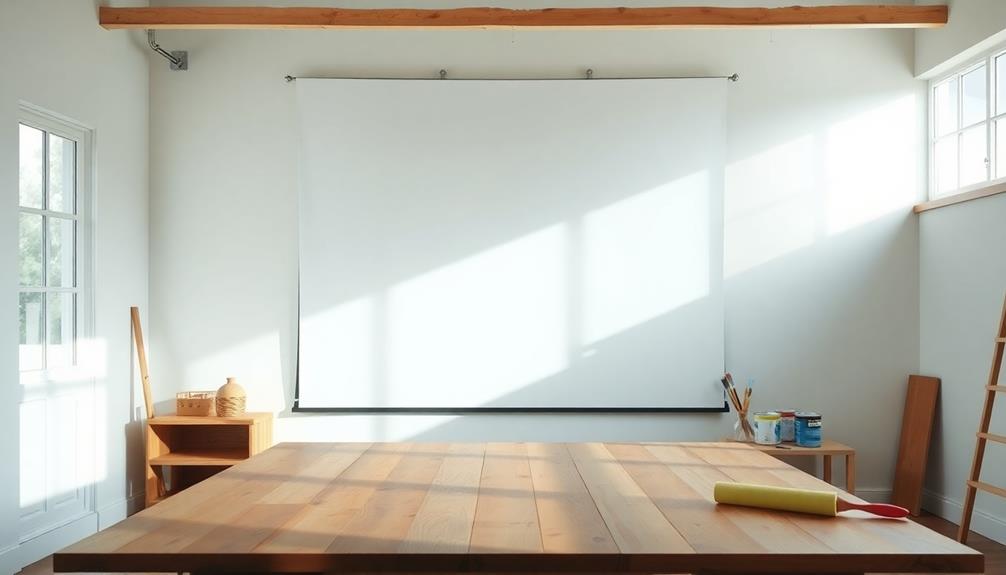
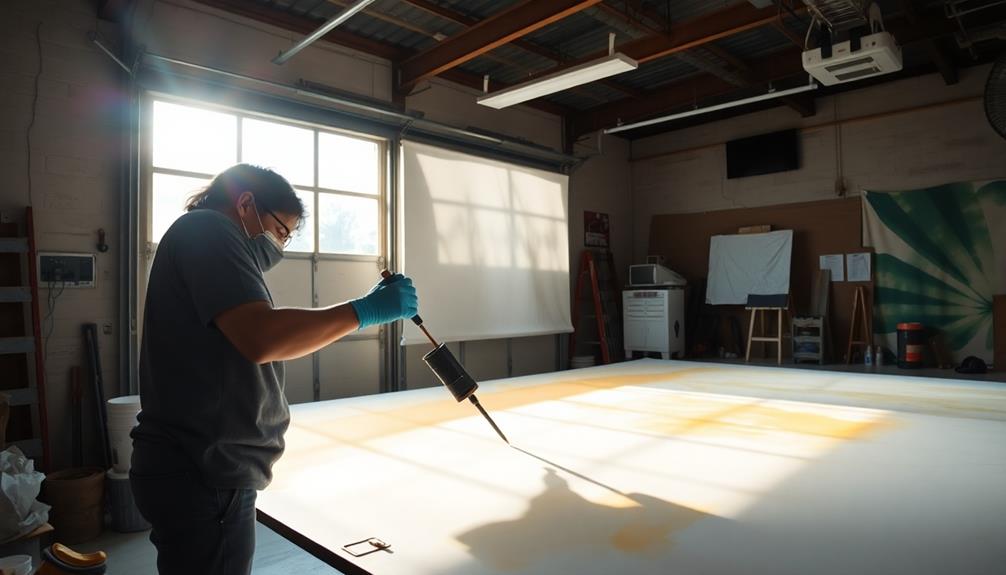
Step-by-Step Painting Process
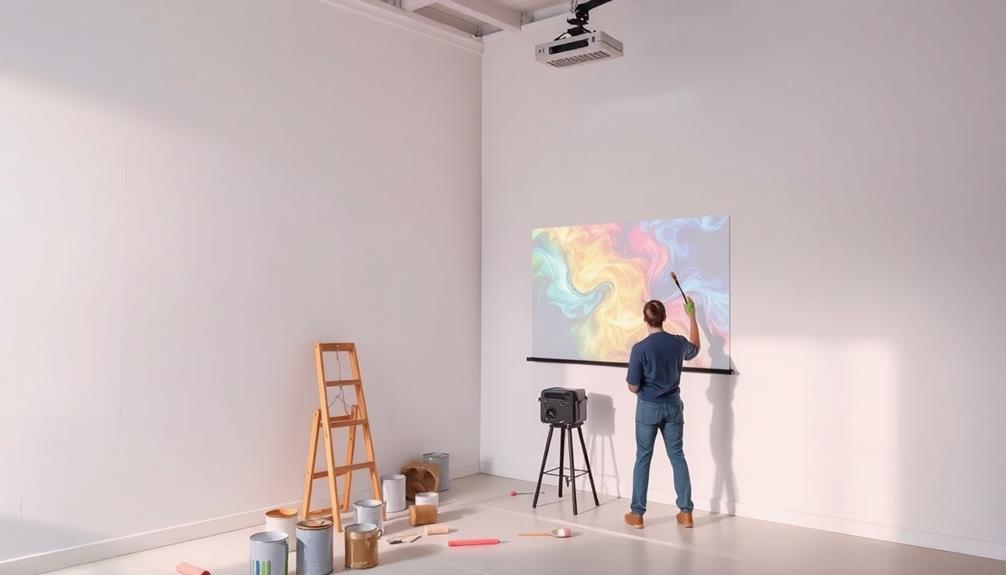
A successful painting process for your DIY projector screen starts with proper preparation of the wall surface. First, clean the wall thoroughly to remove any dust or grime.
Next, sand the area using 800-1200 grit paper to guarantee a smooth, even texture. Mark the screen area with masking tape for crisp, precise edges.
Once your wall is prepped, apply a coat of Smart White Primer evenly across the surface. This step enhances paint adhesion and improves the overall finish quality. Allow the primer to dry completely before proceeding.
Now, it's time to apply your chosen projector paint. Use a tight nap paint roller (1/4 nap) for this part. Aim for two coats, giving each coat enough drying time to achieve excellent coverage and guarantee a smooth screen surface.
After you finish painting, carefully remove the masking tape while the paint is still wet. This prevents any cracking and assures clean edges for a professional look.
Drying Time and Coverage
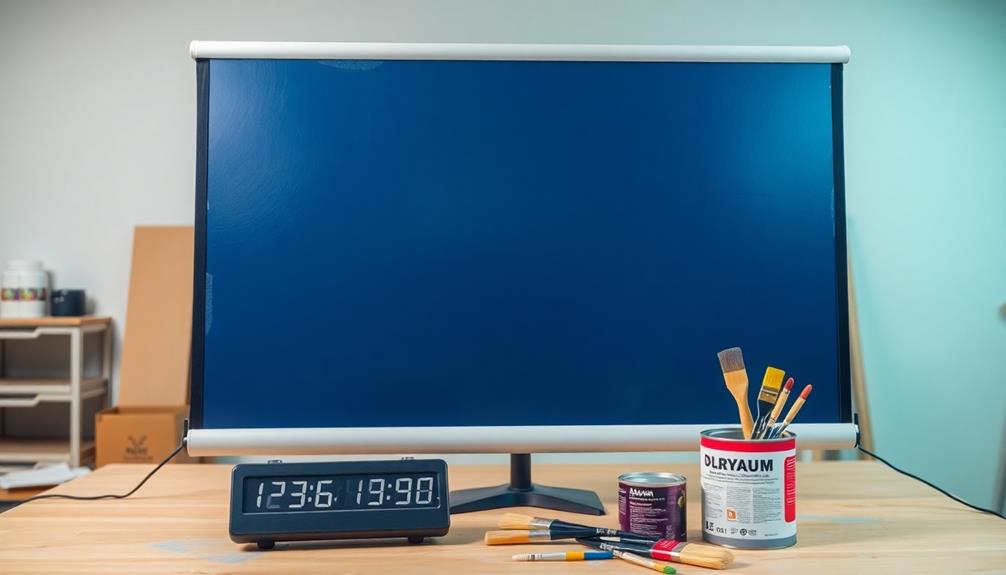
When it comes to drying time and coverage for your DIY projector paint, you'll want to keep a few key points in mind.
First, the surface becomes touch dry within 1-2 hours, allowing for initial handling. However, if you're planning to apply more layers, wait at least 4-6 hours for proper adhesion.
Here's what you should remember:
- One tin of Silver Screen Paint can cover up to 6.5 square meters (70 square feet) with two coats for ideal results.
- Exceeding the recommended coverage area may compromise the paint's reflective properties and overall performance.
- Always verify adequate ventilation during application and drying to achieve the best finish.
- Keep an eye on the drying time to avoid premature handling or re-coating.
Safety Precautions During Application
After ensuring your DIY projector paint has dried properly, it's important to prioritize safety during application.
Begin by wearing protective gear, including gloves and safety goggles, to prevent any skin and eye contact with the paint and chemicals. This step is essential for your well-being and will help you avoid potential injuries.
Make sure to work in a well-ventilated area. Open windows or use fans to keep fresh air circulating, minimizing the inhalation of fumes from the paint and primer. Good ventilation is key to creating a safer workspace.
Keep a first aid kit nearby to address any minor injuries or incidents that may arise during the painting process. It's better to be prepared, just in case.
Store all painting materials, including solvents and chemicals, in a cool, dry place, out of reach of children and pets. This reduces the risk of accidental ingestion or exposure.
Frame Construction Techniques
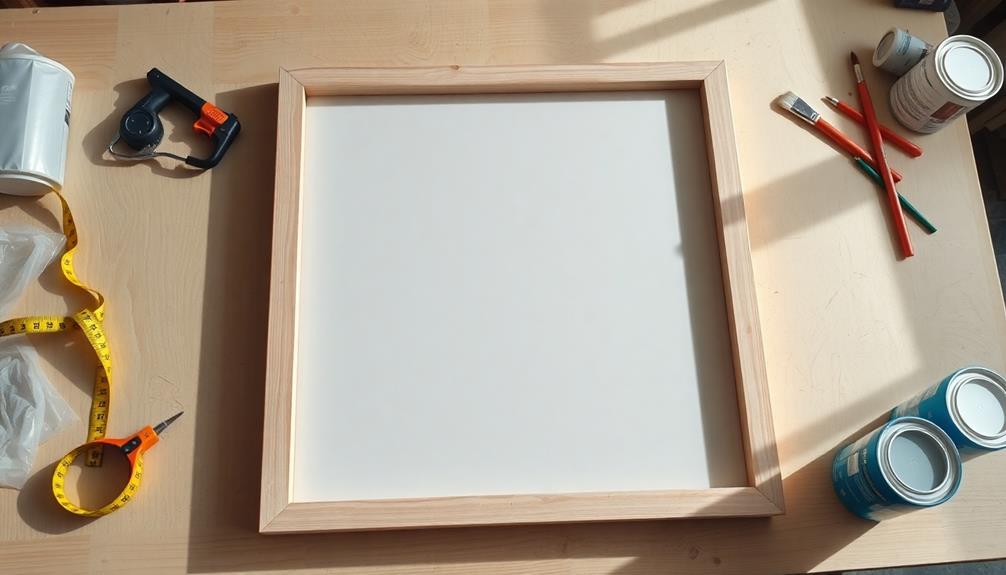
Constructing a sturdy frame for your DIY projector screen is vital to achieving the best viewing experience. You'll want to start by acquiring four 1×4 pieces of wood. Cut the ends to 45-degree angles for proper joining at the corners. To guarantee a strong structure, use flat metal L-brackets to secure the corners of the frame.
Here are some tips to enhance your frame:
- Use black velvet tape to create a simple border around the screen for a sleek finish.
- Consider wrapping the wooden frame in black velveteen for an elegant look.
- Attach flat metal D-rings to the back for easy hanging.
- Install picture hanging hooks into wall studs to guarantee it's securely mounted.
Darker walls surrounding the screen area can also enhance perceived contrast and reduce light reflections, making your viewing experience even better.
By following these frame construction techniques, you'll create a visually appealing and functional setup that elevates your home theater.
Don't forget, the quality of your frame will play a vital role in how your DIY projector screen performs!
Cost Analysis of DIY vs. Commercial Screens
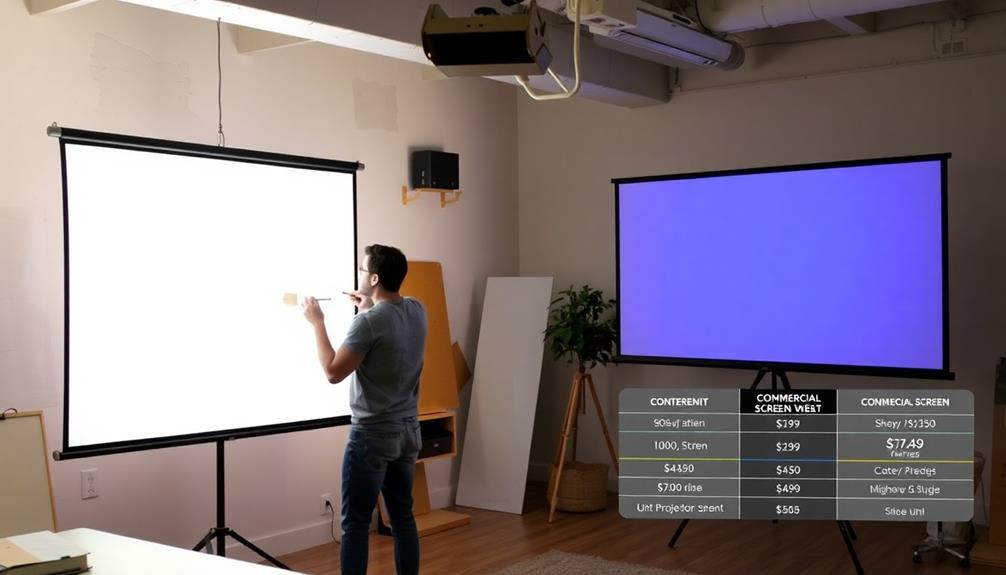
Building your own projector screen can lead to significant savings compared to purchasing commercial options. A cost analysis shows that creating a DIY projection screen typically ranges from $100 to $200. In contrast, high-end commercial screens can exceed $2,000, making the DIY approach a smart choice for budget-conscious buyers.
When you opt for a DIY screen, you can source materials like plywood or drywall, often costing between $25 and $50. This is particularly cheaper than commercial screens, which not only have higher prices but also include additional costs for shipping and installation.
Although a DIY screen might require more time and effort, it allows for customization to suit your specific needs. While the ultimate quality of a DIY screen may not match that of premium commercial options—like the Stewart Studiotek 130 for dedicated theater setups—it still offers an excellent solution for most casual viewers.
If you're looking to save money while achieving a decent projection surface, a DIY projection screen is definitely worth considering.
Frequently Asked Questions
What Paint Finish Is Best for a Projector Screen?
For a projector screen, you'll want a flat or matte finish to minimize glare and maintain uniform image quality. Satin finishes can also work well, balancing gloss and flat without excessive shine.
What Is the Best Surface for Projector Screen?
You'll want a smooth, flat, light-reflective surface for your projector screen. A neutral white or light-grey finish works best, enhancing brightness and color fidelity while minimizing distortions, especially in well-lit environments.
What Is the Best Material for a Homemade Projector Screen?
For a homemade projector screen, you'll want a smooth, flat surface. Consider using drywall, canvas, or specially formulated paint. Each option minimizes imperfections and enhances image quality, giving you the best viewing experience possible.
What Is the Best Color for a Projector Screen?
The best color for your projector screen depends on your setup. If you prioritize vibrant colors, a neutral white is ideal. For enhanced black levels, consider a gray screen, but expect slightly dimmer images.
Conclusion
In the end, crafting your own projector screen is like painting a canvas of dreams, where every brushstroke brings your vision to life. By choosing the right paint and following the steps, you're not just creating a surface; you're building a gateway to countless cinematic adventures. So roll up your sleeves, embrace the process, and watch your living room transform into a vibrant theater, where every movie night becomes an unforgettable journey into imagination.