To use a projector for light painting photography, start by selecting a high-lumen digital projector for vibrant images. Position it above your subject's eye level to avoid harsh shadows. Adjust the brightness to guarantee clarity and maintain a fast shutter speed, ideally 1/60 sec at f4 and ISO 200. Experiment with color gels to balance the light temperature for accurate color representation. Remember to focus and sharpen your images for the best results. Finally, feel free to get creative by projecting onto different surfaces and incorporating diverse patterns to enhance your photographic art. There's much more to explore!
Key Takeaways
- Choose a high-lumen projector (above 1500 lumens) for vibrant and clear projections in light painting photography.
- Ensure proper projector placement above the model's eye level to avoid unflattering shadows and achieve even light distribution.
- Adjust projector brightness settings to control exposure, allowing for faster shutter speeds and lower ISO settings while reducing noise.
- Use color gels to balance the projector's light output, enhancing image quality and correcting color temperature issues.
- Experiment with various projected images and surfaces to explore creative compositions and the interplay of light and texture.

ViewSonic LS740W 5500 Lumens WXGA Laser Projector with 1.3X Optical Zoom, H/V Keystrone, 360 Degrees Projection for Auditorium, Conference Room, and Education
High Brightness Laser Projector: WXGA (1280x800p) resolution with a 1.2-1.5 throw ratio and 5,500 ANSI lumens for clear,...
As an affiliate, we earn on qualifying purchases.
Understanding Projector Types

When you're diving into light painting photography, understanding the types of projectors available can make a big difference in your results.
You've got two main options: OG projectors and modern digital projectors. OG projectors use slide film to create transparencies, giving you that classic feel. However, they can limit your flexibility since you'll need pre-prepared slides.
On the other hand, modern digital projectors let you project images straight from various devices, allowing for instant creativity and experimentation.
When choosing a projector, consider the resolution. A lower resolution might show pixels in your projected images, especially on skin, which can detract from your final result.
Also, remember that each projector has a different color temperature, so adjusting your camera's white balance is vital for accurate color reproduction.
Placement is key too; aim to set the projector above your model's eye level to avoid unflattering shadows and guarantee even coverage of the projected images.
With the right type of projector and thoughtful setup, you can elevate your light painting photography to new heights.

2000 ANSI 4K Decoding Projector with WiFi and Bluetooth, HAPPRUN Movie Home Theater with Auto Focus, 300'' Display for Indoor/Outdoor, Smart Proyector Compatible with Phone/TV Stick/PC/PS5
[EASIER OPERATION: AI Smart Screen Adjustment] HAPPRUN projector comes with auto focus and 6D auto-keystone technology, enjoy a...
As an affiliate, we earn on qualifying purchases.
Importance of Brightness

In light painting photography, brightness plays an essential role in achieving stunning results. The brightness of your projector, measured in lumens, directly influences the quality of your images. For instance, using a projector with 3000 lumens gives you much greater flexibility in creating vivid light patterns compared to one with only 150 lumens.
This increased brightness allows you to work with faster shutter speeds and lower ISO settings, which helps reduce noise and enhance the overall quality of your photos.
When projecting images, sufficient brightness is vital for maintaining visibility of details in your light patterns. Dimmer projectors can wash out these images, leading to less defined designs that can detract from your intended aesthetic.
You'll want to avoid pixel visibility on your subjects, as this can ruin your composition.
To optimize your exposure settings, aim for an average of 1/60 sec shutter speed, an f4 aperture, and ISO 200.
By ensuring you have the right brightness, you can capture the detailed, vibrant images that make light painting photography so engaging.

Epson Home Cinema 980 3-Chip 3LCD 1080p Projector 4,000 Lumens Color and White Brightness, Streaming/Gaming/ Media Room, Built-In Speaker, Auto Picture Skew, 16000:1 Contrast, 2 HDMI Ports
Exceptional Picture Quality — Provides stunning, detailed 1080p images and fast data processing that’s optimized for fast-action sports,...
As an affiliate, we earn on qualifying purchases.
Managing Image Quality
To manage image quality in your light painting photography, you need to pay attention to both brightness settings and resolution.
A projector with a higher lumen count enhances your creative options, while high-contrast images help reduce pixel visibility, especially on skin tones.
Adjusting your projector's position and experimenting with angles will also improve your overall results.
Brightness Settings Importance
Selecting the right brightness settings for your projector is vital in managing image quality during light painting photography. The brightness of your projector, measured in lumens, directly impacts the clarity and vibrancy of your images. A projector with higher lumens, such as 3000 lumens, offers better image quality and allows for greater creative flexibility.
When you project images, a recommended exposure setting to use is 1/60 sec, f4, ISO 200. This guarantees that the projector's brightness complements the ambient lighting conditions. A brighter projector can also help minimize the visibility of pixels on skin, which is essential for maintaining quality in light painting portraits.
Don't forget to customize the brightness settings and balance them with additional lighting to avoid washing out your projected images.
Experimenting with different brightness levels can greatly influence your overall composition and enhance the effectiveness of your light painting techniques.
Resolution and Pixel Visibility
Achieving high-quality light painting photography hinges on the resolution of your projector, as it greatly impacts pixel visibility. Higher resolutions, like 1080p or 4K, help reduce the visibility of pixels on your subject's skin and enhance the overall image quality. If you want to create striking visuals, opt for projectors that offer these resolutions.
Additionally, consider the brightness of your projector, measured in lumens. A projector with at least 3000 lumens will produce clearer images, minimizing pixelation.
Experiment with various brightly colored images, as high contrast can effectively mask pixel visibility better than darker or intricate designs.
Keep in mind that poor lighting conditions can worsen the pixel issue. Utilizing extra lighting techniques can improve your environment and further lessen pixel visibility during your sessions.
Finally, don't forget to customize your projector's settings. Adjusting focus and sharpness can greatly enhance image clarity, helping to minimize any unwanted pixelation in your final photographs.
![[Official Google TV]Smart Projector 4K Supported with WiFi & Bluetooth, Built-in Official Apps, GoogIe Voice, Outdoor Movie Projector with DoIby Audio, Auto Focus, Home Theater Proyector WIMIUS G1](https://m.media-amazon.com/images/I/515NcMYy-FL._SL500_.jpg)
[Official Google TV]Smart Projector 4K Supported with WiFi & Bluetooth, Built-in Official Apps, GoogIe Voice, Outdoor Movie Projector with DoIby Audio, Auto Focus, Home Theater Proyector WIMIUS G1
[All-in-One Google TV Built-In] G1 Smart projector comes fully integrated Google TV—no website version, no stripped-down system. Access...
As an affiliate, we earn on qualifying purchases.
Color Temperature Considerations
When you're working with a projector for light painting, getting the white balance right is essential for capturing accurate colors.
Adjusting color gels can also help you fine-tune the overall mood of your images, whether you want a warm, inviting feel or a cooler, more dramatic effect.
Experimenting with these elements will enhance the visual impact of your light painting sessions.
Importance of White Balance
Proper white balance plays an essential role in light painting photography, impacting the overall quality of your images. It guarantees that the colors in your photographs accurately represent the scene, which can be particularly challenging when using various light sources like projectors.
Since projectors emit light at different color temperatures, it's crucial to adjust your white balance settings to achieve a cohesive look.
Here are a few key points to take into account:
- Custom White Balance: Adjust your camera's settings to match the projector's output for accurate color representation.
- Shooting in RAW: This format allows for easy post-processing adjustments, giving you flexibility to correct white balance issues later.
- Use CTB Gels: Applying Color Temperature Blue gels can help cool down warmer tones from projector bulbs, balancing your final image.
- Experiment with Settings: Try different white balance settings like custom profiles and Auto White Balance (AWB) to find the best match for your lighting conditions.
Adjusting Color Gels
Adjusting color gels is vital for balancing the light in your light painting photography. When using a projector, you'll often encounter warmer color temperatures due to the bulbs. To counteract this, you can use CTO (Color Temperature Orange) gels on your flashes. These gels help guarantee a more harmonious light balance, making your images pop with accurate colors.
It's important to remember that the projector's color temperature might differ from other light sources. This discrepancy could necessitate custom white balance adjustments, so your final images don't appear off-kilter.
Additionally, if you're projecting bright images with large white areas, keep an eye on the color temperature. Unchecked, this can lead to unwanted color casts that detract from your composition.
If you find your projected images too warm, consider adding CTB (Color Temperature Blue) gels to other lights. This can cool down your color tones and create a more cohesive look.
Don't hesitate to experiment with different gel combinations and lighting setups. This exploration can lead to unique results, enhancing the overall aesthetic of your light painting photography.
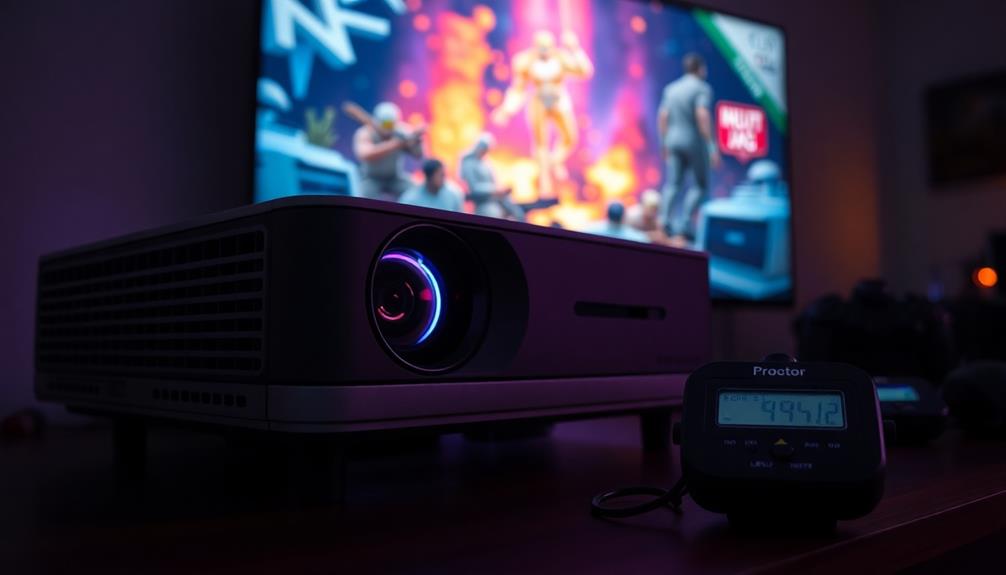
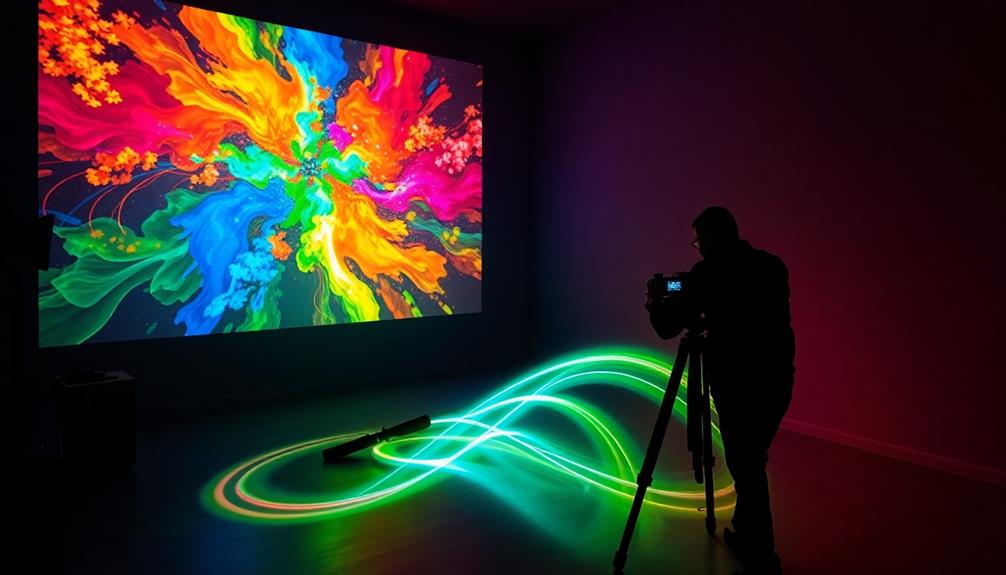
Setting Up Your Projector
To achieve stunning light painting effects, you'll need to carefully set up your projector. Start by positioning the projector above the model's eye level. This helps avoid unflattering shadows and provides an ideal viewing angle for the projected images.
Maintain a distance of 8-10 feet from the model for 3/4 length shots, ensuring the projected image covers the subject effectively.
Next, adjust the projector's focus and alignment. This step is essential for achieving sharp, well-framed images. Control ambient lighting to prevent the projected images from washing out. You want the projected light to remain the focal point of your composition.
Consider these tips while setting up:
- Position the projector strategically to enhance the visual impact.
- Experiment with different images to discover what works best.
- Adjust brightness and contrast to suit your specific needs.
- Test various angles and distances for ideal projection.
With these steps, you'll create engaging light paintings, allowing the projected images to shine beautifully in your photography.
Additional Lighting Techniques
In light painting photography, effective additional lighting techniques can make a significant difference in the final image quality. Proper placement of your light sources is vital to avoid background spill, guaranteeing that your projected images remain vibrant and clear.
Consider using direct overhead lighting to control shadows on your models, which enhances the overall image quality and gives a more polished look.
Utilizing modifiers like reflector dishes with grids can improve light directionality, allowing you precise control over how the light interacts with your projected images. This helps in shaping the light source to fit your artistic vision.
When projecting warm images, don't hesitate to employ CTB gels to cool down the color tones, creating a balanced color palette in your final composition.
It's essential to maintain controlled lighting setups to avoid washing out your projected images. This approach preserves the integrity of your artistic vision and guarantees that every detail of your light painting stands out.
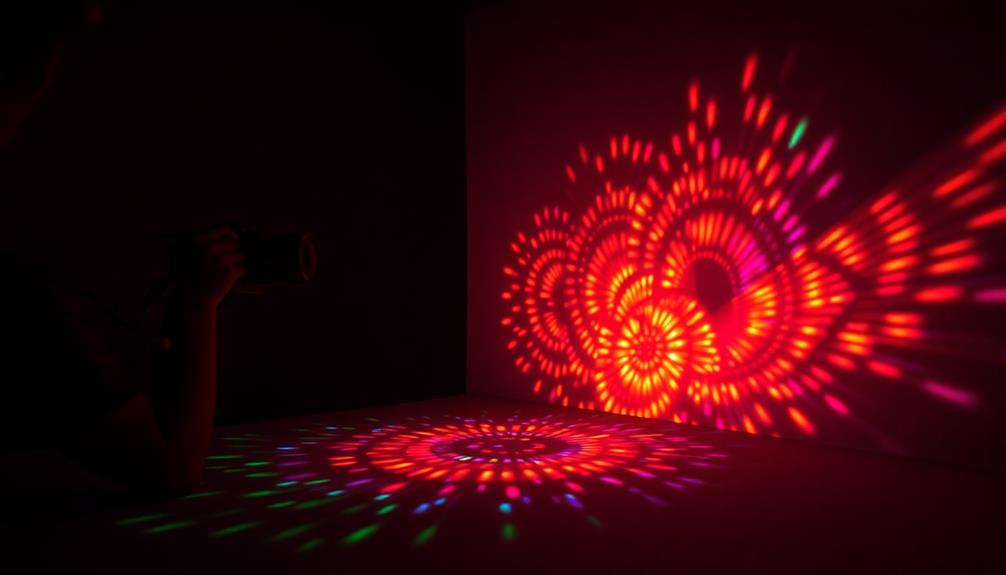
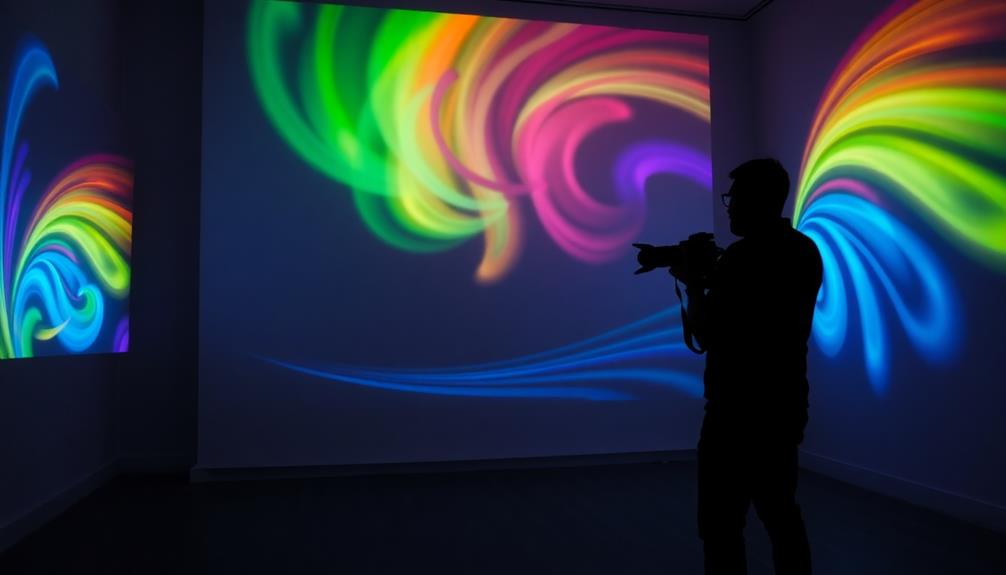
Experimenting With Projected Images

When you experiment with different projected images, you'll see how their content shapes the composition and visual impact of your light painting.
Try using bright images with large white areas to keep exposure balanced and minimize pixel visibility on your model's skin.
Don't hesitate to mix and match techniques—this exploration can lead to unexpected and exciting results in your photography.
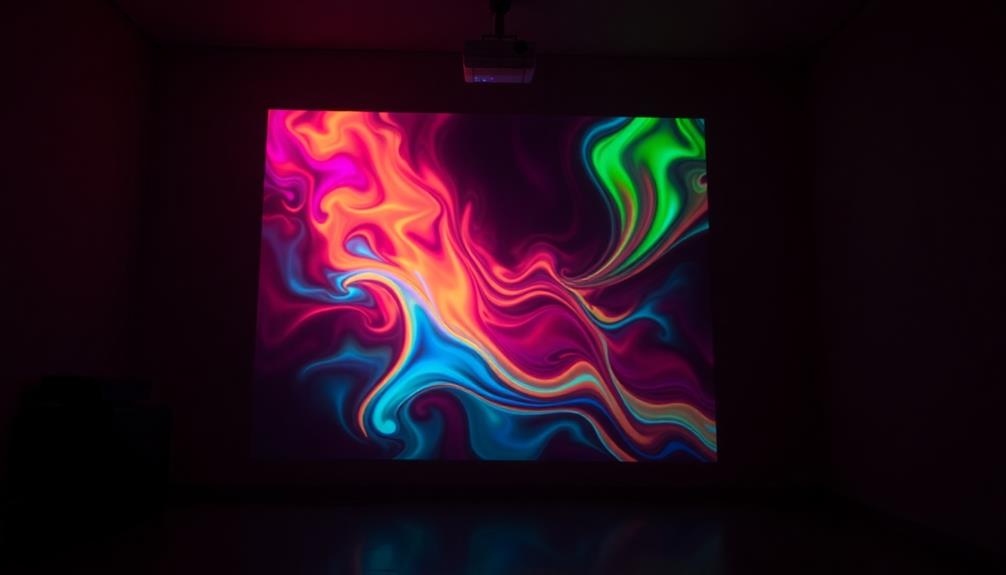
Techniques for Image Projection
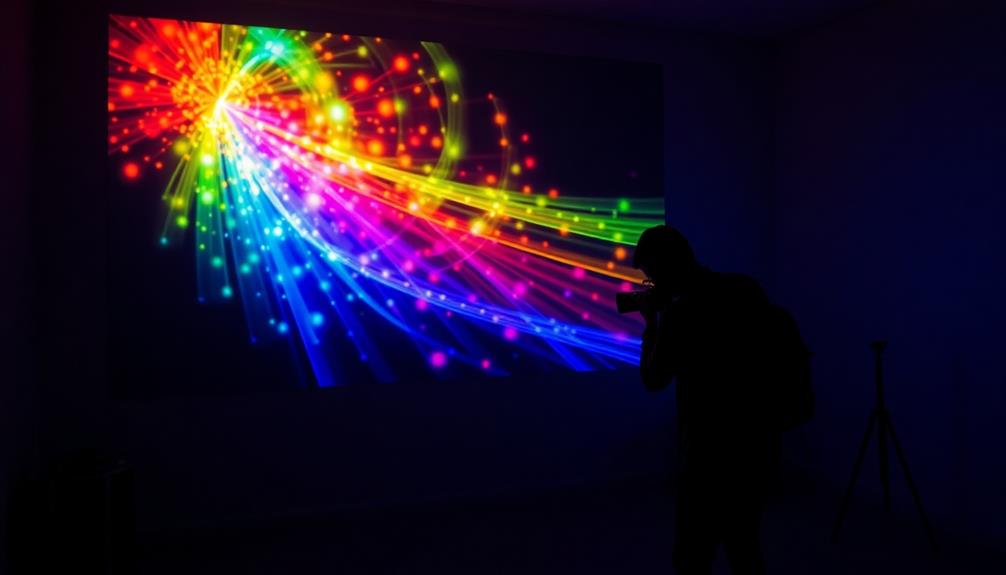
Experimenting with projected images can open up a world of creative possibilities in light painting photography. By projecting various images onto different surfaces, like human models or natural objects, you can explore the interplay of light and texture.
Here are some techniques to enhance your projected images:
- Use high-lumen projectors (above 1500 lumens) for vibrant and clear projections.
- Adjust the projector's brightness and color temperature to match your ambient lighting for a cohesive look.
- Experiment with multiple projectors to layer different transparencies, creating complex compositions.
- Test and refine your image selection to guarantee visibility and aesthetic appeal.
Creative Experimentation Methods
Harnessing the power of projected images can lead to stunning light painting results. Start by selecting bright visuals with large white sections, as these enhance exposure and reduce pixel visibility when you project light onto your subjects.
Experiment with different projector brightness levels, measured in lumens, to gain creative flexibility. Adjust your shutter speeds and ISO settings to achieve the desired effect, allowing you to explore a range of artistic possibilities.
Custom white balance settings are essential when combining projected images with other light sources. This helps maintain color accuracy, ensuring your final photograph matches your intended aesthetic.
Don't hesitate to project images onto various surfaces, from natural objects to textured backgrounds; this technique adds depth and intrigue, resulting in unique and visually compelling photographs.
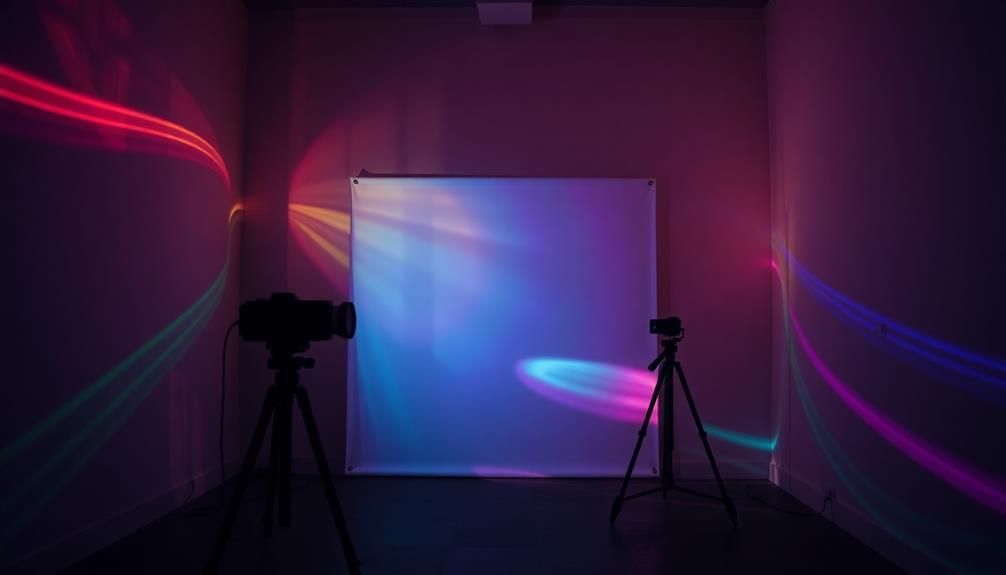
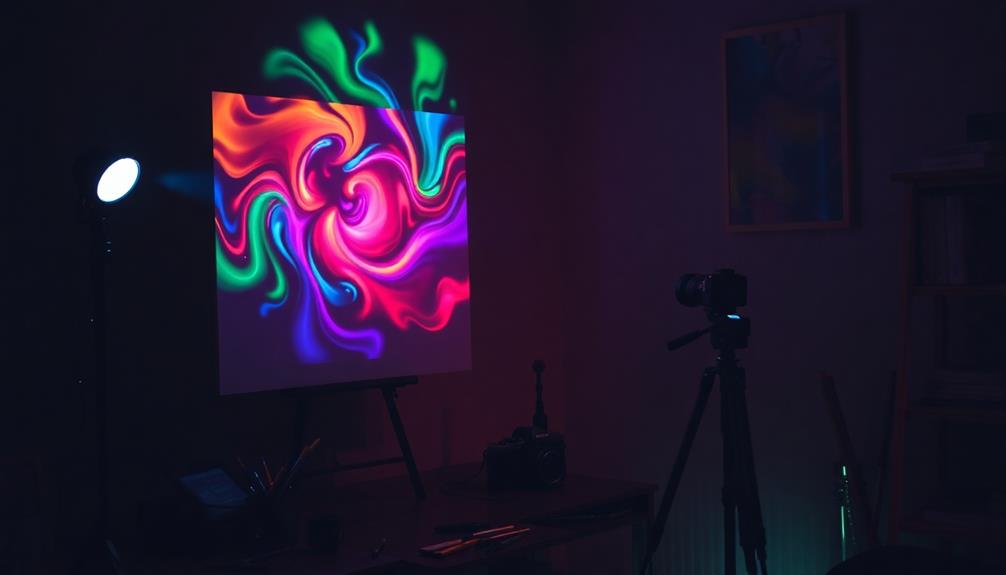
Creative Photography Techniques
In the domain of creative photography techniques, light painting stands out as an enchanting method that allows you to blend artistry with technology.
By using a digital projector, you can introduce various light sources into your long exposure shots, transforming ordinary scenes into mesmerizing works of art. This technique enhances depth and texture, enabling you to create visually striking images.
Here are some tips to maximize your light painting experience:
- Experiment with different images to see how they change the mood of your composition.
- Adjust the projector's brightness settings, as lumens can greatly affect your exposure.
- Utilize a custom white balance tailored to your projector's color temperature for accurate colors.
- Continuously explore diverse light patterns and projected images for unique compositions.
Historical Context of Projection

Light painting photography, with its innovative use of projectors, has roots that trace back to the early days of projection techniques in the 1960s. During this period, photographers began blending traditional methods with modern practices, paving the way for a new artistic expression.
The use of high-quality projectors, like those designed for top gaming experiences, allowed artists to experiment with color and light in ways previously unimaginable. One notable work from this era, "Spirit of Spring," won the London Salon Trophy in 1967, marking a significant moment in the historical context of projection photography.
In 1968 alone, over 20 major one-man exhibitions showcased this groundbreaking style, highlighting its impact on the art community. Various publications hailed projection techniques as one of Britain's most original photographic approaches, underlining its unique contributions to visual art.
This recognition not only validated the artistic merit of projection but also ignited a broader interest in the medium.
Today, the historical development of projection photography continues to inspire artists, sparking renewed interest in analogue techniques. As you explore light painting, you're not just tapping into a modern trend; you're participating in a rich legacy that challenges the boundaries of photography and artistic expression.
This connection to history enriches your work and deepens your understanding of the art form.
Resources for Learning
To immerse yourself in the world of light painting photography with projectors, you'll find a wealth of resources available at your fingertips.
Make sure to explore various platforms and communities that offer specialized workshops and tutorials tailored to projector usage. These resources for learning can greatly enhance your skills and creativity.
Consider diving into the following options:
- The Magic Lantern: A section dedicated to detailed insights and projection techniques.
- Award-winning Photographers: Study their portfolios to discover innovative integration of projection in their work.
- Local Exhibitions and Meetups: Participate in events where you can observe and learn from experienced practitioners firsthand.
- Instructional Videos and Articles: Access content focusing on technical aspects like projector setup, color temperature adjustments, and light balancing.
Frequently Asked Questions
Can You Use a Projector for Photography?
Yes, you can use a projector for photography! It allows you to create unique visuals by projecting images onto subjects. Just make certain you've got the right brightness and color settings for the best results.
What Are the Best Settings for Light Painting Photography?
For light painting photography, you'll want a low ISO (100-400), a longer shutter speed (10-30 seconds), and an aperture of f/8 to f/16. Don't forget to stabilize your camera with a tripod!
Is It OK to Use a Projector for Art?
Absolutely, it's okay to use a projector for art! It helps you replicate shapes accurately and speeds up your drawing process, allowing you to focus on creativity without stressing over precise placements initially.
How to Make a Projector for Painting?
Imagine tracing your favorite masterpiece. To make a projector for painting, align it to your canvas, adjust the image size, and simplify your reference photo. Then, focus on large shapes for effortless accuracy.
Conclusion
In summary, using a projector for light painting photography can transform your creative vision into a breathtaking masterpiece! Imagine releasing a kaleidoscope of vibrant colors dancing across your canvas, turning ordinary scenes into extraordinary visual symphonies! With each click of the shutter, you're not just capturing images; you're crafting unforgettable stories that leap off the page. So go ahead, grab that projector, and let your imagination run wild—your next stunning creation is just a beam away!