How to Use a Projector for Architectural Visualization and 3D Modeling
Find out how to effectively use a projector for stunning architectural visualization and 3D modeling—discover essential tips and techniques that elevate your presentations!
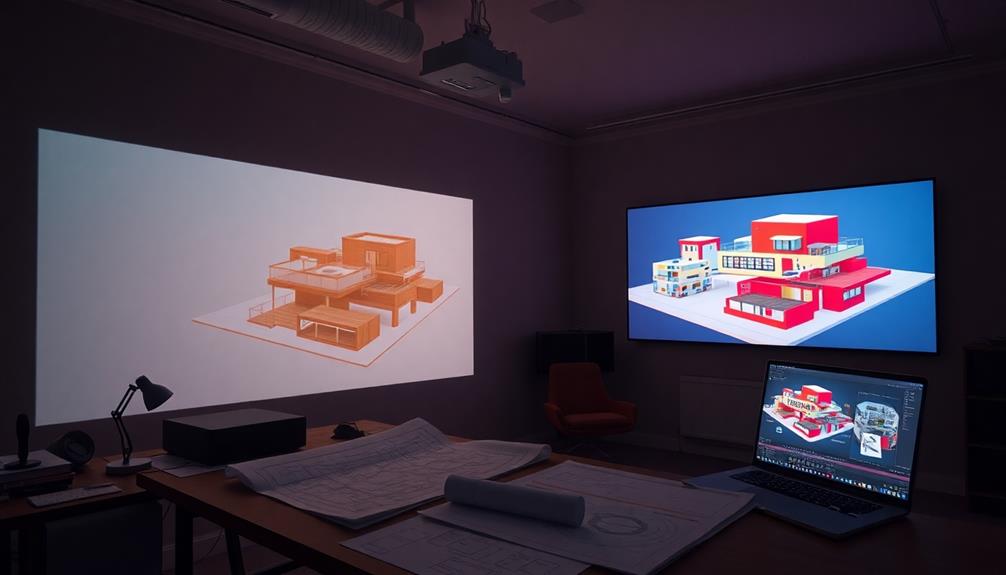
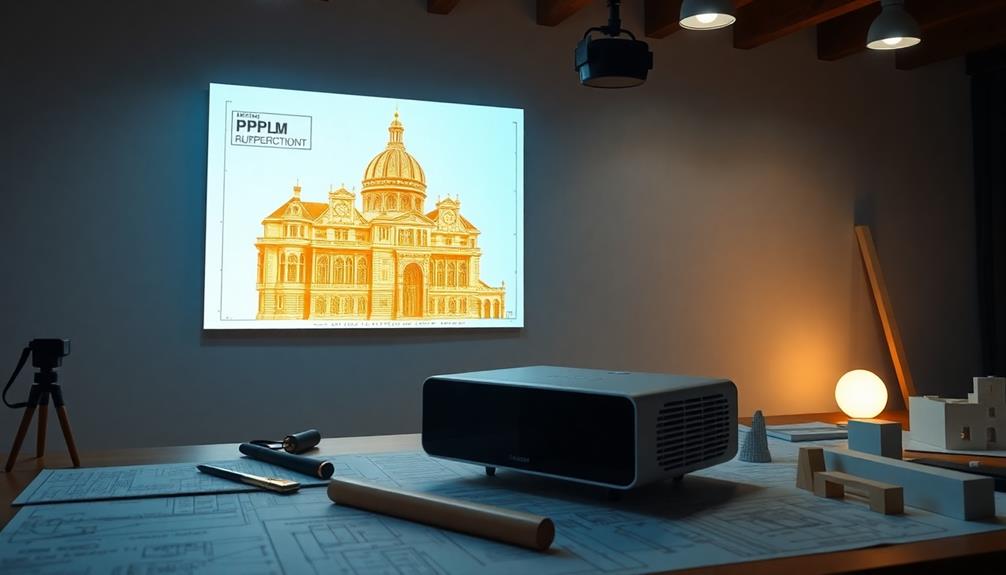
To use a projector for architectural visualization and 3D modeling, start by choosing a projector with at least 3000 lumens and 1080p resolution. Set it up at the right throw distance and adjust for lighting conditions to guarantee clarity. Calibrate with five reference points for accuracy, and create your 3D models using software like SketchUp or Blender. When mapping textures, use precise UV mapping to avoid distortion. Regularly test and refine your projector settings for ideal output. This process enhances your visual presentations considerably, and there's even more to explore for perfect results.
Choose a projector with a minimum of 3000 lumens and 1080p resolution for clear architectural visualizations in well-lit environments.
Properly calibrate the projector using at least five reference points to ensure accurate alignment and minimize projection errors.
Utilize advanced modeling software like SketchUp or Blender to create detailed 3D models, ensuring correct file formats and clean geometry before exporting.
Implement effective texture mapping techniques, such as UV mapping and normal mapping, to enhance the visual quality of your 3D models.
Perform real-time adjustments and use tools like CamSnapper for perspective correction on irregular surfaces to achieve optimal projection results.
Choosing the Right Projector
When you're selecting the right projector for architectural visualization, it's important to focus on key specifications that impact performance.
Start with the lumens specification; for clear visibility in well-lit environments, aim for a minimum of 3000 lumens. This guarantees your visuals remain sharp and vibrant, even in brighter settings.
Next, consider the resolution. A minimum of 1080p (1920×1080) is advisable, as it allows for detailed 3D models and accurate representation of architectural designs. Higher resolution means crisp imagery, which is necessary for professional presentations.
Don't forget about throw distance, either. This measurement determines how far your projector needs to be from the surface to achieve the desired image size. Understanding throw distance affects your placement and setup considerably.
Additionally, look for projectors with adjustable lens options to accommodate various projection surfaces and angles, which is essential for accurately mapping irregular shapes.
Setting Up Your Environment
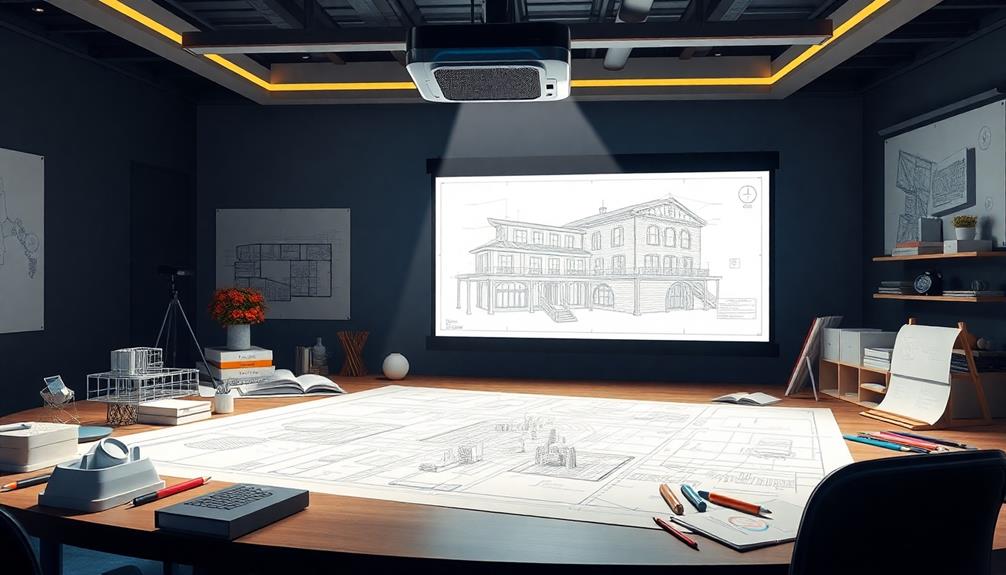
After you've chosen the right projector, setting up your environment is the next step to confirm optimal performance. First, make sure the projector's placed at an ideal distance from the projection surface, following the manufacturer's recommended throw distance for the best image size and clarity.
You'll want to select the appropriate resolution settings to match your design software, so the projected image maintains clarity and detail.
Once you have that in place, consider your lighting conditions. If the room's too bright, you might need a projector with higher lumens to achieve visible, vibrant projections.
Be certain to adjust for any perspective distortion using tools like corner pin adjustments to align the projected image accurately with architectural features on the surface.
To enhance accuracy, calibrate the projector using a minimum of five reference points. This helps you align the image correctly, aiming for a calibration error metric as close to zero as possible.
Calibration Techniques
Calibration techniques are vital for achieving precise architectural projections. You need to follow specific steps to guarantee your projections align accurately with the intended surfaces. Start by identifying at least five reference points to minimize calibration error—after all, closer to zero is better. Using tools like CamSnapper can streamline this process, allowing for perspective correction on irregular surfaces.
Regular adjustments and recalibrations are important due to possible projector movement or environmental changes. Conducting calibration in situ will help you account for lighting conditions, surface textures, and distances that can greatly impact projection quality. Don't forget to document your calibration process, including parameters and adjustments. This documentation can be invaluable for replicating successful setups in future projects.
Here's a quick reference table to emphasize the key aspects of calibration:
Calibration Aspect
Importance
Reference Points
Guarantees accurate alignment
Calibration Error Metric
Indicates projection quality
In Situ Calibration
Accounts for environmental variables
Documentation
Aids in future replicability
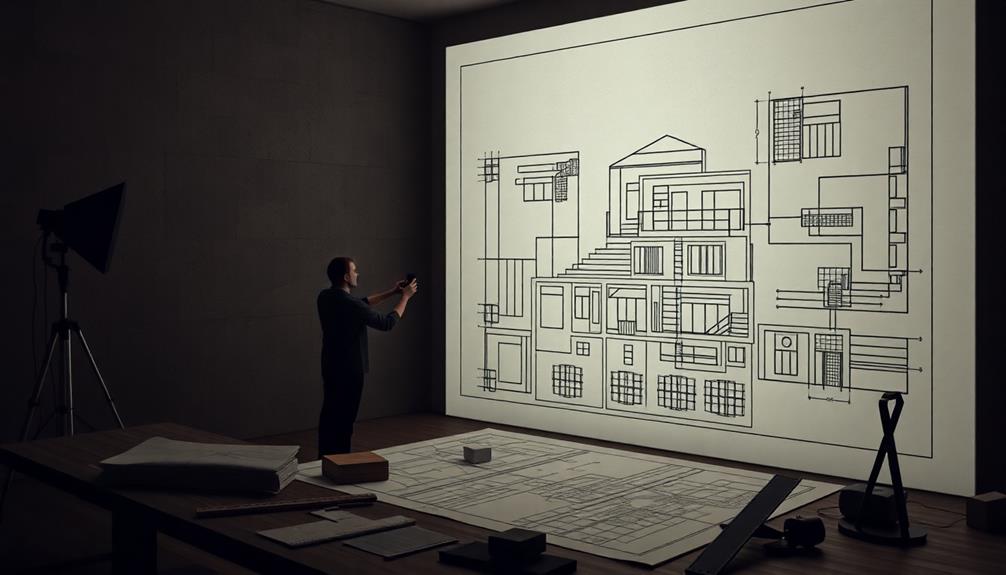
Creating 3D Models
When you're creating 3D models for architectural visualization, choosing the right modeling software is essential.
You'll want to explore techniques for texturing to bring your designs to life, making them more appealing and realistic.
Choosing Modeling Software
Choosing the right modeling software for architectural visualization is essential for effectively bringing your designs to life. Start by considering your project's complexity. If you need a user-friendly tool, SketchUp might be your best bet.
For detailed building information modeling (BIM), Autodesk Revit excels, offering advanced features tailored for thorough architectural projects.
If you're looking for a versatile, open-source option, Blender is a fantastic choice. It provides robust modeling features, including sculpting and UV mapping, making it suitable for both beginners and experienced users.
For precision and the ability to create complex geometries, Rhino is often preferred, especially for intricate architectural facades.
When visual quality is a priority, consider software like 3ds Max, which includes advanced rendering engines like V-Ray. These tools enhance the realism of your models through effective lighting and material application.
Techniques for Texturing
Texturing is an essential aspect of 3D modeling that adds depth and realism to your architectural visualizations. By mapping 2D images onto 3D surfaces, you enhance the visual appeal with details like color and patterns.
Here are three key techniques to contemplate:
UV Mapping: This process involves wrapping a 2D image around your 3D model. Make sure to align the UV coordinates properly to avoid any stretching or distortion.
Bump and Normal Mapping: These advanced techniques simulate surface details without increasing the polygon count. This is particularly useful for maintaining performance in real-time applications while still achieving a detailed look.
Texture Resolution: The resolution of your textures greatly impacts the final visualization quality. Higher resolutions yield more detail but can also lead to increased rendering times and memory usage, so find a balance that works for your project.
Additionally, contemplate using procedural textures, which are generated algorithmically. They adapt well to various lighting conditions and changes in your model, offering a dynamic texturing solution.
Exporting 3D Files
Exporting 3D files is an essential step in the architectural visualization process that can greatly affect the quality of your final projection. To achieve the best results, start by selecting the right file format, such as OBJ, FBX, or STL, depending on your intended use and the compatibility with your projection mapping software.
Here's a quick overview of important factors to take into account:
Factor
Details
File Format
Choose OBJ, FBX, or STL for your specific needs.
Textures & Materials
Verify all are included to enhance visual quality.
Scaling
Verify dimensions match the projection space.
Geometry Quality
Use clean geometry with optimized mesh structures.
Check for Errors
Look for non-manifold edges or overlapping surfaces.
Before finalizing your export, double-check that everything is in order. Proper scaling and clean geometry will help prevent distortion and artifacts during projection. With these steps, you'll set up a solid foundation for successful architectural visualization.
Mapping Textures Effectively
When you're mapping textures onto architectural surfaces, precision is key.
You can use techniques like real-time adjustments to guarantee your textures align perfectly with the geometry of your design.
Experimenting with these methods not only enhances accuracy but also adds a creative touch to your visualization process.
Texture Mapping Techniques
Achieving effective texture mapping is essential for creating realistic architectural visualizations. To guarantee your textures align perfectly with your 3D models, consider these key techniques:
Precise UV Mapping: Start by carefully mapping your 2D images onto your 3D surfaces. This precision guarantees that the textures fit seamlessly without distortion.
Perspective Correction: Utilize tools like the Corner Pin Tool to adjust the texture's corners easily. This allows you to correct any misalignments on irregular surfaces, guaranteeing a perfect fit through a simple drag-and-drop interface.
Advanced Techniques: Explore methods such as grid warping and subdivision. These techniques enhance texture quality and minimize visual artifacts, particularly on complex shapes.
Real-Time Adjustments
To effectively map textures in real-time, you need to embrace the dynamic nature of projection mapping. Real-time adjustments let you correct and enhance textures instantly, using geometry manipulation and camera settings for the best visual effect. Tools like TouchDesigner are essential for seamless texture mapping on irregular surfaces and allow dynamic updates based on lighting or design changes.
Here's a quick overview of techniques and tools to take into account:
Technique/Tool
Purpose
Point Manipulation
Adjusts texture alignment during projection
Wireframe Rendering
Provides a flexible framework for scaling
Corner Pin Tool
Corrects texture placement on complex models
Vert Pusher Tool
Refines texture mapping by adjusting vertices
Multiple Cameras
Offers perspective correction for precise alignment
Experimenting with these mapping tools can greatly enhance your texture application accuracy. Don't forget to implement real-time feedback mechanisms. Using multiple cameras helps guarantee precise alignment and reduces errors, making your projection mapping not just effective, but also visually stunning.
Adjusting Projector Settings
Adjusting your projector settings is essential for ideal architectural visualization. To achieve the best quality in your projections, focus on these key adjustments:
1. Resolution: Match the projector resolution to the output resolution of your model. This guarantees that your images are clear and sharp, making details pop. High resolution is critical, especially when presenting intricate designs or detailed 3D models, as it enhances the overall visual experience and allows for better color accuracy, similar to the importance of color accuracy in home cinema projectors.
2. Lumens Specification: Set the lumens according to the ambient light conditions of your space. Proper lumens help maintain visibility and color accuracy, essential for presenting architectural designs effectively.
Consider the projector's brightness capabilities to make certain that your visuals remain vibrant and clear, even in well-lit environments.
3. Pixel Density: Adjust pixel density to enhance clarity, especially for intricate 3D models or textures. This step is critical for showcasing finer details without losing quality.
Additionally, don't forget about focus adjustments; they're essential for achieving a sharp image across the entire projection surface.
Regularly test and calibrate your projector's placement and lens settings to optimize throw distance and coverage. This practice reduces distortion and maximizes projection quality, making sure every area of your architectural design is equally visible.
Following these steps will greatly improve your architectural visualizations and deliver a more professional presentation.
Advanced Projection Techniques
Advanced projection techniques can transform your architectural presentations by enabling precise mapping onto complex surfaces. One of the key methods, grid warping, requires accurate measurements to avoid distortions in the projected imagery.
Utilizing tools like CamSnapper and the Vert Pusher Tool can greatly enhance your 3D projection mapping. These tools let you manipulate geometry and guarantee your projections align seamlessly with your structure's contours.
For effective calibration, use at least five reference points to assure accuracy. Aim for a calibration error metric close to zero for the best results.
Additionally, implementing subdivision techniques on your meshes can elevate texture quality and minimize artifacts, especially when dealing with intricate architectural details.
Custom shaders in software like TouchDesigner can also be a game-changer. They optimize texture visibility and brightness, adapting to varying lighting conditions—crucial for achieving realistic architectural visualizations.
Testing and Refining Projections
The effectiveness of your architectural projections hinges on thorough testing and refinement. To guarantee ideal results, focus on these key steps:
Calibration: Use at least five calibration points to enhance accuracy. Aim for a calibration error metric close to zero, as this will indicate high-quality projections.
Adjust Settings: Tweak your projector's resolution, lumens, and pixel density based on the surface characteristics and ambient lighting of your space. This guarantees better visibility and clarity.
On-Site Testing: Always conduct tests in the actual environment. This allows you to make real-time adjustments to projector placement and settings, guaranteeing the best viewing angles.
Incorporate visualization tools, like wireframe rendering and shadow casting, to assess your projections' effectiveness. These tools can help you pinpoint areas needing refinement.
Don't hesitate to iterate and experiment with mesh geometry and projector configurations; this continuous process can greatly enhance your projection quality. By minimizing artifacts and improving clarity, you'll achieve a more impactful architectural visualization that effectively communicates your design intent.
Frequently Asked Questions
What Kind of Projector Do I Need for Projection Mapping?
For projection mapping, you'll want a projector with at least 1920×1080 resolution and 3000 lumens brightness. Opt for a short-throw model with adjustable lens options and keystone correction for ideal image quality and alignment.
How to Set up a Projector for Projection Mapping?
To set up a projector for projection mapping, you'll need to position it correctly, calibrate its alignment, adjust brightness, and test the settings. Use tools for perspective correction to guarantee accurate image placement and clarity.
What Is 3D Mapping Projection?
Ever wondered how a static surface transforms into a mesmerizing visual experience? 3D mapping projection projects dynamic content onto three-dimensional shapes, creating immersive displays that blend art and technology through precise alignment and innovative techniques.
How Do They Project Images on Buildings?
To project images on buildings, you'll need to calibrate your projector using reference points, adapt projections to the building's shape, adjust settings for clarity, and test on-site for ideal visibility under ambient light.
Conclusion
In summary, using a projector for architectural visualization and 3D modeling can truly transform your designs into dynamic displays. By picking the perfect projector, setting up the scene, and mastering mapping techniques, you'll create enthralling, clear visuals that wow your audience. Don't forget to fine-tune your settings and test your projections to guarantee everything's picture-perfect. With practice and patience, you'll project your passion for design into stunning, striking showcases that stand out.
Multi-Purpose Media Room Design: Balancing Movies, Gaming, and More
Transform your space with a multi-purpose media room that perfectly balances movies, gaming, and more—discover design tips to optimize your entertainment experience.
Creating a Drive-In Movie Experience at Home With a Projector
Kickstart your ultimate home drive-in movie night with essential tips and tricks that will leave your guests wanting more excitement. Discover the secrets inside!