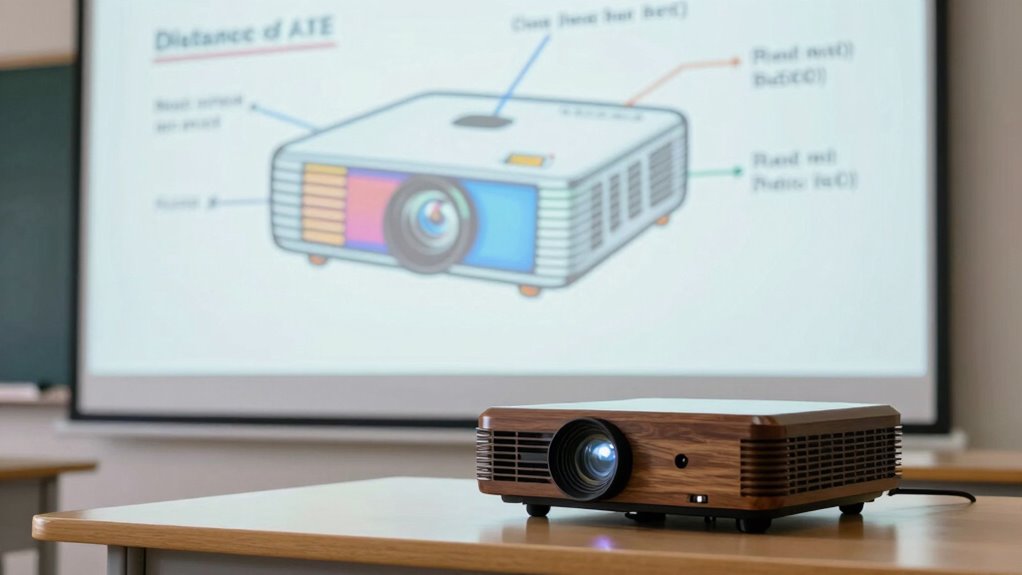
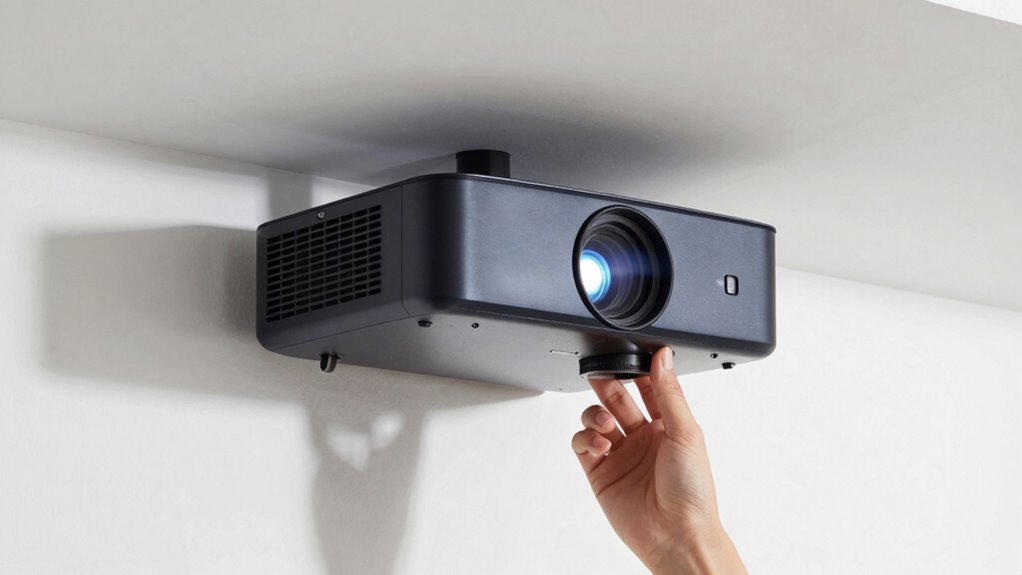
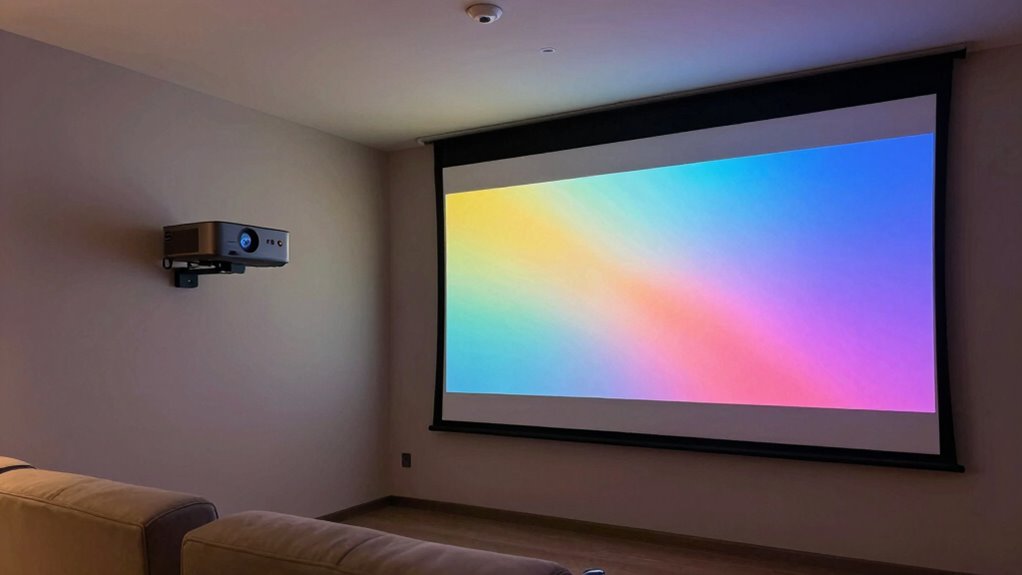
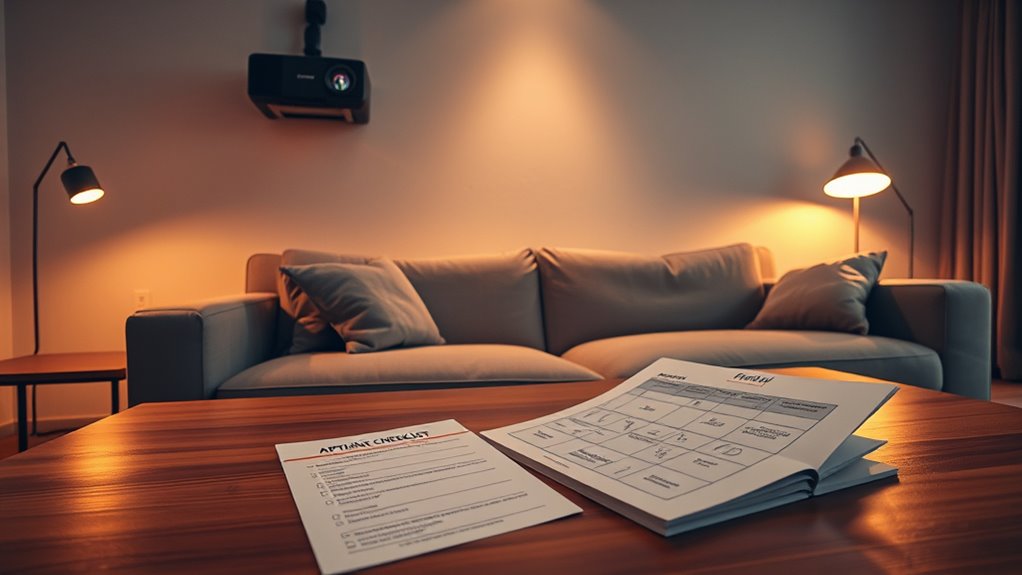
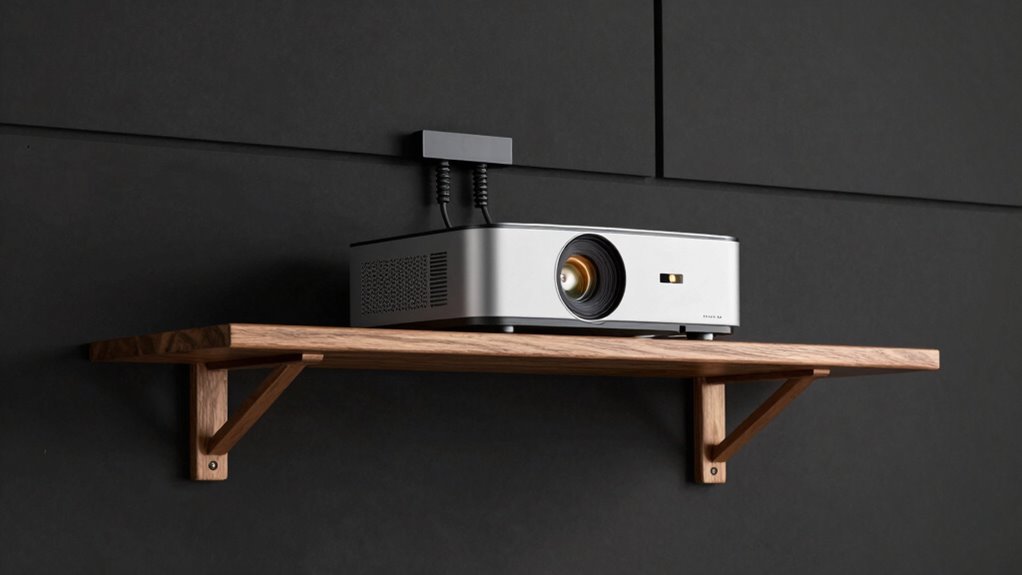
Nurture your projector setup with our essential checklist to prevent vibrations—discover proven tips to ensure a stable, wobble-free viewing experience.
Browsing Category
Throw & Placement
51 posts
The Projector Distance Formula Everyone Should Know
Just knowing the projector distance formula can transform your viewing experience—discover how to set up your projector perfectly every time.
Stop Using Auto Keystone—Try This Instead
Greatly improve your photos by ditching auto keystone corrections—discover how manual adjustments can deliver natural, professional results you can trust.
The UST Cabinet Height Rule Nobody Mentions
Just how critical is the UST cabinet height rule, and what hidden details could affect your safety and compliance? Keep reading to find out.
This Lens Shift Tip Saves Hours of Rework
A simple lens shift tip can save hours of rework and ensure perfect projector alignment—discover how to master this essential setup trick.
The Keystone “Fix” That Secretly Softens the Image
Beware of the keystone “fix,” a subtle tactic that quietly reshapes public perception—don’t miss how it influences your view of brands.
UST Projectors: The Placement Rule Everyone Learns Late
The key placement rule for your UST projector is to position it…
The Throw Ratio Trick That Saves Small Rooms
Here’s a meta description: “How the throw ratio trick can transform small rooms by optimizing projector placement—discover the secret to maximizing space and image quality.
Short Throw Options for Apartments Checklist: Calculations You Can’T Skip
Understanding short throw options for apartments is essential; learn the crucial calculations you can’t afford to skip to optimize your setup.
Before You Start: Ceiling Mounts and Safety Checklist Checklist
No matter the ceiling type, understanding safety and support requirements is crucial before starting your mount installation; discover key tips to ensure a secure setup.