How to Calibrate Your Home Cinema Projector for Optimal Performance
Learn the essential steps to calibrate your home cinema projector for optimal performance and discover the secrets to achieving stunning visuals that will amaze you…
To calibrate your home cinema projector for peak performance, start by adjusting brightness, contrast, and color settings using built-in test patterns. Use calibration discs or software tailored to your projector model for precise adjustments. Make sure to account for ambient light; controlling it with blackout curtains can boost image clarity. Regular recalibration every six months helps maintain color accuracy and prevents distortion. Don't forget to clean your lenses for a sharp image and check for any common issues like focus or keystone corrections. There's much more to explore on perfecting your setup for an immersive cinematic experience.
Key Takeaways
Use built-in test patterns and calibration software to adjust color accuracy, brightness, and contrast based on your projector and screen environment.
Regularly recalibrate your projector every six months to maintain optimal performance and prevent color distortion from environmental changes.
Utilize a colorimeter for precise adjustments to color temperature and saturation, ensuring consistent and vibrant color output.
Clean projector lenses regularly to avoid image blur and maintain clarity, which is essential for an immersive viewing experience.
HAPPRUN Native 1080P Projector, Bluetooth Home Theater Movie Projector with Built-in Speaker, Compatible with Smartphone, HDMI, Fire Stick, PS5, Indoor & Outdoor Use -With Google TV System
[ Built-in Official Licensed Google TV ] - Without additional equipment, the smart projector can directly access Netflix,...
As an affiliate, we earn on qualifying purchases.
Understanding Projector Calibration
Calibrating your projector guarantees that the colors, brightness, and contrast align perfectly with the original content, enhancing your overall viewing experience. Understanding the calibration process is essential for achieving ideal image quality.
You'll want to take into account factors like ambient light in your room, as it can considerably affect brightness levels and color temperature. To start, adjust the projector's settings to match your viewing environment.
Utilize built-in test patterns that help fine-tune color accuracy and contrast. These patterns serve as a benchmark, ensuring your settings bring out the best in your content. If you're serious about image quality, you might want to think about professional calibration, which can provide a level of precision that's hard to achieve on your own.
Regular maintenance is key; recalibrating every six months helps account for any changes in your environment or projector performance. By paying attention to these details, you'll prevent color distortion and enjoy a more authentic viewing experience.
Ultimately, understanding projector calibration empowers you to maximize your home cinema setup, making every movie night truly spectacular.
2000 ANSI 4K Decoding Projector with WiFi and Bluetooth, HAPPRUN Movie Home Theater with Auto Focus, 300'' Display for Indoor/Outdoor, Smart Proyector Compatible with Phone/TV Stick/PC/PS5
[EASIER OPERATION: AI Smart Screen Adjustment] HAPPRUN projector comes with auto focus and 6D auto-keystone technology, enjoy a...
As an affiliate, we earn on qualifying purchases.
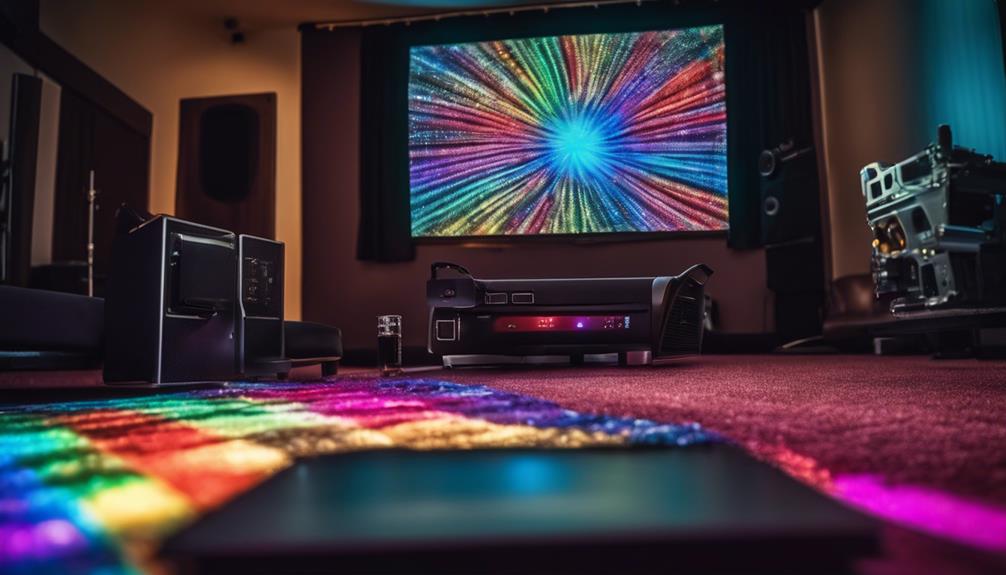
Calibration Tools and Techniques
Effective calibration tools and techniques are essential for achieving the best possible image quality from your home cinema projector. By utilizing the right tools, you can enhance brightness and contrast, adjust black levels, and improve overall picture settings for that immersive viewing experience.
Here are three key components to focus on:
Calibration Software: Use calibration software to fine-tune your projector's settings based on your screen material and ambient lighting conditions. This software often includes built-in test patterns that assist in making precise adjustments.
Calibration Tools: Invest in calibration discs or videos. These tools provide visual references that help you adjust the projected image's geometry, focus, and sharpness, guaranteeing a well-aligned and clear display.
Regular Maintenance: Don't overlook the importance of recalibrating every six months. This practice keeps your projector in peak performance and assures that any environmental changes, like shifts in ambient lighting, don't adversely affect your viewing experience.
Epson Home Cinema 980 3-Chip 3LCD 1080p Projector 4,000 Lumens Color and White Brightness, Streaming/Gaming/ Media Room, Built-In Speaker, Auto Picture Skew, 16000:1 Contrast, 2 HDMI Ports
Exceptional Picture Quality — Provides stunning, detailed 1080p images and fast data processing that’s optimized for fast-action sports,...
As an affiliate, we earn on qualifying purchases.
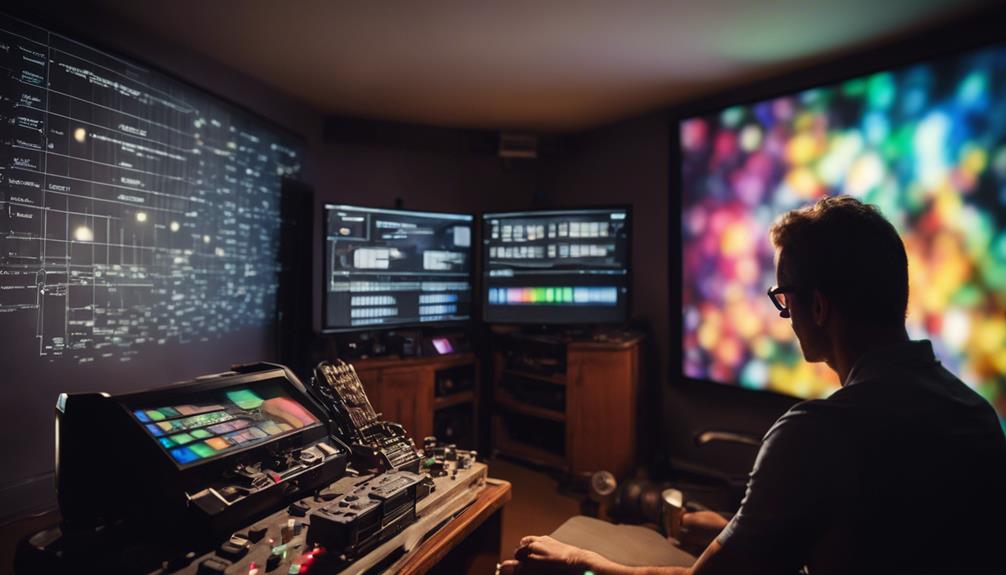
Color Calibration and Maintenance
To maintain the stunning image quality achieved through calibration, focusing on color calibration and regular maintenance is vital for your home cinema projector. Utilizing a colorimeter along with calibration software allows you to make precise adjustments to color temperature, tint, and saturation. This guarantees natural color representation, enhancing the overall image quality.
Start with an initial calibration upon setup, then plan for recalibration after any notable environmental changes or every six months. This keeps your projector's color performance consistent, maintaining accurate white point and picture quality.
Don't forget to regularly perform a uniformity check to identify any brightness or color inconsistencies. Addressing these can greatly improve the viewing experience. Additionally, save multiple calibrated settings profiles tailored for different scenarios like movies, sports, and gaming to cater to your diverse viewing preferences.
Regular maintenance tasks, such as cleaning projector lenses and checking lamp life, are essential for guaranteeing peak performance. Maintaining these factors helps preserve your projector's color calibration, allowing it to adapt to ambient light conditions and consistently deliver an immersive cinematic experience.
GooDee 4K Smart Projector with 5G WiFi and Bluetooth, Built-in Streaming Apps, Dolby Audio 400" Outdoor Movie Projector for Home Theater, Compatible with TV Stick, iOS, Android
【Smart Streaming Experience - No Extra Devices!】: Enjoy your favorite content with a Smart Projector that is Compatible...
As an affiliate, we earn on qualifying purchases.
Common Issues and Solutions
Many home cinema projector owners face common issues that can hinder their viewing experience, but understanding these problems and knowing how to address them can make a significant difference. Here are three common issues and their solutions:
Color Distortion: This can occur due to improper calibration or lamp wear. Regularly check and recalibrate your projector to guarantee accurate color representation on your projector screen.
Image Blur: If you notice a lack of clarity, it might be due to incorrect focus settings or dirty lenses. Regularly clean your lenses and adjust the focus settings to enhance the level of visual quality.
Sound Issues: Faulty connections or incorrect settings can lead to poor audio. Verify your HDMI cables and audio settings to guarantee ideal performance and a seamless audio-visual experience.
Additionally, pay attention to your projector's keystone correction features, as misalignment can also affect your visual experience. Regular maintenance and awareness of these common issues will help you enjoy a more vibrant, clear, and immersive home cinema experience.
Enhancing the Home Cinema Experience
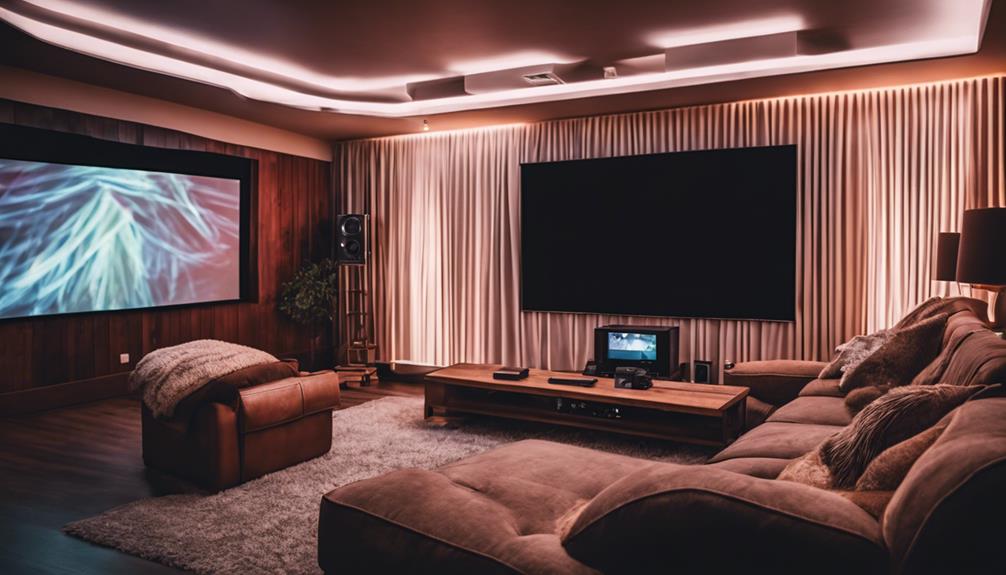
Addressing common projector issues sets the stage for enhancing your home cinema experience, where every detail matters for an immersive viewing atmosphere. Start by guaranteeing your projector setup is ideal. Choose a larger screen size to achieve the best viewing conditions and create a cinematic vibe. To maximize image clarity, control ambient light with blackout curtains or specialized screens, which will drastically improve contrast.
Next, invest in a quality audio system. A well-integrated audio setup complements your visuals, elevating the overall home cinema experience. Confirm that your seating arrangement promotes comfortable viewing, allowing everyone to enjoy films without strain.
Regular maintenance of your projector is essential. Clean the lens and check filters periodically to maintain peak performance. This not only prolongs the life of your equipment but also guarantees that you always experience high-quality visuals.
Lastly, consider the room layout. A well-organized space can enhance engagement during screenings. By focusing on these elements, you'll transform your home cinema into an immersive theater, perfect for enjoying movies the way they're meant to be seen.
Frequently Asked Questions
How Do I Optimize My Projector?
To optimize your projector, adjust the brightness and contrast for clarity, fine-tune color settings for natural skin tones, align it correctly with the screen, and recalibrate every six months for consistent performance.
Do Projectors Need to Be Calibrated?
You might think calibration isn't necessary, but projectors definitely need it. Without regular adjustments, colors drift and details get lost, ruining your viewing experience. A little time spent calibrating guarantees you enjoy vibrant, accurate visuals.
How Do I Get Perfect Focus on My Projector?
To get perfect focus on your projector, adjust the focus ring while displaying a test pattern, guarantee proper alignment with the screen, and regularly clean the lens to maintain clarity across the entire image.
How to Set up a Projector for the Best Picture?
To set up your projector for the best picture, choose a dark room, position it correctly, use quality cables, adjust brightness and contrast, and keep the lens clean for ideal clarity and performance.
Conclusion
By taking the time to calibrate your home cinema projector, you're not just adjusting settings; you're transforming your viewing experience into a vibrant masterpiece.
Imagine the colors popping and details sharpening, as if you're stepping right into the scene!
With the right tools and techniques, you'll elevate every movie night to a cinematic adventure.
So, go ahead, embrace the art of calibration, and let your projector reveal the magic of the silver screen in your own home.
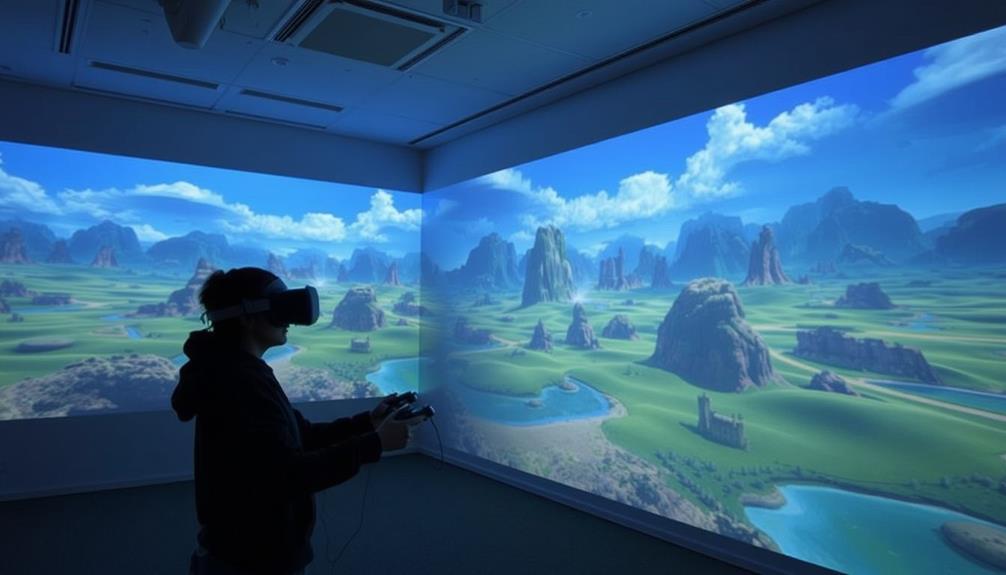
How to Use Your Projector for Virtual Reality Gaming
Kickstart your virtual reality gaming with a projector by discovering essential setup tips that will transform your experience into something extraordinary.