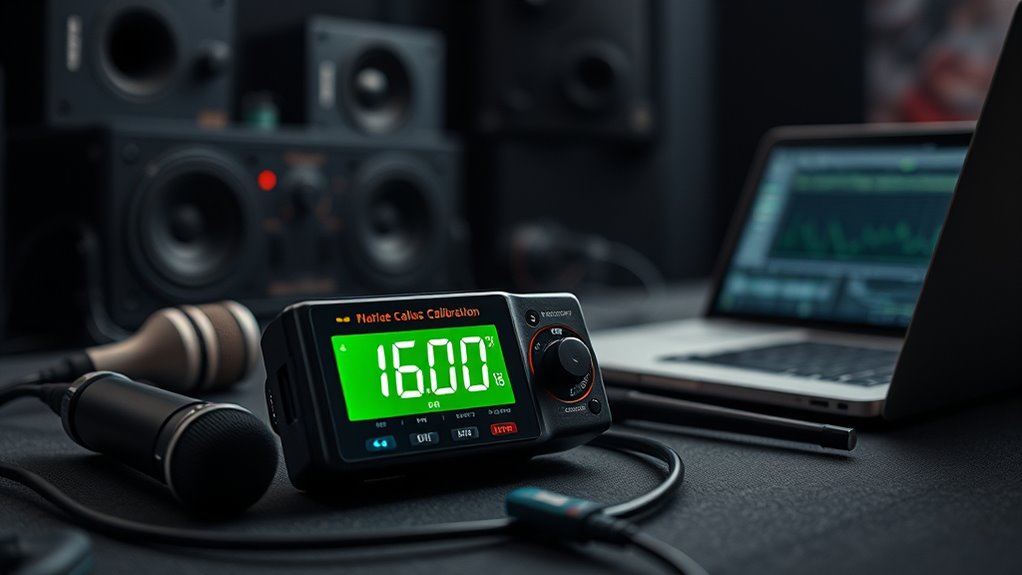
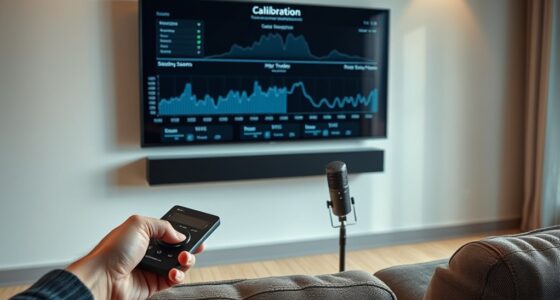
To calibrate with an SPL meter, set it to A-weighted and slow response, then position the microphone at your typical listening or recording spot. Measure the sound levels when your equipment is active and compare them to recommended targets, such as 85 dB SPL for studios. Adjust your gain controls accordingly to match these levels. Regular calibration helps maintain consistent sound quality, and if you keep exploring, you’ll discover more tips for precise sound management.
Set the SPL meter to A-weighted and slow response for accurate general sound level measurement.
Position the microphone at typical listening or recording locations for consistent readings.
Record SPL levels during equipment operation and compare with target levels, like 85 dB SPL.
Adjust gain controls or output settings to match calibration targets, ensuring optimal performance.
Regularly re-measure and calibrate to maintain accuracy, detect issues, and ensure consistent audio quality.
Using SPL meters for calibration guarantees your audio equipment delivers accurate sound levels, which is essential for both professional and personal audio setups. When you perform sound level adjustment correctly, you ensure that the audio signals you produce or record are neither too loud nor too soft, maintaining clarity and preventing distortion. Proper calibration with an SPL meter allows you to measure the actual sound pressure levels, giving you confidence that your equipment is operating within ideal ranges. This process is especially important during equipment testing, where accuracy can influence the quality of your recordings or live sound.
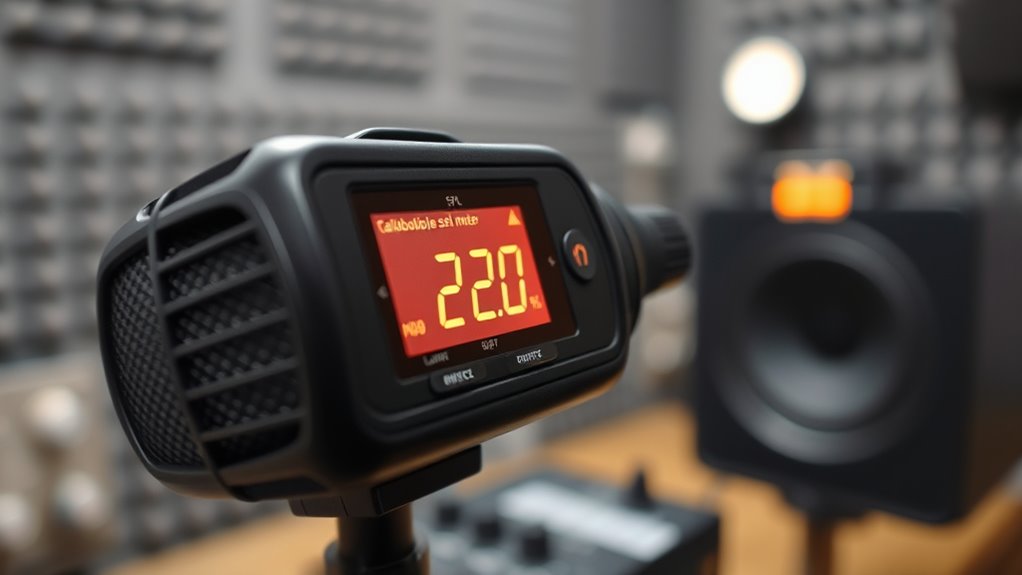
To start, you need to set your SPL meter to the appropriate weighting and response settings, typically A-weighted and slow response for general audio work. Once configured, position the microphone at the typical listening or recording point, maintaining consistent distance and orientation each time you measure. This consistency is vital for accurate sound level adjustment, as variations in microphone placement can lead to misleading readings. When you turn on your audio equipment, take note of the SPL meter reading and compare it to the recommended levels for your specific setup or application. For example, in a recording studio, you might aim for around 85 dB SPL for monitoring, while live sound might require different levels depending on the environment and audience size.
Adjustments become straightforward once you understand your target levels. Use the equipment’s gain controls or output levels to fine-tune the sound pressure to match your calibration goals. During equipment testing, this step helps identify any inconsistencies or issues—if the SPL meter shows unusually high or low readings, it could indicate problems such as faulty wiring, worn-out components, or poor speaker placement. Regular sound level adjustment ensures your system remains calibrated over time, especially after repairs or changes in your setup. Additionally, understanding AI’s role in sound measurement can provide insights into future innovations in calibration technology.
Frequently Asked Questions
Can SPL Meters Measure Frequencies Accurately?
Yes, SPL meters can measure frequencies accurately within their frequency response range, typically from 20 Hz to 20 kHz. However, their accuracy depends on proper calibration methods and the quality of the meter. You should regularly calibrate your SPL meter using a reference tone or calibration device to guarantee precise frequency measurements. Keep in mind that outside their specified frequency response, measurements may become less reliable.
How Often Should I Calibrate My SPL Meter?
You should calibrate your SPL meter at least once every six months, but more frequently if environmental conditions change or if you notice inconsistent readings. Environmental considerations, like temperature, humidity, and dust, can impact accuracy, so keep your meter in a stable environment and calibrate more often if conditions fluctuate. Regular calibration ensures precise measurements, helping you maintain reliable sound level assessments over time.
What Environmental Factors Affect SPL Meter Readings?
Did you know that humidity levels can change SPL readings by up to 3 decibels? You should watch out for sound reflection, especially in enclosed spaces, which can cause readings to be artificially high. Humidity effects also impact accuracy, as moisture affects sound transmission. Always consider these environmental factors to guarantee your SPL meter provides reliable measurements, especially when precision matters most.
Are There Legal Standards for SPL Meter Calibration?
Yes, there are legal standards for SPL meter calibration that you need to adhere to for legal compliance. These standards ensure your measurements are accurate and consistent across different settings. You must regularly calibrate your SPL meter according to recognized calibration standards, such as those set by organizations like ANSI or IEC. Adhering to these standards helps you meet legal requirements, avoid penalties, and ensure reliable noise level assessments.
Can SPL Meters Be Used for Outdoor Sound Measurement?
Yes, you can use SPL meters for outdoor sound measurement, but you need to guarantee proper equipment maintenance and calibration to accurately assess noise pollution. Outdoor environments pose challenges like wind and weather, which can affect readings. Always use windshields and filters, and verify calibration regularly. This helps you maintain reliable data, ensuring your measurements meet legal standards and support effective noise pollution management.
Conclusion
Think of your SPL meter as a trusted compass guiding you through the vast ocean of sound. Just as a navigator relies on their compass to stay on course, you rely on your SPL meter to achieve perfect calibration. With steady hands and keen ears, you’ll steer clear of distortion and reach the island of ideal sound quality. Keep calibrating regularly, and your audio journey will always stay on course, clear and true.