

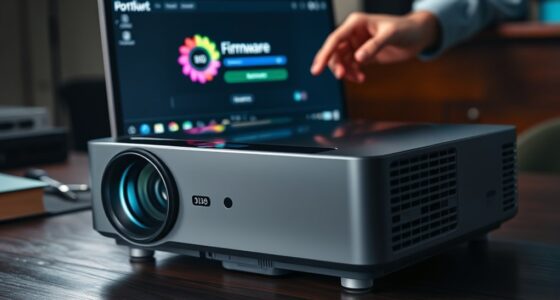
Before mounting your projector, plan for easy access to maintenance, adjustments, and repairs. Proper placement near outlets, clear pathways, and accessible panels prevent frustrating obstacles later. Avoid poorly planned setups that can lead to difficulty reaching connectors, replacing bulbs, or cleaning filters. Think about future upgrades and routine servicing to save time and money. Keeping these factors in mind guarantees your setup stays safe, functional, and hassle-free—continue to see how proper planning makes all the difference.
Key Takeaways
- Proper planning ensures easy access for maintenance, repairs, and adjustments, preventing costly future issues.
- Proper mounting height and location facilitate safe, straightforward servicing of connectors and components.
- Adequate space around the projector allows for safe, comfortable access without straining or requiring ladders.
- Organized cable management and accessible panels simplify routine maintenance and reduce wear on connections.
- Considering environmental factors and safety during installation prolongs projector lifespan and maintains reliable performance.
![Outdoor-Projector-4K with WiFi and Bluetooth:[3500 Bright/60W Dolby Audio/Official Licensed Apps],Smart-Projector with AI Auto Focus,ONOAYO ONO5Pro 2.0 Movie Projector for Indoor/Outdoor 2026New](https://m.media-amazon.com/images/I/41fylkjOTIL._SL500_.jpg)
Outdoor-Projector-4K with WiFi and Bluetooth:[3500 Bright/60W Dolby Audio/Official Licensed Apps],Smart-Projector with AI Auto Focus,ONOAYO ONO5Pro 2.0 Movie Projector for Indoor/Outdoor 2026New
[Hear the Difference–Hollywood-Grade Dual 60W Dolby Audio] Why spend more on a TV + soundbar or settle for...
As an affiliate, we earn on qualifying purchases.
Why Planning for Service Access Is Critical Before Mounting Your Projector
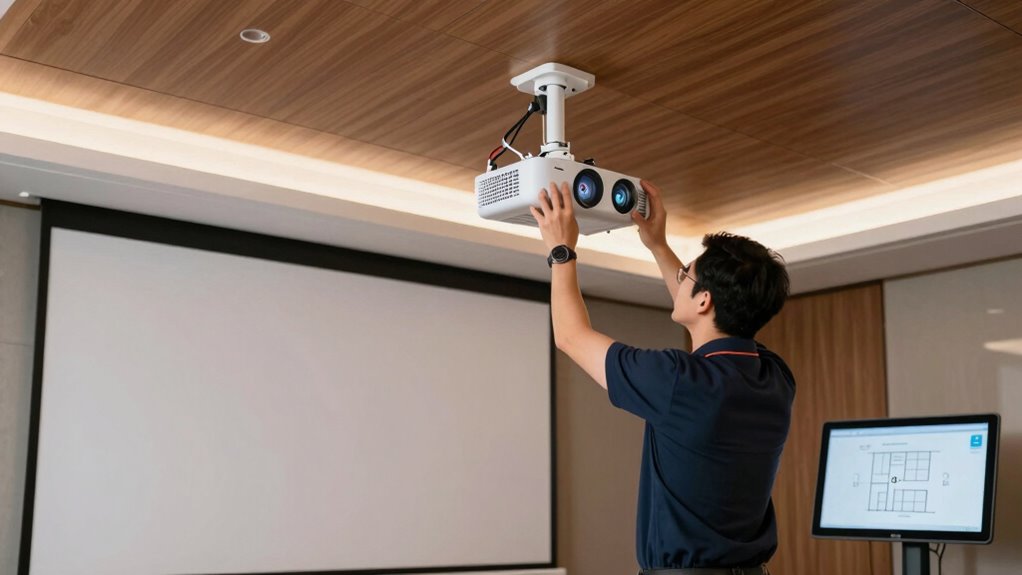
Before you finalize your projector mount, ensuring proper service access is essential. You’ll want to consider cable management to keep wires organized and prevent tangent issues when servicing or adjusting the projector. Using the right mounting brackets allows for easier removal and repositioning, making maintenance simpler. Proper planning means you won’t struggle to reach connectors, filters, or bulbs later. It also helps you avoid clutter that can hinder airflow or damage cables. Positioning the mount with service access in mind reduces future hassle and extends the life of your projector. Remember, a well-thought-out setup saves time and effort in the long run, making maintenance straightforward and less disruptive. Incorporating cable management solutions into your planning can help you better visualize and organize your setup for easier access and adjustments.

【Now with Netflix & 3000ANSI】Smart 4K Projector with WiFi and Bluetooth, VISSPL 3D Dolby Audio and Auto Focus Portable Outdoor Projector, Movie Home Theater Projectors for Bedroom/Ceiling
[ Netflix Ready - No Extra Devices Needed ] – VISSPL Smart Projector: No TV stick, no casting,...
As an affiliate, we earn on qualifying purchases.
What Problems Happen When You Can’t Access Your Projector Easily
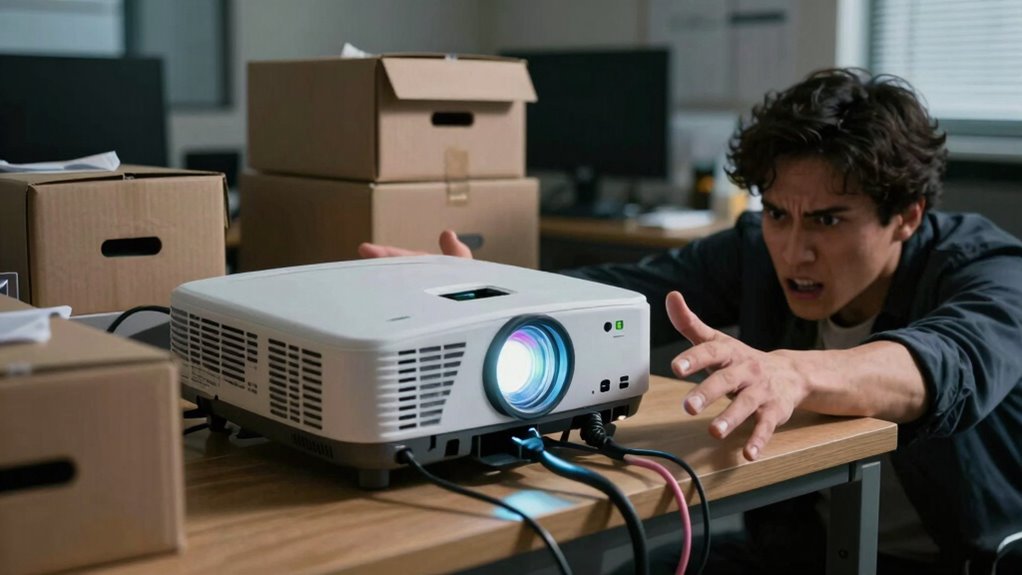
When you can’t easily access your projector, maintenance tasks become frustrating and time-consuming. Poor projector placement can make routine checks, bulb replacements, or adjustments a hassle, often requiring you to move furniture or climb ladders. Accessibility considerations are vital; if your projector is placed high or behind obstacles, it’s hard to reach for cleaning or troubleshooting. This can lead to neglected maintenance, increasing the risk of image quality issues or equipment failure. Additionally, difficult access may cause delays during urgent repairs, disrupting presentations or meetings. Ensuring your projector’s placement allows for simple, unobstructed access saves time and reduces frustration, keeping your equipment in peak condition and your setup efficient. Proper planning for easy access is essential to avoid these common problems, especially when considering vehicle protection for portable or mounted setups.
![[Built-in Apps/4K Support] Smart Outdoor Projector with WiFi and Bluetooth, Movie Projector, DoIby Audio with Dual Speaker, Auto Focus w/ YouTube&PrimeVideo Proyector, Upgrad P62 Pro](https://m.media-amazon.com/images/I/51yAGv8VI7L._SL500_.jpg)
[Built-in Apps/4K Support] Smart Outdoor Projector with WiFi and Bluetooth, Movie Projector, DoIby Audio with Dual Speaker, Auto Focus w/ YouTube&PrimeVideo Proyector, Upgrad P62 Pro
[Upgraded Classic – P62 Pro Movie Projector] Building on the reliability and low return rate of the classic...
As an affiliate, we earn on qualifying purchases.
How to Check If Your Space Supports Easy Access for Maintenance
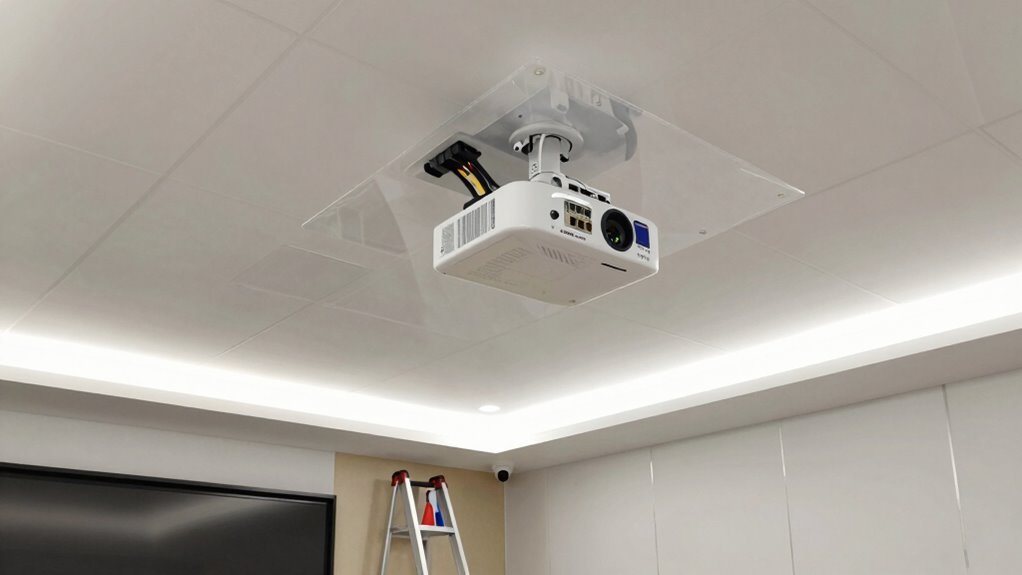
Before installing your projector mount, you need to verify if your space allows easy access for maintenance. Check the ceiling clearance to ensure there’s enough room to reach the projector comfortably. Planning for simple access now can save you time and hassle later. Additionally, consider workflow to ensure that maintenance tasks can be performed efficiently without disrupting your setup. Incorporating smart device protocols into your planning can further streamline maintenance and improve overall system management. Assessing electrical access early on can help prevent future complications during routine upkeep, especially when using compatible home automation systems. Evaluating your gear care setup for accessibility can also contribute to smoother maintenance routines down the line.
Subheading 1: Assess Ceiling Clearance Needs
Ensuring your ceiling has enough clearance is essential for easy access to your projector for maintenance or adjustments. Start by measuring the distance between the ceiling and the mounted projector to determine if you have sufficient space for cable management. A higher mounting height might look sleek, but it can make servicing difficult if clearance is limited. Check for obstructions like beams or ductwork that could block access. Make certain there’s enough room to reach connections without straining or needing a ladder. Adequate clearance simplifies tasks like replacing bulbs or adjusting focus. Remember, a well-planned ceiling clearance minimizes hassle later. Additionally, considering eco-friendly disposal options for old or unused gear can help reduce environmental impact. Being aware of regional regulations regarding electronic waste can ensure proper disposal practices. Taking the time to assess these needs and understanding proper maintenance procedures can help prevent costly repairs and extend the lifespan of your equipment. Planning for easy access in advance can save time and effort during future maintenance. Moreover, understanding the importance of indoor air quality can contribute to a healthier environment in your space.
Subheading 2: Plan for Easy Access
To make maintenance tasks easier, you need to verify that your space allows for simple access to the projector. Check the mounting height to ensure you can reach connections and controls comfortably without straining or needing special equipment. Proper cable management is essential; plan for organized, accessible cables that won’t tangle or obstruct access points. Consider the placement of access panels or removable panels if needed, making routine maintenance straightforward. Ensure there’s enough room around the projector for adjustments or repairs without moving furniture or fixtures. Clear pathways and unobstructed views of mounting screws or connectors help prevent frustration. Additionally, designing a space with child development principles in mind can promote safer and more efficient maintenance routines. Incorporating flooring considerations can further prevent tripping hazards and facilitate easier cleaning around your setup. Evaluating maintenance accessibility during the planning stage can save time and effort in the long run. Paying attention to lighting conditions can also improve visibility during maintenance tasks, reducing errors or accidents. Considering ergonomic layout can enhance comfort and efficiency during routine checks and repairs. By planning for easy access, you streamline maintenance and reduce the risk of damaging your setup over time.

Aurzen Roku TV Smart Projector with Wifi and Bluetooth, Roku TV Built-in, 1080P FHD, DoIby Audio, Auto Focus & Keystone, Zoom, Movie Portable Outdoor Mini Projector for Soccer Football Game, White
A Roku account and internet connection are required for activation (Creating an account is free). Note: Power Supply:...
As an affiliate, we earn on qualifying purchases.
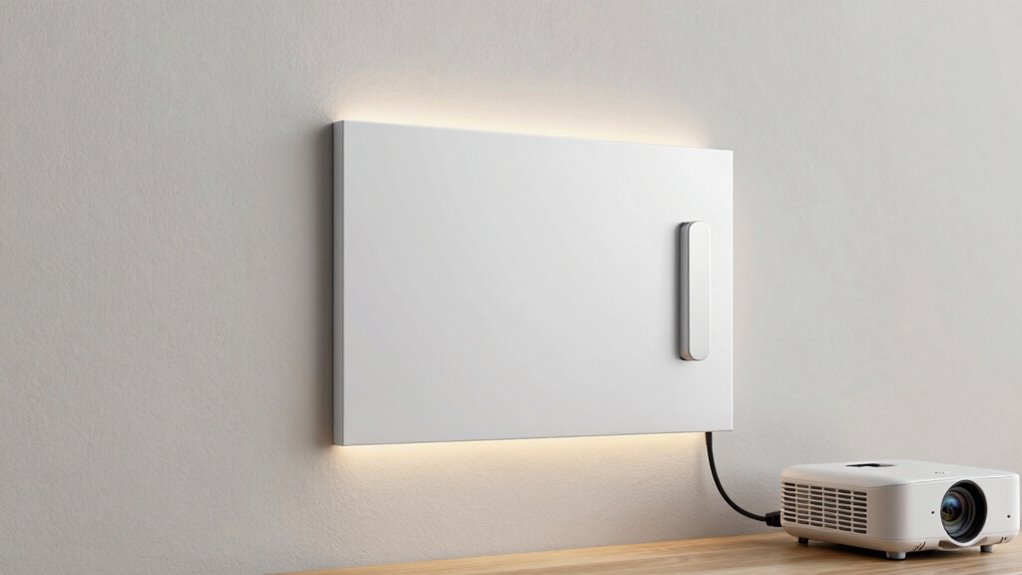
Where to Mount Your Projector for the Best Serviceability
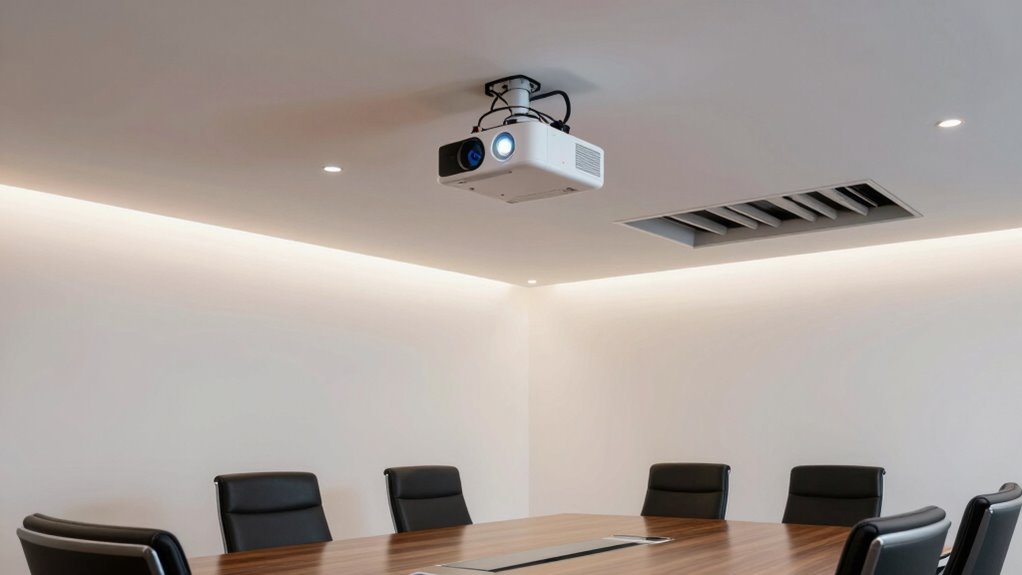
When choosing where to mount your projector, make sure it’s near reachable power outlets to avoid extension cords. Confirm there are clear service access points so you can easily perform maintenance or adjustments later. Finally, pick a spot with minimal obstructions around the mount to keep serviceability straightforward and hassle-free. Additionally, considering filter sizing/flow can help ensure your setup remains efficient and accessible over time. Being mindful of support and boundary considerations can help prevent future issues with maintenance or safety. Also, assessing power supply reliability can help maintain consistent performance and reduce troubleshooting needs. Ensuring proper ventilation and airflow around your projector can also extend its lifespan and prevent overheating issues.
Reachable Power Sources
Finding a power source close to your projector is essential for easy access and reliable operation. You want a power outlet placement that minimizes cable clutter and simplifies maintenance. Choose a location where outlets are accessible without stretching cords or creating tripping hazards. Proper cable management keeps everything neat and safe, preventing accidental unplugging or damage.
| Mount Location | Power Outlet Placement | Benefits |
|---|---|---|
| Ceiling-mounted | Near ceiling outlets or with extension cords | Easy access for maintenance |
| Wall-mounted | Close to wall outlets, avoiding long cords | Simplifies cable management |
| Floor-level | Near floor outlets, using cable covers | Reduces visible wiring clutter |
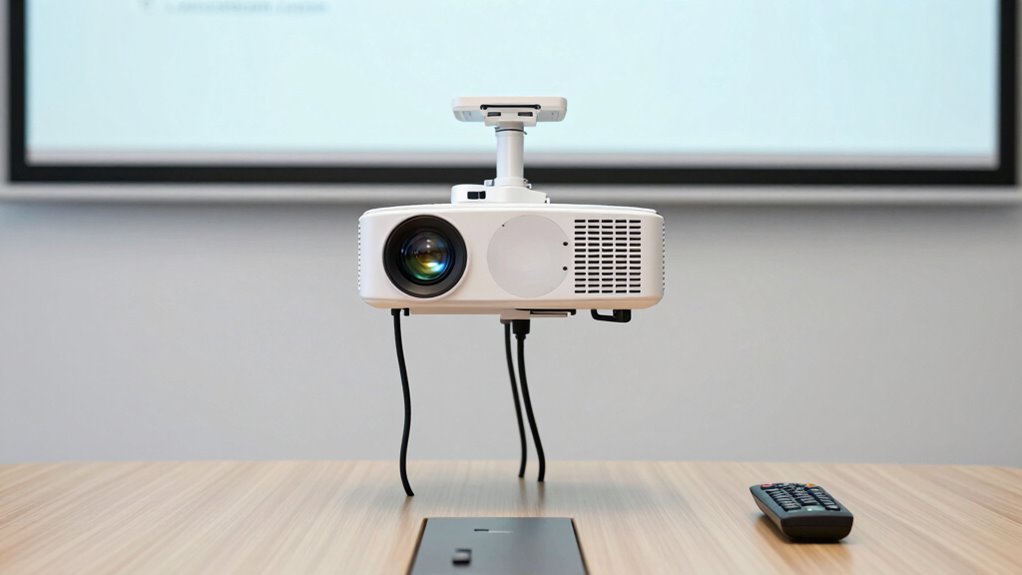
Clear Service Access Points
Choosing the right mounting location is essential for easy access to your projector’s service points. Proper placement guarantees you can perform maintenance and adjustments without hassle. When wall mounting, consider the installation height to keep access panels and connectors reachable. To optimize serviceability:
- Mount at a height that allows clear visibility of connection ports.
- Ensure enough space around the projector for cable management and adjustments.
- Avoid obstructing access to ventilation or cooling components.
- Position it where service panels can be opened without dismounting the device.
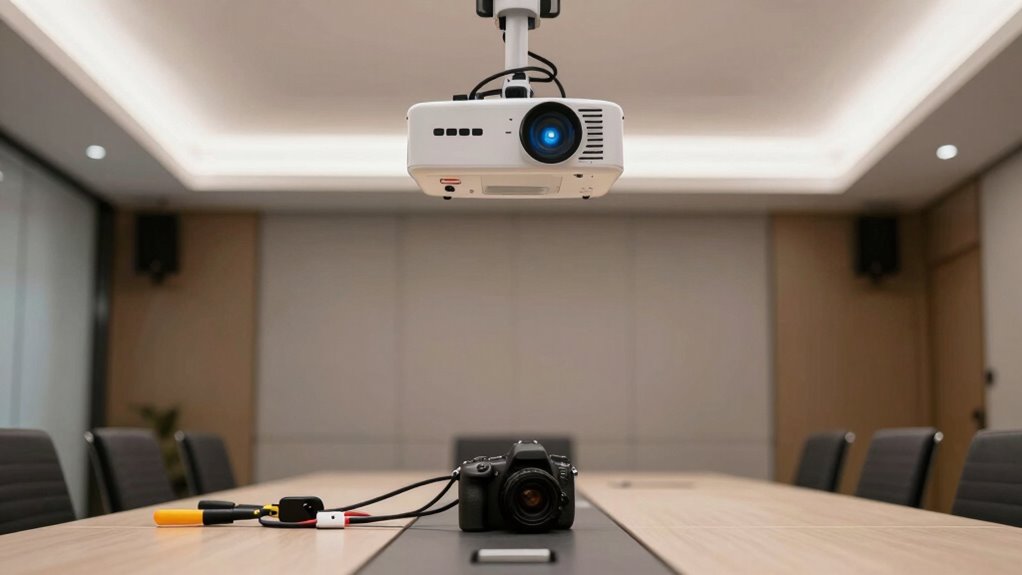
Minimal Obstructions Around Mount
To guarantee easy access for maintenance and adjustments, you should mount your projector in a location with minimal obstructions around it. This ensures you can reach mounting height easily and perform service tasks efficiently. Avoid placing objects or furniture that block access to connectors or adjustment points. Consider how decorative concealment might hide cables or hardware, but don’t let it hinder serviceability. Keep a clear space beneath and around the projector for routine checks.
| Obstruction Type | Ideal Solution |
|---|---|
| Furniture or décor | Keep away from mounting area |
| Cables or wires | Conceal neatly but accessibly |
| Decorative covers | Ensure removable for service |
How to Design Access Panels and Doors for Easy Maintenance
Designing access panels and doors that prioritize ease of maintenance is essential for a smooth projector installation. You want quick access for repairs and adjustments without disrupting your setup. To achieve this, consider these key factors:
- Ensure panels are large enough for cable management, allowing you to route and disconnect cables easily.
- Position doors where lighting considerations won’t cast shadows or cause glare, ensuring clear visibility.
- Use hinges or latches that facilitate effortless opening and closing, reducing maintenance time.
- Incorporate removable panels for components like filters or bulbs, streamlining routine upkeep.
Essential Tools and Accessories to Simplify Projector Upkeep

Having the right tools and accessories on hand can make projector maintenance much more straightforward. To manage your projector effectively, you’ll need a sturdy mounting bracket suited to its weight, guaranteeing secure placement. Measuring and setting the correct mounting height is vital for ideal image projection and easy access. A quality level helps guarantee your projector is perfectly aligned, reducing maintenance adjustments later. Keep a compact screwdriver set handy for quick fixes, along with cable management accessories to prevent clutter. An anti-static cloth or compressed air can keep vents clean, maintaining airflow and preventing overheating. Additionally, a portable ladder or step stool makes it easier to reach high mounting points safely. With these essential tools and accessories, you’ll streamline upkeep and keep your projector performing at its best.
Common Mistakes to Avoid When Planning Service Access
Many people overlook the importance of planning service access points carefully, which can lead to costly and time-consuming maintenance. Ignoring proper access can compromise mounting safety and hinder projector alignment adjustments. To avoid this, guarantee you:
Careful planning of access points prevents costly maintenance and ensures safe, easy projector adjustments.
- Position access panels where they won’t obstruct projector maintenance or ventilation.
- Avoid placing access points behind fixed structures or furniture.
- Keep access clear of electrical wiring or other obstructions.
- Verify that service panels allow easy removal without risking mounting stability or safety.
Failing to consider these factors can make routine maintenance difficult, increasing the risk of damaging the projector or compromising mounting safety. Proper planning ensures you can perform adjustments or repairs quickly, maintaining ideal projector alignment and reducing long-term issues.
Tips for Future-Proofing Your Projector Setup for Upgrades and Repairs

To guarantee your projector setup remains adaptable for upgrades and repairs, you need to plan with flexibility in mind from the start. Proper cable management is essential; leave enough slack and use accessible channels to make future adjustments easier. Avoid tight bundles that hinder access or replacement. Additionally, consider your mounting height carefully. Mounting the projector at a height that allows easy access to service points will save you headaches later. Keep the projector reachable without needing ladders or complicated disassembly. By combining thoughtful cable management with strategic mounting height, you create a setup that’s not only functional now but also simple to upgrade or repair in the future. This foresight assures your projector remains versatile and easy to maintain over time.
Final Checklist: Making Sure Your Mount Supports Easy Service Access
Ensuring your projector mount allows easy access for servicing is a key step in a well-planned setup. To confirm this, perform a final checklist focusing on service accessibility. First, check that the mounting height provides enough space for maintenance without requiring awkward repositioning. Second, verify the projector orientation allows quick access to ports and filters. Third, ensure the mount design includes features like tilt or swivel adjustments for easier servicing. Fourth, confirm that there’s enough clearance around the projector for hands and tools. These steps help prevent future frustrations, ensuring your setup remains functional and accessible. Remember, a well-designed mount keeps maintenance simple, saving you time and effort down the line.
Wrapping Up: Keep Your Projector Accessible and Well-Maintained
To keep your projector functioning smoothly, it’s essential to guarantee easy access for maintenance. Regular checks prevent accidental damage and help you spot issues early. Maintaining accessibility will protect your investment and ensure your projector stays reliable over time.
Easy Access for Maintenance
Ever wondered why easy access for maintenance is essential when mounting a projector? Well, it guarantees you can perform routine checks, bulb replacements, and adjustments without hassle. Proper planning involves considering your mounting height to prevent strain and ensure clear access. Additionally, aesthetic considerations matter—keeping the projector accessible helps maintain a clean, unobtrusive look. To maximize ease of maintenance, keep these factors in mind:
- Position the projector at a height that allows simple access for adjustments.
- Use flexible mounting options to accommodate future maintenance needs.
- Ensure cable management doesn’t obstruct access points.
- Select a mounting location that balances aesthetics with practical accessibility.
Prevents Accidental Damage
Proper access for maintenance not only makes routine tasks easier but also helps protect your projector from accidental damage. When you plan your mounting height carefully, you reduce the risk of bumps or knocks that could damage the device. Good cable management ensures cords are secure and organized, preventing tripping hazards or tugging that might dislodge connections or cause falls. Keeping cables neatly tucked away minimizes the chance of accidental pulls or disconnections during maintenance or daily use. Additionally, a well-planned mounting height keeps the projector out of reach of curious hands or accidental bumps, further reducing damage risk. When your projector is accessible and cables are managed properly, you create a safer environment that preserves your investment and ensures consistent performance.
Ensures Long-Term Functionality
Maintaining easy access to your projector and keeping it well-maintained are crucial for guaranteeing its long-term functionality. Proper cable management prevents tangling and disconnects, reducing wear and tear. Ventilation considerations are essential to prevent overheating, which can damage internal components. To keep your projector performing at its best, focus on these steps:
- Regularly check and organize cables to avoid strain on connectors.
- Ensure ventilation grills are unobstructed, allowing heat to dissipate efficiently.
- Clean dust from vents and filters to maintain airflow.
- Schedule periodic inspections to identify potential issues before they worsen.
Frequently Asked Questions
How Often Should I Perform Maintenance on My Mounted Projector?
You should perform maintenance on your mounted projector every 3 to 6 months. This includes routine cleaning of filters and vents to prevent overheating and dust buildup. Also, check and replace components like the lamp or filters as needed, usually after 1,500 to 3,000 hours of use. Regular maintenance guarantees peak performance, prolongs the projector’s lifespan, and keeps your image quality sharp.
Are There Specific Mounting Brackets Designed for Easier Service Access?
Yes, there are mounting brackets designed for easier service access. Look for brackets compatible with your projector’s mounting system that include adjustable features or quick-release mechanisms. These brackets often have service access panels or allow you to easily remove the projector for maintenance. Ensuring mounting bracket compatibility with your projector model helps streamline servicing, making it more convenient to access components without dismounting the entire setup.
What Safety Precautions Should I Consider During Projector Maintenance?
During projector maintenance, you should prioritize safety by unplugging the device first. Make certain proper cable management to prevent trips or accidental disconnections. Check ventilation airflow to avoid overheating. Use a sturdy ladder or step stool if needed, and wear safety gear like gloves and glasses. Keep the workspace clear of obstacles, and work in a well-lit area. Always follow manufacturer instructions to prevent damage or injury.
How Can I Discreetly Hide Access Panels to Maintain Aesthetics?
Perfectly hide access panels with discreet panel solutions that blend beautifully into your environment. Use aesthetic hiding techniques like matching paint, seamless flush mounts, or decorative covers to keep panels hidden. Opt for slim, subtle designs that conceal access without drawing attention. With clever concealment, your space remains sleek and uncluttered, ensuring functionality meets flawless fashion. Focus on finesse, hiding panels effortlessly while maintaining your room’s refined, refined aesthetic.
What Are Signs That My Projector Needs Servicing or Repairs?
You’ll notice your projector needs servicing if the image quality drops, such as dim or blurry visuals, or if the projector bulb shows signs of flickering or dimming. Keep an eye on the lens for dust or smudges, which can affect clarity. If you see these signs, it’s time for lens cleaning or bulb replacement to maintain peak performance and prevent further damage.
Conclusion
Think of your projector as a prized garden—without proper access, weeds and overgrowth make maintenance a nightmare. By planning for service access now, you’re planting the seeds for a smooth-sailing setup that’s easy to care for and upgrade. Don’t let hidden obstacles turn your setup into a tangled mess. With thoughtful planning, you’ll keep your projector shining brightly, just like a well-tended garden, ready to impress for years to come.


![[Invitation] Galaxy Unpacked July 2026: A New Shape Unfolds](https://1hometheatreprojector.com/wp-content/uploads/2026/07/invitation-galaxy-unpacked-july-2026-a-new-shape-unfolds-featured-260x140.jpg)