
To get a sharp, well-sized image in a small room, you need to carefully consider your projector’s throw distance—how far it sits from the wall—and calculate the right placement based on your screen size. Adjust the projector’s height and angle to prevent distortion or keystone effects. Smarter room setup, like ceiling mounting and minimizing ambient light, can make a big difference. Stick with these key calculations, and you’ll access more tips for perfect projection positioning.
Key Takeaways
- Measure the ideal throw distance based on your desired screen size for proper image scaling.
- Ensure projector height and leveling align with the screen to prevent keystone distortion.
- Position the projector to minimize ambient light interference and glare for optimal image clarity.
- Use adjustable mounts to fine-tune projection angle and avoid image skew or distortion.
- Consider room layout and storage to optimize placement, reduce clutter, and maximize space efficiency.

2000 ANSI 4K Decoding Projector with WiFi and Bluetooth, HAPPRUN Movie Home Theater with Auto Focus, 300'' Display for Indoor/Outdoor, Smart Proyector Compatible with Phone/TV Stick/PC/PS5
[EASIER OPERATION: AI Smart Screen Adjustment] HAPPRUN projector comes with auto focus and 6D auto-keystone technology, enjoy a...
As an affiliate, we earn on qualifying purchases.
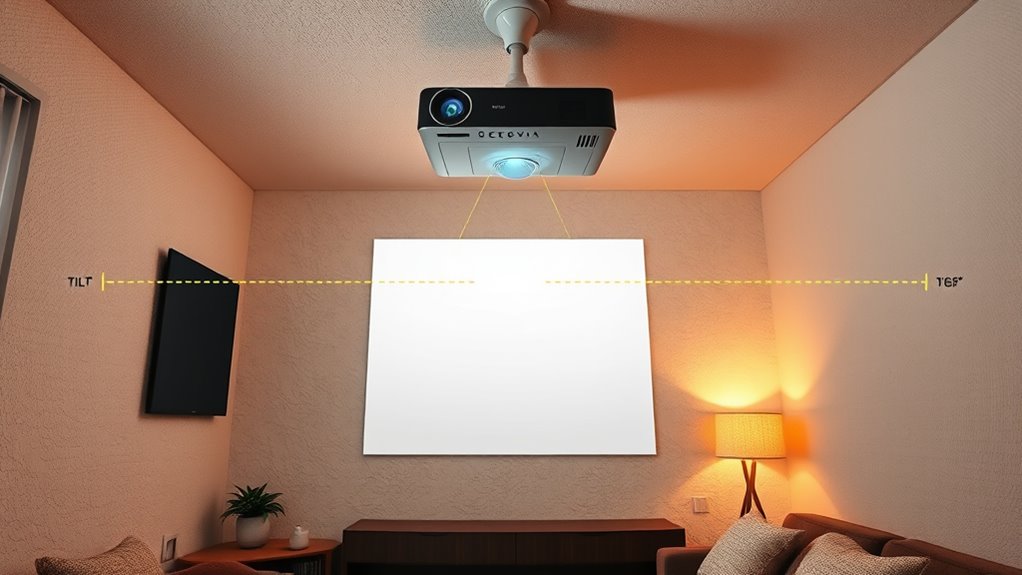
Understanding Throw Distance and Screen Size Relationship

Understanding the relationship between throw distance and screen size is essential for ideal projector placement in small rooms. Your goal is to align the projector so that the screen width fits comfortably within the available space, without causing distortion or obstruction. As you position the projector, consider the projector height; it should be set to guarantee the image is level and properly aligned with the screen. The throw distance determines how far the projector must be from the wall to achieve your desired screen width. Too close, and the image may be too small; too far, and it could become distorted or spill into unwanted areas. Balancing these factors assures a clear, well-proportioned image that fits your small room perfectly. Additionally, understanding wall organization can help optimize the placement and minimize clutter around your projector setup. Proper planning of wall space and storage solutions can make your setup more efficient and aesthetically pleasing. Recognizing the importance of image quality in relation to placement ensures a more immersive viewing experience. Moreover, considering ambient light conditions can further enhance the overall viewing clarity and comfort. Analyzing the room layout can also assist in determining the best placement to avoid shadows and glare, ensuring optimal viewing conditions.

Epson Home Cinema 980 3-Chip 3LCD 1080p Projector 4,000 Lumens Color and White Brightness, Streaming/Gaming/ Media Room, Built-In Speaker, Auto Picture Skew, 16000:1 Contrast, 2 HDMI Ports
Exceptional Picture Quality — Provides stunning, detailed 1080p images and fast data processing that’s optimized for fast-action sports,...
As an affiliate, we earn on qualifying purchases.
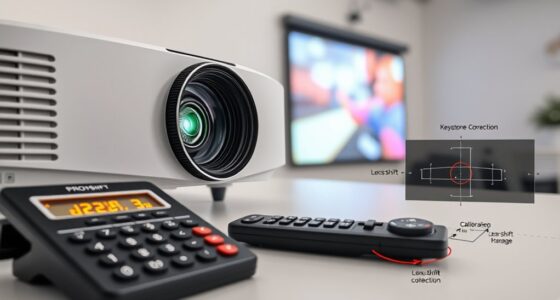
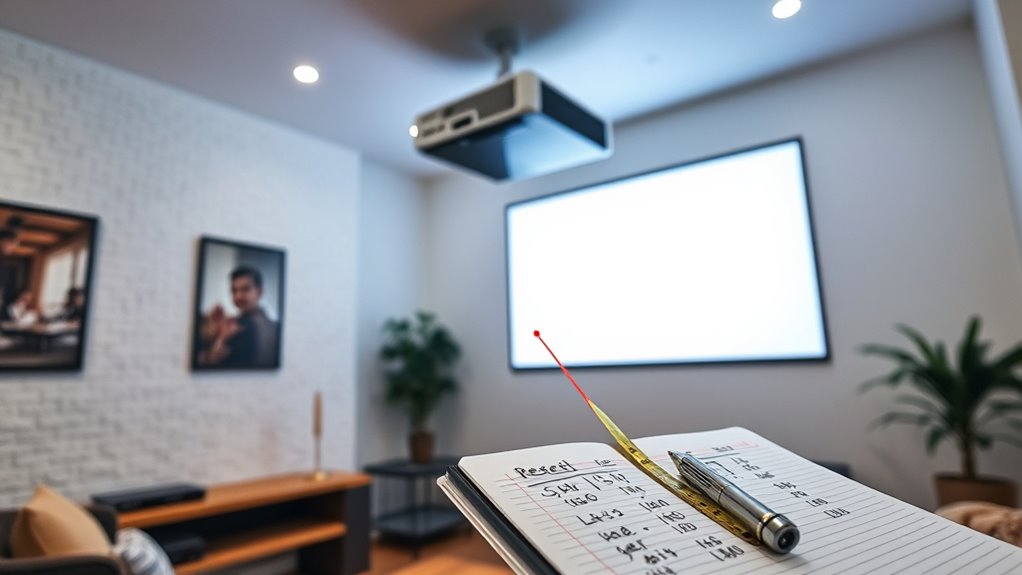
Calculating Optimal Viewing Angles and Placement
To achieve the best viewing experience in a small room, you need to calculate the ideal viewing angles and placement for your projector. Focus on the projection angle, which determines how the image aligns with your screen, ensuring it’s neither too steep nor too flat. Your ceiling height plays a vital role here; a higher ceiling may require mounting the projector at a different angle to avoid distortion. Measure the distance from the projector to the screen to establish the correct projection angle, maximizing image size and clarity. Keep in mind that a proper setup minimizes keystone distortion and maintains a comfortable viewing height. Precise calculations of projection angle and ceiling height help you find the perfect projector placement, delivering a clear, undistorted image in your small room. Additionally, understanding the offensive security measures involved in ethical hacking can help you better anticipate and mitigate potential vulnerabilities in your setup.

ViewSonic LS740W 5500 Lumens WXGA Laser Projector with 1.3X Optical Zoom, H/V Keystrone, 360 Degrees Projection for Auditorium, Conference Room, and Education
High Brightness Laser Projector: WXGA (1280x800p) resolution with a 1.2-1.5 throw ratio and 5,500 ANSI lumens for clear,...
As an affiliate, we earn on qualifying purchases.
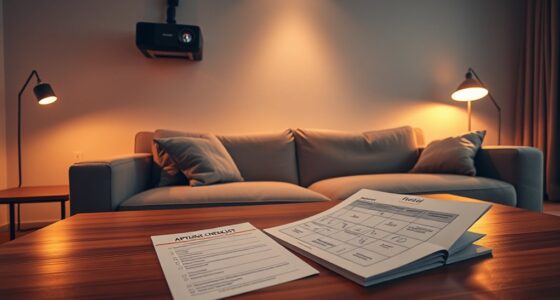
Adjusting for Room Limitations and Achieving the Perfect Setup
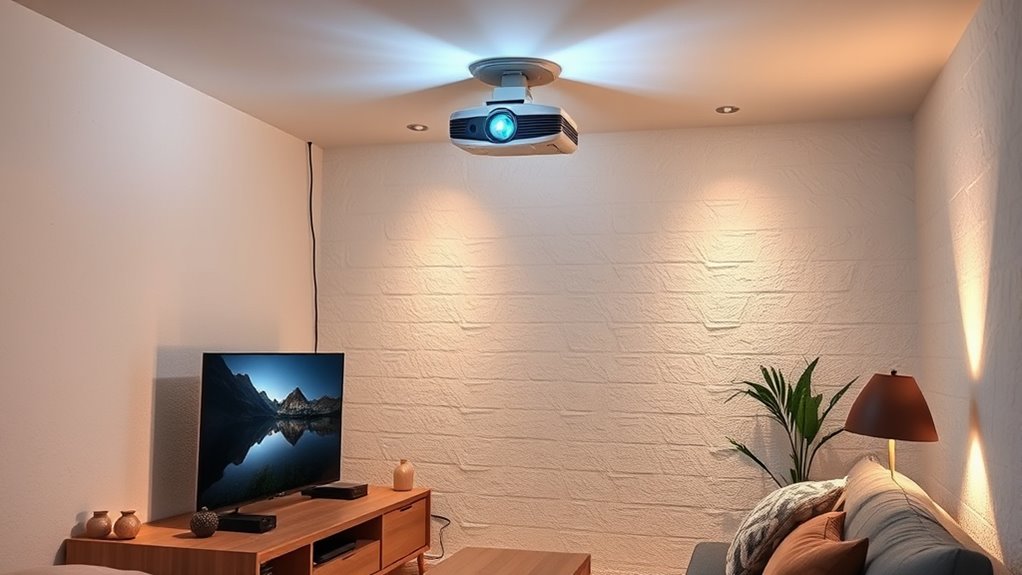
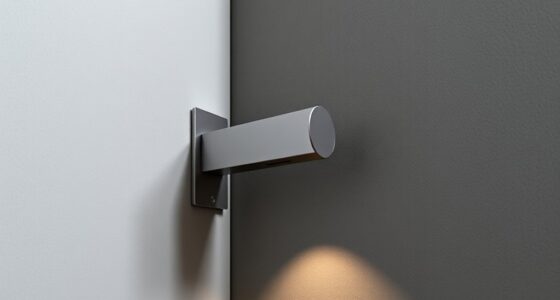
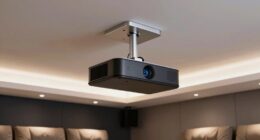
When working within the constraints of a small room, you need to adapt your projector setup to optimize image quality and comfort. Ceiling mounting is often your best option, saving space and reducing obstructions. Confirm the mount is adjustable so you can fine-tune the angle and height for the best projection. Be mindful of ambient light, as small rooms tend to have limited control over light sources. Use blackout curtains or dimmable lights to minimize glare and reflections that wash out the image. Position the projector away from windows and bright fixtures. If ceiling mounting isn’t feasible, consider wall mounting or placing the projector on a sturdy, low-profile stand. Making these adjustments helps you achieve a clear, vibrant picture despite room limitations.
![[Official Google TV]Smart Projector 4K Supported with WiFi & Bluetooth, Built-in Official Apps, GoogIe Voice, Outdoor Movie Projector with DoIby Audio, Auto Focus, Home Theater Proyector WIMIUS G1](https://m.media-amazon.com/images/I/515NcMYy-FL._SL500_.jpg)
[Official Google TV]Smart Projector 4K Supported with WiFi & Bluetooth, Built-in Official Apps, GoogIe Voice, Outdoor Movie Projector with DoIby Audio, Auto Focus, Home Theater Proyector WIMIUS G1
[All-in-One Google TV Built-In] G1 Smart projector comes fully integrated Google TV—no website version, no stripped-down system. Access...
As an affiliate, we earn on qualifying purchases.
Frequently Asked Questions
What Are the Best Projector Brands for Small Rooms?
You should consider brands like Epson, BenQ, and Optoma for small rooms. These projector brands excel in providing models with compact designs, high brightness, and sharp image quality, making them ideal for limited spaces. When comparing projector brands, look at small room projector features such as throw distance, resolution, and connectivity options. These brands consistently deliver reliable performance, ensuring you get the best picture without overwhelming your small space.
How Does Ambient Light Affect Projector Image Quality?
Don’t underestimate ambient light’s impact on your projector image quality—bright rooms can wash out the picture, reducing image contrast and clarity. You might think your projector can handle any lighting, but excess ambient light dulls colors and makes details hard to see. To get the best image, control ambient light with curtains or positioning, and choose a projector with higher brightness (lumens). This way, your visuals stay sharp and vibrant.
Can I Use a Portable Projector in a Small Room?
Yes, you can use a portable projector in a small room setup. Portable projectors are designed for flexibility and convenience, making them ideal for tight spaces. Just make certain you select one with sufficient brightness (lumens) to combat ambient light and check its throw distance to match your room size. With proper placement and settings, a portable projector delivers a clear, sharp image even in compact environments.
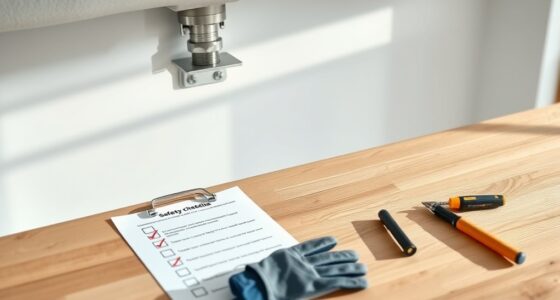
What Safety Precautions Should I Take When Installing a Projector?
When installing your projector, prioritize safety by ensuring proper projector mounting to prevent falls or damage. Check that all electrical connections are secure and grounded to avoid electrical safety hazards. Use surge protectors and avoid overloading outlets. Keep the area clear of cables to prevent tripping. Always follow the manufacturer’s instructions for installation, and consider consulting a professional if you’re unsure about the mounting or electrical safety measures.
How Often Should I Clean or Maintain My Projector?
Think of your projector like a vintage radio—regular maintenance keeps it running smoothly. You should clean it every 1-3 months, depending on usage and environment. Follow a proper maintenance schedule and use gentle cleaning techniques, like wiping vents and lenses with a soft, lint-free cloth. Dust buildup can affect performance, so stay consistent to make certain of clear images and prolonged device lifespan.
Conclusion
With careful calculations and clever positioning, you can conquer cluttered corners and cramped ceilings. By mastering throw distances, viewing angles, and room limitations, you’ll create a comfortable, enthralling cinema space. Remember, proper projector placement isn’t just about projection — it’s about perfecting your picture. So, stay savvy, strategize smartly, and set up seamlessly. Your stunning, small-room theater is just a few precise placements away!