Using the lens shift feature properly allows you to fine-tune your projector’s image without physically moving it, saving hours of rework. Instead of trial-and-error mounting or cropping, you can make precise adjustments directly through controls. This reduces misalignment risks and prevents damage to your setup. When you understand how to use lens shift effectively, you’ll find it’s the fastest way to get a perfectly aligned, sharp image. Keep going to discover how to master this helpful trick.
Key Takeaways
Proper use of lens shift allows precise image alignment without physical repositioning, saving setup time.
Fine-tuning lens shift reduces reliance on keystone correction, preventing distortion and rework.
Small, incremental adjustments ensure optimal image quality, avoiding the need for repeated corrections.
Correct mounting height and initial adjustments minimize the amount of lens shift needed later.
Smart 4K Projector [Google TV Stick Built-in & 360° Stand] with WiFi 6, Bluetooth 5.3, HDR10, 30W Hi-Fi, AI Auto Focus, Outdoor Portable Short Throw Movie Projector for Home Theater Bedroom Ceiling
[Google TV Built-in | 10,000+ Apps | Voice Control] The smart projector with wifi and bluetooth features Google...
As an affiliate, we earn on qualifying purchases.
Why Lens Shift Makes Projector Alignment Easier and Faster
Lens shift simplifies projector alignment by allowing you to adjust the image position without moving the entire unit. This feature makes setup quicker and reduces the risk of misalignment caused by physically repositioning the projector. When you use lens shift, you can fine-tune the image’s position to avoid issues like lens distortion, which can cause keystone effects or skewed visuals. Unlike digital keystone correction, lens shift maintains image quality, so you won’t experience unnecessary image cropping or loss of detail. This feature is especially beneficial because it preserves image integrity during adjustment. Additionally, digital content formats are often optimized for projectors with lens shift features, enhancing overall display flexibility. Using proper calibration techniques can further improve alignment accuracy and image sharpness. Employing lens shift calibration ensures precise positioning and optimal image clarity. Moreover, understanding projector setup best practices can help you maximize the benefits of lens shift for a professional-looking setup. Overall, lens shift streamlines the process, saves you time, and helps you achieve a professional-looking setup with minimal hassle.
ViewSonic PX701-4K 3200 Lumens 4K Projector, 240Hz and HDR Support for Smooth Home Entertainment, 1.1x Optical Zoom, Auto V-Keystone, and H/V Keystone for Flexible Setup, and Dual HDMI Inputs
4K Home Theater Projector: UHD (3840x2160p) 4K resolution with a 1.5-1.6 throw ratio and 3,200 ANSI lumens perfect...
As an affiliate, we earn on qualifying purchases.
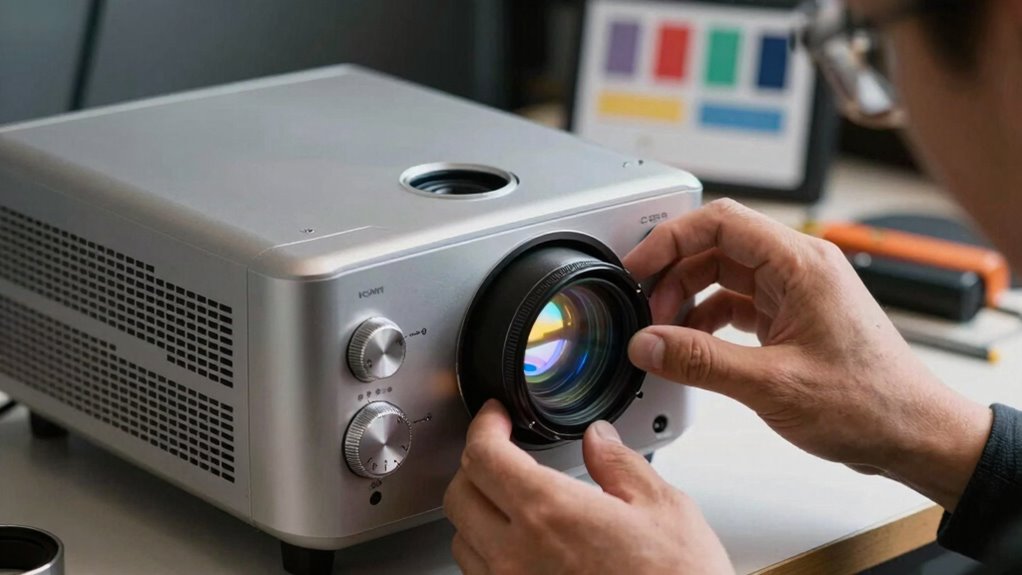
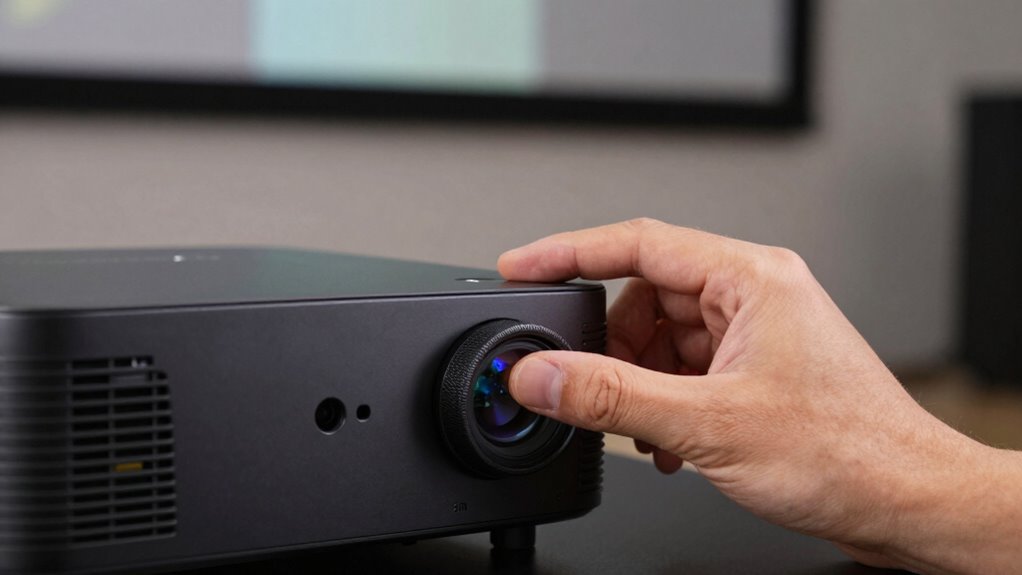
Locating and Adjusting Your Projector’s Lens Shift Controls
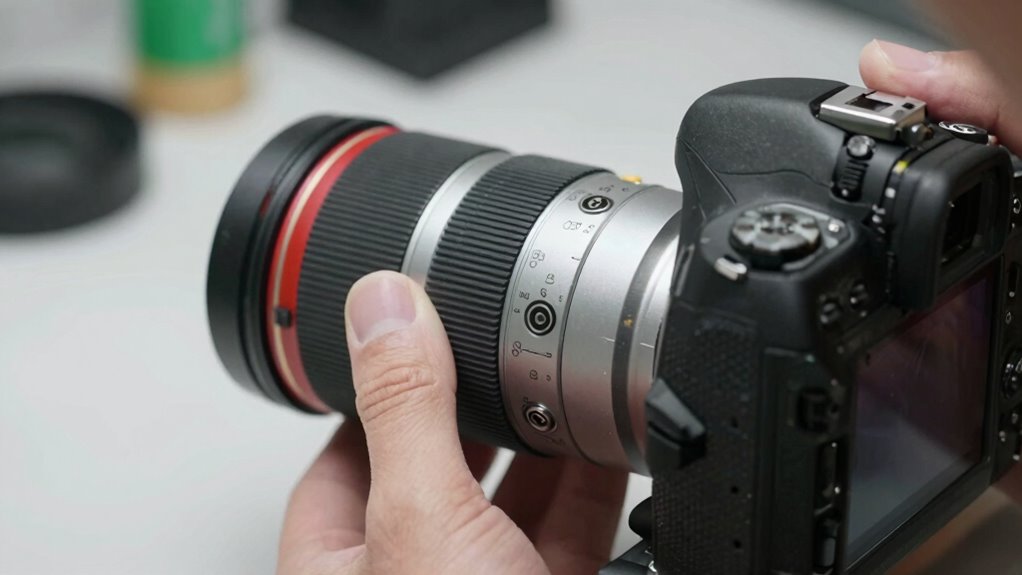
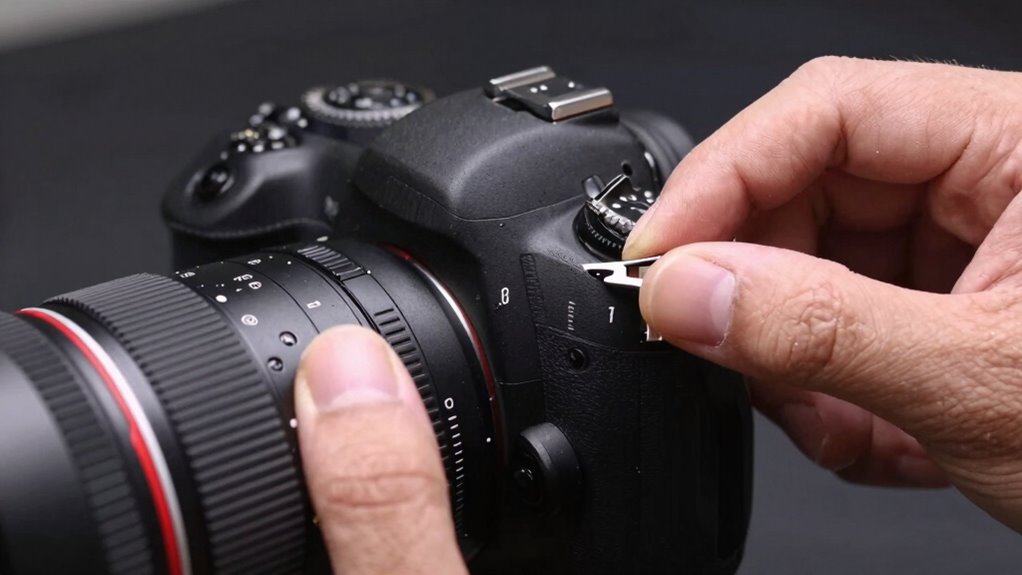
To adjust your projector’s image position using lens shift, you first need to locate the controls. Typically, these are on the projector’s body or remote, often labeled as “lens shift” or with directional arrows. Keep in mind that adjusting the focal length can sometimes affect the image size, so verify you’re not unintentionally zooming in or out. Also, some projectors have an aperture control that influences brightness and depth of field, which can impact your setup. Here’s what to do:
Find the lens shift controls, usually located near the lens or on the remote.
Check if your projector has adjustable focal length settings.
Look for aperture control options if brightness adjustments are needed.
Make small, incremental adjustments to avoid over-shifting or distorting the image.
Be aware that contrast ratio impacts image depth and clarity, so adjusting this setting can also improve your viewing experience. Additionally, understanding how lens shift interacts with other image adjustments can help you fine-tune your setup more efficiently. Properly managing image alignment ensures a seamless viewing experience with minimal rework. Recognizing the relationship between lens shift and image quality can also prevent unnecessary adjustments and save time during setup. Improving your understanding of how image calibration affects overall picture quality can further streamline the adjustment process.
Outdoor-Projector-4K with WiFi and Bluetooth:[3500 Bright/60W Dolby Audio/Official Licensed Apps],Smart-Projector with AI Auto Focus,ONOAYO ONO5Pro 2.0 Movie Projector for Indoor/Outdoor 2026New
[Hear the Difference–Hollywood-Grade Dual 60W Dolby Audio] Why spend more on a TV + soundbar or settle for...
As an affiliate, we earn on qualifying purchases.
Step-by-Step: Using Lens Shift to Perfect Your Projector Setup
To get the best picture, you’ll want to adjust the keystone correctly first. Then, focus on aligning the image vertically for a balanced look. Additionally, making sure to correctly set lens shift can save you hours of rework later. Proper projection alignment is essential for optimal image quality. Ensuring measurement accuracy during setup can also help you achieve precise adjustments and avoid future issues. Taking the time to double-check your initial setup measurements can prevent the need for multiple adjustments later. Finally, fine-tune the setup to make certain your image is clear and sharp. Considering the importance of reliable storage, using dedicated enterprise USB backups can help preserve your project files during setup.
Adjusting Keystone Correctly
Adjusting keystone correction properly is essential for achieving a perfectly aligned image. If you neglect this step, you’ll notice distorted shapes and uneven edges. To get it right:
Use your projector’s keystone adjustment feature to correct obvious trapezoid shapes.
Fine-tune the correction to minimize image distortion, ensuring straight lines and proper proportions.
Check the color calibration after adjustment, as keystone tweaks can sometimes affect color accuracy.
Step back and verify the overall image alignment, making small tweaks for a clean, distortion-free picture.
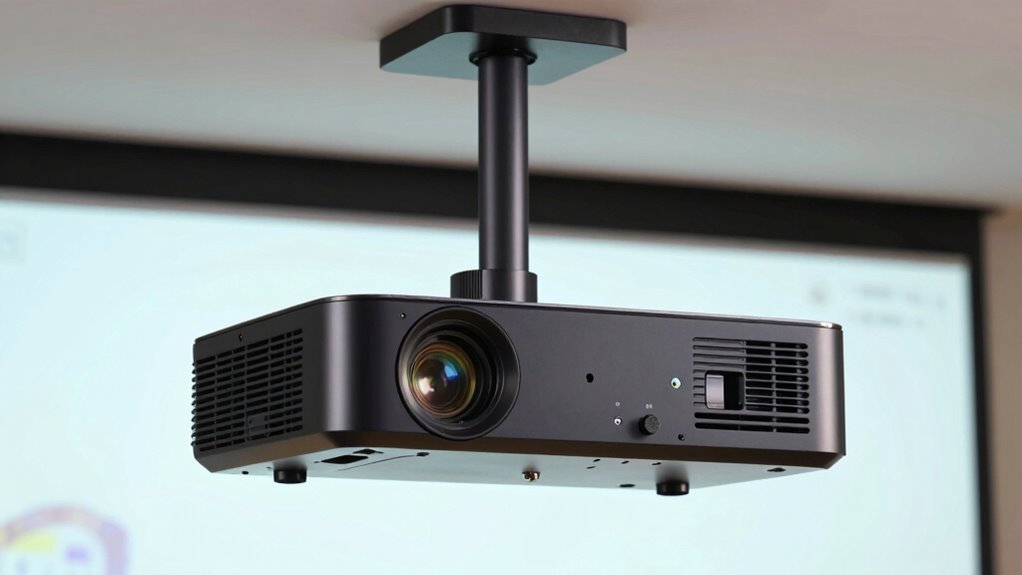
Aligning Image Vertically
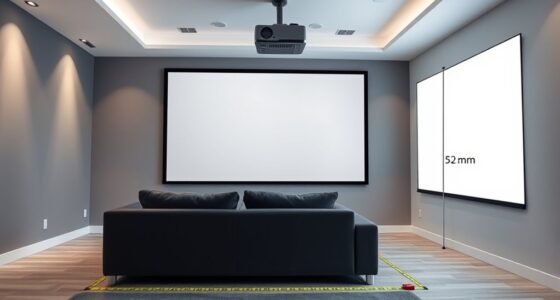
Ever wondered how to perfectly align your projector image vertically without moving the entire unit? Adjusting the lens shift is your solution. Start by considering your mounting height relative to the screen size. If the projector is mounted too high or low, lens shift allows you to correct vertical positioning without repositioning the projector itself. Use the lens shift control to move the image up or down until it aligns perfectly with your screen’s top or bottom edge. Check the image alignment from your seating area to ensure it’s centered and straight. This method saves time and effort, especially in setups where repositioning the projector isn’t feasible. Fine-tuning the vertical alignment with lens shift provides a crisp, well-aligned picture, regardless of your mounting height or screen size.
Fine-Tuning for Clarity
Once you’ve aligned your projector vertically, fine-tuning the lens shift can substantially enhance image clarity and sharpness. Adjustments depend on your mounting height and screen size. To improve clarity:
Start by slightly shifting the lens horizontally for even focus across the entire screen.
Use subtle vertical adjustments if edges appear blurry or distorted.
Focus on your screen corners—small shifts can prevent keystone distortion.
Keep in mind, larger screen sizes may require more precise lens shifts to maintain sharpness at the edges.
Remember, proper lens shift adjustments can also help optimize your projector’s image quality, ensuring a clear and comfortable viewing experience. Additionally, understanding the optical alignment principles behind lens shift can prevent unnecessary rework and save time during setup. Being familiar with projector calibration techniques can further help you achieve the best possible image clarity with minimal adjustments. Recognizing the importance of lens shift range can guide you in making effective adjustments tailored to your specific setup. Gaining a solid understanding of household projector placement can also help you avoid common setup mistakes that lead to rework.
Smart Projector 4K [VIDAA Live TV & 36W Dolby & Voice Control] with WiFi6 and Bluetooth, Short Throw Projector Compatible with Netflix, AI Auto Focus, HDR10, Home Theater Proyector for Outdoor Movies
Common Mistakes When Using Lens Shift and How to Avoid Them
Many users make the mistake of overcorrecting or misaligning their projector when using lens shift, which can lead to distorted images or poor picture quality. This often stems from lens shift misconceptions, where people assume it’s a quick fix for positioning issues without proper understanding. Common setup errors include shifting the lens too far in one direction or neglecting to adjust keystone correction afterward. These mistakes can result in skewed images or black borders. To avoid this, make small adjustments and check the image after each move. Remember, lens shift is designed for fine-tuning, not large repositioning. Taking your time and understanding its proper use helps prevent common pitfalls and guarantees a sharp, well-aligned picture. Additionally, understanding the projector’s lens shift capabilities can help you plan your setup more effectively.
Fine-Tuning Your Projector or TV Position Without Moving It
You can improve your viewing experience by fine-tuning your projector or TV’s position without physically moving it. Understanding how lens shift offers flexibility helps you make precise adjustments easily. Here are practical tips to help you optimize your setup quickly and effectively. Incorporating car accessories such as remote-controlled covers or gear upgrades can also protect your equipment during adjustments and enhance overall performance. Additionally, familiarizing yourself with the lens shift feature allows for seamless calibration without the need for cumbersome repositioning. Knowing about adjustment methods can further streamline your calibration process, saving you time and effort.
Understanding Lens Shift Benefits
Lens shift offers a convenient way to adjust your projector or TV’s image position without physically moving the device. This feature simplifies projector calibration and minimizes image distortion, ensuring a clean, aligned picture. Here’s how it benefits you:
You save time by avoiding repositioning, reducing setup frustration.
It helps maintain a consistent image during room rearrangements.
You can quickly correct keystone effects or uneven displays without complex adjustments.
Understanding these benefits means you can optimize your viewing experience effortlessly. Lens shift provides flexibility that traditional adjustments lack, making your setup cleaner and more professional. It’s an essential feature for achieving perfect alignment while saving hours of rework.
Adjusting Without Repositioning
Adjusting the image position without physically moving your projector or TV is straightforward when using lens shift. By leveraging various mounting options, you can fine-tune the image alignment without reconfiguring the entire setup. This method helps avoid common issues like image distortion that can occur when repositioning the device. Instead of repositioning, you simply adjust the lens shift controls to move the image vertically or horizontally within the lens’s range. This adjustment preserves your existing mounting setup while achieving precise placement. It’s especially useful when space constraints or fixed mounts limit physical movement. Just be mindful of the lens shift limits to prevent unwanted image distortion, ensuring your picture remains sharp and properly aligned without additional rework.
Practical Fine-Tuning Tips
Fine-tuning your projector or TV’s position is essential for achieving the perfect image without the hassle of repositioning the device. Start by exploring different mounting options, such as adjustable brackets or ceiling mounts, to easily modify tilt and height. Next, focus on image calibration settings, including keystone correction and aspect ratio adjustments, to refine the picture. Use these practical tips:
Experiment with the projector’s lens shift feature to fine-tune alignment without moving the device.
Adjust the height and tilt using mounting options to achieve a centered, level image.
Calibrate the image in your settings menu for sharpness, contrast, and color accuracy.
Check the projector’s placement periodically to ensure consistent alignment during use.
These small adjustments can greatly improve your viewing experience with minimal effort.
How Lens Shift Saves Time and Prevents Damage During Setup
When setting up your projector, using lens shift can considerably streamline the process and reduce the risk of damage. Instead of repositioning the entire unit or adjusting mounting options repeatedly, lens shift allows you to fine-tune the image without moving the projector itself. If you’re using ceiling mounts, lens shift makes it easier to align the image perfectly without risking scratches or knocks during adjustment. This saves you time by avoiding trial-and-error mounting adjustments and prevents accidental damage to the lens or housing. With lens shift, you can make precise vertical or horizontal adjustments directly through the projector’s settings, ensuring a cleaner, safer setup. Overall, it offers a quick, damage-free way to get your projector perfectly aligned right from the start.
Lens Shift vs. Keystone Correction: Which One Should You Use?
Lens shift and keystone correction both help you align your projector’s image, but they serve different purposes and offer distinct advantages. Lens shift allows you to move the image without affecting color calibration or image quality, making it ideal for precise setups. Keystone correction adjusts the image digitally, which can introduce slight distortions and affect color accuracy, especially under varying ambient light. Use these tips to decide:
Opt for lens shift when you want a sharp, color-accurate picture unaffected by ambient light changes.
Use keystone correction if your projector must be placed off-center and minor distortions won’t impact your viewing experience.
Prioritize lens shift to maintain consistent color calibration, especially in high ambient light conditions.
Reserve keystone correction for quick fixes when perfect placement isn’t feasible, but be mindful of potential image degradation.
What to Do When Lens Shift Still Doesn’t Get Your Projector Just Right?
Even with careful use of lens shift, sometimes your projector still won’t align perfectly. If the image is skewed or off-center, check your screen placement first. An uneven or tilted screen can make adjustments seem ineffective. Next, focus on color calibration; poor calibration can make misalignments more noticeable. Fine-tune your projector’s settings to ensure accurate colors and brightness, which can help you see how much adjustment is needed. If the image still isn’t right, consider repositioning the projector slightly or using additional mounting hardware for more precise alignment. Remember, lens shift has limits, so optimizing your screen placement and color calibration often makes the biggest difference in achieving a perfectly aligned picture.
Final Tips for Maintaining and Adjusting Your Setup Over Time
Regularly inspecting your projector’s alignment and settings is essential to maintaining peak image quality over time. Over years, mounting considerations can shift, affecting image stability. To keep things sharp, revisit calibration techniques periodically. Here are some final tips:
Regularly check and recalibrate your projector to ensure optimal image quality over time.
Check your projector’s mounting stability and tighten any loose screws.
Reassess lens shift and keystone adjustments for consistency.
Use test patterns to verify calibration accuracy.
Document your settings to quickly revert if needed.
Frequently Asked Questions
Can Lens Shift Cause Image Distortion?
Lens shift can cause image distortion if it’s not properly aligned. When you adjust the lens, misalignment may lead to skewed images or keystone effects, which are common types of distortion. To avoid this, carefully calibrate your lens shift, ensuring the lens remains centered and aligned. Proper lens alignment minimizes image distortion, giving you sharp, accurate visuals without the need for extensive rework.
Is Lens Shift Effective for All Projector Models?
Think of lens shift as a versatile sailboat, but not all boats are equipped with the same sails. It’s effective only on projector models that feature adjustable lens shift mechanisms, offering you greater projection alignment and setup flexibility. If your projector lacks this feature, you’ll need to rely on physical repositioning or keystone correction. Always check your model’s specifications to see if lens shift can help you fine-tune your setup effortlessly.
What Safety Precautions Should I Take When Adjusting Lens Shift?
When adjusting lens shift, prioritize mount safety by ensuring the projector is securely mounted and stable. Before making any adjustments, disconnect the power to avoid electrical shocks. Use insulated tools if necessary, and handle the lens carefully to prevent damage. Always follow the manufacturer’s instructions and double-check all connections afterwards. Taking these precautions helps protect you from injury and preserves your equipment’s integrity during the lens shift process.
How Often Should I Recalibrate Lens Shift Settings?
You should recalibrate your lens shift settings whenever you notice misalignment or after any physical impacts. Regular calibration frequency depends on usage; if you operate your projector daily, check every few months. Proper lens alignment ensures sharp image quality and prevents strain on your equipment. Keep an eye out for blurry edges or distortion, and recalibrate promptly to maintain ideal performance and avoid costly rework later.
Does Using Lens Shift Affect Projector Lifespan?
You might think that using lens shift wears out your projector, but it’s really a non-issue if you’re careful. Properly adjusting the lens won’t considerably impact lens durability or image quality. Think of it as fine-tuning a well-oiled machine—done correctly, it prolongs your equipment’s life. Just avoid excessive or rough adjustments, and your projector’s lens will stay sharp and durable, keeping your display crisp and clear for years to come.
Conclusion
Now that you know how lens shift can save you hours of rework, imagine the perfect picture without the hassle. But what if your setup still isn’t quite right? The key lies in mastering these adjustments and knowing when to push further. Stay tuned—there’s a simple secret that can take your projector setup to the next level. Are you ready to reveal it and finally get that flawless image? The best is yet to come.
Proper projector placement is crucial, but many overlook common mistakes that can ruin your viewing experience—discover how to avoid them for perfect picture quality.

![Smart 4K Projector [Google TV Stick Built-in & 360° Stand] with WiFi 6, Bluetooth 5.3, HDR10, 30W Hi-Fi, AI Auto Focus, Outdoor Portable Short Throw Movie Projector for Home Theater Bedroom Ceiling](https://m.media-amazon.com/images/I/41zno6cZMFL._SL500_.jpg)

![Outdoor-Projector-4K with WiFi and Bluetooth:[3500 Bright/60W Dolby Audio/Official Licensed Apps],Smart-Projector with AI Auto Focus,ONOAYO ONO5Pro 2.0 Movie Projector for Indoor/Outdoor 2026New](https://m.media-amazon.com/images/I/41fylkjOTIL._SL500_.jpg)
![Smart Projector 4K [VIDAA Live TV & 36W Dolby & Voice Control] with WiFi6 and Bluetooth, Short Throw Projector Compatible with Netflix, AI Auto Focus, HDR10, Home Theater Proyector for Outdoor Movies](https://m.media-amazon.com/images/I/51LPK2IYH0L._SL500_.jpg)