
To find the right distance for your projector, use the projector distance formula: multiply the throw ratio by your screen width. For example, with a throw ratio of 1.5 and an 8-foot screen, place the projector 12 feet away. Properly applying this formula helps guarantee sharp, well-aligned images. Keep in mind that other factors like room size and lighting matter too—continue exploring to master perfect setup adjustments.
Key Takeaways
- The projector distance formula is calculated by multiplying the throw ratio by the desired screen width.
- Use the formula: Distance = Throw Ratio × Screen Width, to determine optimal projector placement.
- Accurate measurement of screen size is essential for precise application of the formula.
- Adjust the projector distance based on the throw ratio to avoid image distortion or keystone issues.
- Properly applying the formula ensures sharp, aligned images with correct focus and brightness.
![[Now with Netflix & 2000ANSI] 4K Smart Projector with WiFi and Bluetooth,Auto Focus & Keystone Portable Mini Projector with Stand,Outdoor Home Theater Small Proyector for bedroom white](https://m.media-amazon.com/images/I/51+w1LIZZBL._SL500_.jpg)
[Now with Netflix & 2000ANSI] 4K Smart Projector with WiFi and Bluetooth,Auto Focus & Keystone Portable Mini Projector with Stand,Outdoor Home Theater Small Proyector for bedroom white
[Built in APP- Cinema-Quality Streaming] This Smart projector with wifi and bluetooth comes with pre-installed with YouTube, and...
As an affiliate, we earn on qualifying purchases.
What Is the Projector Distance Formula and Why Is It Important?
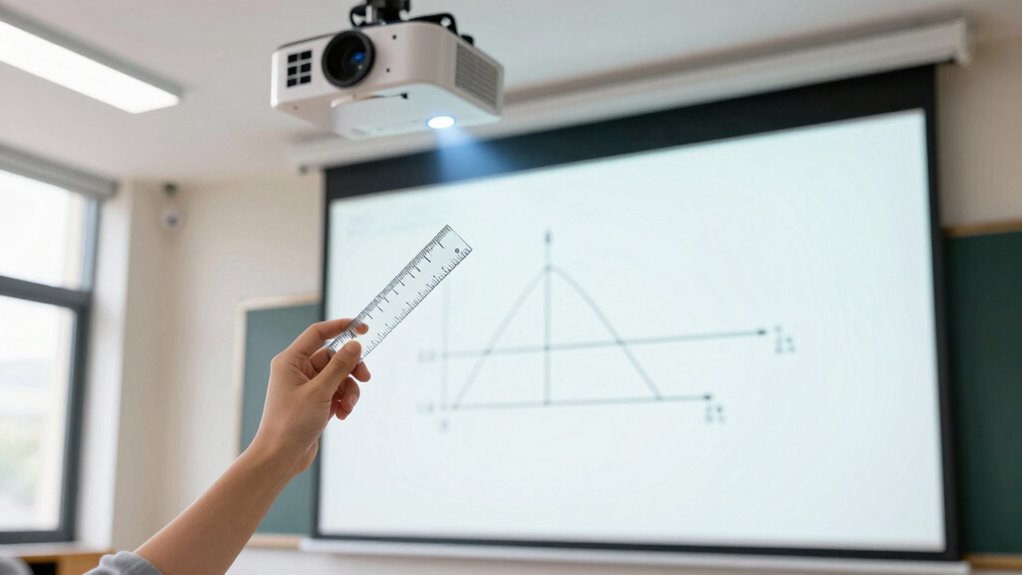
Have you ever wondered how far your projector should be placed from the screen for the best image quality? The projector distance formula helps determine this essential placement, ensuring your image is sharp and properly aligned. Proper projection alignment is vital, and lens calibration plays a critical role in achieving clear, distortion-free images. The formula considers factors like throw ratio and screen size, guiding you to the correct distance for your specific projector. By understanding this relationship, you can avoid blurry or stretched images and prevent misaligned projections. Using the right distance ensures your projector’s lens is calibrated correctly, delivering a crisp, evenly lit picture. Additionally, understanding projection setup can help troubleshoot common issues like image distortion or uneven brightness. Mastering the projection geometry involved in the setup can significantly improve your viewing experience, especially when selecting the ideal projector placement for your space. For optimal results, it’s also helpful to understand the lens shift capabilities of your projector to fine-tune image positioning without moving the device. Knowing the throw distance allows for more precise placement and enhances overall projection quality.
![[3500 ANSI/ Official Apps/65W Audio] Outdoor 4K Projector with WiFi and Bluetooth, Auto Focus, Auto Keystone Smart Projector Support DoIby Audio, 2026 Upgrade GO2 Short Throw Projector with 360°Stand](https://m.media-amazon.com/images/I/41-laeqxhwL._SL500_.jpg)
[3500 ANSI/ Official Apps/65W Audio] Outdoor 4K Projector with WiFi and Bluetooth, Auto Focus, Auto Keystone Smart Projector Support DoIby Audio, 2026 Upgrade GO2 Short Throw Projector with 360°Stand
3500 ANSI Lumens & 360°Rotatable Stand---With upgrade 3500 ANSI lumens brightness, the GO2 outdoor projector offers bright, vibrant...
As an affiliate, we earn on qualifying purchases.
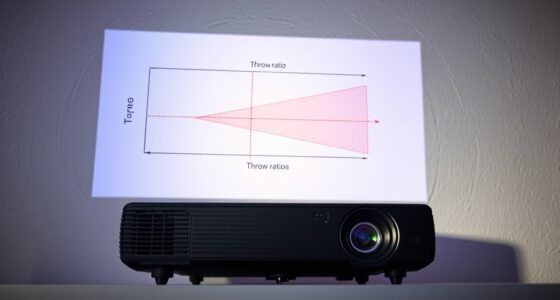
How Throw Ratio, Screen Size, and Distance Connect

Understanding how throw ratio, screen size, and distance connect is essential for ideal projection setup. Your throw ratio determines how far your projector needs to be from the screen based on its size. A higher throw ratio means you need more distance for a larger image, while a lower ratio allows for closer placement. When you select a screen size, you can use the throw ratio to calculate the most suitable distance, ensuring the projector is positioned correctly. Proper alignment improves image clarity, preventing distortion or blurriness. If your projection setup isn’t precise, image quality suffers, making it harder to enjoy your content. Additionally, knowing measurement accuracy can help you fine-tune your setup for optimal performance. Accurate measurements are especially important when dealing with projector placement to avoid common setup errors. Being aware of alignment techniques can further enhance your image quality and viewing experience. Understanding these interconnected factors ensures you achieve a sharp, well-proportioned image at the right distance, maximizing your projector’s performance and your viewing experience. Moreover, mastering setup adjustments can lead to a more consistent and enjoyable viewing experience.

AAJK ALR Projector Screen, 4K Movie Projector Screen 16:9 HD Foldable Anti-Crease Portable Projector, Movies Screen for Home Theater Outdoor Indoor Support (120in Pro)
【Watch What You Want, When You Want!】 Remember when you could only really use your projector at night?...
As an affiliate, we earn on qualifying purchases.
Step-by-Step Guide: Calculating Your Ideal Projector Distance

To calculate your ideal projector distance, start by measuring your screen size accurately. Then, apply the distance formula to find the right placement for clear, sharp images. Following these steps guarantees you set up your projector perfectly for your space. Understanding projector placement fundamentals can help ensure optimal image quality and avoid common setup mistakes, such as incorrect projection distance, which can lead to distorted or blurry images. Additionally, being aware of affiliate disclosures and privacy policies can enhance your confidence in online resources related to projector setup. Knowing proper setup techniques is essential for achieving the best viewing experience and preventing common issues, especially since cookie management plays a role in accessing helpful setup guides and tutorials online.
Measuring Screen Size Accurately
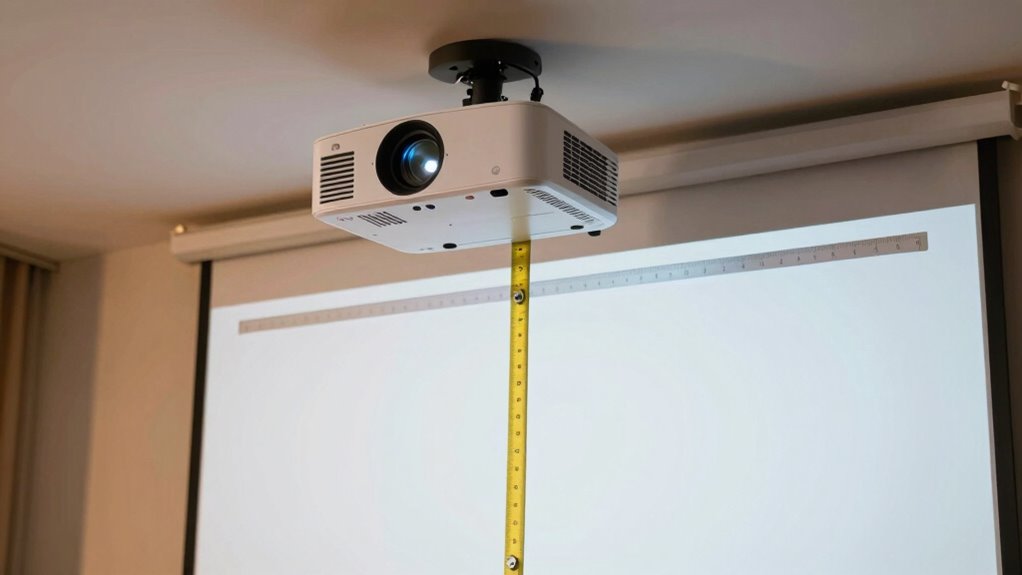
Accurately measuring your screen size is essential for determining the ideal projector placement. Begin by measuring the width and height of your screen with a tape measure, guaranteeing precision. Proper screen calibration helps you set a clear, sharp image, so double-check that your measurements align with your projector’s specifications. Keep ambient lighting in mind; brighter rooms may require a larger projected image to maintain clarity and contrast. Avoid guesswork by verifying measurements multiple times. Remember, the screen size directly impacts your projector’s distance calculation, so accuracy here is critical. Use a ruler or a measuring tape to get exact dimensions, and record these numbers carefully. Precise measurement ensures your setup will deliver the best picture quality and viewing experience.
Applying the Distance Formula
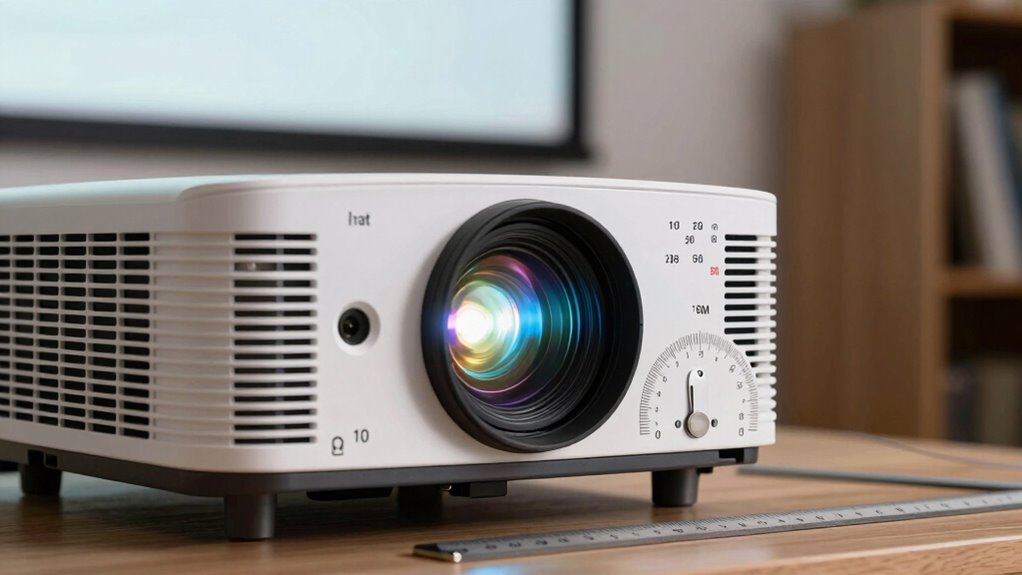
Calculating the ideal projector distance might seem complex, but breaking it down step-by-step makes it manageable. First, consider your screen size and the desired projection angle, which affects image clarity and focus. Adjusting for projection angles ensures the image remains evenly sized and sharp without distortion. Next, factor in ambient lighting; brighter rooms often require a shorter throw distance for better contrast and visibility. Use the distance formula by plugging in your screen width and the projector’s throw ratio, which varies based on your setup. By combining these elements—projection angles and ambient lighting—you can determine the most suitable distance that delivers a bright, focused image with minimal distortion. This approach guarantees a viewing experience tailored perfectly to your space.

Official Licensed Google TV Smart Projector, HAPPRUN 4K UHD Home Theater with Dolby Sound, Wi-Fi & Bluetooth, Built-in Streaming Apps, Compatible with Games Consoles & Smartphone, Indoor & Outdoor Use
[ Built-in Official Licensed Google TV ] - Without additional equipment, the smart projector can directly access Netflix,...
As an affiliate, we earn on qualifying purchases.
Factors That Affect Your Projector Placement and Image Quality
Several factors can influence both where you should place your projector and the quality of the image it produces. Ambient lighting plays a significant role; bright rooms can wash out images, so controlling light levels or choosing a high-lumen projector helps. Ceiling mounting offers a stable, unobstructed position, reducing shadows and glare, which improves clarity. The placement height and distance also matter, affecting focus and keystone correction. Additionally, surface type and texture impact image sharpness, so using a smooth, white wall or screen is ideal. Keep lighting conditions in mind when deciding on placement to guarantee brightness and contrast stay superior. Proper mounting and thoughtful positioning help you achieve clear, vibrant images, making your viewing experience more enjoyable. Understanding projector specifications can help you select the right equipment for optimal image quality. To maximize your setup, consider projection distance calculations to ensure optimal focus and image size. Being aware of ambient light levels can further improve your viewing experience by helping you choose the best environment for projection. Additionally, understanding how projector brightness interacts with room conditions can guide you in selecting the appropriate device for your space. For example, knowing the recommended mammography guidelines can be analogous to understanding optimal projector placement—both require careful consideration of various factors to ensure the best outcome.
Common Mistakes When Using the Projector Distance Formula

When using the projector distance formula, one common mistake is relying on incorrect measurements of your screen size or projector placement. This can lead to distorted images or suboptimal projection angles, affecting the overall picture quality. Another mistake is ignoring lamp brightness, which influences how bright and clear your image appears at different distances. If you don’t account for projection angles properly, you might position your projector too close or too far, resulting in keystone distortion or incomplete coverage. Failing to double-check measurements can cause miscalculations, leading to blurry or dim images. Always verify your screen dimensions and projector placement before applying the formula. Properly considering projection angles and lamp brightness ensures accurate calculations and a better viewing experience. Additionally, understanding the projector specifications can help you optimize your setup for the best image quality. Knowing the recommended projection distances based on your projector’s features can prevent common setup errors and improve your viewing experience. Moreover, being aware of the recommended setup guidelines can help ensure your projector is positioned for optimal performance and image clarity. To further enhance your setup, it’s helpful to familiarize yourself with calibration techniques, which can ensure that your projected image is perfectly aligned and sharp.
Tips to Fine-Tune and Adjust Your Projector Setup
To get the best picture quality, start by placing your screen at the right height and position. Then, adjust the projector’s height and keystone settings to straighten the image, and fine-tune the focus for clarity. These small tweaks can make a big difference in your viewing experience.
Correct Screen Placement
Achieving the perfect image quality starts with correct screen placement, which guarantees your projector’s image is sharp, centered, and properly aligned. To fine-tune your setup, consider these factors:
- Adjust projection angles to avoid keystone distortion and ensure a rectangular image.
- Position the screen where ambient lighting won’t wash out the projection.
- Mount your projector at the optimal height to prevent shadows and distortion.
- Ensure the surface is flat and free of obstructions for a clear, crisp picture.
Proper screen placement minimizes image distortion, improves brightness, and enhances overall viewing experience. Remember, small adjustments in projection angles and lighting conditions can make a significant difference in image clarity and alignment, leading to a more professional setup.
Adjusting Projector Height
Adjusting the height of your projector is a key step in achieving a sharp, properly aligned image. Proper projector calibration starts with setting the correct height, which often involves adjusting your ceiling mount. Make certain your projector is mounted securely and at the right distance from the screen. If the image is too high or low, modify the mount’s position or use adjustable mounts for fine-tuning. This will help eliminate distortions caused by uneven projection angles. Take your time to level the projector and confirm that the image fills the screen evenly. Remember, precise height adjustment minimizes the need for extensive keystone correction later. A well-calibrated setup enhances picture quality and creates a seamless viewing experience.
Focus and Keystone Settings
Once your projector is properly positioned, fine-tuning the focus and keystone settings is essential for a clear, distortion-free image. Adjusting lens calibration guarantees sharpness, while keystone correction corrects distortion caused by projector angle. Keep ambient lighting in mind, as bright rooms may require higher contrast or brightness settings for clarity. To optimize your setup:
- Fine-tune the lens calibration for crisp details
- Use keystone correction to straighten skewed images
- Limit ambient lighting to reduce glare and improve contrast
- Test different focus adjustments for sharpness across the screen
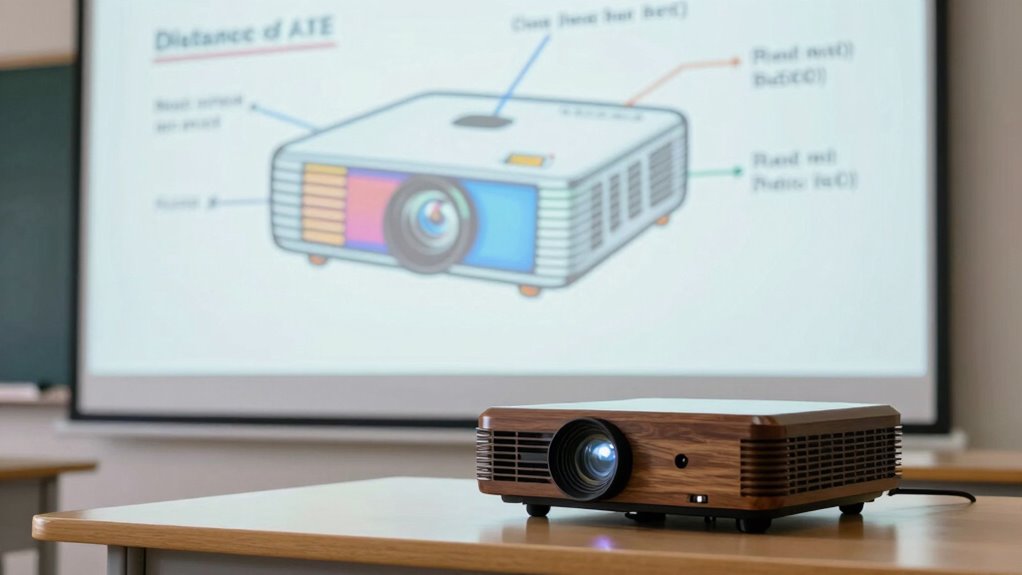
Real-World Examples of Calculating Projector Distance
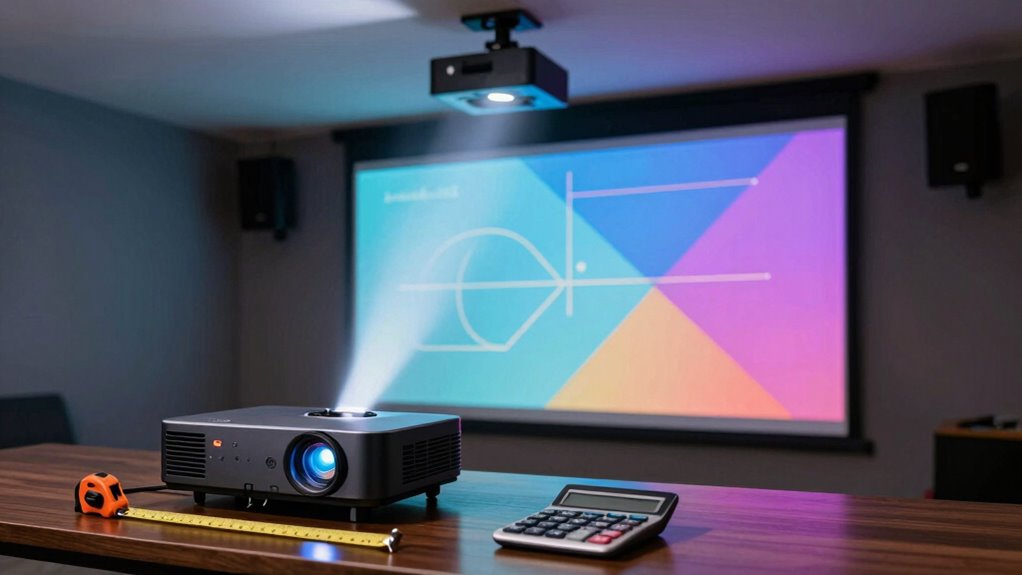
Understanding how to calculate projector distance is essential when setting up a home theater or classroom. For example, if you’re installing a projector with a ceiling mount, you need to consider lighting angles to ensure proper image size and clarity. Suppose your projector’s throw ratio is 1.5, and your desired image width is 8 feet; you can calculate the ideal distance by multiplying the width by the throw ratio, resulting in a 12-foot distance. Adjustments might be necessary based on ceiling height or room size. By applying the projector distance formula, you’ll optimize lighting angles and placement, ensuring a bright, sharp image. These real-world calculations help you avoid shadows, glare, or distorted visuals, making your setup both functional and professional.
Frequently Asked Questions
How Does Ambient Light Affect Projector Placement Decisions?
Ambient light greatly impacts your projector placement choices because it can reduce visual clarity. If the room has a lot of ambient lighting, you should position the projector closer to the screen to guarantee the image remains bright and clear. Additionally, consider placing the projector away from windows or bright light sources, and use blackout curtains if possible, to optimize visual clarity and create a better viewing experience.
Can the Formula Be Used for Outdoor Projectors?
Yes, you can use the projector distance formula for outdoor projectors, but consider your screen size and projector type. Larger screens need more distance, so adjust accordingly. Outdoor projectors often have different brightness levels and lens types, which impact placement. Make sure to account for ambient light, weather conditions, and the specific projector’s specs to get the best image quality and proper sizing outdoors.
What Safety Precautions Should Be Considered During Installation?
When installing a projector, prioritize installation safety by ensuring all equipment is securely mounted and cables are organized to prevent tripping hazards. Check the power supply considerations, like using a grounded outlet and avoiding overloading circuits, to prevent electrical issues. Wear appropriate safety gear, such as gloves and goggles, especially when mounting or handling heavy equipment. Always follow manufacturer instructions to maintain a safe setup and avoid damage or injury.
How Often Should I Recalibrate My Projector Distance Setup?
Think of your projector setup as a finely tuned instrument—regular calibration keeps it in harmony. You should recalibrate your projector distance setup every 6 to 12 months, or whenever you notice image distortion or focus issues. Keep an eye on setup adjustments, especially after moving the projector or changes in room conditions. Consistent calibration ensures sharp images and peak performance, much like a master musician maintaining their instrument.
Are There Specific Tips for Ceiling-Mounted Projector Positioning?
When positioning your ceiling-mounted projector, consider ceiling height and mounting hardware for ideal setup. Make certain the projector is mounted at the recommended height to align with your screen, avoiding distortion. Use sturdy mounting hardware to securely attach the projector, preventing shifts that can affect image quality. Adjust the angle and distance carefully, and double-check that all connections are tight to maintain a steady, clear picture during use.
Conclusion
Now that you know the projector distance formula, you’re equipped to set up your home theater perfectly. Imagine enjoying crystal-clear images without guesswork—doesn’t that make your movie nights even better? With these tips, you can avoid common mistakes and create a stunning visual experience. Are you ready to take control of your projector setup and transform your space into a cinematic haven? The power to perfect your viewing is in your hands.