
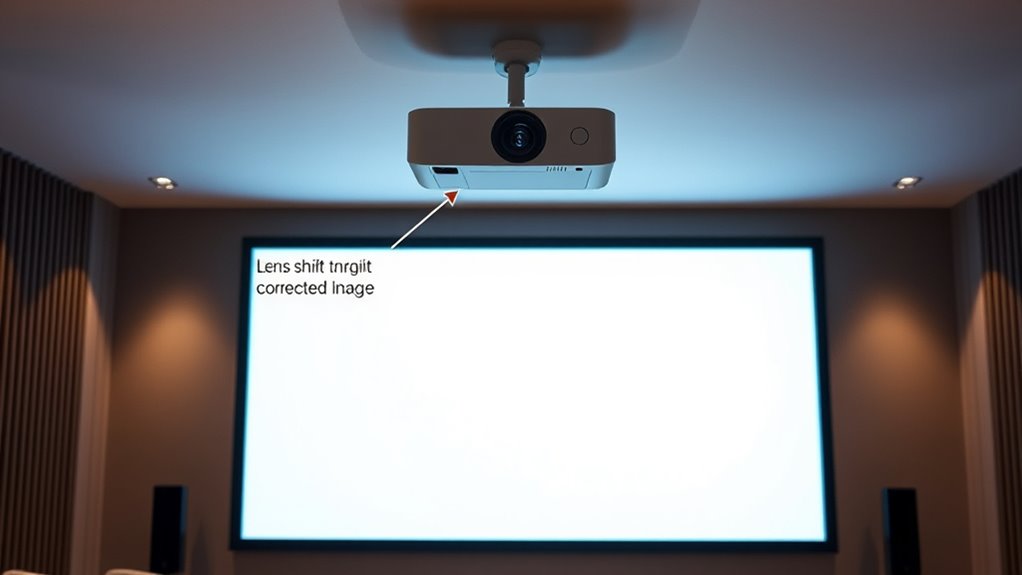
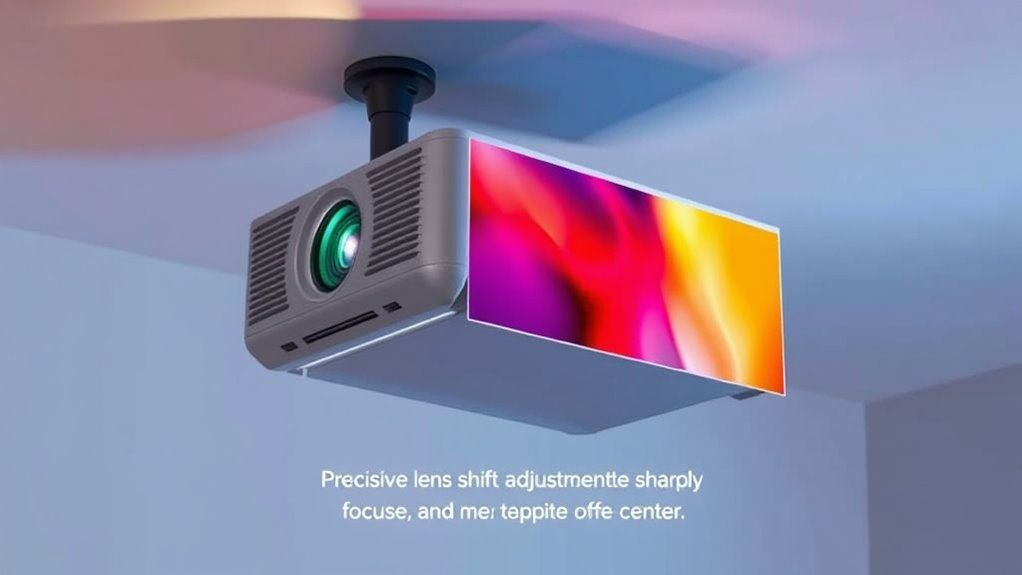
To position your projector off-center, use the lens shift feature to move the image without distorting it. Adjust the vertical and horizontal controls in small increments until the picture aligns perfectly with your screen edges. If needed, combine lens shift with keystone correction, but depend primarily on lens shift for the best image quality. Properly securing your projector and following safety tips guarantees smooth adjustments; stay tuned to learn more about fine-tuning your setup for perfect results.
Key Takeaways
- Use vertical and horizontal lens shift controls to adjust the image position without physically moving the projector.
- Perform small, incremental adjustments to prevent damaging the lens or mechanism.
- Combine lens shift with keystone correction for precise, distortion-free alignment in off-center setups.
- Ensure the projector is securely mounted and properly calibrated to maintain stable, accurate image placement.
- Consult the projector manual to understand specific lens shift limits and optimal adjustment procedures.
![Projector with 5G WiFi and Bluetooth, Native 1080P Projector[Projector Screen Included], Full HD 18000LM Movie Projector, 100" Display Home Theater, Compatible with Phone/Laptop/TV Stick](https://m.media-amazon.com/images/I/51tJ+dTl5qL._SL500_.jpg)
Projector with 5G WiFi and Bluetooth, Native 1080P Projector[Projector Screen Included], Full HD 18000LM Movie Projector, 100" Display Home Theater, Compatible with Phone/Laptop/TV Stick
【2.4G/5G Dual-Band Wifi & Bluetooth Connection】 Roconia projector supports screen mirroring on iOS, Android and Windows devices without...
As an affiliate, we earn on qualifying purchases.
Understanding Lens Shift: What It Is and How It Works

Lens shift is a feature that allows you to adjust the position of the projected image without moving the projector itself. It works through lens shift mechanics, which move the lens assembly inside the projector to change the image’s position. This adjustment maintains optical alignment, ensuring the image stays sharp and correctly proportioned. Instead of physically repositioning the projector, you can shift the image vertically or horizontally, making off-center placement easier. Understanding how lens shift functions helps you optimize your setup, especially when space constraints prevent perfect projector placement. By leveraging this feature, you avoid distortion or keystone correction issues, resulting in a cleaner, more professional image. Mastering lens shift mechanics empowers you to position your projector flexibly while preserving image quality. Additionally, understanding the lens shift mechanics can help you troubleshoot alignment issues more effectively. Recognizing the impact on image quality can guide you in achieving the best visual results with minimal adjustments. Properly utilizing lens shift can also reduce the need for additional image correction methods that may compromise clarity.
Epson Home Cinema 3800 4K PRO-UHD 3-Chip Projector with HDR
4K PRO-UHD (1) Projection technology — a new type of 4K home theater experience, utilizing advanced technologies for...
As an affiliate, we earn on qualifying purchases.
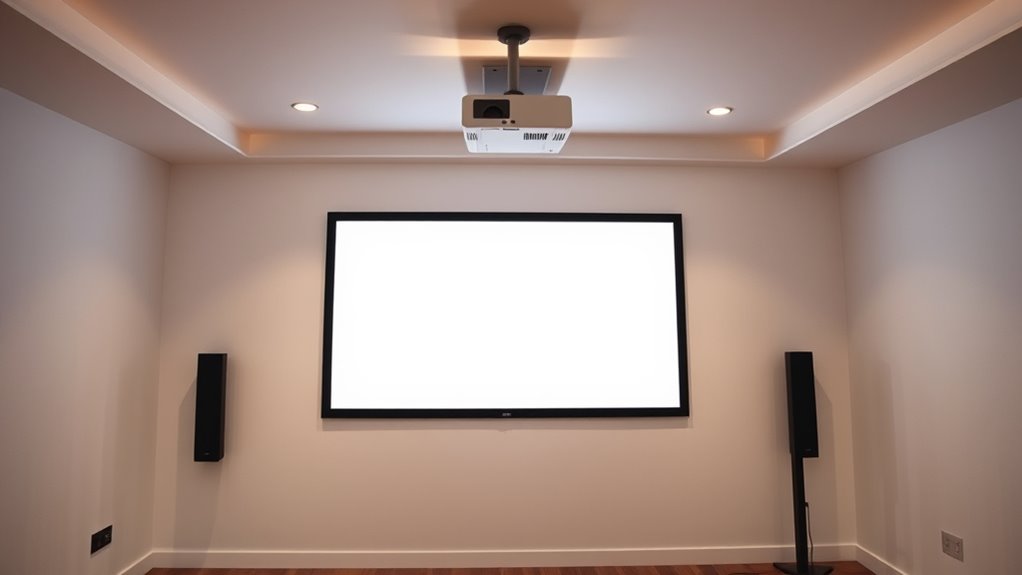
Assessing Your Space and Planning Your Setup

Before setting up your projector, evaluating the space where you’ll install it is essential. Start by assessing the wall color; lighter walls reflect more light, enhancing picture brightness, while darker walls absorb light and may require a brighter projector. Consider room lighting as well—bright ambient light can wash out images, so plan for blackout options or dimming lights during viewing. Measure the distance from the projector to the screen to determine if lens shift adjustments will be needed. Check for obstructions like furniture, ceiling fixtures, or windows that could interfere with placement. Think about the room’s layout and how off-center seating might affect viewing angles. Proper assessment ensures you select the best position, making the most of your lens shift capabilities and creating a seamless setup. Additionally, understanding your room’s sustainable lighting options can help reduce energy consumption and improve your viewing experience. Incorporating room acoustics considerations can also enhance sound quality and immersion during use. Being aware of indoor aesthetics can help you choose a setup that complements your decor and maximizes visual appeal.

Epson Home Cinema 980 3-Chip 3LCD 1080p Projector 4,000 Lumens Color and White Brightness, Streaming/Gaming/ Media Room, Built-In Speaker, Auto Picture Skew, 16000:1 Contrast, 2 HDMI Ports
Exceptional Picture Quality — Provides stunning, detailed 1080p images and fast data processing that’s optimized for fast-action sports,...
As an affiliate, we earn on qualifying purchases.
Adjusting Vertical and Horizontal Lens Shift for Optimal Alignment

To achieve a perfectly aligned projection, you need to carefully adjust both the vertical and horizontal lens shift settings. Lens flexibility allows you to reposition the image without moving the projector, helping you overcome placement challenges. Start by adjusting the vertical lens shift to raise or lower the image until it aligns with your screen’s top or bottom edge. Then, tweak the horizontal shift to move the picture left or right for perfect centering. These adjustments help you avoid keystone distortion and ensure a crisp, level image. Be patient and make small changes, checking the alignment after each tweak. Properly setting both axes allows you to maximize your projector’s placement options and achieve a seamless, professional-looking projection. Additionally, understanding the automation capabilities in modern projectors can help streamline these adjustments for a more efficient setup process. Utilizing lens shift features effectively can significantly reduce the need for repositioning the entire projector, making setup quicker and less cumbersome. Incorporating drift management techniques can also help maintain alignment over time, especially if the projector is subject to vibrations or slight shifts.

Epson Home Cinema 2350 4K PRO-UHD Smart Gaming Projector with Android TV, 3-Chip 3LCD, HDR10, HLG, 2,800 Lumens, Low Latency, 10 W Speaker, Bluetooth, Streaming Capability
4K PRO-UHD (1) — An amazing 4K experience utilizing advanced processing for resolution enhancement, color and image processing;...
As an affiliate, we earn on qualifying purchases.
Combining Lens Shift With Keystone Correction for a Perfect Image
While adjusting lens shift can greatly improve image alignment, it often isn’t enough to achieve a perfectly rectangular picture. Combining lens shift benefits with keystone correction allows you to fine-tune your projector placement for ideal results. Keystone correction compensates for geometric distortions, especially when lens shift reaches its limits. Use both tools together to maximize image quality and minimize distortion. Here’s a quick comparison:
| Aspect | Lens Shift Benefits | Keystone Correction |
|---|---|---|
| Purpose | Moves image without distortion | Fixes trapezoidal shape |
| Best use | Off-center projector placement | When lens shift hits limits |
| Image quality impact | Maintains clarity | Slight loss possible if overused |
| Flexibility | Precise positioning | Corrects shape after placement |
| Complementary use | Yes | Yes |
Additionally, understanding the AI advancements in device processing can help optimize your setup for better visual results. Recognizing how asset division factors influence the overall outcome can lead to more effective adjustments and improved image quality. Proper calibration of lens shift and keystone correction is essential for achieving a seamless viewing experience. A comprehensive understanding of projector calibration techniques can further enhance the accuracy of your setup. Furthermore, familiarity with Kia Tuning options can inform adjustments that maximize performance and visual clarity in compatible multimedia setups.
Tips for Safe and Precise Lens Shift Adjustments
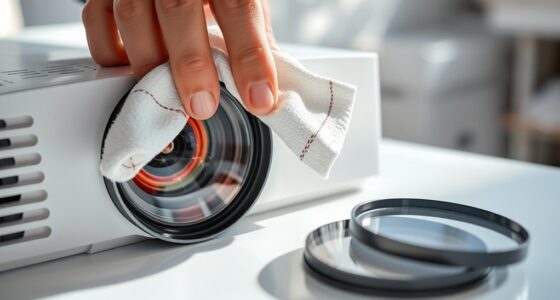
Adjusting your projector’s lens shift can markedly improve image placement, but doing so safely and accurately is key to avoiding damage or misalignment. To guarantee lens shift safety, make small, incremental adjustments rather than sudden movements. Always consult your projector’s manual for recommended calibration procedures, as improper shifts can strain internal components. Before adjusting, power off the projector and let it cool to prevent heat-related issues. Use gentle pressure and avoid forcing the lens out of its range. Regular lens shift calibration helps maintain image sharpness and prevents uneven wear. Remember, cautious adjustments preserve your projector’s lifespan and ensure a precise, stable image. Incorporating sound healing science principles can also help reduce stress and maintain focus during setup. Additionally, understanding the AI’s recent discoveries can inspire innovative solutions for precise calibration techniques.
Troubleshooting Common Issues With Lens Shift
If your image isn’t perfectly aligned, you might face issues with vertical or horizontal adjustments. Sometimes, the lens shift can be unresponsive or cause distortion, making setup tricky. Let’s explore how to troubleshoot these common problems to get your projector image just right.
Adjusting Vertical Alignment
Have you noticed that your projected image isn’t perfectly aligned vertically? To fix this, start with a mount adjustment if your projector is ceiling mounted. Check that the mounting bracket is secure and in the correct position. Sometimes, a slight shift in the ceiling mount can improve vertical alignment. If the projector has lens shift controls, use them to move the image up or down without moving the entire unit. If these controls don’t fully correct the alignment, consider adjusting the mount itself, ensuring it’s firmly attached and properly aligned. Remember, a stable, well-mounted projector makes vertical adjustments easier and more precise. Taking the time to fine-tune your ceiling mounting setup can considerably improve your image’s vertical alignment and overall picture quality. Additionally, understanding lens shift technology can help you optimize your projector’s positioning and achieve better image correction.
Correcting Horizontal Offset
When your projected image appears skewed or shifted to one side, correcting horizontal offset can restore proper alignment. Start by accessing your projector’s lens shift calibration settings, usually through the menu. Adjust the horizontal shift control slowly, moving the image left or right until it aligns with your screen edges. This process helps fix off center projection caused by installation angles or room layout. Confirm you make small adjustments and recheck the image regularly to avoid overcompensation. Proper calibration ensures your image is centered horizontally, preventing distortion and improving overall picture quality. Remember, lens shift is a powerful feature to fine-tune your projection without repositioning the projector physically, making it easier to achieve symmetrical, professional-looking results. Additionally, understanding room layout considerations can help optimize your projector placement for better image alignment. Moreover, being aware of the types of lens shift available can assist in selecting the right projector for your space. Knowing how to utilize lens shift features effectively can significantly enhance your setup flexibility and image precision. Incorporating manufacturer guidelines can also ensure optimal use of lens shift capabilities and maintain projector longevity.
Maximizing Image Quality With Proper Lens Shift Use
To get the sharpest image, you need to align it precisely using lens shift controls. Proper adjustment helps you avoid keystone distortion that can ruin picture quality. When you fine-tune your setup, your display looks clearer and more professional. Incorporating antique elements into your decor can also create a more inviting environment, complementing your projector setup for a cozy home theater. Additionally, understanding lens shift allows for better customization of your image placement without physically moving the projector.
Precise Image Alignment
Achieving precise image alignment is essential for maximizing your projector’s picture quality, and properly utilizing lens shift is a key part of that process. To do this effectively, you need to focus on lens shift calibration, ensuring the image is centered and straight without distortion. Start by securely mounting your projector, as a stable projector mounting prevents shifts that could compromise alignment. Use the lens shift controls carefully, adjusting both vertical and horizontal positions to align the image perfectly with your screen edges. Take your time to fine-tune the settings, checking from different angles to confirm the image remains sharp and rectangular. Proper calibration not only improves picture quality but also reduces the need for additional adjustments later.
Avoiding Keystone Distortion
Properly using lens shift controls helps you maintain a rectangular image and prevents keystone distortion. When you adjust the lens shift, it keeps the projector’s image aligned, avoiding the skewed trapezoidal shape that occurs with off-center placement. To maximize lens shift benefits, follow these installation tips:
- Center the projector as much as possible before fine-tuning lens shift.
- Use the lens shift controls gradually to avoid overcorrection.
- Ensure the projector’s vertical and horizontal lens shift ranges are sufficient for your setup.
- Regularly check the image during installation to prevent keystone distortion from creeping in.
Frequently Asked Questions
Can Lens Shift Cause Image Distortion or Quality Loss?
Lens shift can sometimes cause slight lens distortion, but it generally doesn’t impact your image quality considerably. When you adjust the lens, it moves the image without physically changing the projector’s position, helping to keep the image sharp. However, excessive shifting might introduce minor distortions or reduce clarity at the edges. To maintain ideal image quality, use lens shift within recommended limits and avoid over-tilting or extreme adjustments.
Is Lens Shift Compatible With All Projector Models?
While lens shift is a handy feature, it’s not always compatible with every projector model. You’ll want to check the manufacturer’s specifications, especially regarding mounting options and lens alignment. Some projectors have limited lens shift capabilities, making off-center placement trickier. Always guarantee your model supports this feature if you plan to adjust the lens without repositioning the entire projector, helping you avoid potential issues down the line.
How Often Should I Recalibrate My Lens Shift Settings?
You should recalibrate your lens shift settings whenever you notice image misalignment or after moving your projector. Regular calibration frequency depends on usage, but a good rule is to check every few months or if you change the setup. Use adjustment tips like carefully aligning the image and keeping the projector stable during calibration. This guarantees ideal picture quality and prevents unnecessary strain on your projector’s lens shift mechanism.
Does Using Lens Shift Affect Projector Lifespan?
Imagine your projector’s lens shift as a gentle wave, adjusting your image without straining the projector’s core. Using lens shift doesn’t notably affect your projector’s lifespan when done correctly. It keeps the lens alignment precise, preventing image warping. However, avoid excessive or constant adjustments, as frequent, aggressive shifts could put strain on components over time. Proper use ensures your projector stays healthy and your images stay sharp.
Can Lens Shift Be Used With Ultra-Short Throw Projectors?
Yes, you can use lens shift with ultra short throw projectors. These projectors often have adjustable lens features to help you fine-tune the image placement, especially when you can’t position them directly in front of the screen. Lens adjustment allows you to offset the image without moving the projector, making it easier to achieve a perfect picture even in tight spaces or off-center setups.
Conclusion
Now that you know how to use lens shift effectively, you can place your projector almost anywhere in your space without sacrificing image quality. With a little planning and careful adjustments, you’ll enjoy a perfectly aligned picture every time. Isn’t it satisfying to transform any room into a home theater with just a few simple tricks? So go ahead, experiment with your lens shift, and make your viewing experience truly exceptional.