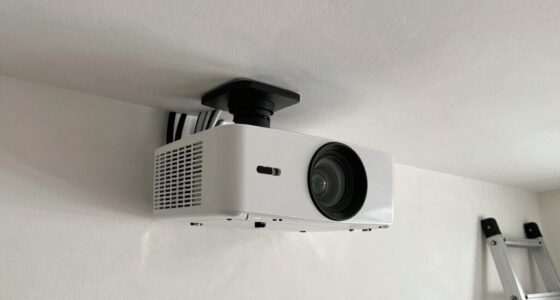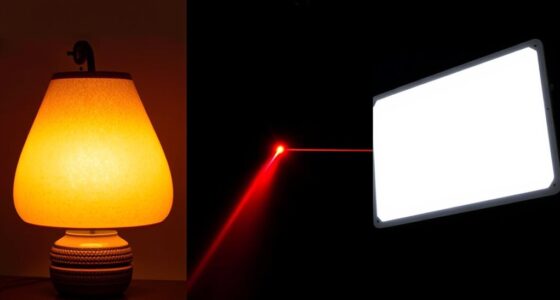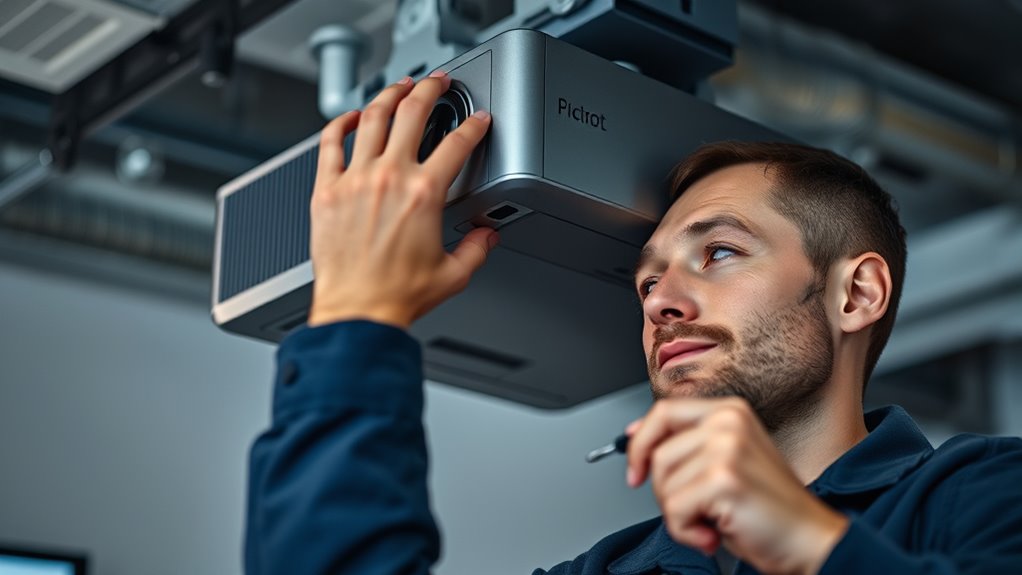

To adjust image alignment during setup, start by ensuring your images have the appropriate resolution for clear detail and match your display’s calibration for accurate colors. Use guides or gridlines to make precise horizontal and vertical adjustments, zooming in for finer control. Align images relative to each other for consistency, and tweak contrast or brightness as needed. By combining resolution, calibration, and precise positioning, you’ll achieve a cohesive look—keep exploring to master this process fully.

Get business pricing on your home office setup
- Business-only prices and quantity discounts
- Tax-exempt purchasing
- Multiple users, one account, clear invoices
Key Takeaways
- Use guides or gridlines to align images precisely during setup.
- Zoom in on images to fine-tune their horizontal and vertical positioning.
- Adjust images incrementally, checking alignment from different angles and lighting conditions.
- Ensure consistent resolution and color calibration across all images for cohesive placement.
- Combine small positional tweaks with proper resolution and calibration for optimal alignment accuracy.
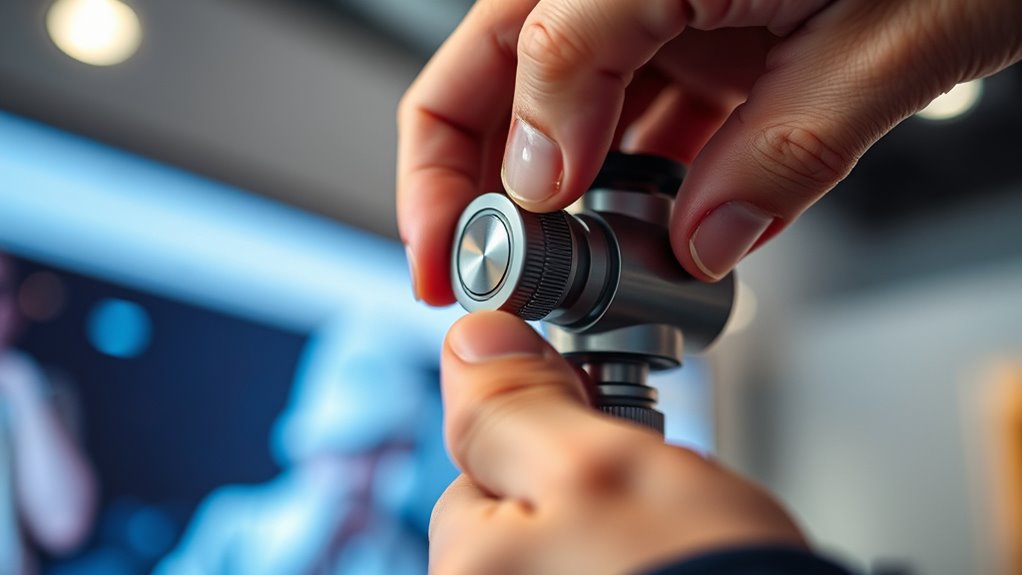
Sometimes, images don’t appear perfectly aligned, which can affect the overall look of your project. When you’re setting up your display or working on a visual presentation, paying attention to how images are positioned is essential. One of the first things to check is the image resolution. Low-resolution images can appear pixelated or blurry, making alignment tricky because they might seem off even if they’re correctly placed. To avoid this, use high-resolution images that match the display’s capabilities. This guarantees that when you adjust the alignment, you see a clear, accurate representation of how the image will look in the final product.
Color calibration also plays an indispensable role in image alignment. If your monitor or projector isn’t properly calibrated, colors might appear distorted or inconsistent across different images, leading you to adjust their positions unnecessarily. Before fine-tuning alignment, take a moment to calibrate your display. Proper color calibration ensures that hues and tones are true to life, giving you a more accurate visual reference. When images are correctly calibrated, you can judge their placement and balance more precisely, reducing the need for multiple readjustments.
As you begin aligning images, start by adjusting the position along the horizontal and vertical axes. Use guides or gridlines if available, and zoom in to see finer details. Remember, slight shifts can make a big difference, especially with high-resolution images where every pixel counts. Be sure to check the alignment from different viewing angles or lighting conditions to confirm consistency. If you notice color inconsistencies or pixelation, revisit your image resolution and calibration settings before making further adjustments. This will save you time and prevent misalignment caused by visual inaccuracies.
If you’re working with multiple images, consider aligning them relative to each other rather than individual placement. Consistency in resolution and color calibration across all images will create a cohesive look, making your project appear polished and professional. Sometimes, minor tweaks to contrast or brightness can also help improve perceived alignment, especially if the images are slightly different in tone. Keep in mind that adjusting these elements should complement your overall layout, not detract from it.
Ultimately, achieving perfect image alignment during setup involves a combination of good image resolution, accurate color calibration, and careful positional adjustments. Taking the time to set these properly upfront will make your entire project look more refined and visually appealing. Proper contrast ratio optimization can enhance perceived sharpness and clarity, further improving overall image quality. When all elements are in harmony, your images will look sharp, true to color, and precisely aligned — elevating your work to the next level.
Frequently Asked Questions
Can Image Alignment Be Automated or Does It Require Manual Adjustment?
Image alignment can be automated with alignment automation features, reducing your need for manual adjustments. Many modern systems offer automatic correction, quickly aligning images for ideal display. While automatic correction handles most cases, some situations may still require manual adjustments for perfect results. You should explore the specific device or software’s capabilities, but generally, alignment automation makes setup faster and more precise, saving you time and effort.
What Tools or Software Are Recommended for Precise Image Alignment?
You should consider using tools like AutoCAD or Adobe Photoshop for precise image alignment, as they offer robust features for image calibration. While manual adjustments give control, software compatibility guarantees seamless integration with your existing setup. These programs allow you to fine-tune alignment accurately, balancing automation with precision. By selecting the right software, you streamline your workflow, reduce errors, and achieve professional results efficiently.
How Often Should Image Alignment Be Checked or Readjusted?
You should check and readjust your image alignment during routine maintenance, ideally every 3 to 6 months, depending on usage. Incorporate calibration frequency into your maintenance routines to guarantee ideal performance. Regular checks help catch misalignments early, preventing image quality issues. Keep a schedule to maintain consistency, and always verify alignment after any device movement or repairs to keep your setup precise and reliable.
Are There Specific Settings to Prevent Image Misalignment During Setup?
Imagine you’re in a sci-fi movie, and precise image setup is critical. To prevent misalignment, follow specific settings like locking the lens, calibrating focus, and using built-in alignment tools. During installation, apply proper alignment techniques, such as adjusting the mount or leveling the projector. Always double-check the settings before completing setup, ensuring your image stays sharp and aligned, saving you time and frustration in the long run.
What Common Mistakes Should I Avoid When Adjusting Image Alignment?
To avoid misalignment pitfalls, double-check your setup and guarantee the projector is level and centered. Don’t rush through the process—setup oversights like skipping calibration or ignoring lens shift adjustments can cause issues later. Always test the image after adjustments and make small, incremental changes. Avoid ignoring instructions or using the wrong tools, as these mistakes can lead to persistent misalignment and compromise your viewing experience.
Conclusion
Now, as you fine-tune the image alignment, imagine the screen coming into perfect focus like a clear sunrise breaking over the horizon. Each adjustment you make is like gently nudging a puzzle piece into place, revealing a crisp, vibrant picture. With steady hands and keen eyes, you’ll transform a blurry, off-kilter display into a sharp, balanced vista. Soon, your setup will be as seamless as a perfectly aligned mirror, ready to impress.
Halloween Picks
halloween
As an affiliate, we earn on qualifying purchases.