To master edge blending for massive multi-projector walls, focus on precise calibration of your projectors to guarantee uniform brightness and color across overlaps. Use quality hardware and software that support warping and masking, and plan your setup carefully for accurate geometry alignment. Fine-tune your overlaps with feathering and masking techniques while regularly checking for seams and hotspots. If you keep optimizing these steps, you’ll create seamless, immersive visuals that captivate your audience.
Key Takeaways
- Use precise geometric alignment and calibration to ensure seamless image overlaps across multiple projectors.
- Apply advanced edge blending techniques like masking, feathering, and color matching for smooth transitions.
- Select compatible hardware and software supporting multi-projector blending, warping, and real-time adjustments.
- Regularly calibrate brightness and color settings to maintain visual consistency and prevent discrepancies.
- Conduct thorough testing and fine-tuning of overlap zones to optimize seamless integration in large-scale displays.
Understanding the Fundamentals of Edge Blending
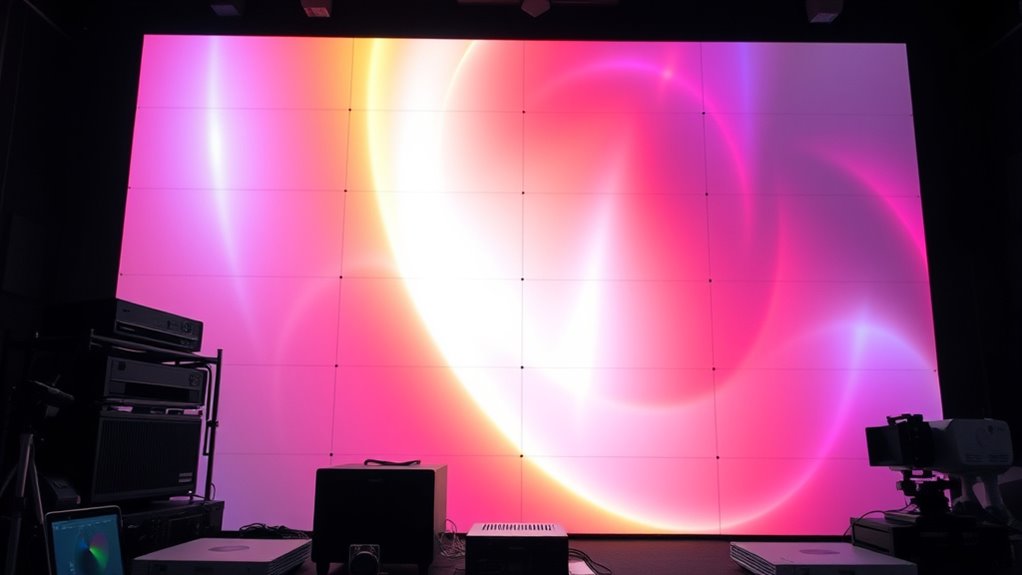
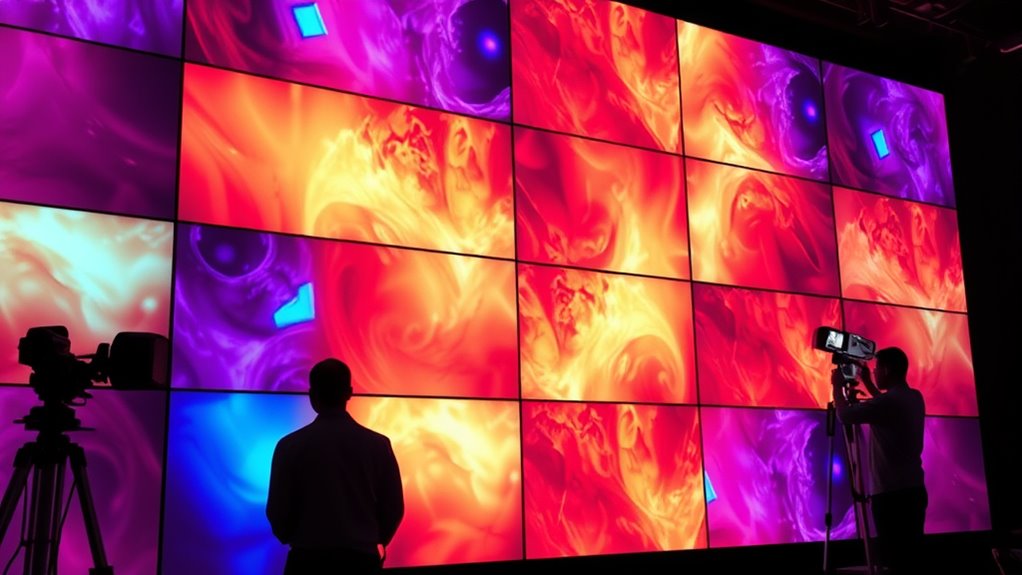
To create seamless large displays with multiple projectors, understanding the fundamentals of edge blending is essential. You need to focus on how color gradients help smooth progressions in overlap zones, where projector images meet. You also need to consider how attention to detail in calibration can significantly impact the final visual quality. Properly blending these zones prevents harsh lines and uneven brightness, creating a unified image. When overlapping images, subtle adjustments in brightness and color ensure that the changeover appears natural. Edge blending involves gradually reducing the intensity of one projector’s output while increasing the other’s, allowing for a seamless merge. Recognizing how color gradients work in these overlap zones is key to achieving a professional, cohesive display. Additionally, understanding the importance of color accuracy in ensuring consistent and vibrant visuals across all projectors is crucial. Maintaining consistent brightness levels across projectors further enhances the seamlessness of the display, preventing noticeable discrepancies. Incorporating proper calibration techniques can significantly improve the overall quality of multi-projector setups. For optimal results, paying close attention to the alignment of projector images ensures that the edges blend smoothly without distortion. Mastering these basics gives you control over the visual continuity across your multi-projector setup.
Selecting the Right Hardware and Software for Your Setup
Choosing the right hardware and software is vital for a seamless edge blending setup. You need to guarantee your equipment is compatible and that the software offers the necessary capabilities. Making informed decisions now will save you time and frustration later. Incorporating mindfulness techniques into your planning process can help reduce stress and improve focus, ensuring a more effective setup.
Hardware Compatibility
Selecting the right hardware and software is essential for achieving seamless edge blending on multi-projector walls. Ensuring hardware compatibility helps prevent signal loss and display issues. Focus on matching cable types to your projectors and controller, and verify connector compatibility to avoid connection problems. Additionally, understanding the nutritional advantages of green juice can help in choosing energy-efficient hardware components that support longer operation times. Consider these key points:
- Use high-quality HDMI or DisplayPort cables suited for your resolution and bandwidth needs
- Confirm connector types (HDMI, DVI, or VGA) are compatible with your projectors and hardware
- Check if your video cards support multi-projector setups and required outputs
- Ensure your controller hardware can handle the number of projectors involved
- Match software requirements with hardware capabilities to optimize performance
- Evaluating tuning options for your hardware can enhance system stability and performance
Proper hardware compatibility minimizes troubleshooting, ensuring smooth, professional edge blending.
Software Capabilities
Ensuring your software can support multi-projector edge blending is vital for achieving seamless displays. You need software with robust capabilities to handle complex configurations, including multiple projectors and blending zones. Be aware of software limitations that could restrict the size or complexity of your setup, such as limited support for certain hardware or resolution constraints. Licensing considerations are also essential; some software requires expensive licenses or subscriptions, which can impact your budget. Choose software that offers flexibility, user-friendly controls, and reliable performance under your specific requirements. Verify compatibility with your hardware and ensure it provides features like automatic blending, warping, and edge correction. Additionally, consider software limitations that could affect the scalability or customization of your setup, as these can influence your overall project success. Making the right choice now will streamline setup and help you achieve a flawless, professional display.
Planning and Designing Your Multi-Projector Wall
When planning your multi-projector wall, you need to carefully consider layout and geometry alignment to guarantee seamless image integration. Brightness and color consistency across projectors are vital for a unified display. Addressing these points early helps prevent issues during setup and results in a professional-looking installation. Ensuring proper color uniformity is essential for achieving a cohesive visual experience. Additionally, selecting projectors with similar brightness levels can further enhance the overall image harmony. Paying attention to calibration techniques during the setup process can help maintain these qualities over time. Incorporating digital literacy strategies can also assist in troubleshooting and optimizing display performance, especially in complex multi-projector configurations. Understanding the impact of volatility on the overall system can also inform maintenance and adjustment schedules for consistent performance.
Layout and Geometry Alignment
Planning and designing your multi-projector wall begins with carefully establishing the layout and geometry alignment. Accurate projection mapping relies on precise geometric correction to ensure images align seamlessly across screens. To achieve this:
- Determine the optimal projector placement and angles
- Use calibration tools to map your projection surfaces accurately
- Adjust for keystone, corner, and lens distortions
- Create a detailed grid overlay for reference
- Test and refine alignment before finalizing setup
Focusing on geometry ensures your content fits perfectly without distortions or overlaps. Proper planning helps identify potential issues early, saving time during calibration. Remember, consistent geometry alignment is key for smooth blending and immersive visuals. By prioritizing these steps, you’ll set a solid foundation for flawless projection mapping and a stunning multi-projector display.
Brightness and Color Consistency
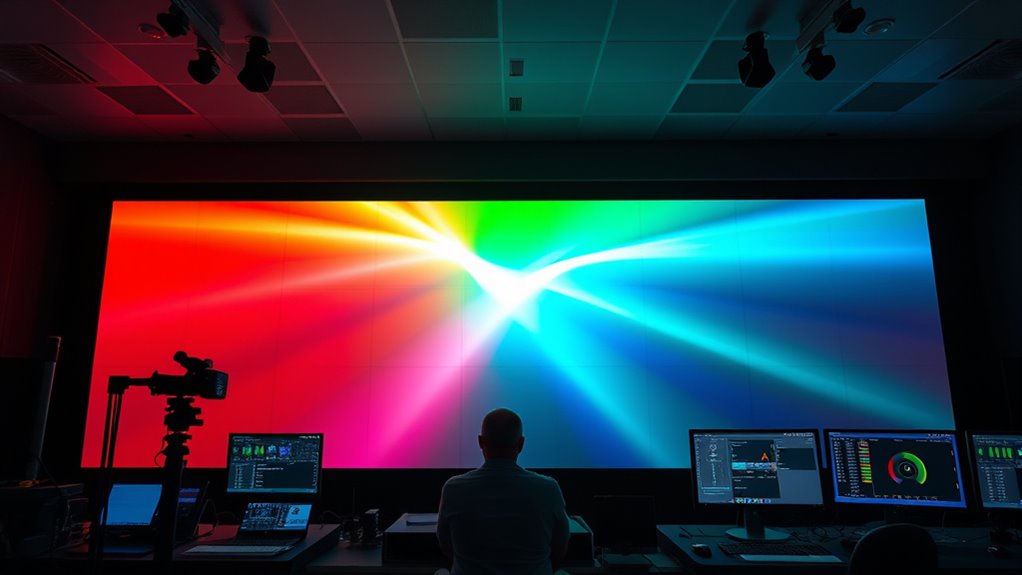
Have you considered how brightness and color consistency can make or break the impact of your multi-projector wall? Achieving uniform brightness requires careful projector calibration to align luminance levels across all units. Without proper calibration, differences in brightness can create distracting hotspots or dim areas. Additionally, passive voice detection can be employed during the editing process to improve clarity and engagement. Similarly, color consistency depends on precise color grading, ensuring each projector reproduces colors accurately and uniformly. Adjusting color settings during calibration helps prevent mismatched hues that disrupt the seamless image. Regular calibration sessions are essential to maintain consistency over time, especially if projectors are placed in different environments or if bulbs age. Moreover, sound healing science suggests that environmental factors can influence the stability of image quality, so controlling ambient conditions is beneficial. Using natural materials and high-quality components can also reduce fluctuations in color and brightness caused by environmental factors. Additionally, understanding environmental influences can help optimize projection conditions and improve overall image stability. Implementing consistent jack connections and ensuring stable power supply can also help maintain image quality over extended periods. By focusing on these aspects, you’ll create a cohesive, immersive display that looks professional and engaging, elevating your multi-projector wall’s overall visual impact.
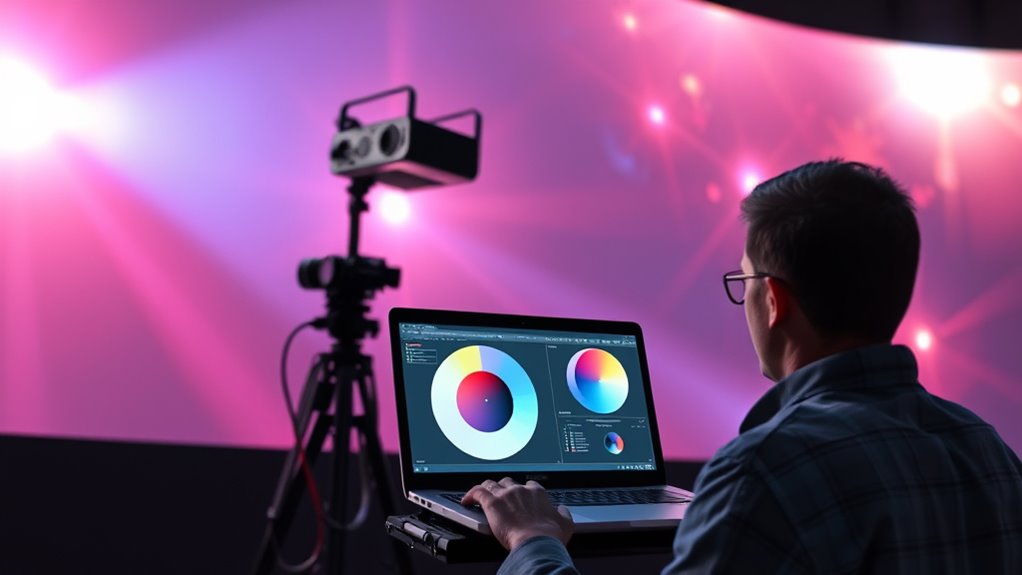
Calibrating Projectors for Precise Alignment

Calibrating projectors for precise alignment is a crucial step in creating seamless multi-projector walls. Proper calibration ensures the images align perfectly, minimizing visible seams and distortions. Focus on two key aspects: color calibration and geometric alignment. First, adjust each projector’s color settings to match across the entire display, ensuring consistent hue, brightness, and contrast. Next, refine geometric alignment by adjusting keystone correction, lens shifts, and warping tools so images overlap smoothly. Keep these points in mind:
- Use test patterns for accurate color matching
- Adjust lens shifts to correct keystone distortion
- Employ geometric warping software for fine-tuning
- Verify overlaps and seams in different lighting conditions
- Regularly recalibrate to maintain alignment over time
- Remember that proper calibration is essential for a flawless multi-projector setup.
- Ensuring consistent image quality across all projectors is vital for a unified display experience.
- Incorporate automated calibration tools to streamline the process and improve precision.
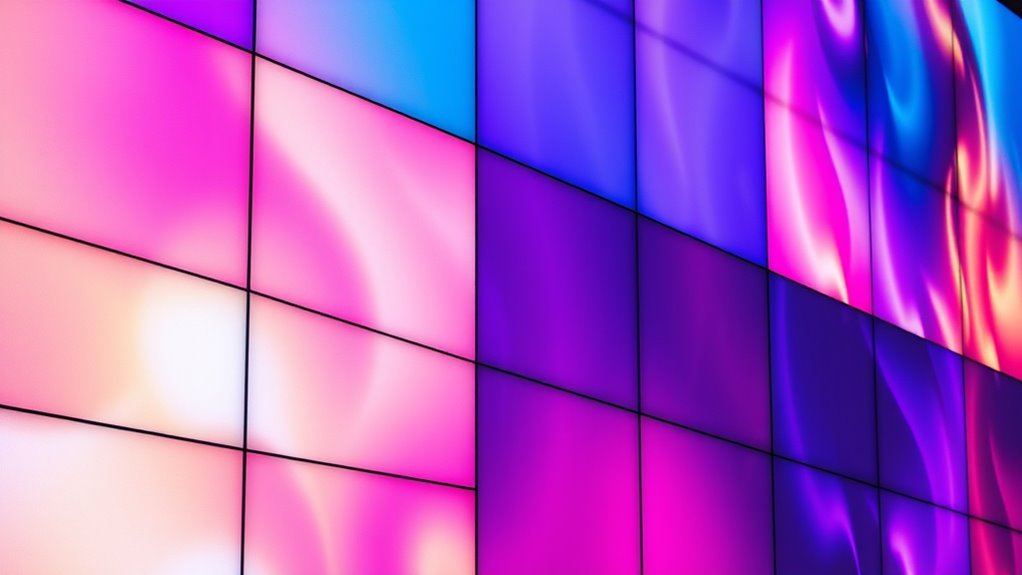
Applying Masking and Feathering Techniques
Applying masking and feathering techniques is essential for blending multiple projectors seamlessly. Masking techniques involve creating precise boundaries to hide overlapping areas, ensuring the transitions are clean and unobtrusive. You can use physical masks or digital masks within your blending software to control where images overlap. Feathering methods soften the edges of these masks, gradually blending the images into each other. By applying feathering, you reduce harsh lines and create smooth transitions, making the wall appear as a unified display. Adjust the feathering strength to achieve the perfect blend—too much can blur details, too little can produce visible seams. Combining effective masking techniques with appropriate feathering methods ensures your multi-projector setup looks professional and visually cohesive.
Fine-Tuning Brightness and Color Matching Across Projectors
Achieving consistent brightness and color across multiple projectors is essential for seamless blending, especially in large or complex setups. Properly performing color calibration and ensuring brightness uniformity helps create a cohesive image. To fine-tune, start by adjusting projector settings for initial alignment. Use test patterns to evaluate differences in brightness and color. Key steps include:
Consistent brightness and color are vital for seamless multi-projector blending and cohesive visuals.
- Calibrate each projector’s color settings for uniform hue and saturation
- Adjust brightness levels to match across all projectors
- Use software tools for real-time color calibration
- Check for vignetting or hotspots that may affect uniformity
- Regularly verify calibration to maintain consistency over time
Troubleshooting Common Edge Blending Challenges
Troubleshooting edge blending issues can be challenging, but identifying common problems quickly helps you get back on track. If you notice uneven brightness or color inconsistencies in the blended area, start with color calibration. Fine-tuning your projectors’ color settings ensures seamless transitions. Hardware troubleshooting is equally important; check for loose cables or faulty connections that could cause flickering or misalignment. Sometimes, projector lenses may need cleaning or recalibration, especially if images appear distorted. Additionally, verify that your projector software and firmware are up to date, as outdated hardware can cause blending issues. By systematically addressing these hardware and color calibration concerns, you can resolve most edge blending challenges efficiently and restore a smooth, uniform display.
Automating Blending Processes for Large-Scale Displays
Manual adjustments in edge blending can be time-consuming and prone to inconsistencies, especially on large-scale displays with multiple projectors. To streamline this process, software automation becomes essential. Automated tools can perform projection calibration quickly, reducing human error and ensuring uniform blending across the entire display. You can leverage calibration software that uses algorithms to analyze the projected image and automatically adjust overlap zones. This not only saves time but also improves accuracy. Here are some benefits:
Automated calibration ensures fast, accurate, and consistent edge blending for large-scale multi-projector displays.
- Rapid projection calibration across multiple projectors
- Precise control over blending adjustments
- Consistent results with minimal manual input
- Easy integration with existing hardware
- Reduced setup time for large displays
Automation transforms complex tasks into efficient workflows, making large-scale projection systems more reliable and easier to maintain.
Maintaining and Updating Your Multi-Projector System

Regular upkeep and timely updates are essential to keep your multi-projector system running smoothly and delivering ideal image quality. You should regularly check projector maintenance tasks like cleaning filters, aligning lenses, and inspecting connections. Software updates are equally important; they fix bugs, improve performance, and add features. Staying current ensures your system remains reliable and compatible with new content or hardware.
| Maintenance Tasks | Software Updates |
|---|---|
| Clean filters & lenses | Install latest firmware |
| Check alignments | Update control software |
| Inspect connections | Apply security patches |
Frequently Asked Questions
How Does Ambient Lighting Affect Edge Blending Quality?
Ambient light can notably impact your edge blending quality by reducing blending contrast. When there’s too much ambient light, the projected images may appear washed out, making it harder to achieve seamless transitions between projectors. To optimize blending, you should control ambient light levels, use darker wall colors, and adjust projector settings. This helps maintain strong blending contrast, ensuring your multi-projector wall looks sharp and cohesive.
What Are the Best Practices for Maintaining Projector Calibration Over Time?
Think of your projector calibration as tending a garden—you need regular care to keep it thriving. To maintain calibration over time, you should use reliable calibration tools and establish routine maintenance schedules. Regularly check and adjust alignment, color, and brightness to prevent drift. Document your settings, and recalibrate after any hardware changes or repairs. This consistent approach guarantees sharp, seamless images for your multi-projector wall, like a well-tended masterpiece.
How Can Software Updates Improve Multi-Projector Wall Performance?
Software updates can considerably boost your multi-projector wall performance by ensuring compatibility with the latest hardware and features. By scheduling regular updates, you prevent bugs and improve stability, making calibration and edge blending smoother. Staying current with software versions helps you access new tools and enhancements, ultimately delivering sharper images and seamless blending. Keep an eye on update schedules to maximize your setup’s reliability and visual quality over time.
What Safety Precautions Should Be Considered During Installation?
Think of safety precautions as the backbone of your installation. You need to prioritize electrical safety by disconnecting power before working on wires and using insulated tools. Confirm all projectors are securely mounted to prevent accidents, like falling dominoes. Double-check that cables are properly managed to avoid tripping hazards. Following these precautions helps protect you and ensures a smooth setup, so your multi-projector wall performs flawlessly without mishaps.
How to Troubleshoot Color Inconsistencies Between Projectors?
When troubleshooting color inconsistencies, start by checking your color calibration on each projector. Make certain all devices have the same settings and color profiles. Next, verify projector alignment to make sure the images overlap correctly, as misalignment can cause color mismatches. Adjust the settings as needed, and retest until the colors match seamlessly across the entire display. Consistent calibration and proper alignment are key to a uniform, professional look.
Conclusion
Mastering edge blending transforms your multi-projector walls from a technical challenge into a stunning display. When you understand the fundamentals, choose the right tools, and fine-tune your setup, you’ll create seamless, immersive visuals that captivate your audience. It’s a skill that coincides with your creativity and technical precision. Keep experimenting, troubleshooting, and maintaining your system—because the perfect blend isn’t just a goal, it’s your next achievement waiting to happen.