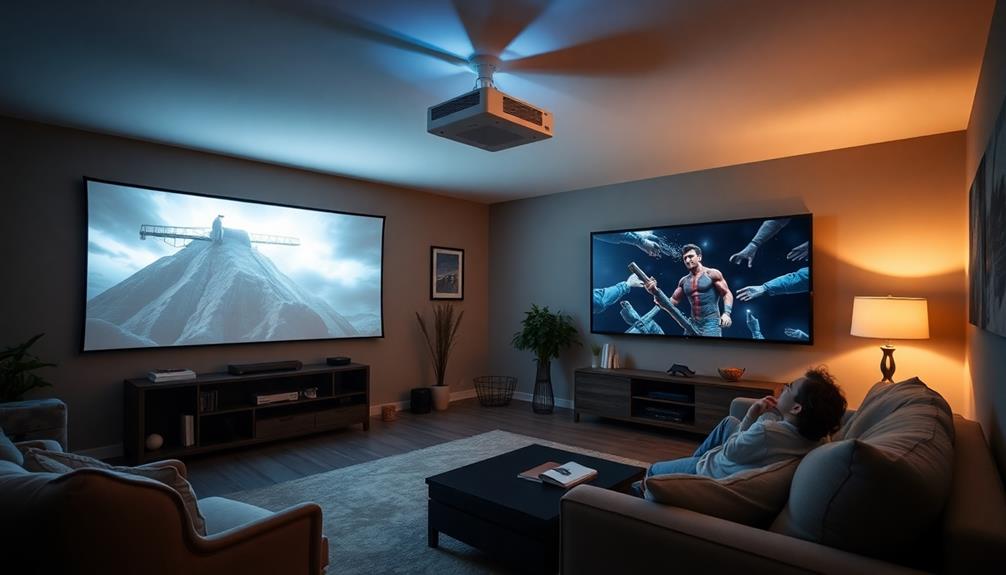
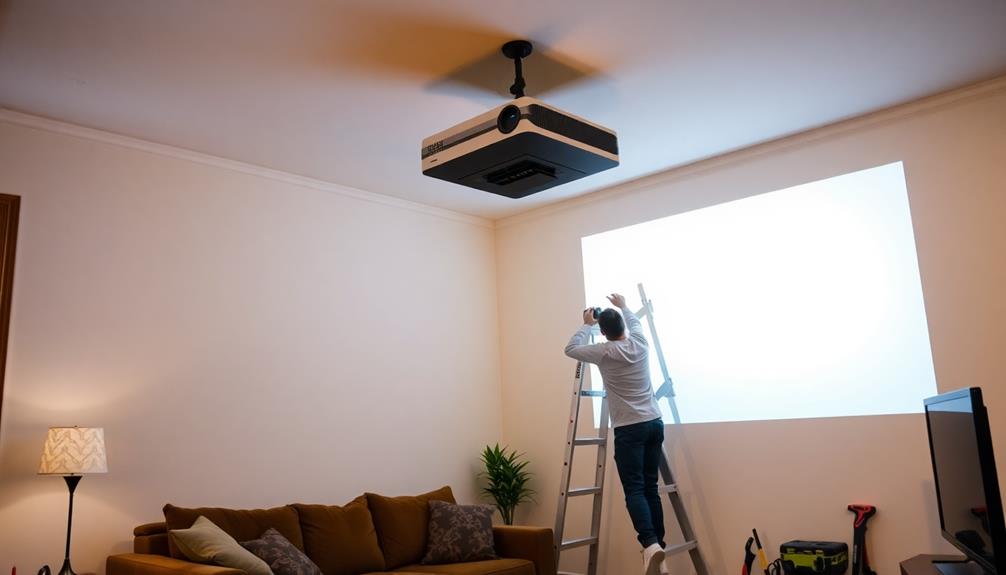
To find the best position for your projector, start by understanding the throw ratio, which defines the ideal distance between the projector and screen. Make sure the projector's lens aligns with the screen center, usually 24-36 inches above the floor. Eliminate any obstacles that could interfere with the beam, like lights or fans. Higher ceilings allow for better placement options, enhancing image quality. Use tools like XTEN-AV's Projector Throw Distance Calculator to simplify this process. With a few adjustments, you can avoid distortion and enjoy a clearer picture. There's more to explore about creating the best viewing experience.
Key Takeaways
- Determine the throw ratio to find the optimal distance between the projector and the screen for clear image quality.
- Align the projector height with the center of the screen to avoid obstructions in the beam path.
- Use XTEN-AV's Projector Throw Distance Calculator for precise placement recommendations tailored to your setup.
- Ensure the projector is level to prevent distortion and maintain image clarity during projection.
- Check local building codes for minimum ceiling height requirements to optimize projector placement in your room.
![Outdoor-Projector-4K with WiFi and Bluetooth:[3500 Bright/60W Dolby Audio/Official Licensed Apps],Smart-Projector with AI Auto Focus,ONOAYO ONO5Pro 2.0 Movie Projector for Indoor/Outdoor 2026New](https://m.media-amazon.com/images/I/41fylkjOTIL._SL500_.jpg)
Outdoor-Projector-4K with WiFi and Bluetooth:[3500 Bright/60W Dolby Audio/Official Licensed Apps],Smart-Projector with AI Auto Focus,ONOAYO ONO5Pro 2.0 Movie Projector for Indoor/Outdoor 2026New
[Hear the Difference–Hollywood-Grade Dual 60W Dolby Audio] Why spend more on a TV + soundbar or settle for...
As an affiliate, we earn on qualifying purchases.
Importance of Proper Placement
Proper projector placement is essential for achieving an ideal viewing experience. When you align the projector's beam directly with the projector screen, you can avoid distractions like eye strain and keep the image clear. Misalignment can lead to distortion and reduced brightness, especially if you place the projector too far or too close.
Understanding the throw ratio is key for determining the best distance. This ratio defines how far the projector needs to be from the screen relative to its width, ensuring you get the finest image projection.
Additionally, aligning the projector height with the screen's center is vital. This adjustment prevents obstacles in the beam path and helps maintain a clear, immersive viewing experience.
You can simplify the placement process by using tools like XTEN-AV's Projector Throw Distance Calculator. This handy tool provides precise measurements tailored to your room dimensions and screen size, making it easier to find the perfect spot for your projector.
![[Built-in Apps/4K Support] Smart Outdoor Projector with WiFi and Bluetooth, Movie Projector, DoIby Audio with Dual Speaker, Auto Focus w/ YouTube&PrimeVideo Proyector, Upgrad P62 Pro](https://m.media-amazon.com/images/I/51yAGv8VI7L._SL500_.jpg)
[Built-in Apps/4K Support] Smart Outdoor Projector with WiFi and Bluetooth, Movie Projector, DoIby Audio with Dual Speaker, Auto Focus w/ YouTube&PrimeVideo Proyector, Upgrad P62 Pro
[Upgraded Classic – P62 Pro Movie Projector] Building on the reliability and low return rate of the classic...
As an affiliate, we earn on qualifying purchases.
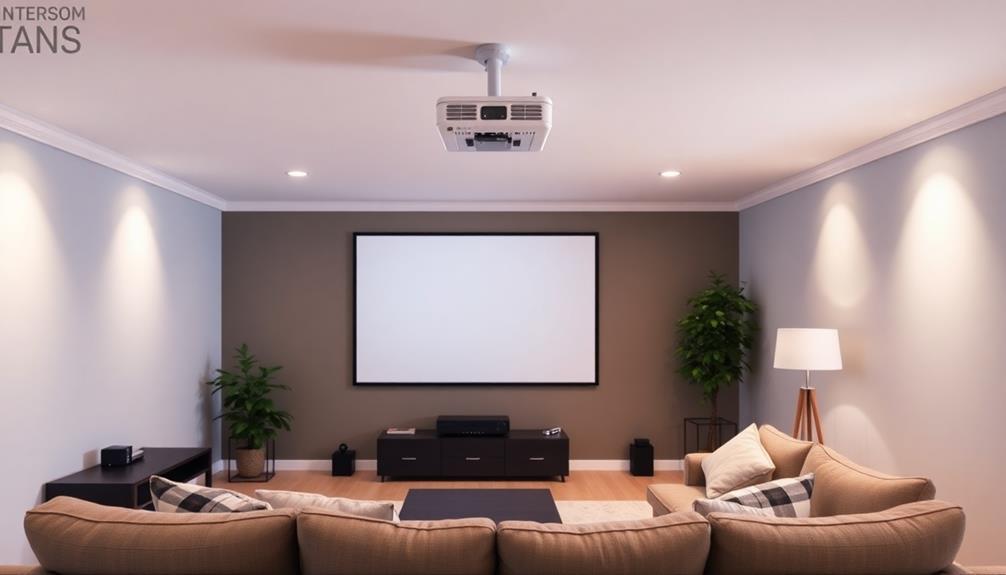
Ceiling Height and Distance
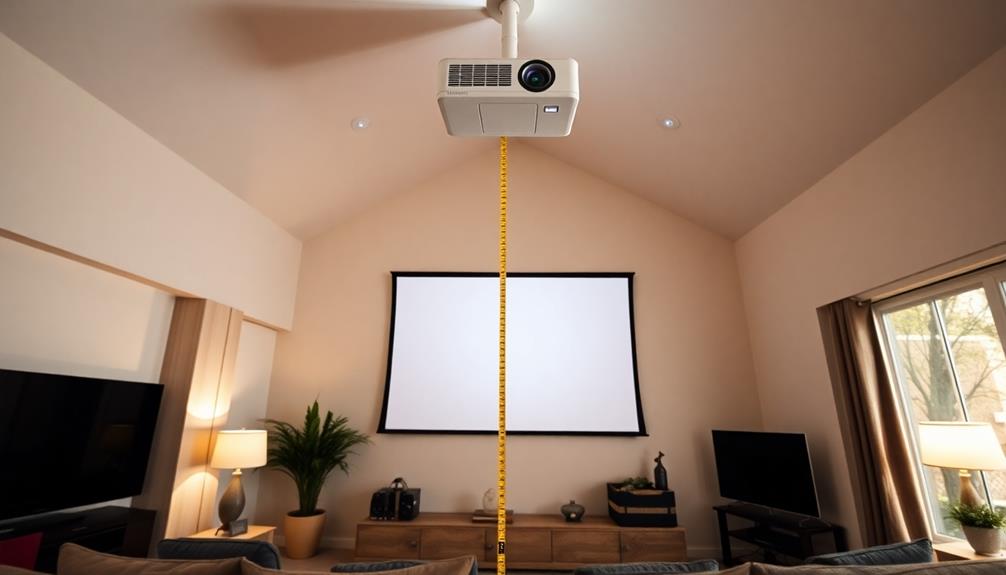
Ceiling height plays an important role in projector placement, directly influencing the image quality and viewing experience. Standard ceiling heights typically range from 8 to 10 feet, but higher ceilings can give you better placement options. The throw ratio is essential, as it defines the distance required between your projector and the screen based on the screen width.
Here's a quick reference table to help you understand the relationship between throw ratio, ceiling height, and screen width:
| Ceiling Height | Screen Width | Throw Ratio Distance |
|---|---|---|
| 8 feet | 8 feet | 14.4 – 17.6 feet |
| 9 feet | 8 feet | 12.0 – 15.0 feet |
| 10 feet | 8 feet | 9.6 – 12.0 feet |
Proper alignment of your projector is critical for making sure the beam hits the screen directly. This prevents image distortion and maximizes clarity. Remember, if you have multiple seating rows, you might need to raise your projector to heights between 40 and 80 inches to guarantee ideal visibility for everyone. Always check local building codes for minimum ceiling height requirements as well.

【Now with Netflix & 3000ANSI】Smart 4K Projector with WiFi and Bluetooth, VISSPL 3D Dolby Audio and Auto Focus Portable Outdoor Projector, Movie Home Theater Projectors for Bedroom/Ceiling
[ Netflix Ready - No Extra Devices Needed ] – VISSPL Smart Projector: No TV stick, no casting,...
As an affiliate, we earn on qualifying purchases.
Steps for Home Theater Setup

After you've chosen the right ceiling height and projector placement, it's time to set up your home theater. Start by consulting the projector manual for the recommended throw distance, and consider using XTEN-AV's Projector Throw Distance Calculator to guarantee your projector is accurately placed according to your screen size.
Next, adjust the projector height to align the lens with the screen, aiming for 24-36 inches for single screens and 40-80 inches for multiple seating rows.
Make sure to eliminate any obstacles like lights or fans that could obstruct the projector's beam, guaranteeing a clear path for ideal image projection.
Once you've done that, center the projector lens with the screen and utilize the lens shift capabilities for fine adjustments. This will help you align the image properly without relying too much on keystone correction, which can distort the picture.

Aurzen Roku TV Smart Projector with Wifi and Bluetooth, Roku TV Built-in, 1080P FHD, DoIby Audio, Auto Focus & Keystone, Zoom, Movie Portable Outdoor Mini Projector for Soccer Football Game, White
A Roku account and internet connection are required for activation (Creating an account is free). Note: Power Supply:...
As an affiliate, we earn on qualifying purchases.
Utilizing XTEN-AV Tools

Setting up your home theater can be a breeze when you leverage XTEN-AV's innovative tools. One of the standout features is the Projector Throw Distance Calculator. By simply inputting your room dimensions and screen size, you'll get precise projector placement recommendations that guarantee ideal image quality.
This tool takes the guesswork out of positioning your projector, helping you avoid common pitfalls that can ruin your viewing experience. Additionally, understanding the role of contrast ratio in projector image quality can further enhance your setup by guaranteeing deeper blacks and brighter whites for a more immersive experience.
XTEN-AV also offers automated schematic diagrams, making it easy to visualize your setup. These diagrams guarantee that your projector aligns perfectly with the screen, enhancing your overall audio-visual experience.
Plus, with additional AV design tools like automatic cable labeling and proposal templates, you can streamline the entire setup process.
Pros and Cons of Projectors

When contemplating projectors for your viewing needs, weighing the pros and cons is essential for making an informed decision.
One significant advantage is the large display capability; projectors can create a cinematic experience, especially when you opt for screen sizes over 100 inches. If you enjoy flexibility, portable projectors can be easily moved and set up in various locations, perfect for everything from home theaters to outdoor movie nights. Plus, they're generally more cost-effective than large TVs, appealing to budget-conscious consumers.
However, there are some downsides. The image quality and brightness of projectors can fall short compared to high-end displays, particularly in well-lit rooms. This limitation is something to contemplate, as it may affect your viewing experience without proper lighting control.
Additionally, regular maintenance is often required, like replacing bulbs and cleaning filters, which can add to the long-term ownership costs compared to traditional televisions.
Troubleshooting and Adjustments
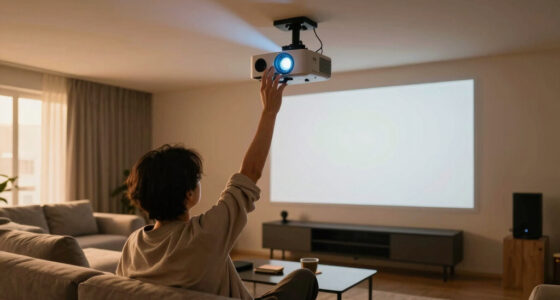
To achieve the best possible image quality from your projector, troubleshooting and making precise adjustments are essential. Start by verifying your projector is level; misalignment can lead to distorted images that require extra corrections.
If the projector is tilted, you might notice both vertical and horizontal distortion, so focus on leveling first to achieve a clear image.
Once your projector is properly aligned, it's time to adjust the image settings. Use the zoom, lens shift, and focus features to refine the projection.
If you have a higher-end projector, take advantage of lens memory features that store settings for different aspect ratios. Regularly test these adjustments to confirm you're not dealing with issues like improper leveling or tilt, which can impact your viewing experience.
When switching between formats—like 16:9 and 2.35:1—be prepared to adjust the image accordingly. This guarantees you maintain proper alignment and fill the screen height correctly.
Understanding aspect ratios during setup is vital, as it can save you time and enhance your overall viewing experience.
Frequently Asked Questions
Where Should a Projector Be Placed in a Room?
To place your projector effectively, guarantee it's centered with the screen, 1.5 to 2.25 times the screen size away. Keep it 24 to 36 inches above the screen, avoiding obstacles that could block the beam.
What Is Optimal Projector Placement?
To get the best image, position your projector 1.5 to 2.25 times the screen's diagonal size away. Keep it 24-36 inches high to avoid shadows, ensuring a clear view for everyone watching.
What Is the Optimal Viewing Distance for a Projector?
The ideal viewing distance for your projector usually falls between 1.5 to 2.25 times the throw distance. For an 8-foot wide screen, that means you should sit around 14.4 to 17.6 feet away.
Is It Better to Have a Projector Closer or Further Away?
You'll find that placing your projector closer boosts brightness but may shrink the image size. On the other hand, further placement enlarges the image, though it might reduce brightness if your projector isn't powerful enough.
Conclusion
Now that you know the essentials of projector placement, imagine the thrill of settling in for your first movie night. You've measured, adjusted, and fine-tuned every detail. But what if, just as the opening credits roll, you realize something's off? You'll be left wondering if that perfect image was just an illusion. Don't let that happen; take the time to get it right, and guarantee your cinematic experience is unforgettable, not a letdown. The choice is yours.


![[Invitation] Galaxy Unpacked July 2026: A New Shape Unfolds](https://1hometheatreprojector.com/wp-content/uploads/2026/07/invitation-galaxy-unpacked-july-2026-a-new-shape-unfolds-featured-260x140.jpg)

