Creating a DIY projector screen is a fun project that can enhance your movie nights. First, gather materials like blackout cloth or specialized fabrics, and decide on a frame – PVC for portability or wood for sturdiness. Measure, cut, and assemble your frame before cutting the screen material to size. Stretch it tight over the frame using a staple gun to minimize wrinkles. For mounting, secure D-rings and brackets to guarantee stability. Finally, position your screen at eye level to optimize the viewing experience. Want to make certain everything's seamless? There's plenty more to explore about setup and maintenance.
Key Takeaways
- Choose suitable screen material like blackout cloth or projector fabric for optimal image quality.
- Construct a sturdy frame using PVC or wood, ensuring proper dimensions for your projector's aspect ratio.
- Securely stretch and staple the screen material over the frame to eliminate wrinkles and ensure a flat surface.
- Properly mount the screen using D-rings and wall anchors, maintaining a distance of at least 1 foot from walls.
- Regularly calibrate your projector settings and check for any signs of wear on equipment for the best viewing experience.

2000 ANSI 4K Decoding Projector with WiFi and Bluetooth, HAPPRUN Movie Home Theater with Auto Focus, 300'' Display for Indoor/Outdoor, Smart Proyector Compatible with Phone/TV Stick/PC/PS5
[EASIER OPERATION: AI Smart Screen Adjustment] HAPPRUN projector comes with auto focus and 6D auto-keystone technology, enjoy a...
As an affiliate, we earn on qualifying purchases.
Materials Needed for Your Screen

When you're ready to create your DIY projector screen, gathering the right materials is vital for achieving the best results. First, you'll need to choose your screen material. Options like blackout cloth, canvas, or specialized projector screen fabric provide different levels of reflectivity and light-blocking capabilities, which are essential for peak image quality in both home cinema and gaming settings.
For the frame, you can either build a frame using PVC for lightweight portability or opt for a sturdy wooden frame for durability, making certain it can handle the demands of high refresh rates and low input lag for gaming enthusiasts top projectors for gaming.
Next, consider your mounting hardware. This includes brackets, screws, and wall anchors, tailored to the type of wall you're working with, whether it's drywall or concrete. If you decide to paint your screen instead of using fabric, be sure to get specific projector screen paint to enhance image quality and color accuracy. Multiple coats might be necessary for a properly reflective surface.
Lastly, don't forget the tools needed for assembly. A drill, saw, measuring tape, and staple gun will guarantee precise construction and secure mounting of your screen. By gathering these materials, you'll be set to create a fantastic DIY projector screen that performs well in any ambient light situation.

HAPPRUN Native 1080P Projector, Bluetooth Home Theater Movie Projector with Built-in Speaker, Compatible with Smartphone, HDMI, Fire Stick, PS5, Indoor & Outdoor Use -With Google TV System
[ Built-in Official Licensed Google TV ] - Without additional equipment, the smart projector can directly access Netflix,...
As an affiliate, we earn on qualifying purchases.
Step-by-Step Assembly Process

To kick off the assembly process, start by measuring the desired dimensions for your DIY projector screen and cutting the frame materials—whether wood or PVC—to the appropriate size. Guarantee the lengths correspond to your selected aspect ratio, like 16:9 or 4:3.
For a relaxing viewing experience, consider enhancing your space with essential oils, which can improve focus and create a soothing atmosphere while you enjoy your films (mood enhancement benefits).
Next, follow these steps to assemble the frame:
- Assemble the frame: Join the cut pieces at the corners using screws or corner brackets for a sturdy structure. Double-check that all corners form right angles for stability.
- Select your screen material: Choose between blackout cloth or specially designed projector screen fabric. Cut it to size, allowing for an overlap on the frame for securing.
- Stretch the screen: Tightly stretch the screen material over the frame, using a staple gun to secure it at regular intervals. Confirm there are no wrinkles or sagging areas that could distort the projected image.
- Attach mounting hardware: Finally, attach D-rings or brackets to the frame for secure mounting.
With your frame complete, you're ready to set it up in your home theater and enjoy an impressive projector light experience!

【2200ANSI & Officially-Licensed APP】Smart 4K Projector with WiFi and Bluetooth, VISSPL 3D Dolby Audio and Auto Focus Portable Outdoor Projector, Movie Home Theater Proyector with 360° Adjustable Stand
[ Compatible with Netflix - No Extra Devices Needed ] - VISSPL Smart Projector: Hollywood in the palm...
As an affiliate, we earn on qualifying purchases.
Mounting Your Projector Screen

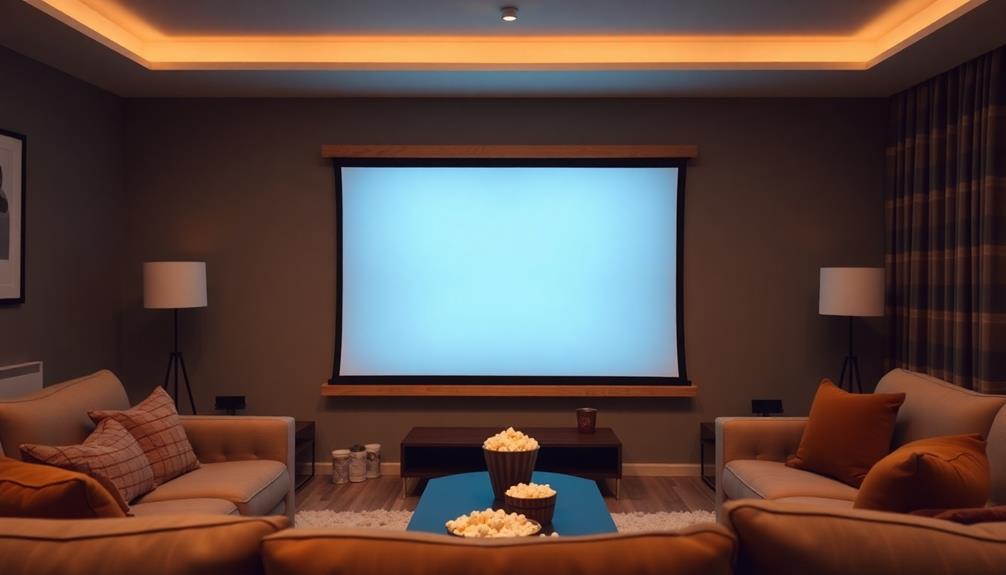
Mounting your projector screen properly is vital for achieving the best viewing experience. To guarantee ideal viewing comfort, position the screen at eye level, reducing neck strain during use. Use a laser level to make certain the screen is perfectly horizontal, which is critical for accurate projection.
Here's a quick guide to what you'll need for a secure installation:
| Component | Purpose |
|---|---|
| D-rings | Attach to the screen frame for easy mounting |
| Mounting brackets | Provide stable support for the screen |
| Wall anchors | Confirm secure installation based on wall type |
| Distance from walls | Enhance sound quality and avoid obstruction |
When attaching the D-rings or mounting brackets, place them in the top corners of the screen frame. This allows for a balanced setup. Make certain to select appropriate wall anchors for your wall type, whether it's drywall or concrete. Finally, consider placing the screen at least 1 foot away from walls to enhance sound quality and confirm nothing obstructs the projection. With these steps, you'll enjoy a well-mounted projector screen for all your viewing needs!

GooDee 4K Smart Projector with WiFi 6 & Bluetooth - UHD Movie Projector, ToF Auto Focus & Keystone, MEMC, Built-in Streaming Apps, Dolby Audio Home Theater for Outdoor Movie Night & Bedroom Cinema
【Smart Projector with Built-in Streaming Apps】 GooDee’s outdoor projector features an intelligent system deeply integrated with the global...
As an affiliate, we earn on qualifying purchases.
Tips for Optimal Viewing
After you've securely mounted your projector screen, refining your viewing setup can greatly enhance your experience.
Regular maintenance of your equipment is also essential for guaranteeing longevity and performance, much like the importance of air purifier maintenance in enhancing air quality.
Here are some essential tips for achieving ideal viewing:
- Positioning: Verify your projector screen is at eye level, roughly 24-36 inches above the floor. This prevents neck strain and promotes comfortable viewing.
- Screen Size and Distance: Maintain a seating arrangement that places you 1.5 to 2.5 times the screen width away. This distance maximizes immersion and helps maintain ideal viewing angles.
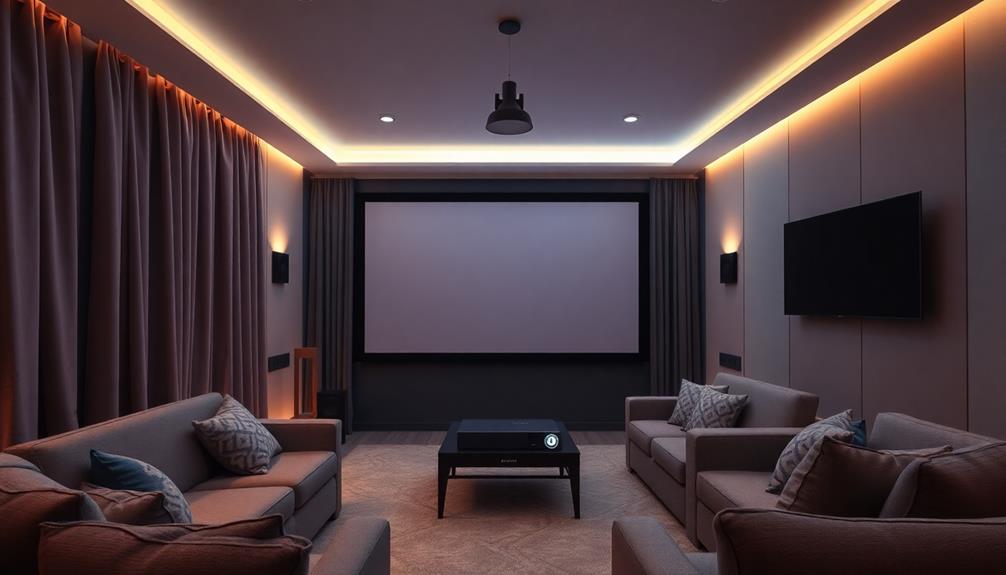
- Control Ambient Light: Use blackout curtains or dark paint on adjacent walls to minimize reflections. This is especially important for projectors over 3,500 lumens, as it greatly enhances projection quality.
- Calibration: Regularly calibrate your projector settings for brightness, contrast, and color accuracy. This guarantees you get the best visual experience from your DIY projector screen.
Troubleshooting Common Issues

Troubleshooting common projector screen issues can save you from frustrating viewing experiences and guarantee your setup runs smoothly.
If you notice a blurred image, first check that the projector is focused properly. Next, verify the screen material is taut and wrinkle-free to provide a flat projection surface.
For image alignment problems, adjust the projector's placement or use the keystone correction settings to achieve a rectangular image.
If color accuracy doesn't seem right, explore the projector's settings to optimize brightness and contrast levels based on your screen material.
If you find that your screen reflects too much ambient light, consider repositioning it for better results or installing blackout curtains to minimize external light interference.
In cases where the screen appears sagging or loose, reinforce the mounting hardware or tighten the screen material. This adjustment will help maintain a flat projection surface, enhancing your overall viewing experience with your DIY Projection Screen.
Addressing these common issues promptly will guarantee you enjoy a seamless and visually pleasing setup every time you project.
Frequently Asked Questions
How Do You Make a Homemade Projector Screen?
To make a homemade projector screen, choose a smooth, reflective fabric, cut a frame to size, secure the material tightly, and mount it at eye level for the best viewing experience. Enjoy your movie nights!
What Material Can I Use for a Projector Screen?
Imagine hosting a movie night outdoors; using blackout cloth can create a perfect screen. For your projector screen, you can also consider canvas, specialized screen fabric, or even lightweight PVC sheets for portability.
Will a White Tarp Work as a Projector Screen?
Yes, a white tarp can work well as a projector screen. Its smooth surface reflects light effectively. Just make sure to stretch it tight and use it in a dark area for the best image quality.
Can You Use a Bed Sheet for a Projector Screen?
Using a bed sheet is like painting on a blank canvas; it can work well as a projector screen. Just guarantee it's smooth, white, and properly sized for the best viewing experience. Enjoy your movie night!
Conclusion
Now that you've crafted your DIY projector screen, you're ready to transform your living room into a personal cinema. Just like the first time you watched the stars flicker on a clear night, this screen will bring those magical moments into your home. Remember, every movie night is a chance to create memories, so grab some popcorn and enjoy the show! Your hard work has paid off, and the adventure of cinematic storytelling awaits.