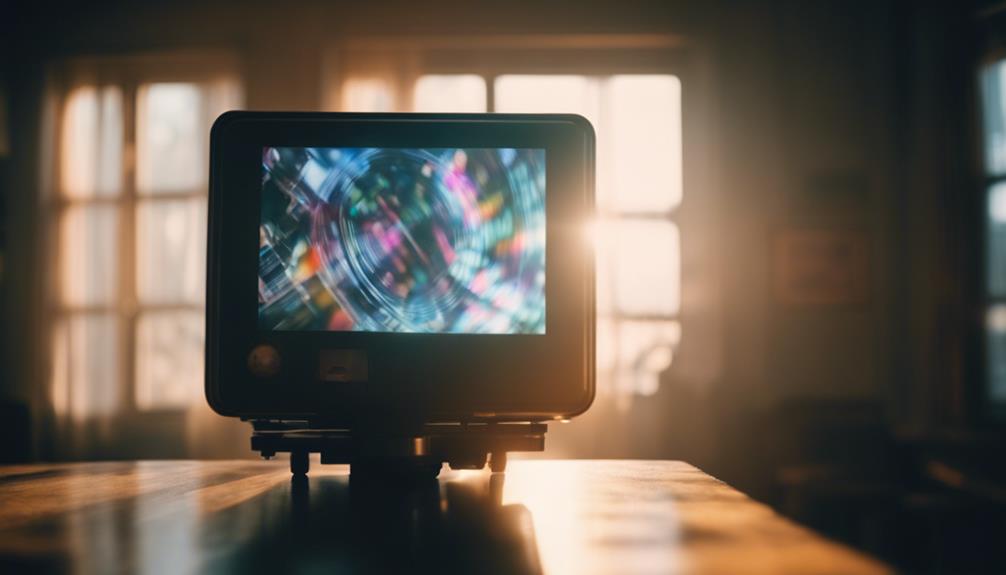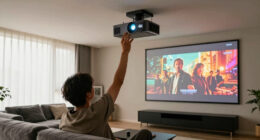
You can transform ordinary surfaces like walls and sheets into effective projector screens, making your viewing experience both immersive and budget-friendly. For a more polished look, consider using projector screen paint or blackout cloth, which enhances image clarity and brightness. Simply hang a classic white sheet tightly for casual viewings, or opt for DIY solutions like foam boards wrapped in reflective fabric. Be mindful of your installation setup, and choose materials that suit your space best. There's plenty of creative possibilities waiting for you, and you'll discover even more helpful insights ahead.
Key Takeaways
- Existing walls can be painted with specialized projector screen paint to enhance image clarity and color fidelity.
- Classic white sheets make for a simple, budget-friendly projection surface if hung tightly.
- Blackout cloth stretched over a frame effectively blocks light, improving projection brightness.
- Retractable roller blinds offer a versatile and convenient option for projection, especially when upgraded to blackout material.
- DIY solutions, like foam boards wrapped in reflective fabric, provide portable and high-quality projection alternatives.

4K Projector with Built-in Apps, 1500ANSI Auto Focus&6D Keystone Dolby Audio Kogata Smart Projector with WiFi 6 Bluetooth Outdoor Movie Proyector for Home Theater HDR10+ UPGRADE
【UPGRADE Version】Unlimited Streaming –Compatible with Netflix & Dolby Audio& DTS Audio: The Kogata GC357 home projector comes with...
As an affiliate, we earn on qualifying purchases.
Benefits of Projector Screen Alternatives
When it comes to enhancing your viewing experience, projector screen alternatives offer several compelling benefits. You can achieve impressive image clarity and color accuracy with options like painted walls and specialized projector screen paints. These alternatives optimize surface texture and reflectivity, outperforming bare white walls or fabric sheets.
In addition, embracing mindful choices in your space can support a more organized and tranquil environment, helping you focus on enjoying your media more fully. For instance, implementing the art of decluttering strategies can create a more inviting area for your viewing setup.
Using materials like blackout cloth for DIY screens prevents light penetration, improving brightness and clarity in your projections. This approach serves as a cost-effective solution, allowing you to enjoy high-quality projections without breaking the bank.
While white bed sheets are a budget-friendly option, they require careful handling to guarantee they're wrinkle-free and tightly stretched—otherwise, you risk image distortion.
If you're in a bright environment, consider using ambient light rejecting (ALR) paints or screens. These effectively mitigate the impact of surrounding light, guaranteeing better image quality where traditional screens may falter.
![[Built-in Apps/4K Support] Smart Outdoor Projector with WiFi and Bluetooth, Movie Projector, DoIby Audio with Dual Speaker, Auto Focus w/ YouTube&PrimeVideo Proyector, Upgrad P62 Pro](https://m.media-amazon.com/images/I/51yAGv8VI7L._SL500_.jpg)
[Built-in Apps/4K Support] Smart Outdoor Projector with WiFi and Bluetooth, Movie Projector, DoIby Audio with Dual Speaker, Auto Focus w/ YouTube&PrimeVideo Proyector, Upgrad P62 Pro
[Upgraded Classic – P62 Pro Movie Projector] Building on the reliability and low return rate of the classic...
As an affiliate, we earn on qualifying purchases.
DIY Projector Screen Options
If you're looking for budget-friendly and effective DIY projector screen options, several creative solutions can transform your viewing experience.
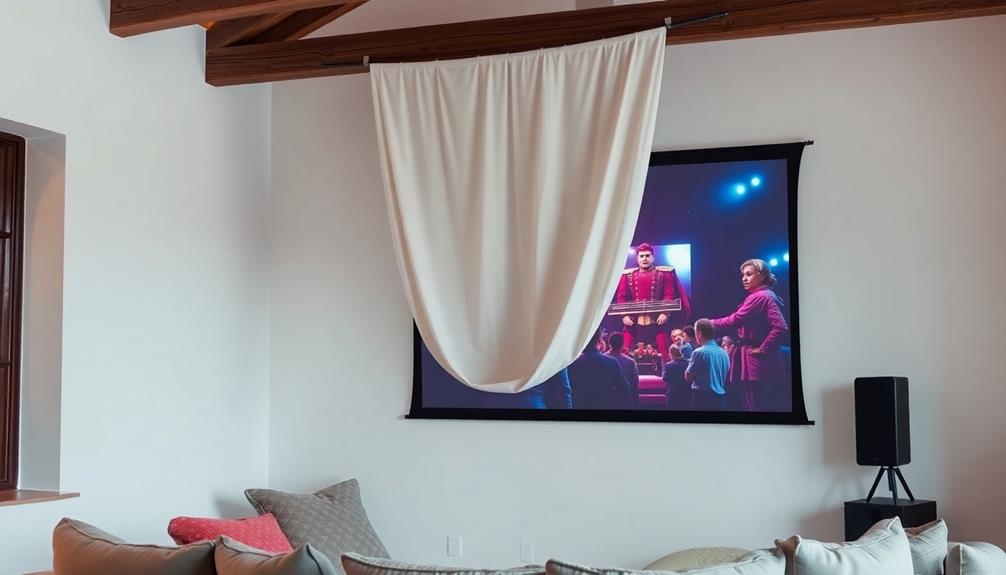
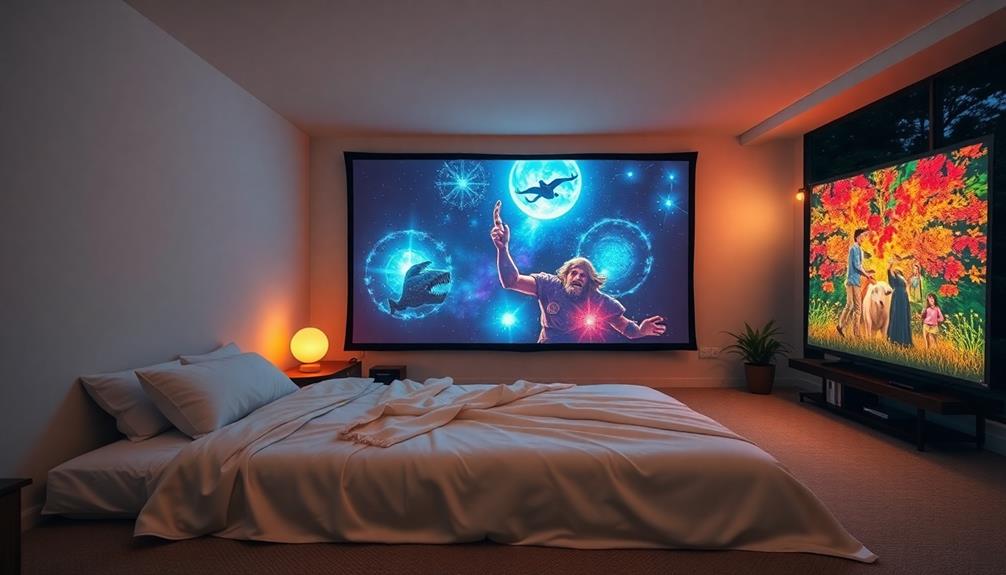
Classic white sheets are a simple choice; just make sure you hang them tightly with clips or hooks for a smooth surface, which is vital for peak image quality. For gamers, using materials that enhance color accuracy is necessary to improve your overall viewing experience.
If you're up for a more permanent solution, consider painting a wall with specialized projector screen paint. This enhances clarity and color accuracy but requires multiple coats for the best results.
Another excellent option is blackout cloth. When stretched over a sturdy wooden frame, it effectively blocks light, maximizing brightness and clarity for your projections.
Retractable roller blinds can also be repurposed as DIY screens, allowing for easy deployment and storage; upgrading to blackout material will greatly boost performance.
For those in need of portability, foam boards are lightweight and can be wrapped in reflective fabric to improve brightness. These portable screens are perfect for non-designated viewing spaces.
With these DIY projector screen options, you can enjoy an impressive cinematic experience without breaking the bank!
HAPPRUN Native 1080P Projector, Bluetooth Home Theater Movie Projector with Built-in Speaker, Compatible with Smartphone, HDMI, Fire Stick, PS5, Indoor & Outdoor Use - Without Google TV System
[ Native 1080P Full HD Resolution ] - Enjoy crystal-clear visuals with HAPPRUN H1's native 1920x1080 resolution, delivering...
As an affiliate, we earn on qualifying purchases.
Choosing the Right Materials
When you're selecting materials for your projector screen, think about how properties like reflectivity and texture will impact your image quality.
For instance, energy-efficient appliances can inspire similar considerations for maximizing light in your viewing area.
Cost-effective options, such as high-thread-count sheets or blackout cloth, can provide great results if you use them correctly.
Material Properties Considerations
Selecting the right materials for your projector screen is essential for optimizing image quality and overall viewing experience. You'll want to take into account various material properties such as reflectivity, texture, and light blocking.
For instance, matte white surfaces often provide a gain of 1.0, ensuring brightness on par with your projector, while high-contrast gray can enhance color reproduction, especially in well-lit rooms.
Texture plays a significant role as well; smoother surfaces yield clearer projections, while grittier ones can enhance detail for high-resolution projectors like 4K.
Additionally, durability and maintenance are important; specialized projection paint or coated fabrics are easier to clean and maintain compared to uncoated alternatives, which may require more upkeep.
Light blocking is another factor to take into account. Options like blackout cloth or dark fabrics effectively prevent light penetration, enhancing clarity and brightness by reflecting more projector light back to viewers.
Cost-Effective Options
Cost-effective options for creating your projector screen can make a significant difference in your viewing experience without breaking the bank. One of the simplest solutions is using existing walls or white bedsheets, which can serve as effective projection surfaces at little to no cost.
If you're feeling crafty, consider building DIY projector screens with inexpensive materials like PVC pipes and blackout cloth, allowing for a fully customized setup.
For a more polished look, specialized projector screen paint can enhance image clarity and color accuracy on your walls, offering a great cost-effective alternative to traditional screens.
While investing in a retractable or portable projector screen provides better image quality and convenience, it often comes with a price tag ranging from $100 to $500.
If you're on a tight budget, don't overlook shower curtains or fabric drop cloths as practical DIY options. Typically costing as little as $20, these budget-friendly alternatives can deliver satisfying results for casual viewing setups.

Epson Home Cinema 980 3-Chip 3LCD 1080p Movie Projector with Built-In Speaker, 4000 Lumens Color and White Brightness, Fast-Action TV Streaming and Gaming, Auto Picture Skew, 2 HDMI Ports
HOME THEATER PROJECTOR — Bring your entertainment experience to the next level; With detailed 1080p images and fast...
As an affiliate, we earn on qualifying purchases.
Installation and Setup Tips
Properly installing your projector screen is essential for achieving the best viewing experience. Here are some tips to help you with the setup:
- Mount at Eye Level: Position your DIY projector screen 24-36 inches above your seating area to guarantee ideal viewing angles.
- Secure Wall-Mounted Screens: Use the right anchors based on your wall type, whether it's drywall or concrete, to prevent your screen from falling.
- Test Projector Alignment: Before finalizing your installation, double-check the projector alignment and image quality. This step will help you avoid projection distortion that can ruin your viewing experience.
- Manage Cables Neatly: Use cable management solutions to hide unsightly projector cables, keeping your setup clean and organized.
If you're using a fabric screen, make sure it's stretched tightly and free from wrinkles. This precaution will help maintain image quality and prevent any unwanted distortion during projection.
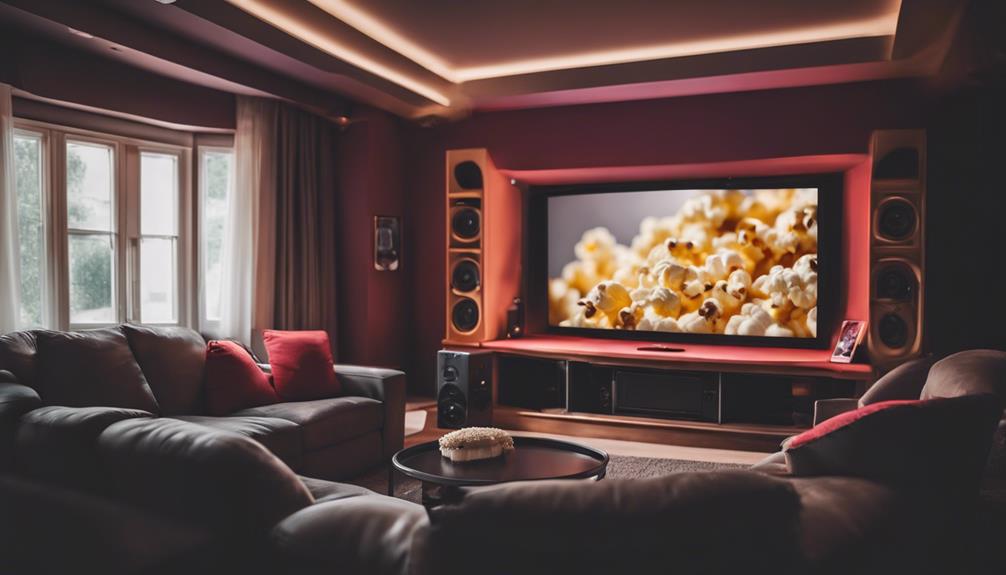
Enhancing the Viewing Experience

To truly enhance your viewing experience, start with ideal screen placement to guarantee everyone gets the best angle.
Next, control the lighting in your space; using blackout curtains can dramatically improve image quality by minimizing outside interference.
Together, these factors create a more immersive and enjoyable projection setup.
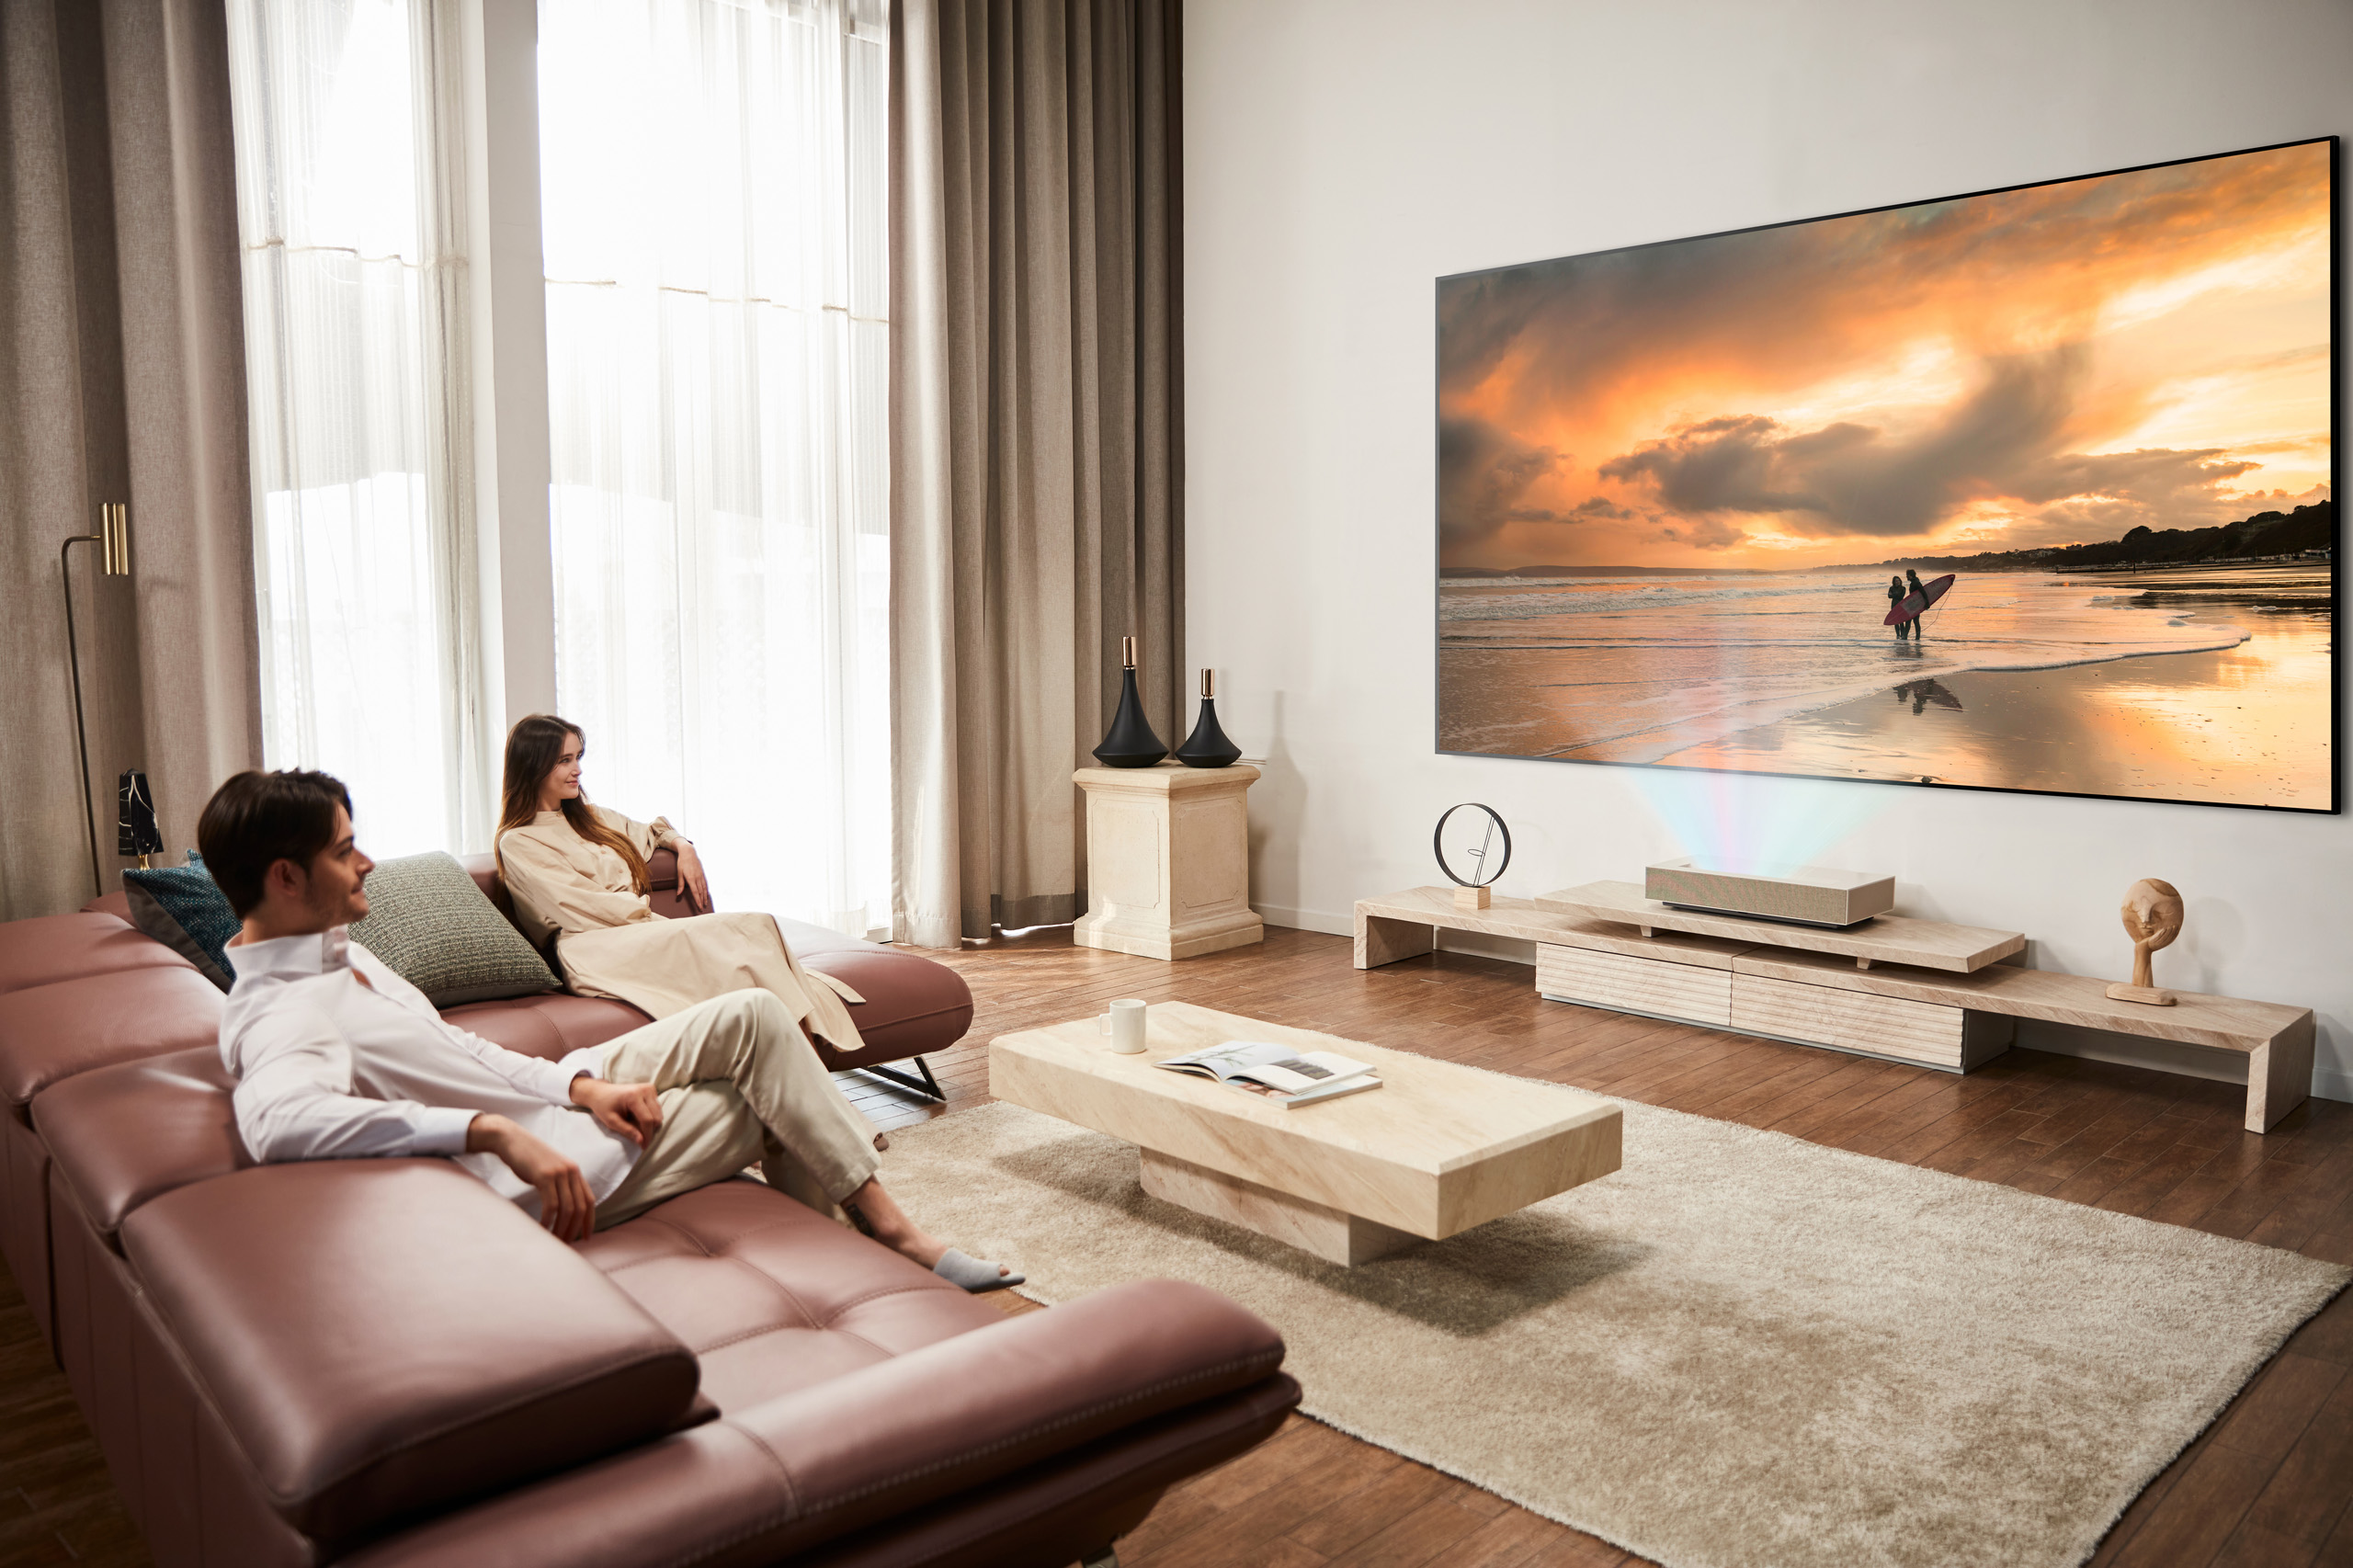
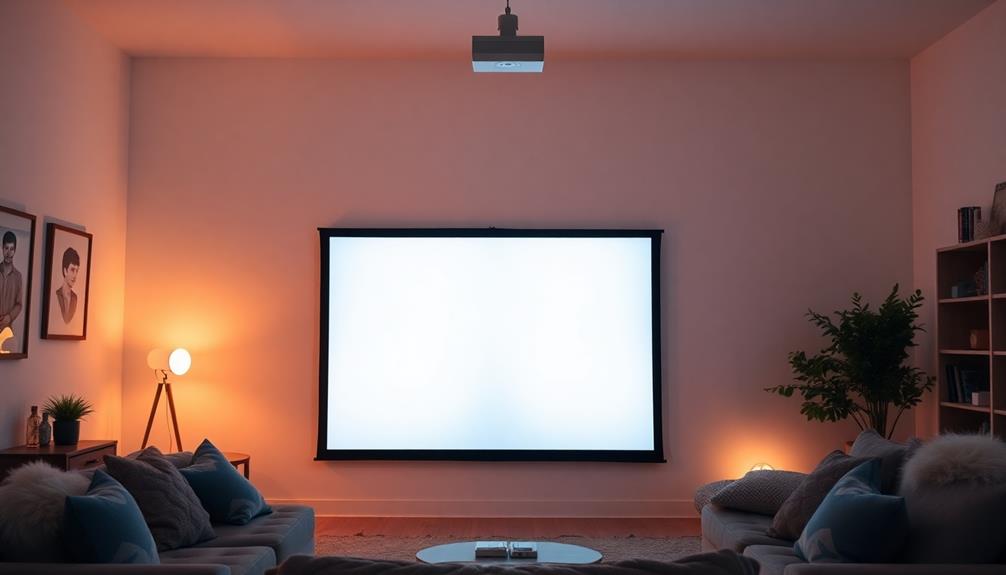
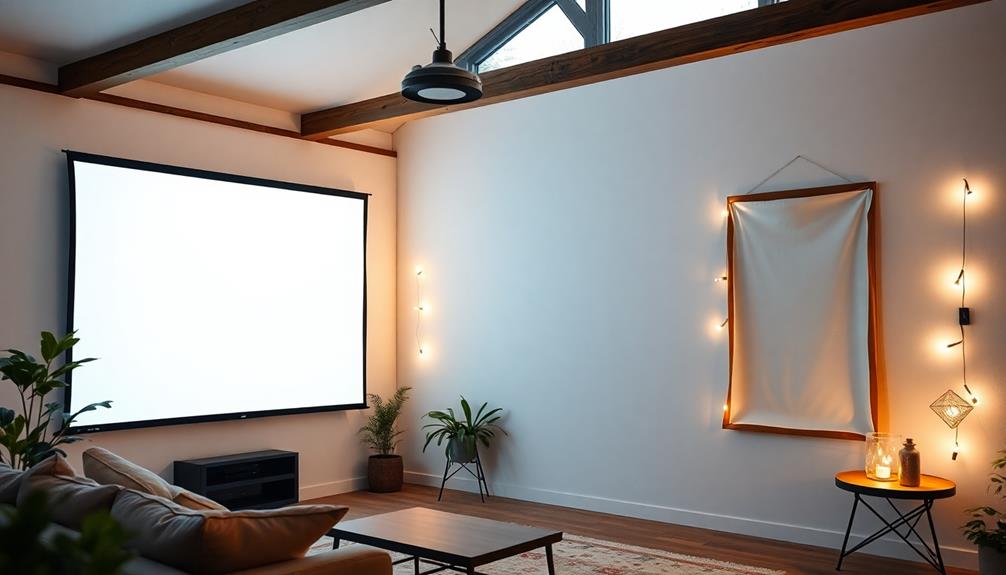
Optimal Screen Placement
Selecting the right location for your projector screen is essential for an ideal viewing experience. The goal is to create optimal viewing conditions that enhance image quality and comfort. Here are four key considerations for screen placement:
- Choose a flat wall: It should be free from light interference to guarantee clarity.
- Position at eye level: Aim for 24-36 inches above the floor for single/double row seating, or 40-48 inches for multiple rows.
- Maintain proper viewing distance: Depending on your projector specifications, ideal sizes are 120 inches at 12 feet and 100 inches at 10 feet.
- Use blackout curtains: These help control ambient light, considerably improving your viewing experience.
Additionally, keep the screen at least 15-19 inches from the ceiling to avoid ghost images.
With the right screen location, you'll get the most out of your projector, maximizing both image quality and your overall enjoyment.
Lighting Control Techniques
After determining the ideal screen placement, the next step is mastering lighting control techniques to enhance your viewing experience. By effectively managing ambient light, you can greatly improve projection quality. Start with blackout curtains or shades to minimize external interference. Choosing projection surfaces with matte finishes, like specialized projector screen paint, will help reduce glare and improve image clarity.
Here's a quick reference table for your lighting control strategies:
| Technique | Description |
|---|---|
| Ambient Light Control | Use blackout curtains or shades |
| Surface Selection | Opt for matte finishes to minimize glare |
| Positioning | Avoid direct light sources for best viewing angles |
| Lighting Adjustments | Dim or turn off overhead lights during projection |
| External Light Barriers | Use trees or structures to block unwanted light |
Implementing these creative solutions will lead to an immersive viewing experience. You'll want to adjust lighting based on the content you're watching, ensuring that brightness from your projector shines through effectively. With these strategies, you can enjoy vivid images and enhanced contrast for all your presentations or movie nights.
Cost-Effectiveness and Budget Options

While traditional projector screens can be pricey, numerous cost-effective alternatives allow you to enjoy quality projection without breaking the bank. You don't have to sacrifice image quality and durability just because you're on a budget.
Here are some budget-friendly options you might consider:
- Walls: Your existing wall can serve as a perfect screen with minimal effort.
- Bedsheets: A white bedsheet can create a surprisingly effective surface for casual viewing.
- DIY Solutions: Get creative and use items you already have, saving you money.
- Specialized Projection Paint: Investing in premium projector screen paints, priced around $318 for 4.5m², offers a cost-effective long-term investment that enhances your viewing experience.
For budget-conscious consumers, these projector screen alternatives not only reduce initial costs but also provide a similar performance to traditional projector screens.
Frequently Asked Questions
What Can Be Used Instead of a Projector Screen?
Instead of a projector screen, you can use a painted wall, a white bed sheet, or blackout cloth. Each option offers unique benefits, so choose what fits your budget and viewing needs best.
Can I Use a Bedsheet as a Projector Screen?
You can use a bedsheet as a projector screen, but it needs to be smooth and taut for the best image. Higher thread count sheets work better, reflecting light more effectively for clearer visuals.
What Material Can I Use for a Projector Screen?
You can use materials like white bed sheets, blackout cloth, or even painted walls for your projector screen. Each option offers unique benefits, enhancing image quality while fitting your budget and space needs perfectly.
What Can I Put Behind My Projector Screen?
Think of your projector screen as a canvas; behind it, you can use smooth walls or blackout cloth. These choices enhance brightness and clarity, transforming your viewing experience into a vibrant masterpiece you won't forget.
Conclusion
In summary, exploring projector screen alternatives can turn your viewing space into a canvas of creativity without breaking the bank. Whether you opt for a smooth wall or a simple sheet, the possibilities are as endless as your imagination. With a little effort and the right materials, you can create a setup that enhances your experience and fits your budget. So go ahead, release your inner DIY enthusiast and transform your home into a personal theater!