
To build a dedicated media closet, choose a well-ventilated space near your viewing area for easy access and airflow, and install adjustable shelves to fit your devices. Organize cables with ties and labels to keep everything tidy and prevent tangles. Incorporate wireless devices to reduce clutter and guarantee reliable connections. Add good lighting for maintenance and keep the space clean for longevity. Keep exploring to discover all the tips for creating an efficient setup.
Key Takeaways
- Choose a well-ventilated, accessible location near the main viewing area with nearby power outlets.
- Install adjustable shelves to organize devices and accessories while ensuring proper airflow.
- Implement cable management solutions like ties and labels to keep cords tidy and prevent tangles.
- Incorporate wireless streaming devices and high-performance routers to reduce cable clutter.
- Add LED lighting and establish a maintenance routine for easy access, cleaning, and updates.

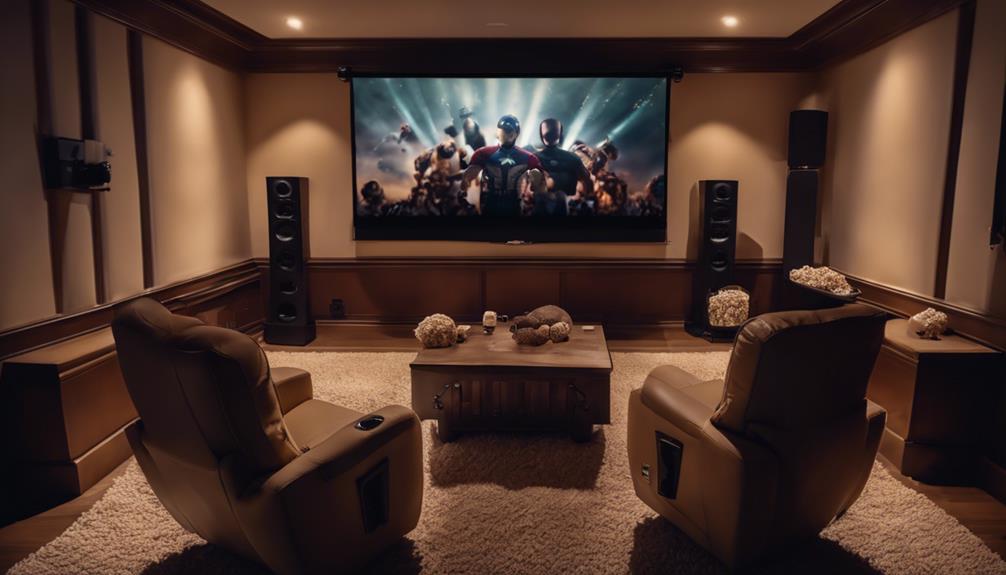
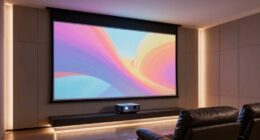
Creating a dedicated media closet can substantially streamline your home entertainment setup and protect your devices from clutter and damage. When you design this space thoughtfully, you’ll find it easier to manage your equipment, enjoy seamless wireless streaming, and keep cords organized. A well-planned media closet becomes the hub of your entertainment, making your viewing experience more enjoyable and less stressful.
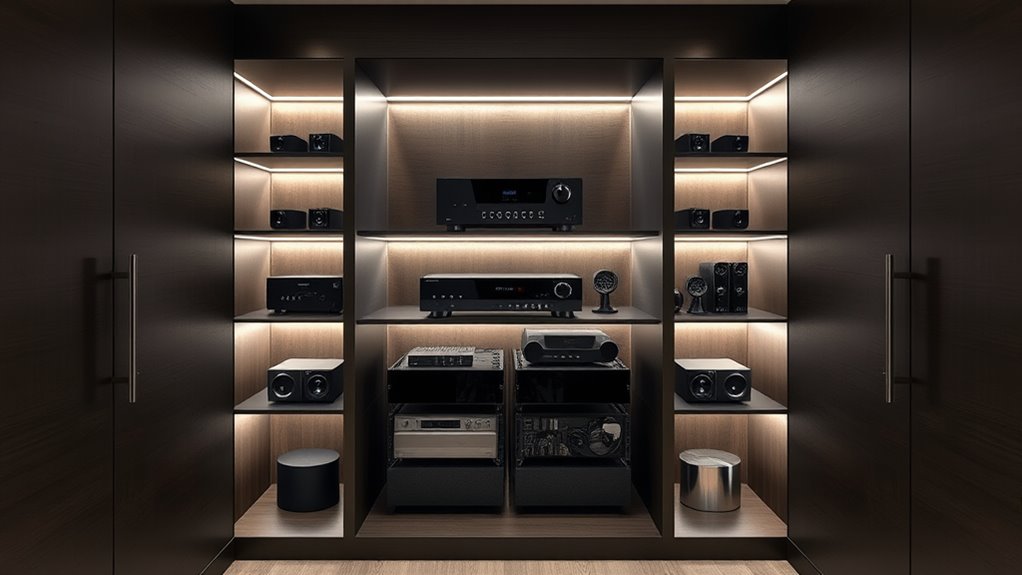
Start by selecting a location that’s close enough to your main viewing area but also allows for proper ventilation. Ventilation is essential to prevent equipment from overheating, especially if you plan to house multiple devices like routers, gaming consoles, or AV receivers. Once you’ve chosen the spot, consider installing adjustable shelving to accommodate various devices and accessories. These shelves make it simple to swap out or upgrade hardware without a complete overhaul of your setup.
Choose a well-ventilated spot near your viewing area and install adjustable shelves for easy device access.
Cable management is a critical part of creating an organized media closet. Use cable ties, clips, or sleeves to bundle cords neatly, reducing visual clutter and preventing tangles. Label each cable clearly so you can quickly identify which wire connects to what device. This makes troubleshooting or upgrading easier and minimizes the risk of accidentally disconnecting something important. Proper cable management not only improves the aesthetics but also enhances airflow around your devices, reducing the chances of overheating.
Incorporate equipment that supports wireless streaming to minimize the number of physical connections needed. Devices like a wireless router configured for high-performance streaming can eliminate the need for long HDMI or Ethernet cables snaking through your space. This not only declutters your closet but also makes it easier to access and troubleshoot your network. Additionally, using wireless streaming devices allows you to connect multiple TVs or speakers across your home without the mess of wires. This flexibility can transform how you enjoy your media, giving you the freedom to place devices where they look best and work most efficiently.
Lighting is another consideration. Install LED strips or small task lights inside your media closet to help you see what you’re doing without disturbing your viewing area. Good lighting makes it easier to manage cables, switch out devices, or perform maintenance tasks without frustration.
Finally, keep your media closet organized by creating a routine for maintenance. Regularly check connections, update firmware, and tidy up cables to prevent dust buildup. When your media closet is thoughtfully designed and maintained, you’ll enjoy a cleaner, more efficient entertainment setup, free from the chaos of tangled wires and misplaced devices. With proper planning, your media closet will become a sleek, functional space that simplifies your home entertainment experience.
Additionally, understanding residency requirements from official guidelines can help avoid delays or legal issues when setting up your media space or managing home upgrades.

Klipsch R-12SW Powerful Deep Bass Front Firing 12" Copper-Spun Driver 400W Digital Power Subwoofer 14" X 18.5" X 16"
Powerful 12" copper-spun front-firing woofer
As an affiliate, we earn on qualifying purchases.
Frequently Asked Questions
What Is the Ideal Size for a Media Closet?
The ideal size for a media closet is around 4×6 feet, giving you enough space for your equipment and easy access. You should include proper lighting setup to prevent shadows and guarantee visibility, along with sturdy shelving materials like steel or wood to support your gear. This size allows for efficient organization, ample airflow, and room to expand, making your media setup both functional and accessible.
How Should I Organize Cables and Wires?
You should organize cables and wires with effective cable management by using cable trays, clips, or sleeves to keep everything tidy. Label each wire clearly with wire labeling, so you know what each cable connects to. Regularly check and untangle any knots to prevent damage. This keeps your media closet neat, makes troubleshooting easier, and guarantees your equipment stays protected and functioning properly.
What Ventilation Options Are Best for Media Equipment?
Did you know that improper ventilation can cause media equipment to overheat and fail within just a few hours? To prevent this, you should prioritize airflow management by installing active ventilation systems like exhaust fans or air conditioning units. Passive options, such as vents or louvered panels, also work well. Make certain your media closet maintains consistent airflow to keep equipment cool, prolonging its lifespan and maintaining ideal performance.
How Can I Minimize Noise From Electronic Devices?
To minimize noise from electronic devices, use soundproofing techniques like acoustic panels and door seals to block sound escape. Place noise reduction materials such as foam or mass-loaded vinyl around your equipment to dampen vibrations. Additionally, consider mounting devices on vibration-isolating pads and ensuring vents have soundproof covers. These steps help create a quieter environment, preventing electronic noise from disturbing your space.
What Security Measures Are Recommended for Media Gear?
You should install surveillance cameras to monitor your media gear and deter theft. Make certain the closet has lockable doors to restrict access to authorized individuals only. Consider adding a security alarm system for extra protection. Regularly update passwords and security protocols. Combining surveillance cameras with lockable doors creates a strong security setup, helping you safeguard your valuable equipment effectively.

Klipsch R-120SW Subwoofer, Black
12" high excursion spun-copper Imp woofer
As an affiliate, we earn on qualifying purchases.
Conclusion
Now that your media closet is all set, you’re ready to enjoy seamless entertainment without the chaos. Keep your cables organized, invest in quality equipment, and regularly update your setup. Remember, a well-built media closet is your fortress against clutter—like a modern-day Panopticon for your gear. With this space, you’re all set to experience your favorite movies and music effortlessly. So, take a deep breath, and let the good times roll!

Rockville Rock Shaker 15" Powered Subwoofer, 1000W Peak / 500W RMS, Class-D, MDF Enclosure, RCA, Speaker Inputs, Phase & Crossover Control, Black, for Home Theater & Studio
POWERFUL 1000W SUBWOOFER - 1000 watts peak / 500 watts RMS delivers deep, thumping bass ideal for home...
As an affiliate, we earn on qualifying purchases.
AC Infinity AIRCOM S7, Quiet Cooling Fan System 12" Top-Exhaust for Receivers, Amps, DVR, AV Cabinet Components
A quiet fan system designed for cooling routers, modems, game consoles, and other AV components.
As an affiliate, we earn on qualifying purchases.