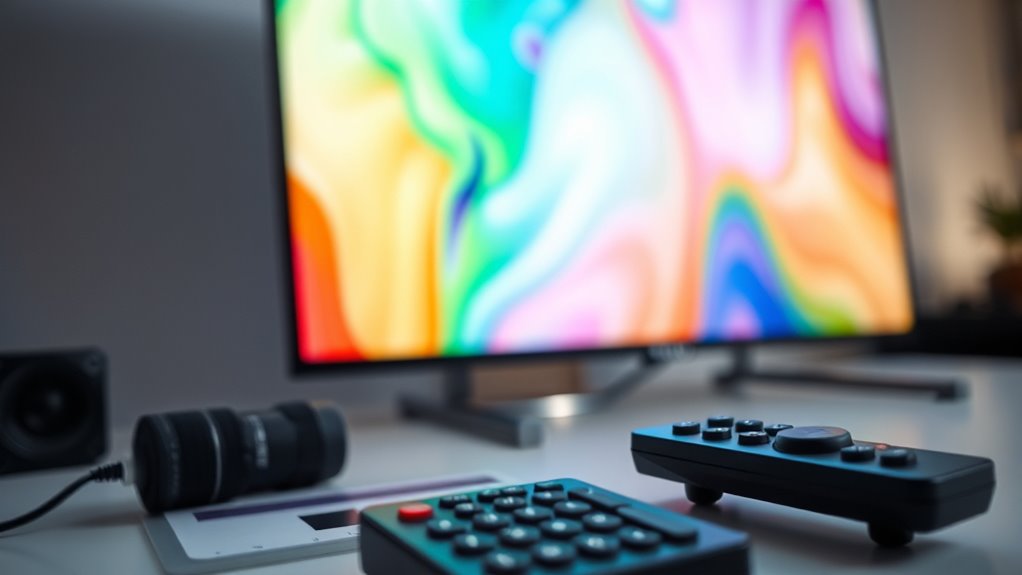
To calibrate your TV or projector for better picture quality, start with a default picture mode like “Standard” or “Movie.” Use test patterns or calibration discs to adjust brightness, contrast, color, and sharpness incrementally. Focus on achieving natural skin tones and balanced black and white levels. Regularly fine-tune these settings and consider ambient lighting for accurate calibration. Keep experimenting with these adjustments, and you’ll reveal a clearer, more vibrant image. Learn more to perfect your setup.
Start with default picture mode and use test patterns to set a baseline for brightness, contrast, and color accuracy.
Adjust brightness and contrast carefully with test patterns to balance shadow detail and white levels without loss of detail.
Use calibration tools or discs to fine-tune color saturation, hue, and skin tones for natural and accurate colors.
Tweak sharpness and advanced settings like gamma or local dimming to enhance image clarity without artifacts.
Regularly revisit calibration to maintain optimal picture quality and adapt to changing viewing conditions.
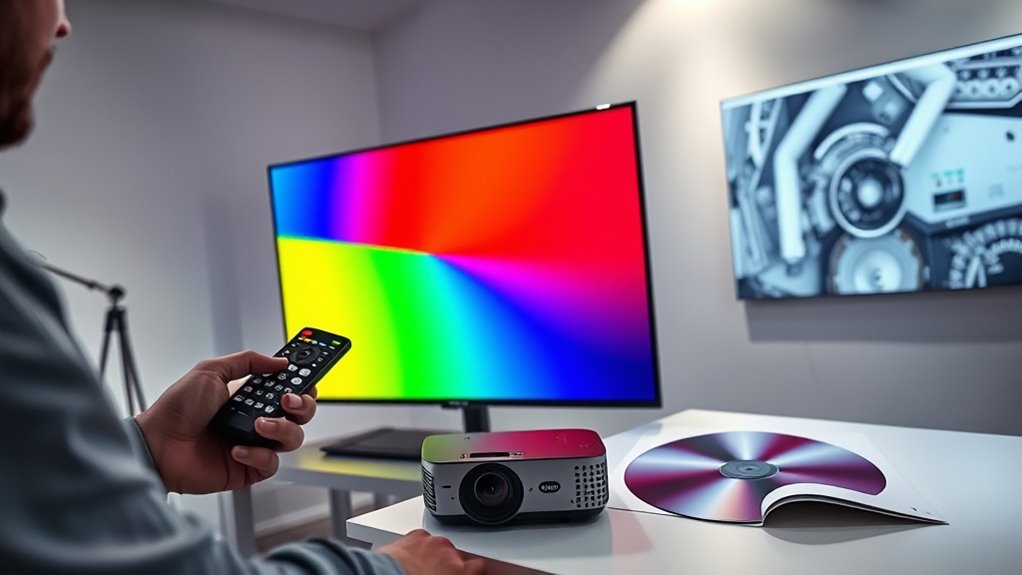
Calibrating your TV or projector guarantees you get the best picture quality and a true representation of content. When you take the time to calibrate, you’re ensuring that colors are accurate, contrast levels are ideal, and details in shadows and highlights are visible without losing image fidelity. This process might seem technical, but with the right approach, you can considerably enhance your viewing experience without professional tools. Start by setting your device to its default picture mode, such as “Standard” or “Movie,” which provides a good baseline. Then, examine the picture and look for areas where the image looks off—colors may seem unnatural, or the picture might appear too dark or washed out.
Next, focus on adjusting brightness and contrast. Brightness controls the black levels, so you want to set it high enough to see shadow details without making blacks look gray. Contrast impacts the white levels, so increase it until you see bright whites that don’t bleed into surrounding areas. It’s helpful to use test patterns or calibration discs that include grayscale, color bars, and contrast patterns. These tools guide you to set the levels precisely. When adjusting, avoid overdoing it; small incremental changes yield better results and prevent oversaturation or crushing shadow details. Regularly monitoring your device’s performance can help maintain optimal calibration, especially if ambient conditions change. Proper calibration can also improve overall image quality, ensuring that your display delivers the best possible picture. Additionally, understanding how color accuracy impacts your viewing experience can help you make more precise adjustments and better appreciate the content you watch. Being aware of display calibration principles can also help you troubleshoot and optimize your setup more effectively.
Color calibration is the next step. Use a color calibration disc or a dedicated calibration tool if available. Adjust the color saturation to achieve natural-looking skin tones and vibrant, but not exaggerated, colors. Skin tones should appear lifelike, not overly red, green, or blue. Be attentive to hue shifts in different parts of the image, ensuring reds, greens, and blues are balanced. If your device has advanced settings, you can fine-tune individual color channels for even more accuracy. Keep in mind that ambient lighting can affect how you perceive colors, so calibrate in a typical viewing environment. Additionally, understanding the importance of contrast ratio helps you optimize picture depth and detail in dark scenes for a more immersive experience.
Finally, fine-tune for sharpness and clarity. Too much sharpness can create unwanted artifacts, while too little can make the image appear soft. Adjust this setting until details like edges appear crisp but natural. Some devices include additional settings like local dimming or gamma, which can further improve picture quality when set correctly. Take your time during each step, and use test images or calibration tools to verify your adjustments. Remember, calibration isn’t a one-time task—periodic tweaks help maintain ideal picture quality as your display or viewing conditions change. Proper calibration can also help in bulb maintenance by ensuring your display isn’t overly bright or washed out, which could otherwise mask issues or accelerate bulb wear. With patience and careful adjustments, you’ll enjoy a more immersive, true-to-life viewing experience every time.
BenQ W4100i 4K HDR Smart Home Theater Projector, 3200 Lumens, 100% DCI-P3, Rec.709, Factory-Calibrated, Android TV with Netflix, 4-Way Lens Shift, HDR10+ & HLG Support, LED Long Lifespan
PROJECTOR-OPTIMIZED TRUE 4K UHD and HDR: HDR-PRO technology exclusive Local Contrast Enhancer and Tone Mapping for perfect details...
As an affiliate, we earn on qualifying purchases.
Frequently Asked Questions
How Often Should I Recalibrate My TV or Projector?
You might wonder how often you should recalibrate your TV or projector. Generally, it’s a good idea to do it every six months to a year, especially if you notice color shifts or picture quality decline. Changes in lighting conditions or updates to your device’s firmware can also affect calibration. Regular recalibration guarantees you get the best picture quality, making your viewing experience consistently enjoyable.
What Tools Do I Need for Professional Calibration?
Ever wondered what tools a professional uses for calibration? You’ll need a colorimeter or spectrophotometer to measure color accuracy, a calibration software like CalMAN or DisplayCAL, and a test pattern generator for precise adjustments. A tripod or mounting setup ensures stability during calibration. These tools help you achieve ideal picture quality, but remember, professional calibration can be complex—consider expert help if you’re unsure.
Can I Calibrate My Device Without Prior Experience?
Yes, you can calibrate your device without prior experience, but it’s best to start with simple adjustments. Use built-in settings like picture modes and basic controls such as brightness, contrast, and color saturation. Follow online guides or tutorials to help you understand each step. Take your time, make small changes, and compare the results. With patience, you can improve your picture quality even without professional training.
How Do Ambient Lighting Conditions Affect Calibration?
Sure, because nothing says “perfect picture” like battling your living room’s mood lighting, right? Ambient lighting can fool your calibration efforts, making dark scenes seem dull or colors appear off. You need to tweak your settings based on how bright or dark your room is. Keep your lights consistent during calibration, or you’ll end up with a picture that looks great in the showroom but terrible at home.
Should I Calibrate for Different Viewing Modes or Settings?
You should definitely calibrate for different viewing modes or settings. Each mode, like gaming or movie, has unique parameters that affect picture quality. By adjusting calibration for each, you ensure ideal visuals tailored to your content and preferences. This way, whether you’re watching a film or playing a game, your display delivers the best possible picture, making your viewing experience more immersive and enjoyable.
Epson Home Cinema 2350 4K PRO-UHD Smart Gaming Projector with Android TV, 3-Chip 3LCD, HDR10, HLG, 2,800 Lumens, Low Latency, 10 W Speaker, Bluetooth, Streaming Capability
4K PRO-UHD (1) — An amazing 4K experience utilizing advanced processing for resolution enhancement, color and image processing;...
As an affiliate, we earn on qualifying purchases.
Conclusion
By calibrating your TV or projector, you unlock its full potential, transforming a dull screen into a vibrant window to your favorite content. Just as a painter refines their brushstrokes to reveal a masterpiece, your adjustments reveal breathtaking clarity and color depth. Though the process requires patience, the result is a viewing experience that’s both immersive and refined—proof that precision, like artistry, elevates ordinary moments into extraordinary ones.
1500 ANSI Official Licensed Google TV Smart Projector, HAPPRUN 4K Full HD Home Theater with Auto Focus, Dolby Sound, Wi-Fi Bluetooth, Built-in Apps, Compatible with Phone & PC, Indoor & Outdoor Use
[ Built-in Officially Licensed Google TV ]-Enjoy the reliability of an officially certified Google TV projector. Stream Netflix,...
As an affiliate, we earn on qualifying purchases.
Official Licensed Google TV Smart Projector, HAPPRUN 4K UHD Home Theater with Dolby Sound, Wi-Fi & Bluetooth, Built-in Streaming Apps, Compatible with Games Consoles & Smartphone, Indoor & Outdoor Use
[ Built-in Official Licensed Google TV ] - Without additional equipment, the smart projector can directly access Netflix,...