To use REW software like a pro, start by setting up a quiet, reflection-free environment and position your microphone properly at your listening spot. Calibrate your equipment and perform multiple measurements from different positions to gather accurate data on your room’s response. Analyze the frequency response, identify problem areas, and use REW’s tools to apply targeted EQ or room corrections. If you follow these steps, you’ll develop a deep understanding of your acoustics and optimize your setup more effectively.
Key Takeaways
- Properly set up your measurement environment, minimizing noise and reflections for accurate REW results.
- Perform multiple, consistent measurements at different positions to capture comprehensive room acoustics data.
- Calibrate your microphone and equipment regularly to ensure measurement accuracy and reliability.
- Use REW’s analysis tools to identify room modes, frequency dips, and peaks for targeted treatment.
- Apply equalization and acoustic treatments based on detailed measurements to optimize sound quality effectively.

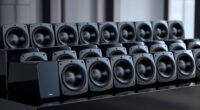
Epson Home Cinema 980 3-Chip 3LCD 1080p Projector 4,000 Lumens Color and White Brightness, Streaming/Gaming/ Media Room, Built-In Speaker, Auto Picture Skew, 16000:1 Contrast, 2 HDMI Ports
Exceptional Picture Quality — Provides stunning, detailed 1080p images and fast data processing that’s optimized for fast-action sports,...
As an affiliate, we earn on qualifying purchases.
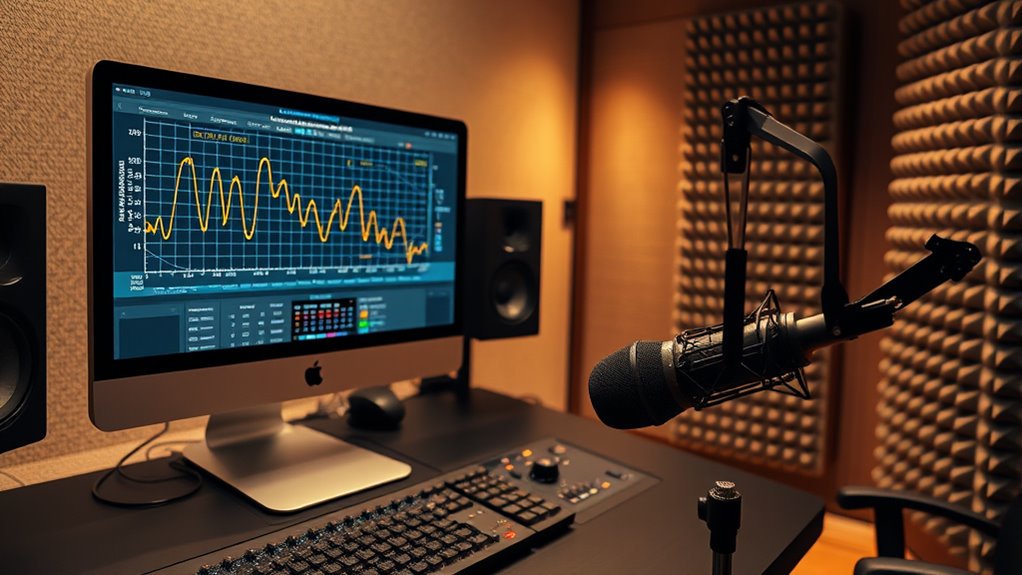
Setting Up Your Measurement Environment
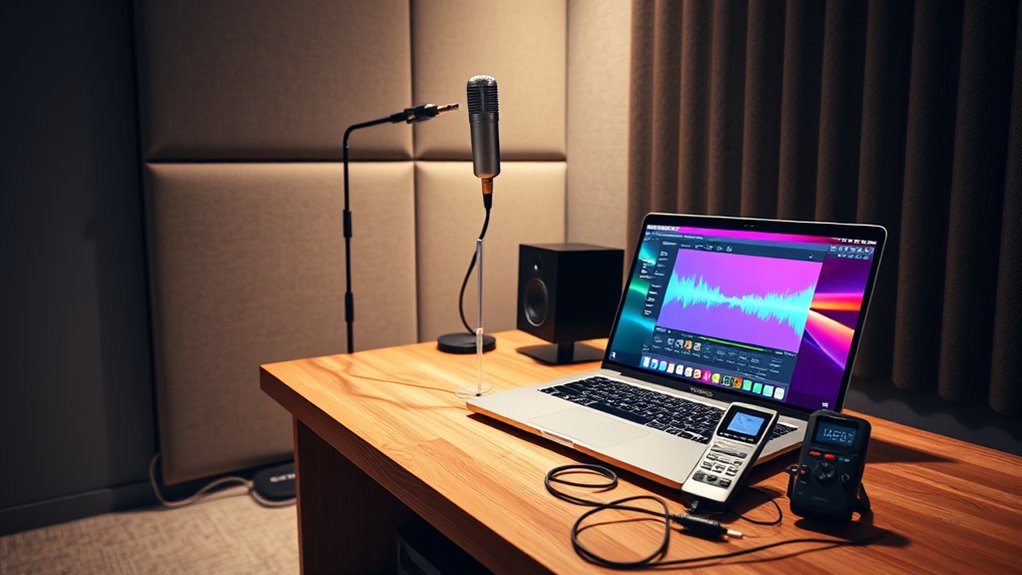
To get accurate measurements with REW software, you need to set up your environment properly. Start by minimizing background noise and avoiding reflective surfaces that can distort your readings. Acoustic panels are essential for sound absorption; they help reduce echo and improve measurement precision. Place them strategically around your room, especially on walls and ceilings where sound reflection is most prominent. Keep the measurement area free of clutter and furniture that could interfere with sound waves. Use a stable, flat surface for your microphone to prevent movement during testing. Ensuring your environment has good sound absorption makes your measurements more reliable, giving you a clear picture of your room’s acoustics. Proper setup is key to achieving accurate results with REW software. Additionally, using best vacuums for dust removal in 2024 can help maintain a clean environment, reducing dust that could affect sensitive equipment. For optimal results, consider the acoustic properties of your space, especially if you are working with electronic equipment like the Flat Iron Bike or electric dirt bikes that generate noise. Incorporating soundproofing techniques can further enhance measurement accuracy by minimizing external noise interference. Assessing the room’s acoustic treatment can also help identify areas needing additional absorption or diffusion to improve measurement fidelity. Moreover, understanding the modern farmhouse decor trends can help create a comfortable and aesthetically pleasing measurement space that aligns with your style.

Official Licensed Google TV Smart Projector, HAPPRUN 4K UHD Home Theater with Dolby Sound, Wi-Fi & Bluetooth, Built-in Streaming Apps, Compatible with Games Consoles & Smartphone, Indoor & Outdoor Use
[ Built-in Official Licensed Google TV ] - Without additional equipment, the smart projector can directly access Netflix,...
As an affiliate, we earn on qualifying purchases.
Performing Accurate Room Measurements
Once your environment is properly set up, you can begin taking accurate room measurements with REW software. Start by placing your microphone at the listening position, ensuring it’s at ear level and centered. Proper microphone positioning is vital for reliable results, so avoid reflective surfaces nearby that can color your measurements. When measuring subwoofer response, experiment with subwoofer placement to identify the location that provides the most even bass response. Use REW’s measurement tools to record frequency response and room modes. Take multiple measurements from different positions if needed, and keep microphone placement consistent. Accurate room measurements depend on precise microphone positioning and thoughtful subwoofer placement, giving you a solid foundation for effective room correction and tuning. Additionally, understanding security zone info can help you safeguard your equipment from theft or unauthorized access, ensuring your measurements remain secure and reliable. Recognizing automation in business trends can also inform your setup process, as automation tools can assist with calibration and data analysis. Paying attention to room acoustics and soundproofing techniques can further enhance measurement accuracy and overall sound quality. Incorporating textile materials such as acoustic fabrics or absorbers can also improve acoustic treatment, leading to more precise measurements. You should also consider the impact of Kia Tuning modifications on your equipment setup, as they can influence the acoustic environment and measurement results.

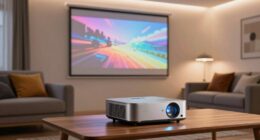
2000 ANSI 4K Decoding Projector with WiFi and Bluetooth, HAPPRUN Movie Home Theater with Auto Focus, 300'' Display for Indoor/Outdoor, Smart Proyector Compatible with Phone/TV Stick/PC/PS5
[EASIER OPERATION: AI Smart Screen Adjustment] HAPPRUN projector comes with auto focus and 6D auto-keystone technology, enjoy a...
As an affiliate, we earn on qualifying purchases.
Calibrating Your Equipment for Precise Results
To get accurate measurements, you need to properly set up your equipment. This means following essential setup steps and ensuring your devices are calibrated correctly. Mastering accurate measurement techniques will give you reliable results every time. Regularly verifying your measurements with calibration tools ensures ongoing precision and consistency.
Equipment Setup Essentials
Have you ever wondered why accurate measurements depend on proper calibration? The key lies in correct equipment setup. First, focus on speaker placement; position your speakers evenly and avoid reflective surfaces to ensure a balanced sound. Next, pay close attention to microphone positioning; keep the mic at ear level and at a consistent distance from the speakers. This consistency minimizes measurement errors and gives you reliable data. Make sure your microphone is calibrated correctly before testing, and use a tripod or stand to keep it steady. Proper setup not only improves accuracy but also guarantees repeatable results. Remember, small adjustments in speaker placement and microphone positioning can significantly impact your measurements, so take your time to get it right. Additionally, understanding air purifier features and technologies can help you choose the right equipment for your needs. In the same way, considering environmental considerations in your setup can ensure sustainable and safe testing practices. Proper calibration also involves understanding room acoustics, which can greatly influence your measurement outcomes. Recognizing ambient noise levels is equally important to maintain measurement precision and consistency. Being aware of equipment maintenance can further enhance measurement reliability over time.
Accurate Measurement Techniques
Calibrating your equipment is essential for obtaining accurate measurement results, as even slight discrepancies can lead to misleading data. Proper speaker placement ensures your measurements reflect the true sound environment, so position your speakers consistently. Pay close attention to microphone positioning; place your microphone at the listening position, at ear level, and keep it steady during measurements. Use calibration signals to check your microphone’s response and adjust if needed, guaranteeing it accurately captures sound levels. Avoid moving speakers or the microphone during testing to maintain consistency. AI vulnerabilities can impact the reliability of your measurements if not properly managed, so staying aware of potential AI-related issues is important. Implementing proper calibration procedures helps eliminate variables that could skew your data. Regularly verifying your setup with test signals ensures ongoing accuracy throughout your measurement sessions. Maintaining a stable environment and understanding measurement principles are crucial for reliable results. Additionally, understanding measurement variability is key to recognizing and minimizing potential errors. These precise setup techniques help eliminate variables that could skew your data. Accurate calibration, combined with correct speaker placement and microphone positioning, guarantees reliable results, making your REW measurements truly reflective of your room’s acoustics.

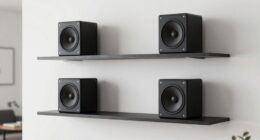
LITTOAK Powered Subwoofer, 6.5’’ Sub with DSP, Up to 100 Watts Home Theater Subwoofers, Down-Firing Subs, Class-D Amp, 40-250Hz, Low Pass dial, Phase Switch, Big Bass in Compact Design
DSP & Class-D Amp-Powered 6.5-Inch Subwoofer – Advanced DSP and a Class-D amplifier team up to drive the...
As an affiliate, we earn on qualifying purchases.
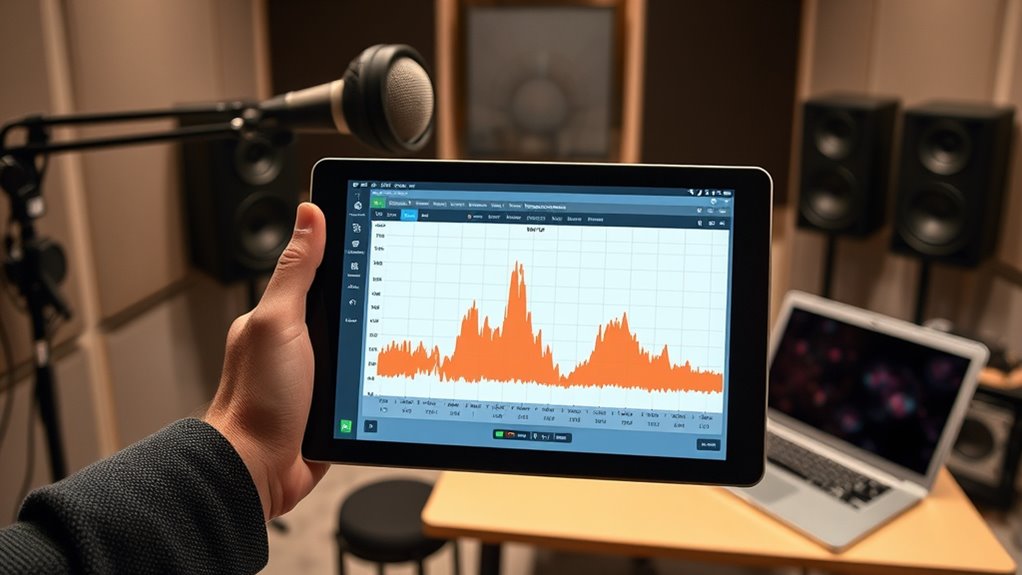
Analyzing Frequency Response and Room Modes
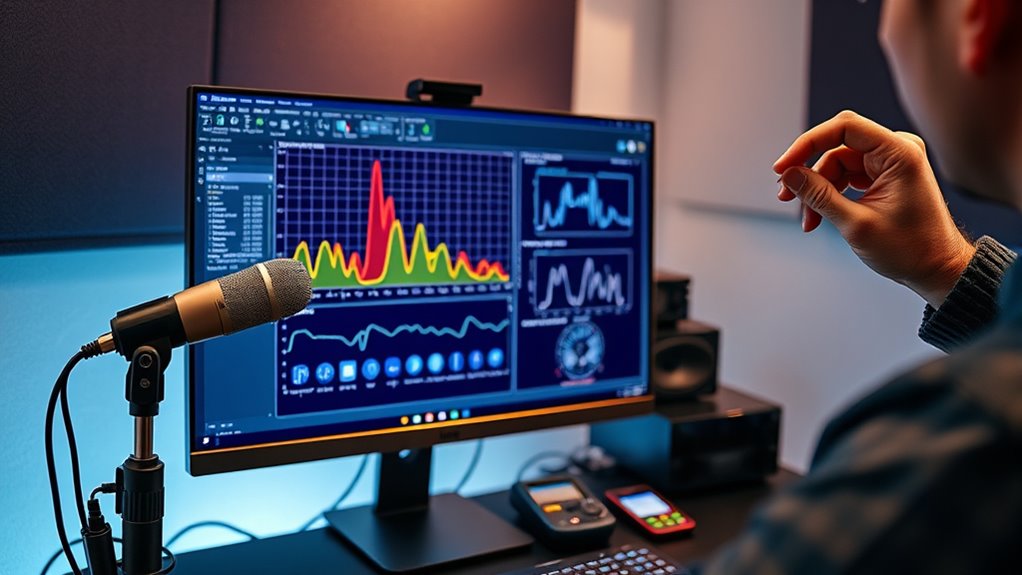
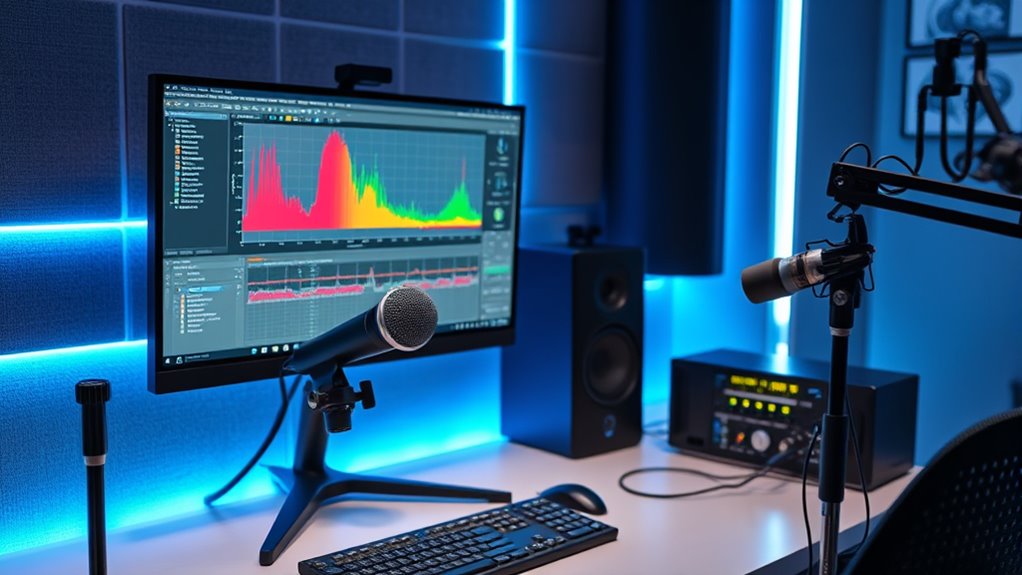
Analyzing frequency response and room modes is essential for identifying how your room influences your sound. Accurate measurements reveal peaks and dips caused by room resonance and subwoofer placement, helping you understand problematic areas. Proper microphone positioning is vital; place the mic at your listening position to capture an accurate response. When analyzing the data, look for consistent dips or peaks across frequencies, indicating room modes. These resonances can cause bass booms or nulls, skewing your perception of sound. By identifying these issues, you can plan effective treatments or adjust subwoofer placement to minimize their impact. Remember, understanding the room’s influence through detailed frequency analysis is the foundation for creating a balanced, professional listening environment.
Applying Equalization and Room Correction Techniques

Once you’ve identified the room’s resonances and frequency irregularities, applying equalization and room correction techniques becomes vital for achieving a balanced sound. Start by adjusting speaker placement to minimize problematic reflections and standing waves, which can skew your measurements. Use REW’s equalization tools to target specific frequency dips or peaks, smoothing out the response. For headphone calibration, ensure your headphones are properly measured and corrected to provide an accurate listening environment, especially if you rely on headphone listening for critical audio work. Remember, subtle EQ changes can have a significant impact. Always verify your adjustments with repeat measurements, and avoid over-correcting to maintain natural sound quality. Additionally, understanding the importance of a high contrast ratio can aid in optimizing your display settings for better visual clarity and detail, especially in dark scenes. Properly applying these techniques helps you craft a more accurate and pleasing audio experience. Incorporating Glycolic Acid benefits into skincare routines can also improve overall skin quality, which enhances your confidence during critical listening sessions or professional presentations.
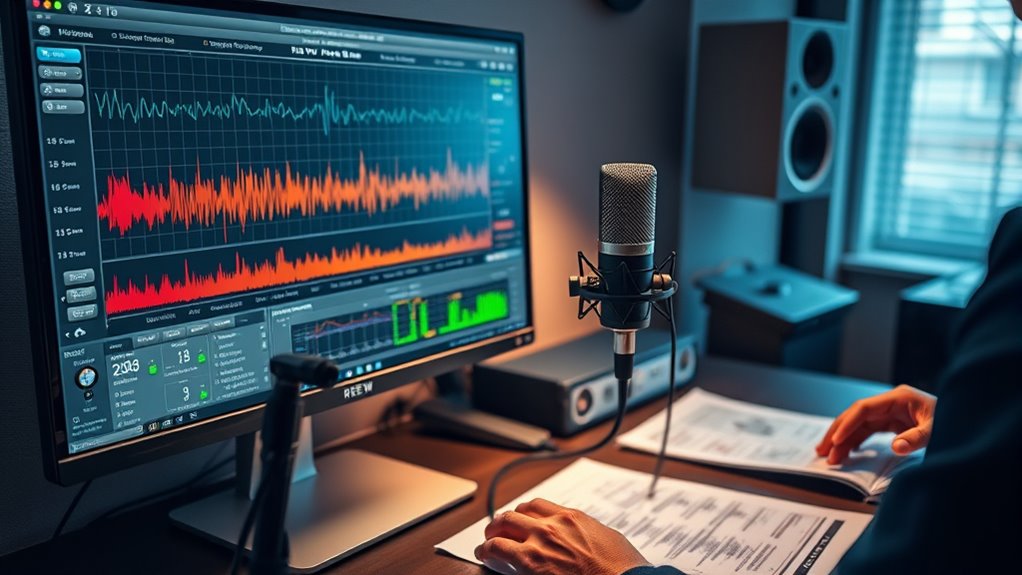
Interpreting Data and Fine-Tuning Your Acoustic Treatment
Interpreting your REW measurement data is essential for making informed decisions about your acoustic treatment. Accurate analysis helps you identify problem frequencies and understand room behavior. When fine-tuning acoustic treatment, focus on these key steps:
Analyzing REW data is vital for effective acoustic treatment adjustments.
- Look for peaks and dips in the frequency response to locate problematic areas.
- Use waterfall and decay plots to assess reverb times and identify resonances.
- Cross-reference your measurements with your listening position to verify consistency.
Frequently Asked Questions
How Do I Choose the Right Microphone for REW Measurements?
When choosing a microphone for REW measurements, focus on microphone selection to guarantee measurement accuracy. Opt for a calibrated measurement microphone designed for audio analysis, as it provides consistent and reliable results. Avoid using regular microphones, which may introduce errors. Look for a microphone with a flat frequency response and low self-noise. Proper microphone placement and calibration are key to achieving precise, high-quality measurements with REW software.
What Are Common Troubleshooting Steps for Inconsistent Measurement Results?
Your measurement results shouldn’t be as unpredictable as a roller coaster! To troubleshoot, start by double-checking your calibration techniques to guarantee accuracy. Next, examine your measurement environment for noise, reflections, or interference that could skew results. Make sure your microphone is positioned correctly and that your equipment is functioning properly. Consistent results depend on controlling these variables, so take your time to optimize each step for reliable, repeatable measurements.
How Can I Automate REW for Regular Room Analysis?
To automate REW for regular room analysis, start by setting up room calibration routines that run automatically. Use measurement automation features to schedule and streamline your tests, ensuring consistent results. You can create scripts or batch files to trigger measurements at specified intervals. This way, you save time and maintain accuracy, making ongoing room analysis more efficient and reliable without manual intervention.
What Advanced Features Does REW Offer for Professional Use?
REW offers advanced features perfect for professional use, like advanced calibration tools that guarantee precise measurements and custom scripting capabilities that automate complex tasks. You can tailor the software to your specific needs, creating custom macros for repeated analyses or adjustments. These features help you streamline your workflow, increase accuracy, and handle sophisticated audio analysis tasks confidently, making REW a powerful tool for professional audio engineers and acousticians.
How Do I Interpret Phase Response Data Accurately?
Think of phase response data as a musical dance between sound waves; understanding phase shift helps you see how these waves align or clash across frequencies. To interpret it accurately, examine the phase plot alongside the frequency response. Look for consistent shifts—large or abrupt changes often indicate issues. By mastering this, you’ll tune your system precisely, ensuring harmonious sound with minimal phase interference, creating a seamless listening experience.
Conclusion
Mastering REW software is like tuning a fine instrument—you need patience, precision, and the right tools. When I first started, I struggled to interpret the data, but once I learned to read the graphs, I felt like I’d deciphered a secret language. With practice, you’ll turn your room into a harmonious space, just like a skilled musician perfects their sound. Keep experimenting, and soon you’ll be playing your audio setup like a pro.