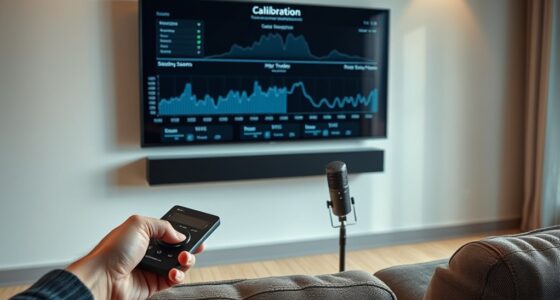

The most important rule for calibration mic placement is verifying that your microphone is correctly positioned before taking measurements. You should guarantee it’s at the right distance, height, and angle relative to the sound source, while also checking for consistent sound and Room reflections. Small adjustments and thorough testing help prevent inaccuracies. Keep these steps in mind, and you’ll enhance your calibration accuracy—if you stick with the details that follow, you’ll open the full process.
Key Takeaways
- Verify microphone placement through listening tests and frequency response checks to ensure accurate calibration.
- Use visual tools like stands and rulers to maintain consistent, correct positioning during calibration.
- Ensure the mic is properly aligned and at the appropriate distance and height relative to the sound source.
- Minimize environmental reflections and ambient noise to prevent distortion of calibration data.
- Regularly perform consistency checks and adjustments to confirm correct placement and reliable measurements.

Yahboom AI Voice Recognition Module Voice Broadcast Integrated Custom Wake-up Word Programmable Sound Sensor Support Jetson/Raspberry Pi/ESP32/STM32
【Highly customizable voice commands】Supports 110+ preset commands. Users can edit command content online and generate firmware burning through...
As an affiliate, we earn on qualifying purchases.
Why Proper Calibration Microphone Placement Is Essential
Proper calibration microphone placement is essential because it directly impacts the accuracy of your sound measurements. When you position the microphone correctly, you ensure that the audio signal captured truly reflects the acoustic environment. If the microphone is placed poorly, external factors like reflections, background noise, or sound source distance can distort your readings. Accurate placement reduces the risk of measurement errors, giving you reliable data for analysis or adjustments. Remember, the goal is to capture a representative sample of the environment’s sound. Proper placement helps you avoid misleading results caused by uneven sound distribution or interference. Additionally, understanding the acoustic environment and how it affects sound propagation can further improve calibration accuracy. Paying attention to sound reflections and how they influence measurements can help refine your positioning strategy. Recognizing the influence of sound wave behavior can also guide you in optimizing microphone placement for more consistent results. Considering room acoustics and their effect on sound diffusion can further enhance measurement precision, especially when accounting for standing waves and their impact on sound uniformity.
seeed studio ReSpeaker Mic Array v2.0 Microphones XMOS’s XVF-3000
Far-field Voice Capture/Support USB Audio Class 1.0 (UAC 1.0)
As an affiliate, we earn on qualifying purchases.
What’s the Key Rule for Microphone Placement During Calibration?
The key rule for microphone placement during calibration is to position the mic at the designated measurement point, typically at the listener’s ear level and facing the sound source directly. Ensuring correct microphone angles is vital, as even small deviations can skew calibration results. Follow calibration standards precisely, maintaining the microphone’s orientation consistent with the recommended angles for your setup. This precision helps prevent measurement errors and ensures the data collected reflects the true sound field. Proper alignment guarantees accurate measurement of the sound field, which is essential for achieving reliable calibration. Sticking to these key placement rules helps guarantee your calibration is precise, consistent, and compliant with industry standards. Adhering to these standards ensures optimal calibration accuracy and consistency across different setups. Additionally, being aware of proper microphone positioning techniques enhances the overall reliability of your calibration process, especially when considering spiritual alignment and the importance of intention in technical practices. Maintaining consistent microphone orientation also minimizes variability, ensuring your measurements are truly representative of the environment.

Calibration Microphone for Seamless Integration with Home Audio Systems Enhance Your Audio Experience
[OPTIMIZED FOR VIDEO RECEIVER SYSTEMS] This calibration microphone is specifically designed for video receiver home theater systems, ensuring...
As an affiliate, we earn on qualifying purchases.
How to Position Your Microphone at the Right Distance From the Source
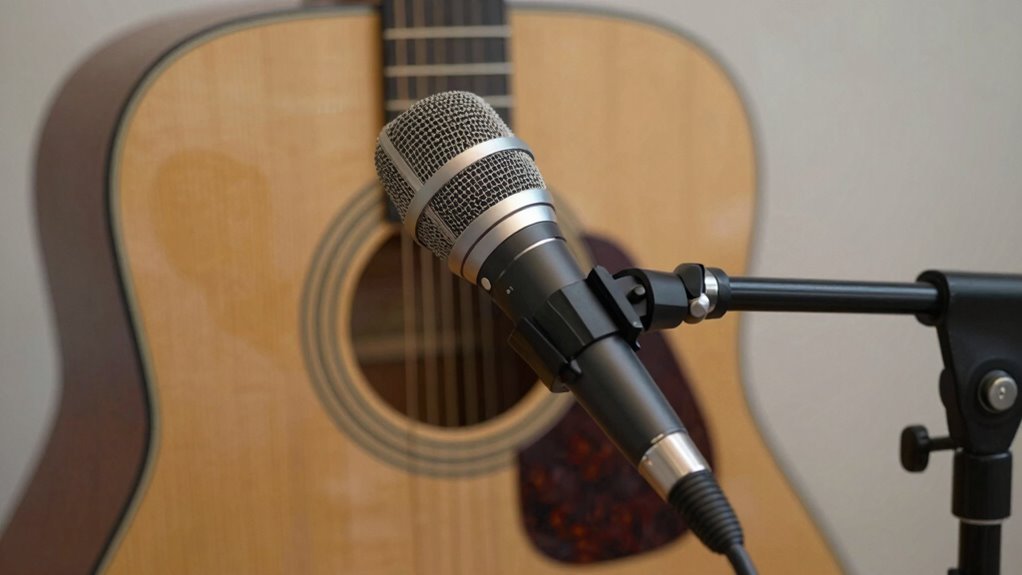
How close you position your microphone to the sound source substantially impacts measurement accuracy during calibration. Proper placement strategies guarantee reliable results, so avoid placing the mic too close or too far. Generally, keep the microphone at a distance where it captures a clear, representative sound without distortion or excessive noise. Calibration best practices recommend starting with a moderate distance—about a meter—and adjusting based on the environment and source. If the mic is too close, you risk capturing direct sound that skews the measurement; too far, and ambient noise may interfere. Consistency is key, so mark ideal positions for future calibrations. Understanding acoustic principles can further improve your calibration accuracy. Additionally, ensuring the microphone’s orientation and angle are correct contributes significantly to the overall measurement reliability. Proper microphone placement also involves considering sound wave behavior to optimize signal capture and minimize interference. Recognizing how sound wave propagation affects your measurements can help you fine-tune placement for optimal results. Being aware of room acoustics can also influence your positioning choices to achieve the most accurate readings.

ZC875700 YAMAHA SETUP MICROPHONE
Optimize Sound By Using The Original Microphone!
As an affiliate, we earn on qualifying purchases.
How to Find the Best Height and Orientation for Accurate Results
Finding the right height and orientation for your microphone is key to ensuring accurate calibration results. Start by adjusting the placement height so the mic is roughly at the source’s ear level or the target measurement point. This helps capture sound accurately without interference. Next, focus on orientation angles; angle the microphone so it directly faces the source, minimizing off-axis sound capture and reflections. Small adjustments to the orientation angles can considerably improve accuracy. Keep the mic steady and aligned consistently during calibration. Avoid placing the mic too high or low, as this can distort measurements. Proper height and orientation ensure your calibration captures the true sound characteristics, leading to reliable and precise results every time. Additionally, understanding the importance of microphone positioning can help you optimize your setup for even better accuracy. Paying attention to microphone placement ensures the best possible sound capture for calibration. Remember that consistent microphone alignment is essential for achieving dependable results. Maintaining correct microphone orientation also helps prevent measurement errors and improves overall calibration reliability. Using precise positioning techniques can further enhance calibration accuracy by reducing environmental interference.
Common Placement Mistakes That Hurt Calibration Accuracy

One common mistake is using incorrect mic placement techniques that distort your calibration results. Ignoring the calibration environment can introduce errors, while failing to perform consistency checks leaves issues unnoticed. Sound healing vibrations can influence the accuracy of sound calibration if not properly accounted for. Avoid these pitfalls to guarantee your calibration stays accurate and reliable. Paying attention to regional flavor nuances can further enhance calibration precision by accounting for unique acoustic characteristics. Additionally, understanding systematic troubleshooting methods can help identify and correct underlying issues affecting calibration accuracy. Recognizing how child development principles impact acoustic environments can also improve calibration outcomes in settings involving children.
Incorrect Mic Placement Techniques
Incorrect microphone placement can considerably compromise calibration accuracy, leading to skewed measurements and unreliable results. Poor positioning often results from ignoring the proper distance, angle, or orientation relative to the sound source. These mistakes include placing the mic too close or too far, not aligning it correctly, or using inconsistent angles. Such incorrect placement affects the mic’s ability to capture true sound characteristics, distorting calibration data. To avoid these pitfalls, remember:
- Inconsistent distances cause unreliable readings.
- Improper angles skew frequency response.
- Ignoring environmental reflections impacts accuracy.
- Moving the mic during calibration introduces errors.
Ignoring Calibration Environment
Ignoring the calibration environment can considerably undermine measurement accuracy, even if the mic is properly positioned. Your calibration environment directly affects the results; ambient noise can distort readings and lead to false conclusions. If you calibrate in a noisy setting, ambient noise may be mistaken for the signal you’re measuring, causing misadjustments. Similarly, reflections from nearby surfaces or inconsistent backgrounds can alter the calibration environment, reducing accuracy. Always choose a quiet, controlled space for calibration, free from distractions and ambient noise. By neglecting the calibration environment, you risk compromised measurements that can affect your entire setup. Paying attention to your environment ensures your calibration is reliable, giving you confidence in your measurements and preventing costly mistakes down the line.
Overlooking Consistency Checks
Failing to perform consistency checks during calibration can seriously compromise your measurement accuracy. Without these checks, you might miss issues like sensor drift or fluctuating environmental noise that distort results. Regular verification helps identify anomalies early, ensuring your microphone remains reliable. Neglecting this step can lead to inaccurate data, especially over time as conditions change. Be vigilant about:
- Ignoring sensor drift, which subtly skews measurements
- Overlooking environmental noise that affects sound stability
- Skipping repeated tests to confirm calibration consistency
- Failing to document discrepancies for future adjustments
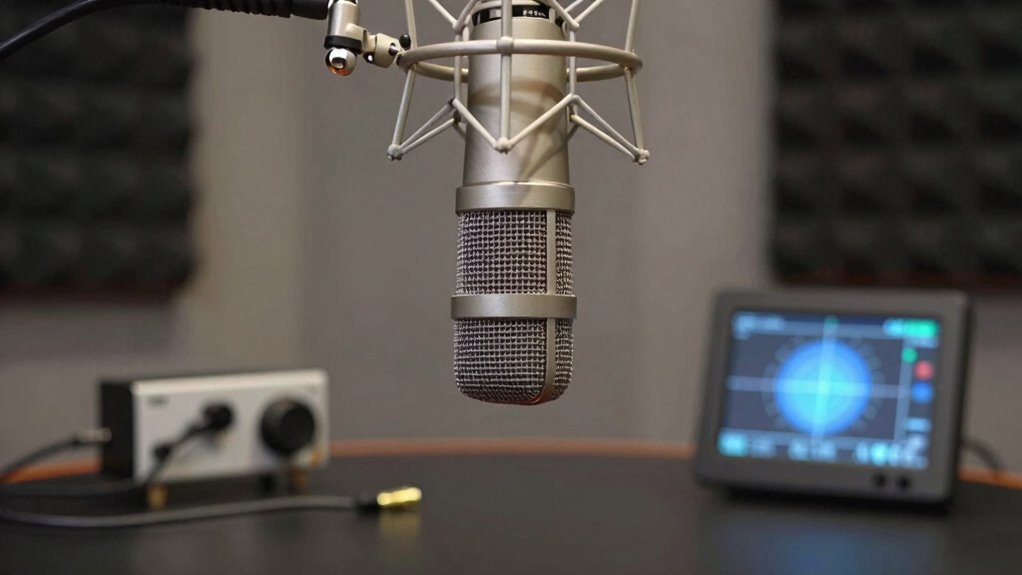
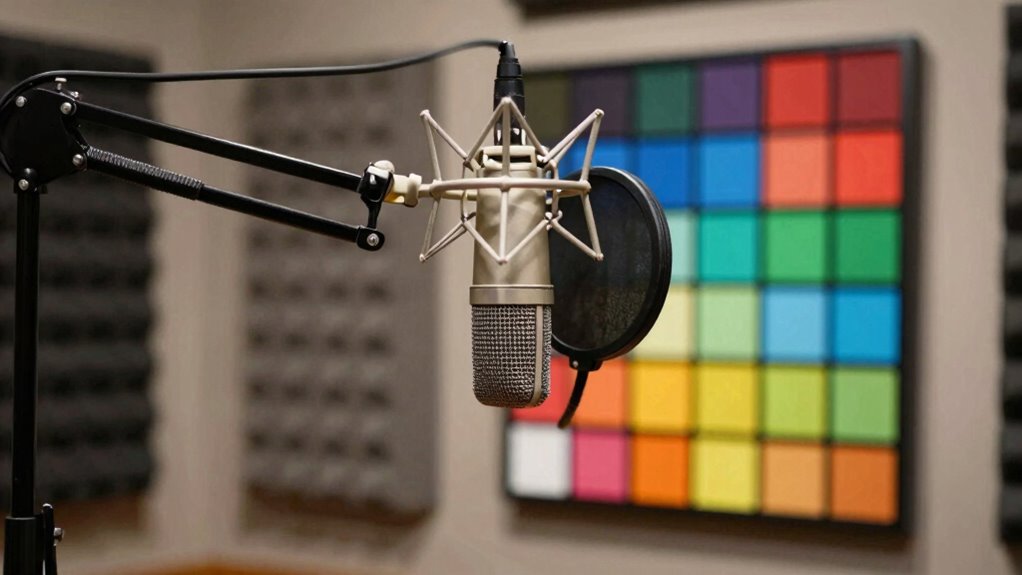
Tools and Tips to Ensure Consistent Microphone Placement
Ensuring consistent microphone placement can considerably improve the reliability of your recordings, and using specific tools and techniques makes this process much easier. To achieve this, consider using marked stands or tape guides to replicate placement consistently. An audio interface with visual input meters helps verify your positioning accuracy. Good sound treatment reduces unwanted reflections, making mic placement more forgiving. Additionally, using a laser pointer or a ruler ensures precise distances. Here’s a helpful table:
| Tool | Purpose | Tip |
|---|---|---|
| Marked Stand | Consistent height and angle | Mark the stand for quick setup |
| Tape Guides | Repeatable placement | Use painter’s tape for marks |
| Audio Interface | Monitoring mic levels | Ensure proper gain settings |
| Ruler | Precise distance measurement | Measure mic-to-source spacing |
| Sound Treatment | Reduce room reflections | Improve overall sound quality |
These tools streamline your process, guaranteeing your mic stays in the correct spot every time.
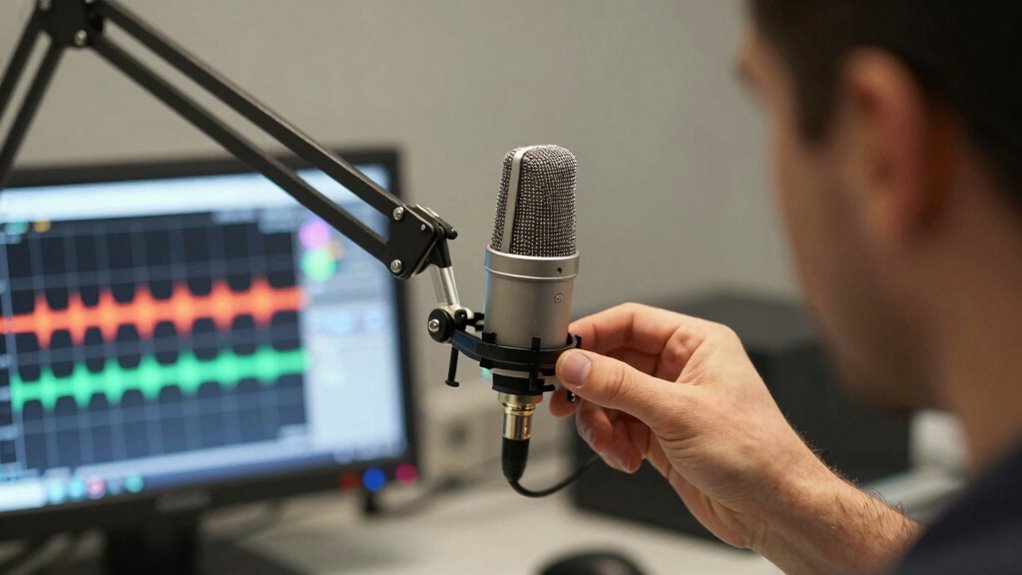
How to Check If Your Microphone Is Correctly Positioned
Once you’ve set your microphone in the correct spot using your chosen tools, it’s important to verify its placement before recording. To do this, listen closely to the sound wave and check the frequency response. Make certain the mic captures your voice clearly without unwanted noise or distortion. Here are key points to consider:
Verify microphone placement by listening for clear, distortion-free sound and consistent frequency response.
- Confirm the sound wave remains consistent across your speaking range.
- Use a test tone or reference sound to evaluate response accuracy.
- Check for any muffling or exaggerated frequencies indicating misplacement.
- Maintain a steady distance to avoid phase issues or uneven sound capture.
Incorporating Proper Microphone Placement Into Your Calibration Workflow
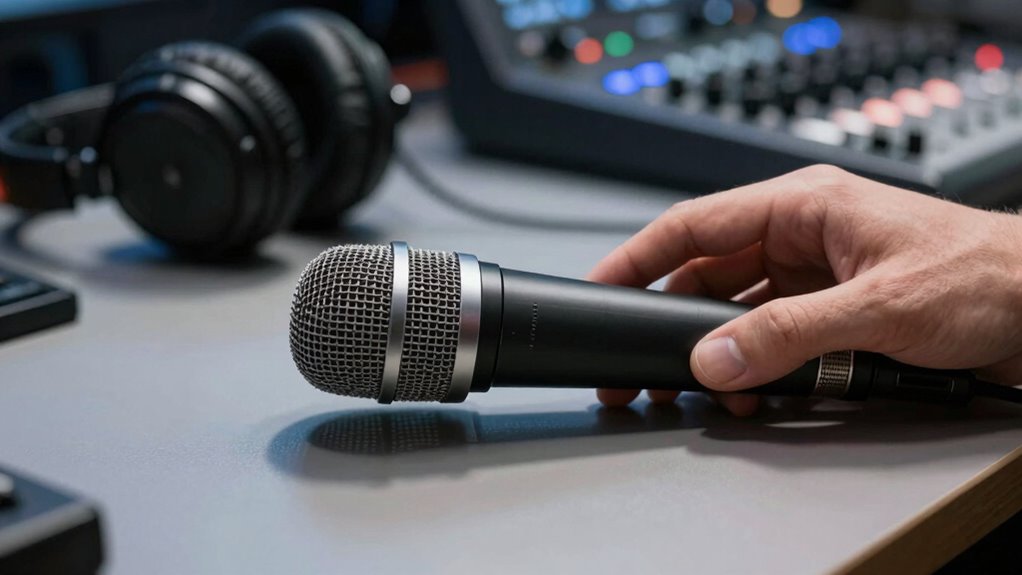
To effectively incorporate proper microphone placement into your calibration workflow, you need to establish a consistent process that guarantees ideal sound capture every time. Begin by aligning with calibration standards to ensure accuracy across sessions. Use reliable microphone accessories, such as stands and mounts, to maintain stable positioning. Consistency in placement minimizes variables that can affect calibration results. Before every calibration, double-check that your microphone is positioned according to your predefined standards. Record the exact placement details to replicate the setup precisely in future sessions. Regularly inspect your accessories for wear or damage, replacing them as needed. This disciplined approach ensures your calibration process remains reliable, repeatable, and aligned with industry standards, ultimately delivering accurate and consistent sound measurements.
Frequently Asked Questions
How Does Room Acoustics Influence Microphone Placement During Calibration?
Room acoustics profoundly impact microphone placement during calibration. You need to contemplate room reflections, which can cause sound waves to bounce and create echoes, affecting accuracy. Sound absorption helps reduce these reflections, so place your mic where it minimizes echo and maximizes direct sound capture. By understanding how room reflections and absorption interact, you can position your mic for precise calibration, ensuring your audio system performs most effectively.
Can Different Microphone Types Require Varying Placement Rules?
Yes, different microphone types require varying placement rules because their sensitivity, frequency response, and polar patterns differ. You need to adjust placement based on whether you’re using a condenser, dynamic, or ribbon mic, guaranteeing ideal calibration. Proper placement affects calibration frequency and accuracy, so you can capture clear sound with minimal noise. By tailoring your approach, you guarantee consistent results, clear recordings, and reliable performance across all microphone types.
What Role Does Microphone Polar Pattern Play in Placement Decisions?
Your microphone’s polar pattern plays a vital role in placement decisions because it determines how the mic captures sound from different directions. For accurate placement and ideal placement accuracy, you need to position the mic where its polar pattern best suits the sound source. For example, a cardioid pattern should face the source directly, reducing unwanted noise and ensuring clear, focused audio. Adjusting placement based on polar pattern improves overall sound quality.
How Often Should Calibration Microphone Placement Be Re-Evaluated?
You should re-evaluate your calibration microphone placement whenever you notice changes in your recording environment or equipment. Typically, maintaining consistent placement is essential for reliable calibration, so check it regularly—at least every few months or after significant setup modifications. Ensuring calibration frequency and placement consistency helps achieve accurate measurements, leading to precise sound reproduction and ideal audio quality across your recordings.
Are There Industry Standards for Microphone Placement During Calibration?
Imagine your calibration process as a dance, where each step must be precise. Industry standards and calibration protocols guide your moves, ensuring microphone placement is consistent and reliable. These standards, often set by organizations like ANSI or IEC, specify distances and angles. Following them helps you achieve accurate measurements, much like a dancer hitting every mark on stage. Staying aligned with industry standards guarantees your calibration stays trustworthy and performance-ready.
Conclusion
Remember, proper microphone placement is the cornerstone of accurate calibration. If you follow the key rules—like distance, height, and orientation—you’ll avoid common pitfalls and guarantee your measurements are spot-on. Think of it as your secret weapon, much like a well-placed quill in a medieval scriptorium, helping you craft precise audio setups every time. Keep these tips in mind, stay consistent, and your calibration results will impress even the most discerning ear.