In small room projector setup, key terms include throw distance, which is the space from your projector to the screen, and throw ratio, the ratio that guides your placement for the right image size. Mounting options like ceiling or wall mounts affect image stability and quality. Adjust keystone correction and lens shift to straightens images without distortion. Managing brightness and screen size helps prevent glare and eye strain. Keep exploring to learn how these elements work together for perfect picture clarity.
Key Takeaways
- Understand optimal mounting options like ceiling or wall brackets to maximize space and stability.
- Use proper measurement of throw distance and throw ratio to ensure correct projector placement.
- Adjust projection angle, lens shift, and keystone correction to achieve distortion-free images in tight spaces.
- Select appropriate brightness and screen size to prevent glare, eye strain, and maintain image clarity.
- Consider setup factors such as obstruction avoidance and room lighting to optimize image quality and viewing comfort.

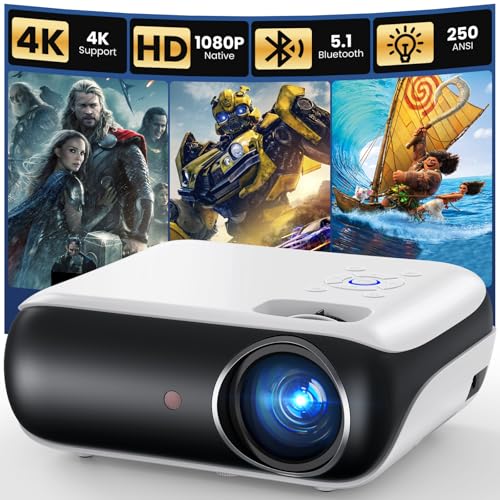
4K Projector with Built-in Apps, 1500ANSI Auto Focus&6D Keystone Dolby Audio Kogata Smart Projector with WiFi 6 Bluetooth Outdoor Movie Proyector for Home Theater HDR10+ UPGRADE
【UPGRADE Version】Unlimited Streaming –Compatible with Netflix & Dolby Audio& DTS Audio: The Kogata GC357 home projector comes with...
As an affiliate, we earn on qualifying purchases.
Common Terminology for Small Room Projector Setup
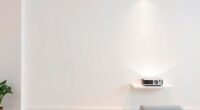
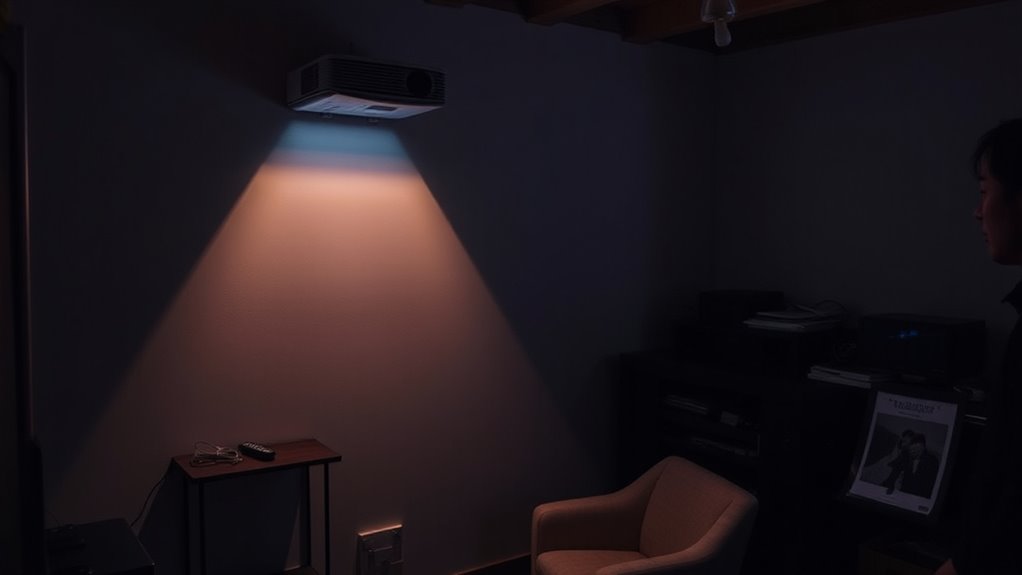
Understanding key terms is essential when setting up a projector in a small room. The projection angle refers to how you position your projector relative to the screen, affecting image clarity and focus. A proper angle ensures the image is straight and undistorted. Ambient light, on the other hand, influences how bright your projector needs to be; in a room with lots of light, you’ll want a higher lumens rating to maintain visibility. Knowing these terms helps you make informed choices about placement. Adjusting the projection angle minimizes keystone distortion, while controlling ambient light—by dimming or blocking it—improves picture quality. Fabric decorating markers can also be used to label or decorate your setup area for added organization and style. Mastering these concepts ensures you get a crisp, clear image suited to your small room’s environment. Proper placement also supports seamless integration with existing logistics software, enhancing overall setup efficiency. Additionally, understanding the recommended Glycolic Acid concentrations can help in selecting suitable skincare products for your routine.
Furthermore, considering Powerful persuasive words in your setup instructions can help communicate tips more effectively to users.
![[Built-in Apps/4K Support] Smart Outdoor Projector with WiFi and Bluetooth, Movie Projector, DoIby Audio with Dual Speaker, Auto Focus w/ YouTube&PrimeVideo Proyector, Upgrad P62 Pro](https://m.media-amazon.com/images/I/51yAGv8VI7L._SL500_.jpg)
[Built-in Apps/4K Support] Smart Outdoor Projector with WiFi and Bluetooth, Movie Projector, DoIby Audio with Dual Speaker, Auto Focus w/ YouTube&PrimeVideo Proyector, Upgrad P62 Pro
[Upgraded Classic – P62 Pro Movie Projector] Building on the reliability and low return rate of the classic...
As an affiliate, we earn on qualifying purchases.
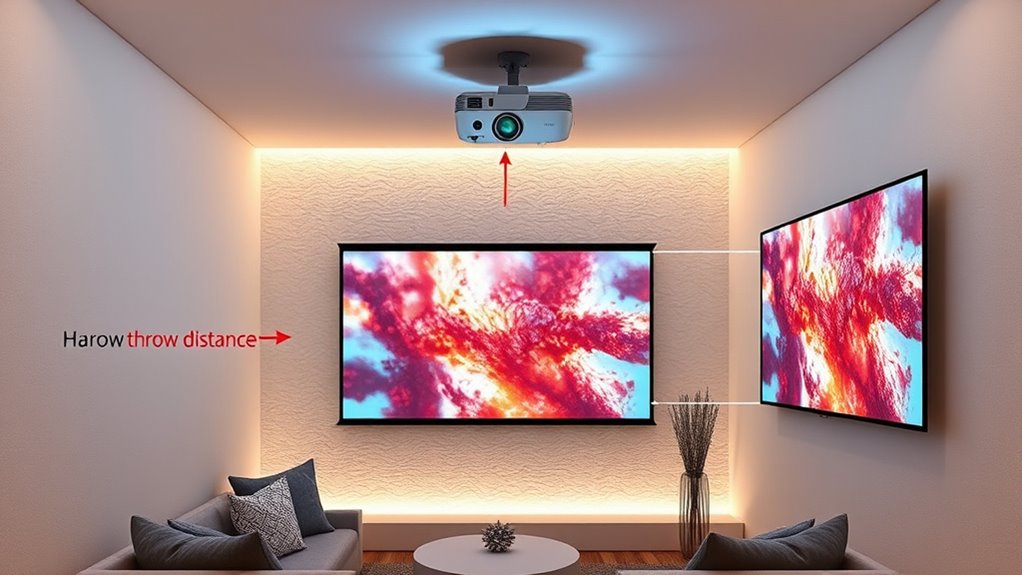
Understanding Throw Distance and Throw Ratio
Knowing how to measure throw distance helps you position your projector correctly. Calculating the throw ratio then tells you how much space you need for a specific screen size. Together, these points make it easier to find the perfect setup for your small room. For example, choosing the right projector tuning can optimize image quality and ensure optimal placement. Additionally, understanding the passive voice detection process can help you write clearer, more direct instructions for setup. Incorporating engine tuning principles can further refine your projector’s performance and image clarity. Being aware of security considerations related to home electronics can also help protect your equipment from theft or damage. Staying informed about AI vulnerabilities, such as bias or jailbreak techniques, is also essential for maintaining secure and reliable home technology systems.
Measuring Throw Distance
Measuring throw distance is essential for achieving a clear, properly sized image in your small room. Correct measurement ensures the projector’s placement aligns with your desired projection angles, avoiding distortion or image cutoff. To determine the right distance, consider these factors:
- The projector’s throw ratio and how it relates to your room size
- The ideal placement to minimize keystone correction
- How projection angles affect image quality
- Space for audio integration without crowding
- Ensuring enough room for future adjustments
- Understanding cookie categories can help you better plan your setup and manage device compatibility.
Additionally, understanding projection placement and how it interacts with room dimensions can help you optimize your setup for both image clarity and comfort. Accurate measurements help prevent image mismatch and optimize picture clarity. Proper throw distance also impacts audio placement, ensuring sound aligns well with the projected image. Considering the electric power generation capabilities of your projector setup can help you plan for additional features like built-in speakers or external audio sources. Recognizing the importance of local legal resources can also be beneficial if you need professional assistance with setup or troubleshooting. By paying close attention to these details, you’ll create a seamless viewing experience tailored to your small room’s constraints, especially when accounting for Gold IRA investment principles that emphasize accurate planning and diversification.
Calculating Throw Ratio
Calculating the throw ratio helps you determine where to place your projector for the best image size in your small room. To do this, divide the projector’s throw distance by the width of your projector screen. This ratio tells you how far the projector needs to be from the screen to produce a specific image size. If you’re using ceiling mounts, understanding throw ratio guarantees proper placement without blocking airflow or access. Many projectors list their throw ratio in specifications, making it easier to plan your setup. Keep in mind that a short-throw projector is ideal for small rooms, as it can produce large images from a short distance. Accurately calculating throw ratio helps you avoid placement errors and ensures your projector fits well within your space constraints. Additionally, considering the contrast ratio of your projector can enhance the overall image quality in confined spaces. Being aware of lens shift options can also provide more flexible placement choices in tight environments, and understanding alimony laws can assist in financial planning if you’re navigating a divorce or separation. Moreover, understanding sound quality can ensure your setup includes adequate audio for an immersive experience. Recognizing the AI capabilities of modern projectors can also improve your multimedia experience by enabling smarter, more adaptive features.
HAPPRUN Native 1080P Projector, Bluetooth Home Theater Movie Projector with Built-in Speaker, Compatible with Smartphone, HDMI, Fire Stick, PS5, Indoor & Outdoor Use - Without Google TV System
[ Native 1080P Full HD Resolution ] - Enjoy crystal-clear visuals with HAPPRUN H1's native 1920x1080 resolution, delivering...
As an affiliate, we earn on qualifying purchases.
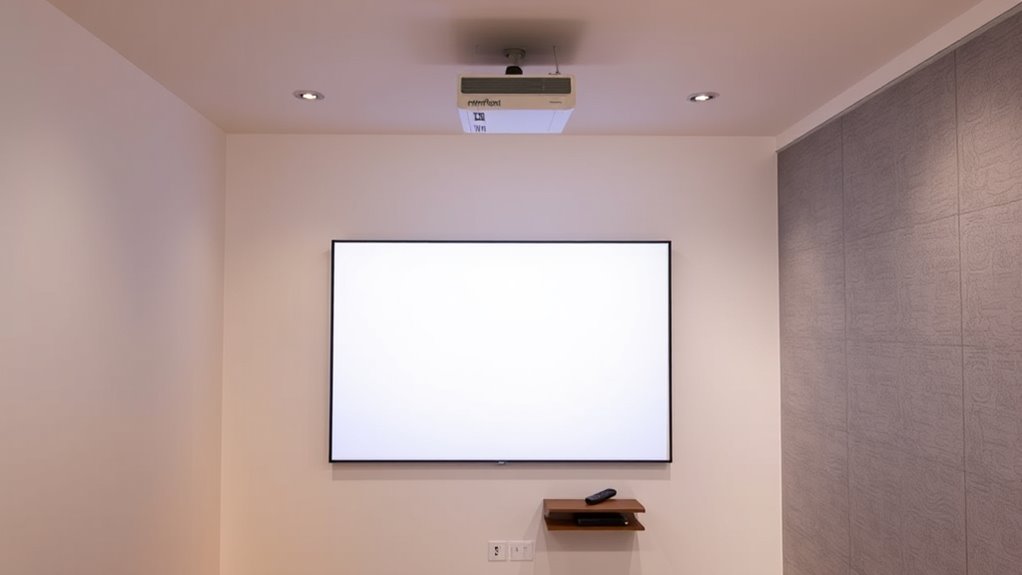
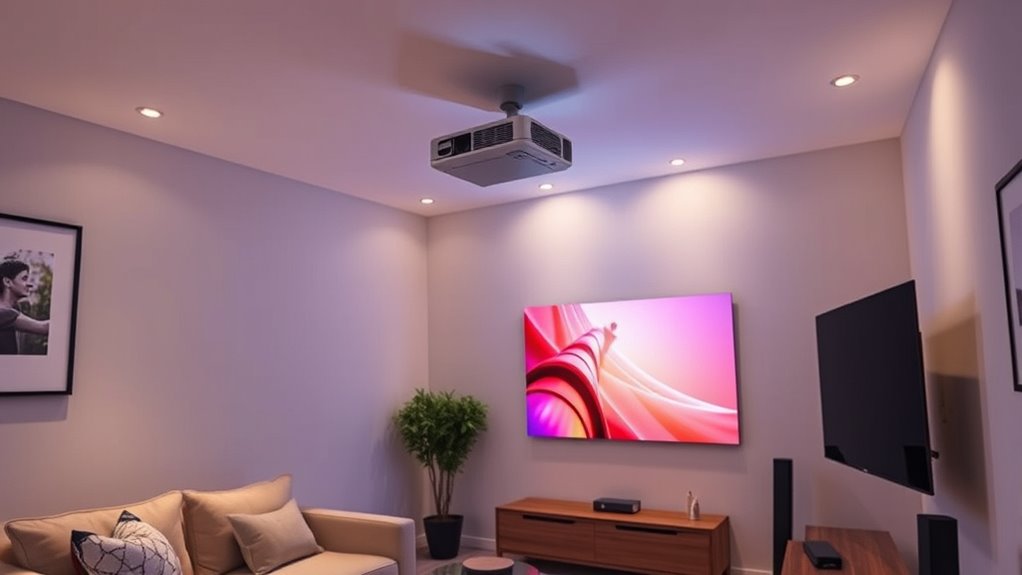
Optimal Placement Strategies for Limited Spaces
When space is limited, careful placement of your projector becomes essential to maximize image quality and functionality. To save space, consider options like ceiling mounting or wall projection. Ceiling mounting keeps the projector out of the way and provides a stable setup, ideal for small rooms. Wall projection allows you to project directly onto a blank wall, minimizing the need for furniture placement. Keep these tips in mind:
- Use adjustable mounts for precise positioning
- Opt for wall projection on flat, solid surfaces
- Place the projector at an ideal height for clear images
- Avoid obstructions between the projector and screen
- Ensure sufficient distance for your throw ratio
- Optimal angles can significantly impact image clarity and focus, so experiment with positioning to achieve the best results. Adjusting the projector’s position to match the recommended bulb replacement hours can also help maintain optimal image brightness and color accuracy over time. Additionally, choosing a projector with compact design can further enhance space-saving options in small rooms.
With these strategies, you’ll enhance limited space without sacrificing image quality or viewing experience.

Epson Home Cinema 980 3-Chip 3LCD 1080p Movie Projector with Built-In Speaker, 4000 Lumens Color and White Brightness, Fast-Action TV Streaming and Gaming, Auto Picture Skew, 2 HDMI Ports
HOME THEATER PROJECTOR — Bring your entertainment experience to the next level; With detailed 1080p images and fast...
As an affiliate, we earn on qualifying purchases.
Mounting Options and Their Impacts on Image Quality
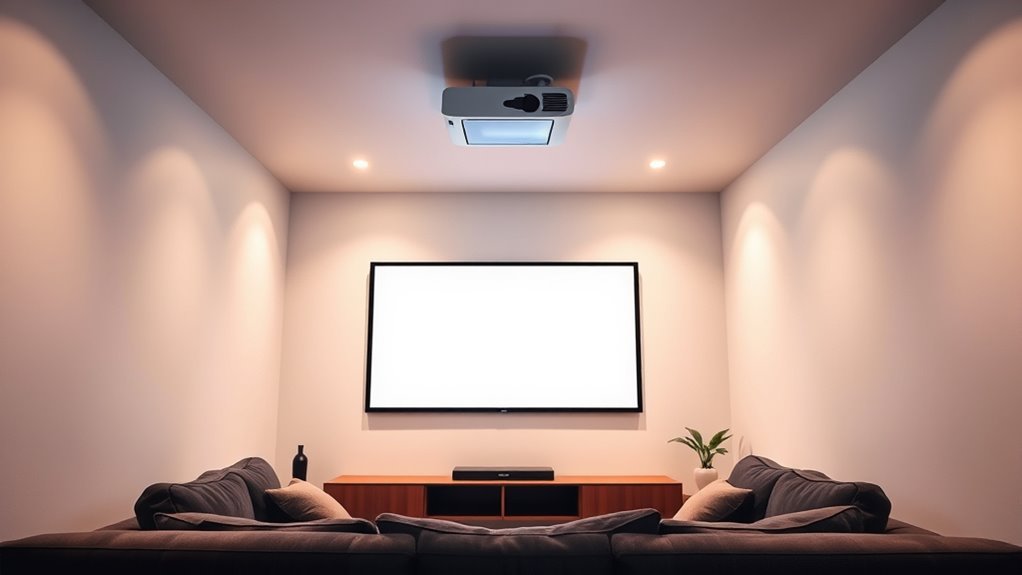
Choosing the right mounting option directly affects your projector’s image quality. Ceiling mounts are ideal for stability and consistent positioning, reducing vibrations that can blur images. They also free up space and keep the projector out of the way. Wall brackets are a versatile alternative, allowing placement at various angles and heights, but improper installation can cause slight misalignments, affecting focus and keystone correction. Both options help maintain the projector’s ideal distance from the screen, which is vital for sharp, clear images. Secure installation is necessary; loose mounts or brackets can cause shifting, resulting in distorted images or reduced clarity. Ultimately, selecting the appropriate mounting option ensures your projector remains steady, aligned, and capable of delivering the highest image quality in your small room.
Adjusting Keystone and Lens Shift for Better Alignment
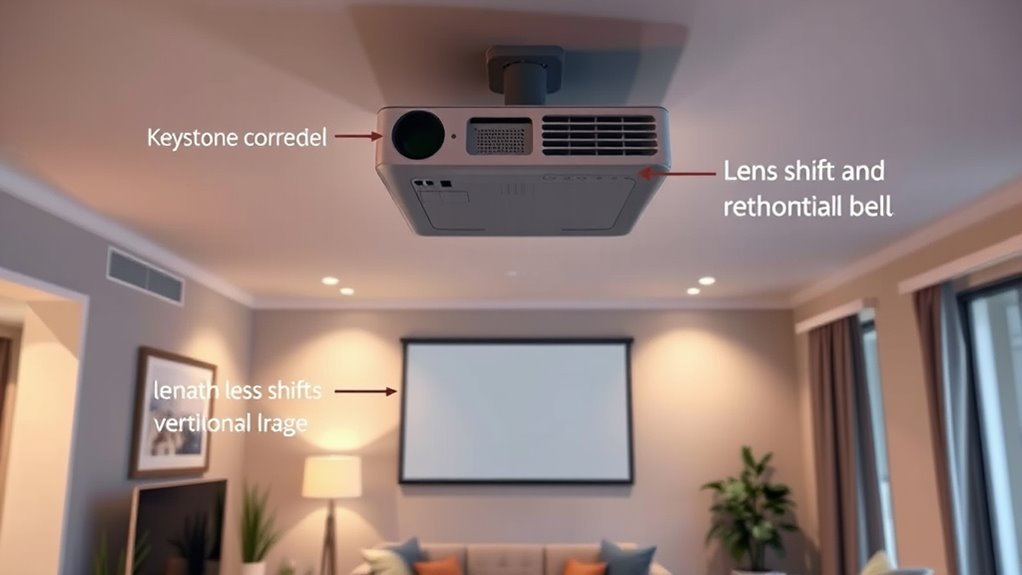
To get a clear, properly aligned image, you’ll want to master keystone correction techniques and optimize lens shift. Adjusting these settings helps fix distorted images caused by your projector’s placement. Let’s explore how to use them effectively for the best viewing experience.
Keystone Correction Techniques
Keystone correction techniques are essential for achieving a properly aligned projection in small rooms. They help fix lens distortion caused by projecting at an angle, ensuring your image remains rectangular. Proper adjustment also contributes to accurate projector calibration, reducing the need for extensive repositioning. To optimize your setup, consider these methods:
- Use digital keystone correction sparingly to avoid image quality loss
- Adjust physical lens shift for better alignment without digital distortion
- Keep the projector perpendicular to the screen when possible
- Position the projector closer to the center of the screen to minimize keystone
- Test different angles to find the most natural, distortion-free image
Applying these techniques helps maintain a clear, rectangular display, making your small room viewing experience more immersive and enjoyable.
Lens Shift Optimization
Optimizing lens shift and keystone adjustments is essential for achieving a seamless, aligned projection in small rooms. Proper lens alignment guarantees that your image stays straight without skewing or uneven borders. By fine-tuning lens shift, you can move the image horizontally or vertically without sacrificing quality, avoiding unnecessary image distortion. This helps you position the projector off-center or at an angle, which is often necessary in tight spaces. Be cautious not to overuse digital keystone correction, as it can introduce artifacts and degrade image clarity. Instead, rely on lens shift to maintain image integrity. Regularly check the alignment, ensuring the projected image is square and distortion-free, giving you a professional-looking setup even in small, challenging spaces.
Tips for Managing Brightness and Screen Size in Compact Rooms

Managing brightness and screen size in small rooms can be challenging, but with the right adjustments, you can create a comfortable viewing experience. To optimize your setup, consider these tips:
- Adjust the projector’s brightness to prevent glare and eye strain
- Choose a smaller screen size to suit the room’s dimensions
- Use blackout curtains or dimmable lighting to control ambient lighting
- Position the projector to minimize reflections and ambient light interference
- Use a matte screen surface to enhance contrast and reduce light washout
Balancing screen size with ambient lighting ensures you won’t need excessive brightness, which can cause discomfort. Keep immersive viewing in mind, but don’t sacrifice clarity or comfort. Proper management makes all the difference in small rooms.
Frequently Asked Questions
How Does Ambient Light Affect Projector Performance in Small Rooms?
Ambient light interference can greatly diminish your projector’s image quality, making it harder to see details or colors clearly. In small rooms, managing room brightness is essential; dimming lights or closing curtains helps minimize glare and enhances contrast. By controlling ambient light, you guarantee your projector performs at its best, providing a bright, vivid picture that’s easy to view even in less-than-ideal lighting conditions.
Can Ceiling-Mounted Projectors Cause Image Distortion in Tight Spaces?
Ceiling-mounted projectors can cause image distortion if you don’t carefully consider mounting height and ceiling angle. Studies show that improper mounting leads to up to 30% image distortion. To avoid this, position the projector at the ideal mounting height and set the ceiling angle correctly. This ensures a clear, undistorted image, even in tight spaces. Proper setup makes a significant difference in your viewing experience.
What Are the Best Screen Materials for Small Room Projectors?
You should choose screen materials with high screen gain for brighter images in your small room. Look for durable options like matte white or glass bead screens, which resist damage and maintain image quality over time. These materials provide good reflectivity and durability, ensuring your projector’s image stays clear and vibrant. Prioritize a balance between high gain and material durability to get the best viewing experience in limited space.
How Do Different Projector Lens Types Impact Image Clarity?
Different projector lens types substantially impact your image clarity. Wide-angle lenses reduce lens distortion, offering a broader, more immersive view, while standard lenses prioritize image sharpness and detail. Zoom lenses allow flexibility, balancing image size and clarity without distortion. Telephoto lenses focus tightly, enhancing sharpness at long distances but risking distortion if not used properly. Your choice of lens type directly influences how crisp and distortion-free your projected image appears.
Are Portable Projectors Suitable for Small Room Setups?
Yes, portable projectors are great for small room setups because they’re compact and easy to move around. You can quickly set them up on a desk or mount them without needing much space. Their flexibility makes them perfect for small rooms, letting you enjoy a big-screen experience without clutter. Just make certain you choose a portable projector with the right brightness and throw distance for your specific room size.
Conclusion
Now that you know the key terms, placement tips, and mounting options, you’re ready to set up your projector confidently. Remember to contemplate throw distance, adjust keystone and lens shift, and manage brightness for the best viewing experience. With these strategies, you’ll optimize your small room space, enhance your image quality, and create a cozy, immersive viewing environment. Confidence, clarity, and comfort—your perfect projector setup starts here.