To optimize image brightness and contrast across different rooms, start by adjusting your settings based on natural or artificial light sources. In naturally lit spaces, increase contrast slightly to enhance details and maintain natural color balance. In artificially lit rooms, reduce brightness if oversaturated and boost contrast to prevent flatness. Always calibrate colors first to address color casts. Small, thoughtful tweaks help achieve balanced, appealing images. Keep exploring to discover more tips for perfect adjustments in any environment.
Key Takeaways
- Adjust brightness and contrast based on the room’s natural lighting, increasing contrast in well-lit spaces and reducing brightness in darker rooms.
- Use subtle brightness tweaks to maintain a natural look and prevent overexposure or dullness.
- Correct color temperature before adjusting brightness and contrast, especially in rooms with artificial lighting.
- Evaluate images on different screens and lighting conditions to ensure balanced appearance across environments.
- Make incremental adjustments to preserve image authenticity and avoid unnatural results in varying room conditions.
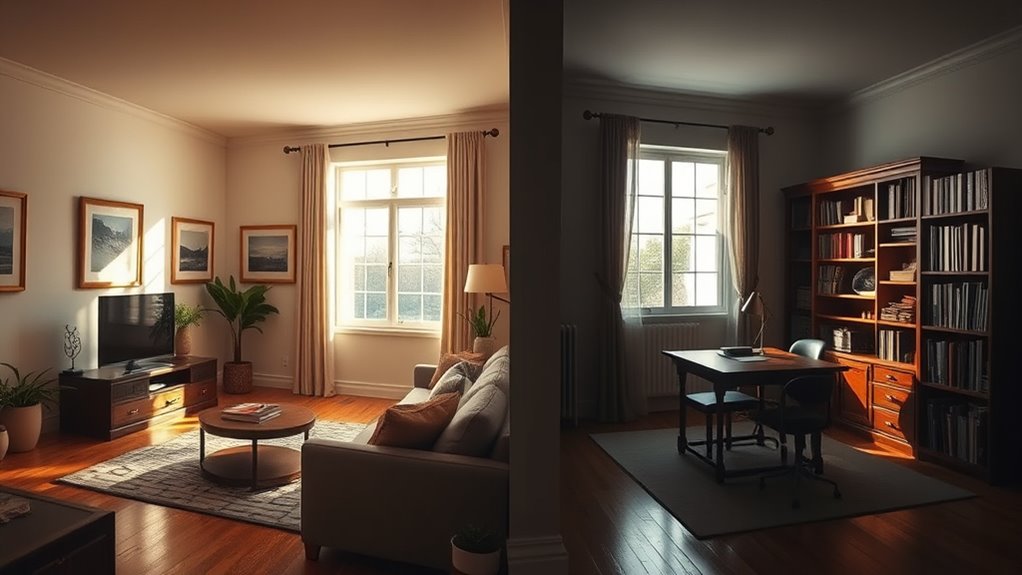
Adjusting the brightness and contrast of an image can dramatically improve its visual impact and clarity. Whether you’re working with photos or digital displays, understanding how different lighting conditions influence your images is essential. In rooms with abundant natural lighting, you’ll find that the brightness levels are often higher, creating a soft, even glow that enhances details without additional effort. Natural lighting tends to produce more accurate colors and offers a balanced tone, but it can also vary throughout the day, making it necessary to adjust contrast to prevent washed-out or overly dark images. When you’re editing images in these spaces, rely on subtle tweaks to brightness to preserve the natural ambiance, while increasing contrast can help define edges and add depth, making your images pop. Recognizing the importance of foundational knowledge, such as Net+ Certification Benefits, can also help you understand the technical aspects behind image editing tools and techniques.
In contrast, rooms that rely heavily on artificial illumination present a different challenge. Artificial lighting, such as incandescent, fluorescent, or LED lights, can introduce color casts and uneven lighting, which may distort the true appearance of your images. When editing in these environments, you need to be more precise with your adjustments. Lowering brightness slightly can compensate for overly bright artificial sources, preventing images from appearing washed out. Conversely, boosting contrast can help counteract flatness caused by harsh or uneven lighting. Keep in mind that artificial illumination often introduces color temperature issues, so you might need to adjust color balance before fine-tuning brightness and contrast. This way, your images will retain realistic colors, even under challenging lighting conditions.
Regardless of the room, a key tip is to evaluate your images on different screens and under various lighting environments. This helps ensure your adjustments look good across devices and settings. When working with natural lighting, aim to match the image’s tone to the environment’s ambiance, avoiding overexposure or loss of detail. For artificially lit spaces, consider using calibration tools or adjusting settings to neutralize color casts before tweaking brightness and contrast. If your goal is to create a balanced, visually appealing image, start with small incremental adjustments—overdoing it can lead to loss of detail or unnatural results. Remember, the goal is to enhance clarity and depth without sacrificing authenticity or creating unnatural effects.

【2200ANSI & Officially-Licensed APP】Smart 4K Projector with WiFi and Bluetooth, VISSPL 3D Dolby Audio and Auto Focus Portable Outdoor Projector, Movie Home Theater Proyector with 360° Adjustable Stand
[ Netflix Ready - No Extra Devices Needed ] – VISSPL Smart Projector: No TV stick, no casting,...
As an affiliate, we earn on qualifying purchases.
Frequently Asked Questions
How Does Natural Light Affect Image Adjustments?
Natural light critically impacts your image adjustments by affecting ambient lighting and color temperature. When there’s plenty of sunlight, your room’s ambient lighting is brighter, so you can lower brightness and contrast settings to prevent overexposure. Conversely, in dimmer natural light, increase brightness to maintain clarity. Adjusting for color temperature is also essential, as natural light shifts throughout the day, influencing how warm or cool your images appear.
What Tools Are Best for Manual Brightness and Contrast Tuning?
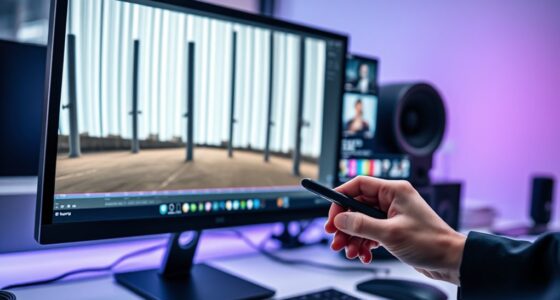
Imagine fine-tuning a painting, where precision is key. For manual brightness and contrast tuning, you should use calibration software like DisplayCAL or CalMAN, which offers detailed adjustment techniques. These tools give you control to calibrate your display accurately, ensuring maximum image quality. With their intuitive interfaces, you can make nuanced adjustments, balancing brightness and contrast to suit your environment and personal preference, resulting in a perfect picture every time.
Can Changing Wall Colors Impact Perceived Image Quality?
Changing wall colors can markedly impact perceived image quality because wall color influence the room ambiance, affecting how light interacts with your display. Darker walls may reduce glare and enhance contrast, making images appear sharper. Lighter walls reflect more light, which can brighten the room but sometimes wash out images. Consider the room ambiance you want to create, and choose wall colors that complement your screen settings for the best viewing experience.
How Often Should I Recalibrate My Display Settings?
You should recalibrate your display every few months to maintain ideal clarity, though it’s tempting to ignore this task. Regular calibration ensures display consistency, so your images stay vibrant and true to life. Don’t wait until colors look off or details fade; instead, set a routine—perhaps quarterly—to keep your screen looking its best. After all, consistent display quality makes every viewing experience worthwhile, right?
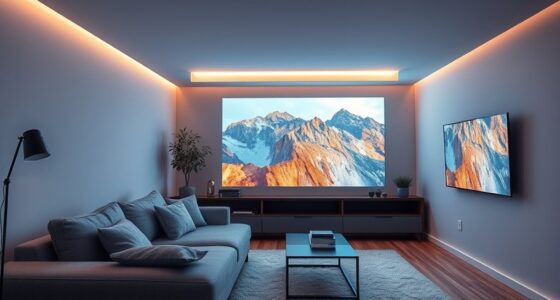
Are There Specific Settings for Different Types of Rooms?
Yes, there are room-specific settings you should consider. For rooms with bright, ambient lighting, increase your display’s brightness and contrast to prevent washed-out images. In dimmer rooms, lower these settings to reduce eye strain and improve clarity. Use display customization options to adjust for each room’s lighting conditions, ensuring ideal image quality. Regularly tweak these settings as lighting changes to maintain the best viewing experience.

2000 ANSI 4K Decoding Projector with WiFi and Bluetooth, HAPPRUN Movie Home Theater with Auto Focus, 300'' Display for Indoor/Outdoor, Smart Proyector Compatible with Phone/TV Stick/PC/PS5
[EASIER OPERATION: AI Smart Screen Adjustment] HAPPRUN projector comes with auto focus and 6D auto-keystone technology, enjoy a...
As an affiliate, we earn on qualifying purchases.
Conclusion
So, next time you adjust your lighting, remember that the perfect brightness and contrast can unexpectedly transform your space. Sometimes, a simple tweak in one room might reveal a hidden detail or create a surprising cozy vibe. It’s almost like your environment is whispering hints about what it needs. Trust those small coincidences—they might just lead you to your ideal lighting setup, making every room feel just right without overthinking it.

HAPPRUN Native 1080P Projector, Bluetooth Home Theater Movie Projector with Built-in Speaker, Compatible with Smartphone, HDMI, Fire Stick, PS5, Indoor & Outdoor Use -With Google TV System
[ Built-in Official Licensed Google TV ] - Without additional equipment, the smart projector can directly access Netflix,...
As an affiliate, we earn on qualifying purchases.

Epson Home Cinema 980 3-Chip 3LCD 1080p Projector 4,000 Lumens Color and White Brightness, Streaming/Gaming/ Media Room, Built-In Speaker, Auto Picture Skew, 16000:1 Contrast, 2 HDMI Ports
Exceptional Picture Quality — Provides stunning, detailed 1080p images and fast data processing that’s optimized for fast-action sports,...
As an affiliate, we earn on qualifying purchases.