
To fix color tints, you need to comprehend their causes, like incorrect white balance or mixed lighting, and use precise tools such as curves, levels, and color wheels to neutralize unwanted hues. Avoid overcorrecting, which can make things worse, and match your lighting conditions across shots with reference frames for consistency. Mastering these techniques ensures professional results, and if you keep going, you’ll discover even more ways to perfect your color correction skills.
Key Takeaways
- Proper white balance and calibrated lighting are essential for accurate color reproduction and avoiding unwanted tints.
- Use reference frames and histograms to identify and correct color casts precisely.
- Adjust RGB curves and levels carefully to neutralize dominant hues and restore natural tones.
- Employ advanced color grading tools and layering techniques for subtle, professional tint corrections.
- Avoid overcorrecting to prevent new color issues, maintaining consistency across shots for a polished look.

2000 ANSI 4K Decoding Projector with WiFi and Bluetooth, HAPPRUN Movie Home Theater with Auto Focus, 300'' Display for Indoor/Outdoor, Smart Proyector Compatible with Phone/TV Stick/PC/PS5
[EASIER OPERATION: AI Smart Screen Adjustment] HAPPRUN projector comes with auto focus and 6D auto-keystone technology, enjoy a...
As an affiliate, we earn on qualifying purchases.
Understanding the Root Causes of Color Tints
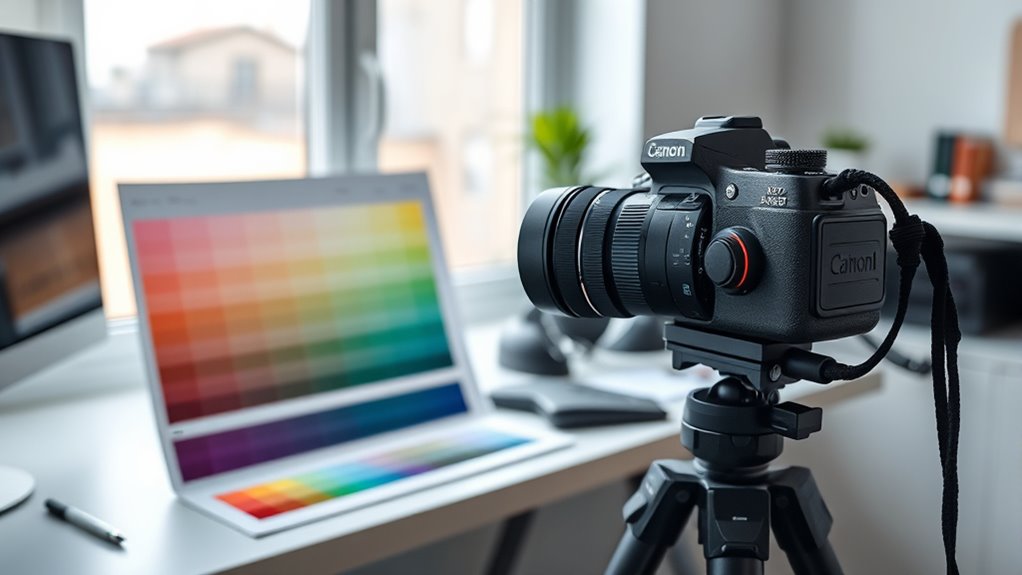
Color tints in images often originate from issues with your camera settings, lighting conditions, or the display device itself. One common cause is incorrect color temperature, which affects how colors appear in your photos. If your camera’s white balance isn’t set properly, it can introduce unwanted color casts. Ambient lighting also plays a significant role; warm lights can add a yellow or orange tint, while cool lighting can give a blue hue. These factors influence how your camera interprets and captures color, leading to tint problems. Understanding that lighting conditions and camera settings interact helps you recognize the root causes. Adjusting your camera’s white balance or controlling ambient lighting can prevent or reduce these color tints, ensuring more accurate and natural-looking images. Additionally, proper calibration of your display device ensures that the colors you see are true to life, helping you identify and correct tint issues more effectively. Recognizing color management principles is essential for maintaining consistent color accuracy across devices and mediums. Moreover, being aware of lifestyle factors such as workspace lighting and environment can also impact how colors are perceived on your screens. Being mindful of these environmental influences can further improve your color accuracy efforts, especially when combined with monitor calibration techniques.

GooDee Video Projector With Wifi And Bluetooth, Smart Portable Projector Movie System Compatible With Netflix/Dolby Audio/Auto Focus & Keystone, 4k Video Decode & 1080p Native For Home Theater/Outdoor
「Smart TV Projector」The Goodee AC321 4K projector is officially licensed by mainstream streaming platforms such as Netflix/YouTube/Prime Video,...
As an affiliate, we earn on qualifying purchases.
The Importance of Proper White Balance Adjustment

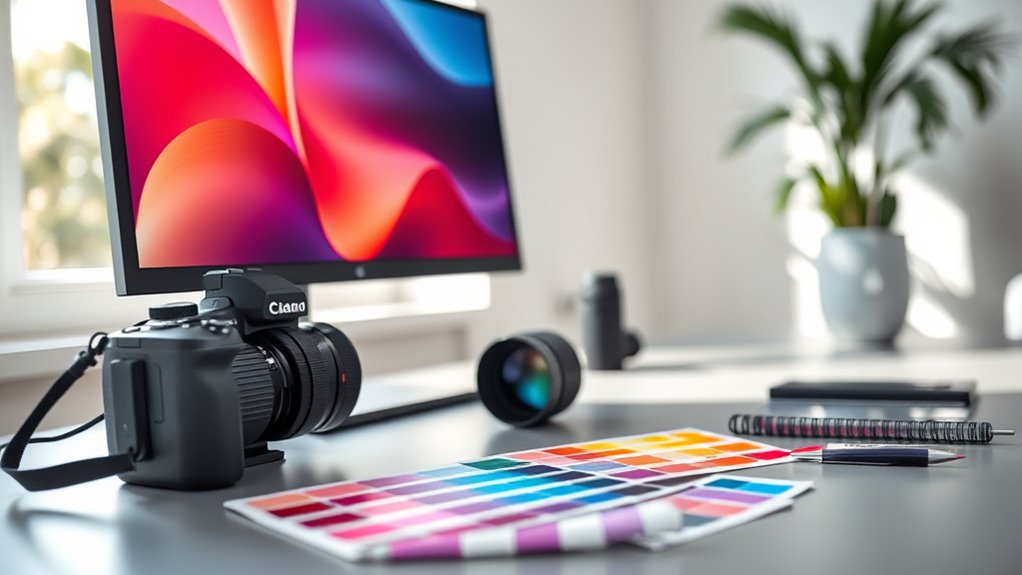
Proper white balance adjustment is essential because it guarantees your photos display colors accurately, reflecting the true scene. When you calibrate your camera correctly, it ensures that the colors captured match real-world hues, preventing unwanted color casts. Monitor calibration plays a vital role here too—it helps you view your images with accurate colors during editing, making adjustments more reliable. Without proper calibration, both your camera and monitor may introduce subtle color shifts, leading to inaccurate white balance and compromised image quality. Taking the time to calibrate your equipment ensures consistent color reproduction from capture to post-processing. This consistency allows you to make precise corrections, ultimately resulting in more natural, true-to-life images. Proper white balance adjustment is the foundation of professional-quality photography. For example, understanding 1023 Jack can help you recognize the importance of accurate color representation in digital spaces.

BenQ W4100i 4K HDR Smart Home Theater Projector, 3200 Lumens, 100% DCI-P3, Rec.709, Factory-Calibrated, Android TV with Netflix, 4-Way Lens Shift, HDR10+ & HLG Support, LED Long Lifespan
PROJECTOR-OPTIMIZED TRUE 4K UHD and HDR: HDR-PRO technology exclusive Local Contrast Enhancer and Tone Mapping for perfect details...
As an affiliate, we earn on qualifying purchases.
Using Curves and Levels to Correct Color Casts

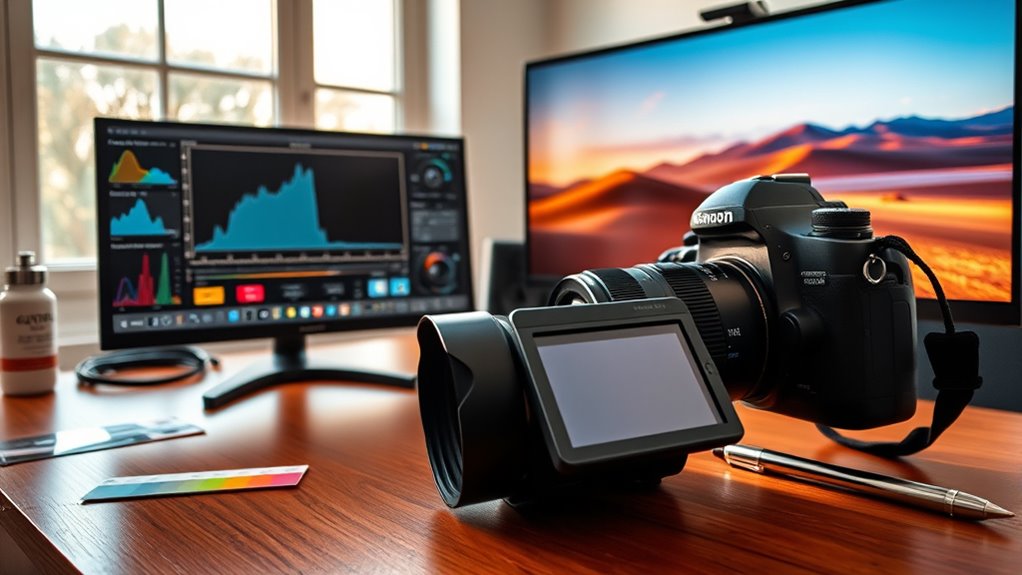
After ensuring your white balance is correctly set, you can fine-tune your images further by using curves and levels to fix color casts. These tools allow you to perform precise histogram adjustments, targeting specific tonal ranges to neutralize unwanted color tints. In your color grading workflows, adjusting the RGB curves helps balance color channels, removing dominant hues that cause cast issues. Levels provide quick control over shadows, midtones, and highlights, enabling you to fine-tune the overall color balance. By analyzing the histogram, you can identify areas where color imbalance occurs and correct them with targeted adjustments. Utilizing color accuracy techniques can also streamline the creative process and enhance the effectiveness of your corrections. This method offers a more nuanced approach than global corrections, giving you greater control over your final image’s color accuracy and overall aesthetic.

Epson Home Cinema 2350 4K PRO-UHD Smart Gaming Projector with Android TV, 3-Chip 3LCD, HDR10, HLG, 2,800 Lumens, Low Latency, 10 W Speaker, Bluetooth, Streaming Capability
4K PRO-UHD (1) — An amazing 4K experience utilizing advanced processing for resolution enhancement, color and image processing;...
As an affiliate, we earn on qualifying purchases.
How to Leverage Color Wheels and Balancing Tools
Leveraging color wheels and balancing tools allows you to make targeted adjustments that refine your image’s overall color harmony. By understanding color theory, you can manipulate hues to evoke specific emotions through color psychology, enhancing viewer impact. These tools help you pinpoint subtle tint issues and correct them precisely. Additionally, integrating AI-powered predictive analytics can assist in analyzing color trends and viewer preferences to inform your editing choices. To get the most out of them, consider:
- Using the hue wheel to shift dominant colors subtly
- Balancing shadows, midtones, and highlights for natural results
- Applying complementary colors to neutralize unwanted tints
- Monitoring skin tones to maintain realism and emotional connection
- Recognizing individual responses to color adjustments ensures your edits resonate emotionally with viewers.
Understanding how different water features can influence the overall mood of your scene can further enhance your editing process. Incorporating interior design principles can also inspire effective color balancing, creating cohesive and aesthetically pleasing visuals. Being aware of local trends in color usage can help tailor your edits to current viewer preferences, making your work more engaging. Mastering these techniques ensures your color adjustments support your creative intent while maintaining the viewer’s emotional response. Properly leveraging these tools elevates your editing from good to professional.
Common Mistakes That Make Tints Worse
One common mistake that worsens tint issues is overcorrecting with color wheels or balancing tools, which can introduce new color cast problems instead of fixing existing ones. When you push too hard, you risk amplifying over saturation issues, making colors look unnatural or overly intense. Additionally, overcorrection can lead to color contrast errors, where certain tones become too stark or lose their harmony. Instead of improving the image, your adjustments may create distracting color shifts or muddy out the scene’s natural look. It’s important to recognize that subtlety is key in color correction; small, measured adjustments can refine the tint without causing new problems. Incorporating an understanding of color grading techniques can help you achieve more natural results and avoid common pitfalls. Furthermore, understanding the role of color grading can help you achieve more natural results and avoid common pitfalls. Incorporating insights from skin care benefits, such as the importance of hydration and nourishment, can help you approach your editing process with a more balanced perspective. Moreover, understanding the role of attention to detail in post-processing can help prevent common editing pitfalls, especially when working under varying supermarket hours that might influence your scheduling and workflow.
Tips for Consistent Color Correction Across Shots
To achieve consistent color correction across shots, start by matching the lighting conditions in each scene. Use reference frames to compare and standardize your adjustments, ensuring uniformity. This approach helps create a seamless look throughout your project without unnecessary guesswork. Additionally, maintaining empathy during editing can help you better understand how color impacts mood and storytelling, leading to more intentional corrections. Being aware of power consumption insights can also inspire more nuanced color grading choices, as different lighting conditions and energy use influence visual tones and atmosphere.
Match Lighting Conditions
Have you ever noticed how footage shot in different lighting conditions looks mismatched or inconsistent? To achieve a seamless look, matching lighting conditions is essential. Focus on adjusting for variations in color temperature caused by ambient light sources, like sunlight or household bulbs. Consistent lighting ensures your shots blend smoothly, making color correction easier. Additionally, understanding sustainable practices can help you select eco-friendly lighting options that reduce energy consumption during filming. Consider these tips:
- Use a gray card to set a baseline for color temperature across shots
- Match the ambient light sources in your clips during editing
- Balance exposure and shadows to unify the overall look
- Adjust white balance settings to normalize the lighting differences
Use Reference Frames
Using reference frames is a powerful way to guarantee consistent color correction across multiple shots. Reference frames provide a stable point of comparison, helping you maintain uniformity in color space and tone. When you select a shot as your reference, you establish a baseline for color balance, contrast, and saturation. This ensures that subsequent shots match the original, avoiding unwanted color shifts. By comparing your clips directly to the reference frame, you can adjust color parameters precisely, making corrections more accurate and efficient. Always choose a well-exposed, neutral shot as your reference frame for best results. Using reference frames effectively keeps your project visually cohesive, saving time and preventing color inconsistencies from slipping through.
Advanced Techniques for Fine-Tuning Color Tints
To perfect your color tints, you need precise adjustments that go beyond basic corrections. Layering and blending techniques allow you to fine-tune hues with greater control and subtlety. Mastering these advanced methods will help you achieve more natural and polished results.
Precise Color Adjustment
Achieving perfect color tints often requires moving beyond basic adjustments and embracing more precise techniques. To refine your work, focus on subtle shifts in hue, saturation, and luminance. Use color grading tools to target specific tones, ensuring each element blends seamlessly for palette harmony. Precise adjustments help eliminate unwanted color casts and create a cohesive look.
Consider these techniques:
- Use fine-tuning sliders to match your target tint exactly
- Employ color wheels for pinpoint control over shadows, midtones, and highlights
- Utilize numerical input for exact color values
- Analyze histograms to balance color distribution accurately
Mastering these methods allows you to enhance your images with expert-level color grading, resulting in more harmonious, professional results.
Layering and Blending Techniques
Layering and blending techniques allow you to fine-tune color tints with greater control and nuance. By using layer blending modes, you can seamlessly integrate multiple tint layers, adjusting how they interact for subtle or dramatic effects. Tint layering involves stacking different color overlays, each with specific opacity and blending settings, to achieve the perfect hue. Experiment with modes like Overlay, Soft Light, or Color to see how they influence your base color. This method lets you build complex tints gradually, refining the overall tone without overhauling your original image. Mastering layer blending and tint layering empowers you to create sophisticated, polished color adjustments that enhance your work with precision and ease.
Frequently Asked Questions
How Can Monitor Calibration Improve Color Tint Accuracy?
Monitor calibration improves color tint accuracy by ensuring your display shows true-to-life colors. When you calibrate your monitor regularly, you’re adjusting settings so that reds, greens, and blues are balanced correctly. This process corrects any color shifts or tints, giving you precise control over color accuracy. As a result, your work looks consistent across devices, making your edits more reliable and professional. Calibration is essential for achieving perfect color fidelity.
What Role Does Ambient Lighting Play in Color Tint Correction?
Ambient lighting plays a vital role in color tint correction because it affects your monitor’s perceived color accuracy. If your ambient balance isn’t consistent or your space has uneven lighting, it can skew how colors appear. Adjusting your room’s ambient light to match your monitor’s color temperature helps maintain consistent, true-to-life colors, reducing unwanted tints and ensuring your corrections stay accurate across different environments.
Are There Specific Software Plugins That Simplify Tint Fixing?
Yes, there are software plugins that simplify tint fixing, making your workflow smoother. These tint correction tools often come as dedicated plugins or integrated features within editing programs, streamlining adjustments. They automate complex color balancing, saving you time and effort. With intuitive interfaces, you can quickly target and fix problematic tints, ensuring professional results without extensive manual tweaking. These plugins are invaluable for quick, accurate color correction in any project.
How Do Color Tints Affect the Overall Mood of a Scene?
Color tints profoundly influence the mood of your scene by leveraging color psychology, which shapes viewer perception. Warm tints like reds and oranges evoke feelings of warmth, excitement, or urgency, while cool tints like blues and greens create calmness or sadness. You can manipulate these tints to guide your audience’s emotional response, making your scene more impactful and aligning it with your storytelling goals.
Can Hardware Color Grading Tools Prevent Tint Issues?
Hardware color grading tools act like a shield, helping you maintain color accuracy and prevent tint issues. By offering precise control over your footage, these tools allow you to catch and correct unwanted tints early in the process. They’re essential for ensuring consistent, professional results. Using high-quality hardware tools, you can confidently avoid tint problems, making your color grading smoother and more reliable from start to finish.
Conclusion
Just like a painter’s brush reveals their true intent, your understanding of color tints reveals your skill. When you grasp the root causes and use the right tools, you bring harmony to your images. Avoid common pitfalls, stay consistent, and refine your techniques. Remember, every shot is a blank canvas—your knowledge transforms it from chaos into clarity, turning simple colors into a masterpiece that speaks volumes beyond what meets the eye.