
The Complete Throw Ratio Explained Playbook helps you understand how to choose the right projector setup for your space. It covers the basics of throw ratios, how they affect placement, and the differences between standard, short-throw, and ultra-short-throw projectors. You’ll learn how to calculate the ideal distance for your room and the latest advancements in lens technology. Keep exploring to master each step and guarantee the best image quality in any environment.
Key Takeaways
- The playbook explains different types of throw ratios and their ideal applications based on room size and ambient light.
- It covers how to calculate and optimize throw distance for clear, distortion-free images.
- Room characteristics like wall color and space influence the choice of throw ratio and projector placement.
- Advanced lens features and future trends improve image quality and ease of setup.
- Practical examples illustrate how to select the right throw ratio for various environments and needs.
![Projector with 5G WiFi and Bluetooth, Native 1080P Projector[Projector Screen Included], Full HD 18000LM Movie Projector, 100" Display Home Theater, Compatible with Phone/Laptop/TV Stick](https://m.media-amazon.com/images/I/51tJ+dTl5qL._SL500_.jpg)
Projector with 5G WiFi and Bluetooth, Native 1080P Projector[Projector Screen Included], Full HD 18000LM Movie Projector, 100" Display Home Theater, Compatible with Phone/Laptop/TV Stick
【2.4G/5G Dual-Band Wifi & Bluetooth Connection】 Roconia projector supports screen mirroring on iOS, Android and Windows devices without...
As an affiliate, we earn on qualifying purchases.
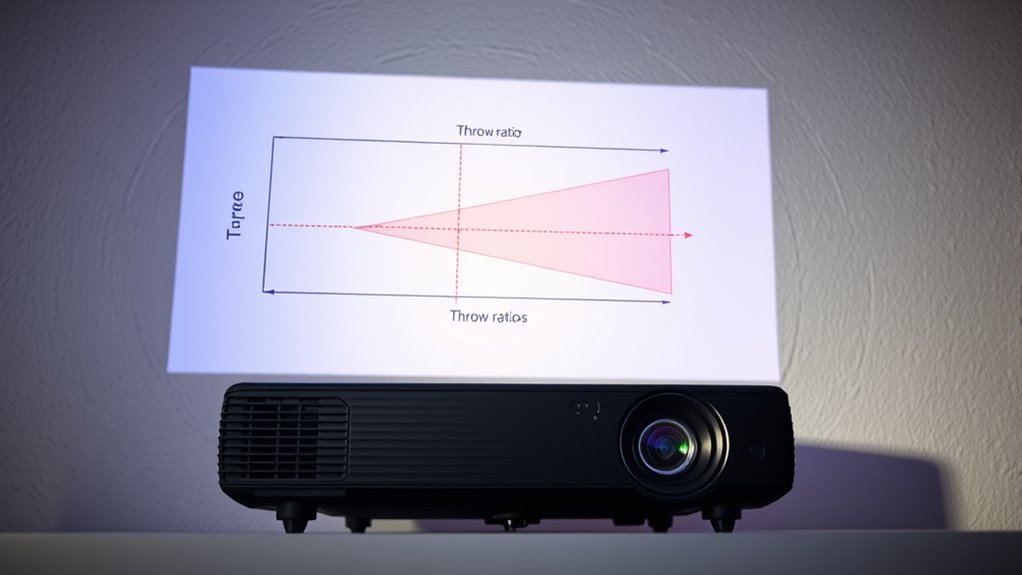
Understanding the Basics of Throw Ratio
Have you ever wondered how a projector’s lens determines the size of the image it produces? It all comes down to the projection angle and lens shift. The projection angle is the angle at which light hits the screen, affecting how large or small the image appears from a specific distance. A wider projection angle allows for bigger images from a shorter throw distance. Lens shift, on the other hand, lets you adjust the position of the lens without moving the projector itself, helping align the image properly. These features work together to influence the throw ratio, which describes how far back you need to place the projector to get a desired image size. Understanding projection setup and the importance of proper setup and space planning can further enhance your viewing experience. Additionally, knowing about exploration and discovery can inspire you to experiment with different projector placements to find the optimal setup. Recognizing the wave conditions can also help you choose the best times and locations for surfing, maximizing your ride experience. Exploring nutritional value of juices can also provide insights into healthy beverage choices to complement your viewing lounge. By understanding these basics, you can better plan your setup for ideal image quality.

Official Licensed Google TV Smart Projector, HAPPRUN 4K UHD Home Theater with Dolby Sound, Wi-Fi & Bluetooth, Built-in Streaming Apps, Compatible with Games Consoles & Smartphone, Indoor & Outdoor Use
[ Built-in Official Licensed Google TV ] - Without additional equipment, the smart projector can directly access Netflix,...
As an affiliate, we earn on qualifying purchases.
How Throw Ratio Affects Projector Placement

The throw ratio directly influences where you need to position your projector to achieve the desired image size. A lower throw ratio allows you to place the projector closer to the screen, reducing the projection distance needed for a large image. Conversely, a higher throw ratio requires you to set the projector farther away to get the same size. Your chosen throw ratio determines the ideal placement, impacting both space requirements and setup flexibility. For small rooms or tight spaces, a short-throw projector with a low throw ratio is best, while larger venues may need projectors with higher throw ratios. Understanding this relationship helps you position your projector accurately, ensuring the image size matches your viewing needs without unnecessary adjustments. Regular maintenance, such as projector bulb maintenance, can help maintain consistent brightness and image quality over time. Additionally, considering contrast ratio and color accuracy can further enhance your viewing experience, especially when selecting a projector with a suitable lens shift for flexible installation. Being aware of the projection distance and how it interacts with your room dimensions can also ensure optimal setup and image clarity. Knowing your projector placement options can simplify the setup process and improve overall image performance.
GooDee Video Projector With Wifi And Bluetooth, Smart Portable Projector Movie System Compatible With Netflix/Dolby Audio/Auto Focus & Keystone, 4k Video Decode & 1080p Native For Home Theater/Outdoor
「Smart TV Projector」The Goodee AC321 4K projector is officially licensed by mainstream streaming platforms such as Netflix/YouTube/Prime Video,...
As an affiliate, we earn on qualifying purchases.
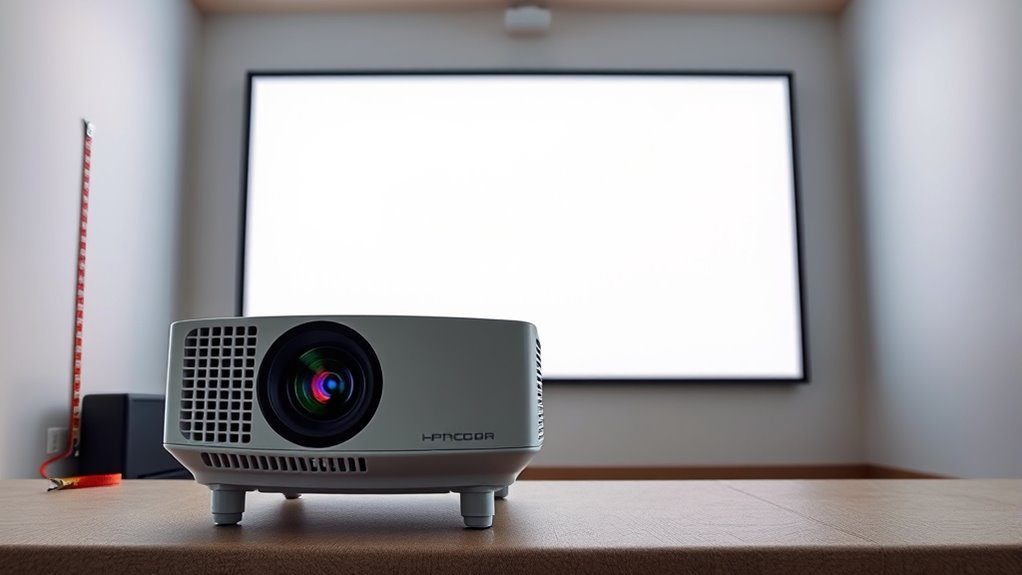
Calculating the Ideal Throw Distance for Your Space
To find the perfect throw distance, you need to take into account your room size and how far back the projector can be placed. Proper screen placement ensures clear images without shadows or distortion. Keep these points in mind to optimize your setup for the best viewing experience. Additionally, understanding the investment options available, such as Gold IRA, can help you make informed decisions about your overall entertainment and financial planning strategies. When designing a space like a farmhouse bedroom, consider creating the perfect ambience by thoughtfully selecting decor and layout to enhance comfort and style. Also, exploring Kia Tuning options can help you personalize your vehicle for better performance and aesthetics, complementing your space customization efforts. Be sure to also consider the cost of a tiny house if you’re planning a multi-purpose space that combines living and entertainment areas. Properly maintaining your projector and understanding its throw ratio are essential for achieving the ideal setup tailored to your environment.
Room Size Considerations
Choosing the right throw distance starts with understanding your room size. Measure the space where you plan to set up your projector to determine the ideal distance. Keep in mind that a room with darker wall colors can enhance picture contrast, allowing for a slightly shorter throw distance without sacrificing image quality. Conversely, rooms with bright or white walls might require a longer throw to prevent glare and washout. Ambient lighting also impacts your setup; brighter rooms need a projector with higher lumen output or increased throw distance to maintain a clear image. Consider how much space you have and how the room’s characteristics—wall color and ambient lighting—affect the projected image. Adjust your throw distance accordingly to achieve the best picture quality in your specific environment. Additionally, understanding projector specifications can help you select the right equipment for your room conditions. Being aware of your lumen output requirements ensures optimal brightness tailored to your ambient light levels.
Screen Placement Tips
Wondering how to find the perfect throw distance for your projector? The key is to take into account projection angles and your wall color. First, determine the best projection angle to avoid distortion and guarantee a clear image. Too steep or shallow angles can cause keystone effects or uneven focus. Next, evaluate your wall color—light, neutral walls reflect more light and enhance image brightness, allowing for a slightly greater throw distance. Conversely, dark or colored walls absorb light, so you’ll want to position your projector closer to improve image quality. Measure the available space carefully, then use your projector’s throw ratio to calculate the ideal distance. Adjusting for these factors helps achieve a sharp, well-proportioned picture tailored to your room’s specific setup. Additionally, ceiling fans can improve room comfort and airflow, indirectly impacting your viewing environment by maintaining a consistent temperature and reducing glare from heat. Considering projector tuning options can also optimize image clarity and performance within your space. For optimal results, understanding air purifier features such as filter types and coverage area can help maintain a fresh environment that supports comfortable viewing conditions. Moreover, scheduling regular maintenance of your projector ensures consistent performance and image quality over time. Incorporating air quality improvements can further enhance your overall viewing experience by reducing dust and allergens that may affect the projector’s components.

Epson Home Cinema 980 3-Chip 3LCD 1080p Projector 4,000 Lumens Color and White Brightness, Streaming/Gaming/ Media Room, Built-In Speaker, Auto Picture Skew, 16000:1 Contrast, 2 HDMI Ports
Exceptional Picture Quality — Provides stunning, detailed 1080p images and fast data processing that’s optimized for fast-action sports,...
As an affiliate, we earn on qualifying purchases.
Different Types of Throw Ratios and Their Uses
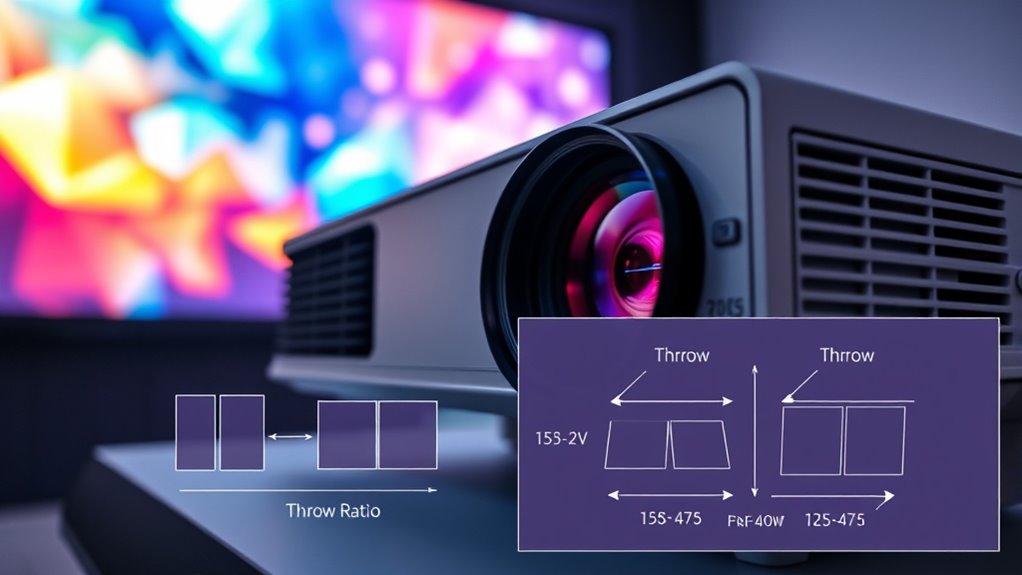
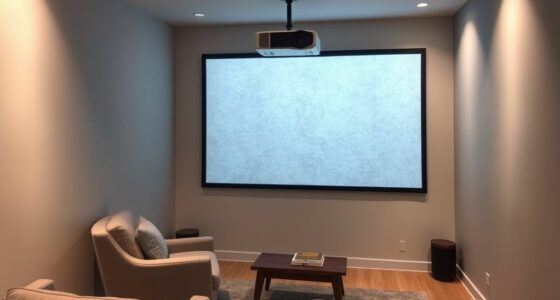
Have you ever noticed how some projectors can display large images from a short distance, while others need to be placed far back? That’s because of different throw ratios. Standard throw projectors typically have a ratio around 1.5 to 2.0, making them versatile for most setups. Short-throw projectors, with ratios below 1.0, are ideal for small rooms or tight spaces, reducing the need for lens adjustment and minimizing shadows. Ultra-short-throw projectors have ratios less than 0.5, perfect for very limited spaces and close-up installations. Each type is suited for specific uses, depending on room size and ambient light, helping you choose the right projector for your environment. Understanding these differences guarantees ideal image size and clarity without unnecessary adjustments.
Comparing Standard, Short-Throw, and Ultra-Short-Throw Projectors
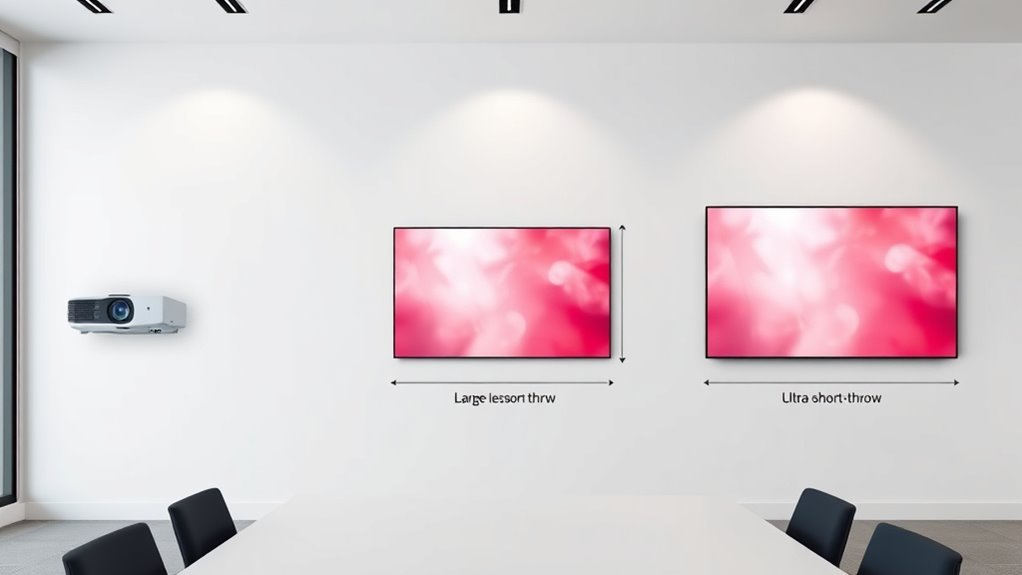
Understanding the differences between standard, short-throw, and ultra-short-throw projectors is key to selecting the right device for your space. Standard projectors typically require larger distances, making lens calibration more critical to achieve sharp images, especially in rooms with variable ambient lighting. Short-throw projectors can project large images from closer distances, reducing shadows and glare, but may need precise lens calibration to maintain clarity. Ultra-short-throw models sit very close to the screen, ideal for small or cluttered rooms, and often handle ambient lighting better since they minimize washout. Each type’s throw ratio influences setup complexity and image quality. By considering these factors, you can choose a projector that fits your environment while delivering optimal image performance.
Practical Examples of Throw Ratio in Action
Ever considered how your room size and viewing distance impact your choice of projector? If you’re into projection mapping or want vibrant images despite ambient lighting, throw ratio matters. For large rooms with distant screens, a long throw projector with a high throw ratio is ideal, covering bigger areas from afar. Conversely, small spaces benefit from ultra-short-throw projectors, which work well close to the wall, reducing shadows.
| Room Size | Recommended Throw Ratio |
|---|---|
| Large, open space | 2.0 or higher (long throw) |
| Small, tight space | 0.4 to 0.6 (ultra-short throw) |
| Bright ambient lighting | Lower throw ratios help minimize washout |
| Projection mapping | Precise throw ratios enhance accuracy |
Common Mistakes to Avoid When Considering Throw Ratio
One common mistake is ignoring your room’s size, which can lead to a projector that’s either too big or too small for the space. You also need to check if the lens is compatible with your projector to prevent installation issues. Overlooking these factors can result in poor image quality or setup headaches down the line.
Ignoring Room Size Constraints
Many people overlook the importance of considering their room size when choosing a throw ratio, which can lead to undesirable results. If your room is small, selecting a projector with a long throw ratio can cause the image to be too large or awkwardly placed, making setup difficult. Conversely, in a large room, a short throw projector might not provide enough image coverage. Don’t forget to account for ceiling height, as it affects how the projector’s image interacts with your space. Wall paint also plays a role—dark walls enhance contrast, but bright or reflective surfaces can distort image quality. Ensuring your room’s dimensions, ceiling height, and wall conditions align with your projector’s throw ratio helps you achieve the best picture without compromise.
Overlooking Lens Compatibility
While focusing on the throw ratio is essential, overlooking lens compatibility can derail your setup. Not all lenses work with every projector, and incompatible lenses can cause significant image distortion or uneven focus. Before choosing a lens, check its compatibility with your projector model to avoid issues like distorted images or blurry edges. Failing to consider lens compatibility can lead to unexpected problems that compromise image quality, making your viewing experience frustrating. Ensure the lens you select matches your projector’s specifications and intended throw ratio to maintain sharpness and clarity across the entire image. By paying attention to lens compatibility, you prevent distortions that can ruin your setup and ensure a seamless, high-quality projection.
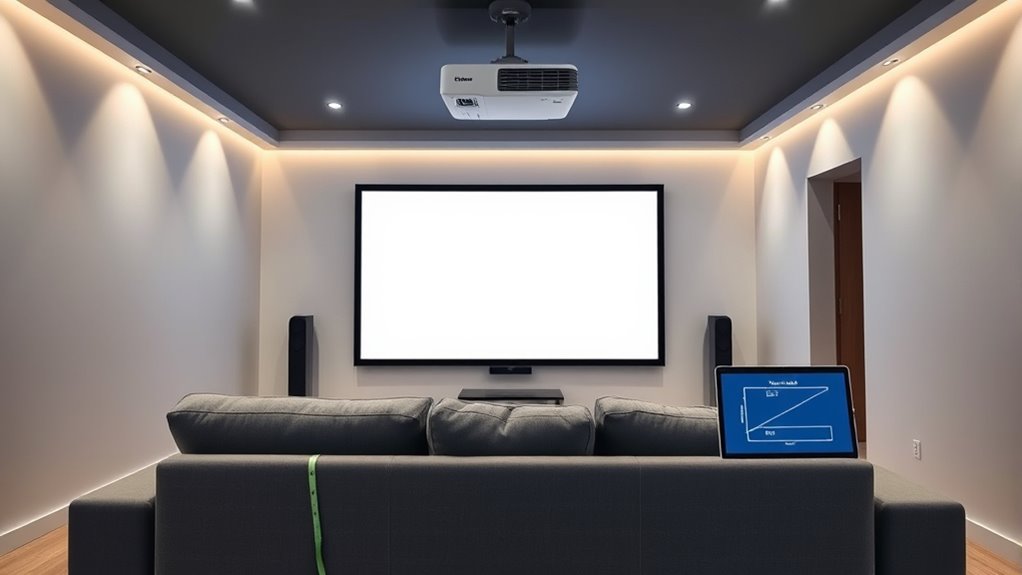
Tips for Choosing the Right Throw Ratio for Your Room
Choosing the right throw ratio starts with understanding your room’s size and layout. Consider how the projection angle will fit your space without causing distortion or requiring excessive adjustment. If your room has a lot of ambient light, a projector with a shorter throw ratio can help produce a brighter image, reducing washout. Conversely, larger rooms may need a longer throw ratio to cover the distance comfortably. Think about where you’ll place the projector relative to your screen or wall—closer setups often benefit from a short throw, while longer distances may need a standard or long throw. By evaluating your room’s dimensions and lighting conditions, you can select a throw ratio that balances image size, clarity, and installation ease effectively.
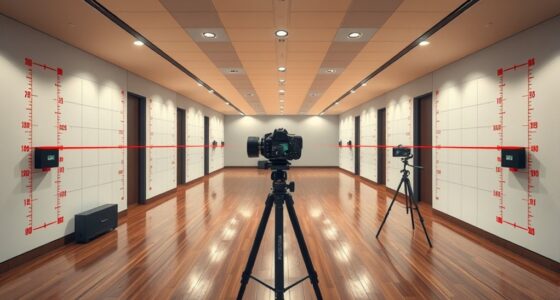
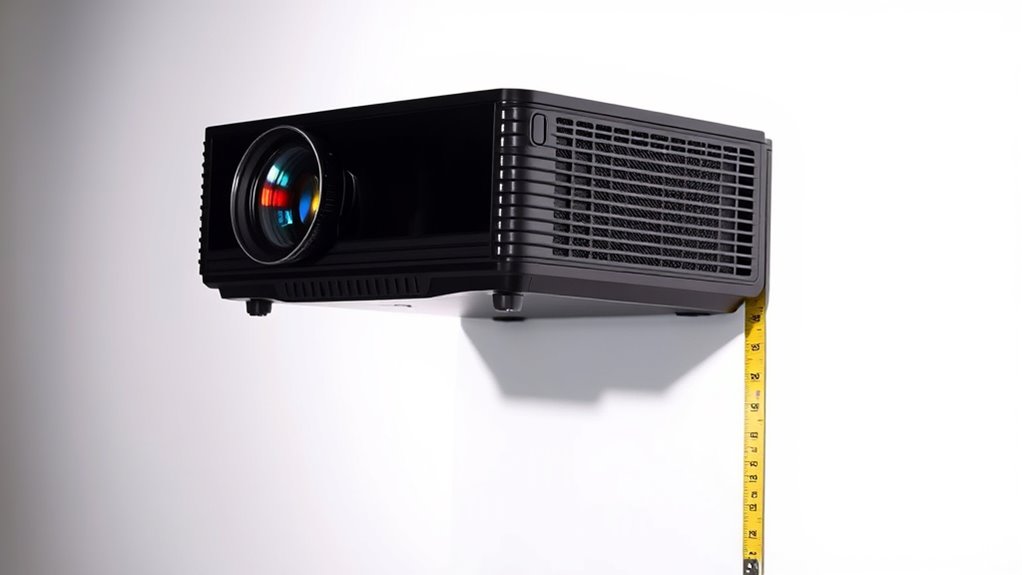
How to Measure and Test Throw Ratio in Your Setup
To accurately measure and test your projector’s throw ratio, start by setting up your projector in its intended position relative to the screen or wall. Pay attention to the mounting height, guaranteeing it matches your typical setup. Next, note the projection angle—the angle between the projector and the screen surface. Measure the distance from the projector lens to the screen; this is your throw distance. Then, project a test image and measure its width. Divide the throw distance by this width to get your actual throw ratio. Adjust the mounting height or projection angle if necessary, and repeat the test to guarantee accuracy. This process helps you verify if your projector’s specified throw ratio matches real-world performance, guaranteeing optimal image size and clarity.
Future Trends and Innovations in Throw Ratio Technology
Future throw ratio technology will likely bring smarter projectors that seamlessly connect with your devices, making setup easier and more intuitive. Adaptive lens technologies are also advancing, allowing projectors to automatically adjust focus and image size for ideal viewing. These innovations will transform how you experience and control your projection environment.
Smart Projector Integration
As smart projectors become more advanced, integrating throw ratio technology with AI and IoT will revolutionize how you experience visual displays. You’ll benefit from real-time lens calibration, which automatically adjusts for image distortion, ensuring sharp, accurate images regardless of setup. This integration enables seamless adjustments based on environment or content, reducing manual calibration needs. To maximize these benefits:
- AI algorithms optimize throw ratio settings dynamically, enhancing image quality.
- IoT connectivity allows remote control and system updates, keeping your projector’s performance current.
- Advanced sensors detect lens issues early, preventing image distortion before it affects the display.
This smart integration simplifies setup, improves image clarity, and guarantees consistent high-quality visuals, making your viewing experience more immersive and hassle-free.
Adaptive Lens Technologies
Adaptive lens technologies are poised to revolutionize throw ratio systems by enabling real-time adjustments that respond instantly to changing environments and content. With advanced lens adaptation, projectors can automatically fine-tune focus and zoom, ensuring ideal image quality regardless of distance or surface. This innovation simplifies projection calibration, reducing the need for manual setup and ongoing adjustments. As a result, your setup becomes more flexible and user-friendly, especially in dynamic spaces. Future trends suggest that adaptive lens systems will incorporate intelligent sensors and AI-driven algorithms to enhance precision further. This will allow projectors to seamlessly adapt to different room conditions, screen sizes, and content types, providing consistently sharp images with minimal effort. Ultimately, these innovations promise a more versatile, accurate, and effortless projection experience.
Frequently Asked Questions
Can Throw Ratio Be Adjusted on a Fixed-Lens Projector?
You can’t directly adjust the throw ratio on a fixed-lens projector because it has a set lens with a fixed focus. However, you can indirectly influence the throw ratio by changing the lens zoom, if available, or moving the projector closer or farther from the screen. Keep in mind, since the lens is fixed focus, adjusting focus won’t alter the throw ratio, only the sharpness of the image.
How Does Ambient Light Influence Optimal Throw Ratio Choices?
Ambient lighting can subtly sway your throw ratio choices. When the room’s brightness is high, you might need a shorter throw ratio to ensure vibrant contrast enhancement and clear image quality. Conversely, dimmer environments give you more flexibility. Adjusting your projector’s placement based on ambient lighting helps optimize picture clarity, so you enjoy every detail without compromising contrast or brightness, making your viewing experience truly immersive.
What Is the Impact of Lens Shift on Throw Ratio Flexibility?
Lens shift markedly enhances throw ratio flexibility by allowing you to adjust the projector’s image position without moving it physically. This feature lets you fine-tune the image size and placement, making it easier to work with a wider range of throw ratios. With lens shift, you’re not limited by strict throw ratio requirements, giving you more installation options and a cleaner setup, especially in tight spaces or unconventional room layouts.
Are There Specific Brands Known for Innovative Throw Ratio Designs?
Did you know that Sony and Epson lead the market in innovative throw ratio designs? These brands prioritize brand innovation, constantly pushing the boundaries of design trends to create projectors that adapt to various spaces. Their focus on flexible throw ratios allows you to enjoy larger images from shorter distances, making installation easier. If you want cutting-edge technology and versatile options, these brands are your top choices for unique, forward-thinking throw ratio designs.
How Does Projector Resolution Relate to Appropriate Throw Ratio Selection?
You should consider how projector resolution impacts your throw ratio choice because higher resolution projectors deliver better projection quality, especially on larger screens. If you want a sharp, detailed image on a big screen, opt for a projector with a suitable throw ratio that maintains clarity at your desired screen size. Matching resolution and throw ratio guarantees your setup produces clear, vibrant images without sacrificing image quality or needing excessive space.
Conclusion
Understanding throw ratio helps you pick the perfect projector for your space. Did you know that ultra-short-throw projectors can be installed just inches from the screen, saving room? By grasping these concepts, you *guarantee* a seamless setup and stunning images. So, take your time, measure carefully, and choose wisely—your ideal home theater is within reach. Don’t underestimate the power of the right throw ratio; it’s the key to a picture-perfect experience.