
To choose the right short throw projector for your apartment, you need to understand its throw ratio and how to calculate the most suitable distance for your desired screen size. Measure your available space carefully and consider your ceiling height. Use the projector’s throw ratio to determine the best placement—placing it too close or far can affect image clarity. Keep in mind ambient light and calibration for the sharpest images. Continue, and you’ll discover more tips to perfect your setup.
Key Takeaways
- Determine your desired screen size and room dimensions to calculate the necessary throw distance using the projector’s throw ratio.
- Measure available space, including ceiling height and wall clearance, to ensure proper projector placement without distortion.
- Consider ambient lighting and select a projector with a high contrast ratio for optimal image clarity in your apartment environment.
- Account for mounting height and placement options to optimize projection angle and minimize image distortion.
- Calibrate the projector accurately after setup to enhance image quality and ensure the calculations align with real-world projection.

ViewSonic LS740W 5500 Lumens WXGA Laser Projector with 1.3X Optical Zoom, H/V Keystrone, 360 Degrees Projection for Auditorium, Conference Room, and Education
High Brightness Laser Projector: WXGA (1280x800p) resolution with a 1.2-1.5 throw ratio and 5,500 ANSI lumens for clear,...
As an affiliate, we earn on qualifying purchases.
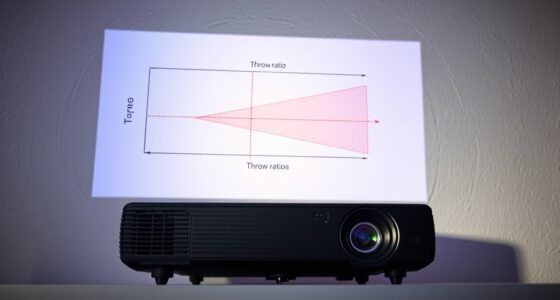
Understanding Throw Ratio and Its Impact on Your Space
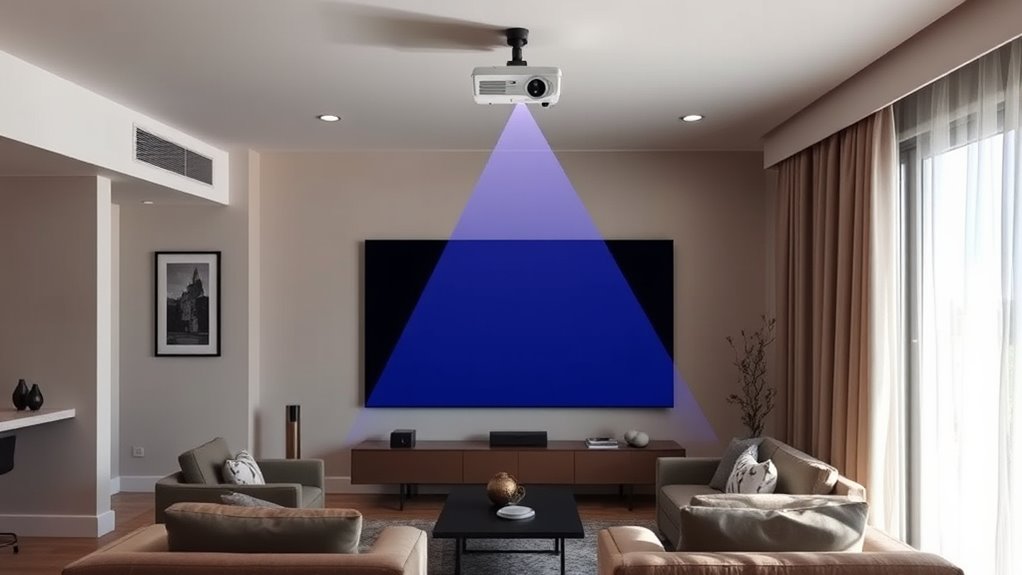
While choosing a projector for your apartment, understanding throw ratio is essential because it determines how much space your projector needs to produce a clear image. Throw ratio influences your projection placement, helping you decide whether you can position the projector close to or far from the screen. Short throw projectors typically have a low throw ratio, allowing you to place them near the wall or even on a shelf. This is especially useful in small spaces where room for projection is limited. Keep in mind, ambient light also affects image quality; a projector with a good throw ratio can help you position it effectively while still managing ambient light to maintain clarity. Proper projection placement ensures a sharp, bright image without sacrificing space or comfort, and selecting a projector with high contrast ratio can further enhance image quality in various lighting conditions. Additionally, understanding the operation of arcade games, such as Galaga, can provide insight into how visual performance and hardware choices impact your viewing experience. Achieving optimal image quality also depends on understanding projection calibration, which ensures your setup delivers the best possible picture in your unique environment. Moreover, considering the throw ratio during setup can help prevent common placement issues and improve overall viewing experience. Being aware of eye patch benefits can also be helpful if you or your family members need eye care solutions that complement your home entertainment setup.

NexiGo Aurora Pro MKII, 4K Tri-Color Laser UST Projector, 30000:1 Contrast Ratio, Dynamic Iris & Laser Dimming, 0.21:1 Throw Ratio, Dolby Vision & Atmos, HDR10+, 3D, 4.2ms ~ 8ms Low Latency (Renewed)
【Scene Adapt Engine】Enjoy higher-contrast visuals with our Scene Adapt Engine (SAE), the technology behind Dynamic Iris and Dynamic...
As an affiliate, we earn on qualifying purchases.
Calculating Optimal Throw Distance and Screen Size
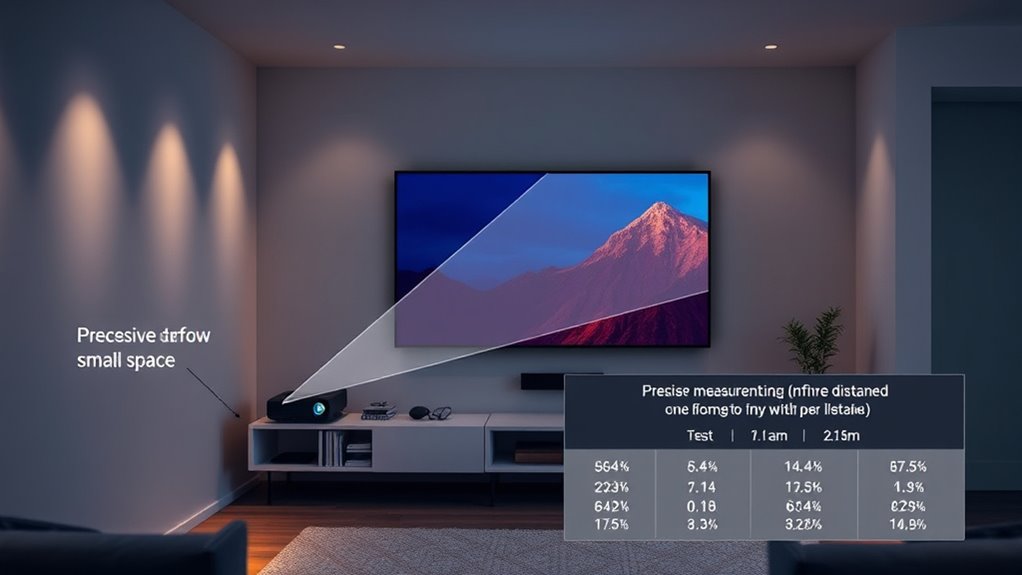
To achieve the best image quality in your apartment, you need to carefully calculate the ideal throw distance and screen size. Start by considering your mounting height and ceiling clearance, which influence how close you can position your projector. Measure the available space to ensure the projector isn’t too close or too far from the wall, preventing distortion or loss of clarity. Use the projector’s throw ratio to determine the suitable distance based on your desired screen size. Keep in mind that a higher mounting height may require a shorter throw distance to avoid image distortion. Balancing these factors by selecting a screen size that fits comfortably within your space is essential, and proper projector placement can make a significant difference in your viewing experience. Additionally, understanding the projector’s throw ratio helps optimize placement for the best viewing experience. Knowing how butter composition influences texture and storage can also be useful when considering the durability of your projector setup, ensuring your equipment remains in top condition over time. Moreover, consulting projector calibration guides can further enhance image clarity and color accuracy for the perfect setup. To further enhance your setup, consider the nutritional value of juices to maintain optimal energy levels during long movie nights, especially if you’re planning to binge-watch.
NexiGo Aurora Pro MKII, 4K Tri-Color Laser UST Projector, 30000:1 Contrast Ratio, Dynamic Iris & Laser Dimming, 0.21:1 Throw Ratio, Dolby Vision & Atmos, HDR10+, 3D, 4.2ms ~ 8ms Low Latency
【Scene Adapt Engine】Enjoy higher-contrast visuals with our Scene Adapt Engine (SAE), the technology behind Dynamic Iris and Dynamic...
As an affiliate, we earn on qualifying purchases.
Frequently Asked Questions
How Do Ambient Light Conditions Affect Short Throw Projector Performance?
Ambient light critically impacts your short throw projector’s performance. When there’s too much ambient light, it washes out the projected image, making it hard to see details. To counter this, you need a projector with higher brightness, measured in lumens. Make sure your space minimizes ambient light when possible, or opt for a projector with sufficient brightness to maintain a clear, vibrant image despite lighting conditions.
What Are the Maintenance Requirements for Short Throw Projectors in Apartments?
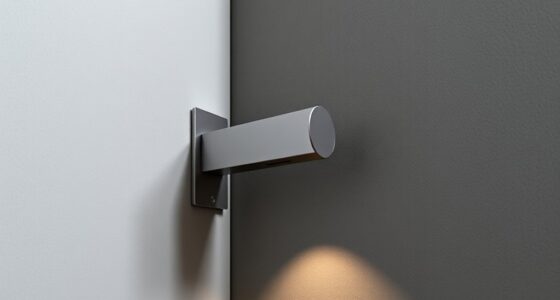
Imagine a sleek projector mounted securely on your apartment wall, its calibration precise for clear images. You’ll need to regularly clean the lens and filters to keep brightness ideal. Check mounting stability to prevent shifts that could affect alignment. Periodically recalibrate the projector to ensure sharp visuals, especially if you notice distortion. These simple maintenance steps keep your short throw projector performing perfectly, providing a seamless viewing experience.
Can Short Throw Projectors Be Used Outdoors or in Semi-Outdoor Spaces?
Yes, you can use short throw projectors outdoors or in semi-outdoor spaces, but look for models with weather resistance to handle outdoor elements. Make sure you choose a projector with sturdy mounting options that can withstand wind and uneven surfaces. Keep in mind, outdoor lighting can affect image quality, so consider using a weather-resistant screen or shading to optimize visibility and protect your equipment from environmental damage.
What Safety Considerations Should I Keep in Mind With Short Throw Projectors?
A stitch in time saves nine, so prioritize safety with your short throw projector. Always guarantee secure mounting to prevent accidents, especially in high-traffic areas. Check electrical safety by inspecting cords for damage and avoiding overloads. Keep the area clear of obstructions, and make sure ventilation is adequate to prevent overheating. By taking these precautions, you protect yourself and others while enjoying a seamless viewing experience.
How Do Different Wall Colors Impact Image Quality With Short Throw Projectors?
Wall paint and room lighting considerably impact your short throw projector’s image quality. Light-colored walls, like white or light gray, reflect more light, making images brighter and clearer. Darker wall paint absorbs light, reducing brightness and contrast. Also, consider room lighting; dimmer lights enhance image visibility, while bright lights can wash out the projection. Adjust wall color and lighting to optimize your viewing experience for sharper, more vibrant images.
![[3500 ANSI/ Official Apps/65W Audio] Outdoor 4K Projector with WiFi and Bluetooth, Auto Focus, Auto Keystone Smart Projector Support DoIby Audio, 2026 Upgrade GO2 Short Throw Projector with 360°Stand](https://m.media-amazon.com/images/I/41-laeqxhwL._SL500_.jpg)
[3500 ANSI/ Official Apps/65W Audio] Outdoor 4K Projector with WiFi and Bluetooth, Auto Focus, Auto Keystone Smart Projector Support DoIby Audio, 2026 Upgrade GO2 Short Throw Projector with 360°Stand
Highest 3500 ANSI Lumens & 360°Rotatable Stand– With upgrade 3500 ANSI lumens brightness, the GO2 outdoor projector offers...
As an affiliate, we earn on qualifying purchases.
Conclusion
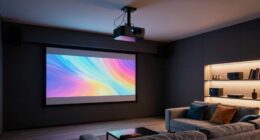
By mastering throw ratio and calculating the perfect distance and screen size, you’re well on your way to creating a home theater that truly shines. Remember, it’s all about hitting the sweet spot without biting off more than you can chew. When you pay attention to these details, you’ll turn your apartment into a cozy cinema where every viewing feels just right. Don’t let this chance slip through your fingers—get it right the first time!