
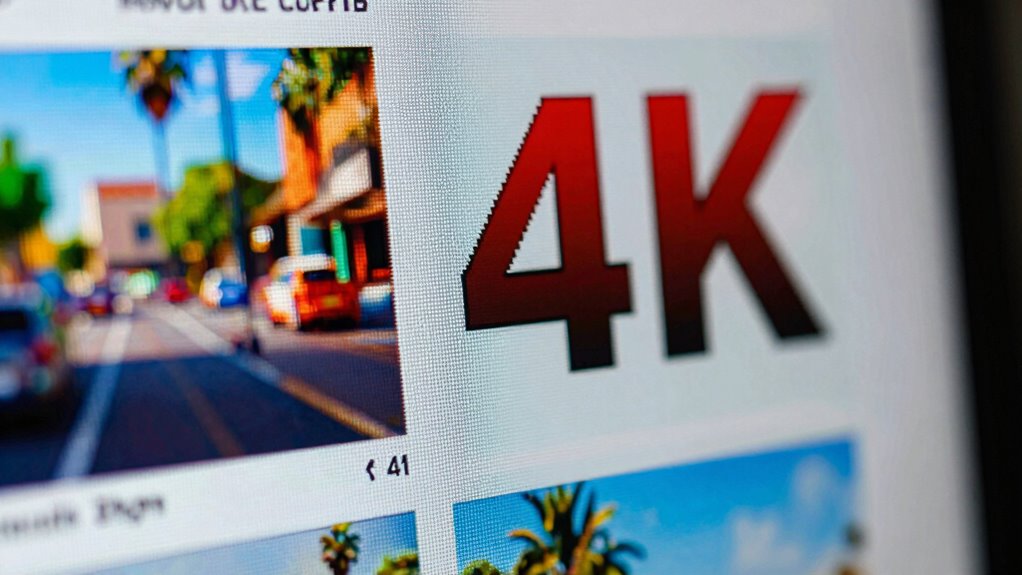
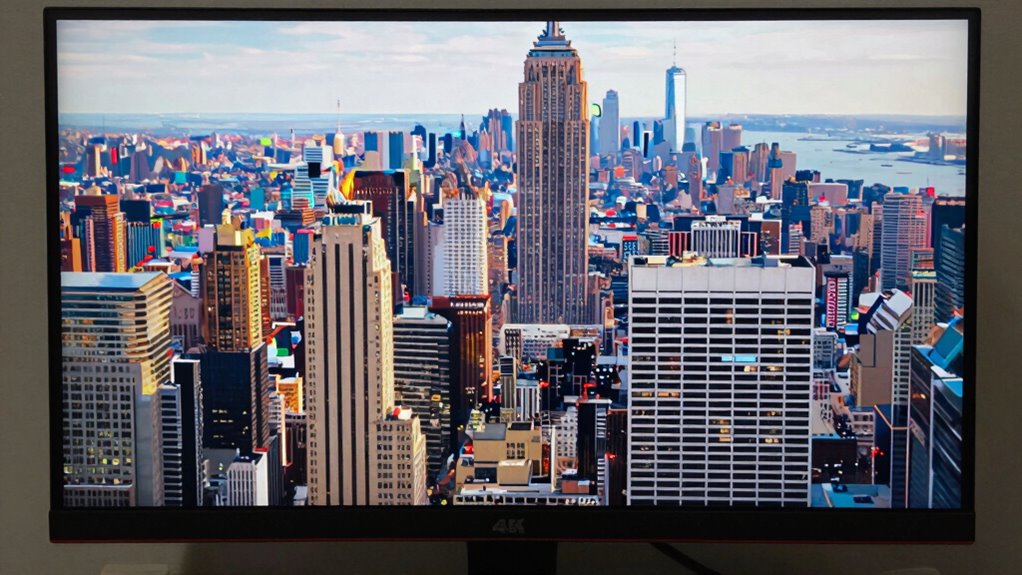
If your 4K screen looks like 720p, it’s likely because your display isn’t set to the native 3840×2160 resolution or because your connection isn’t supporting proper signal quality. Using wrong scaling settings, outdated drivers, or low-quality HDMI cables can also cause images to appear blurry and pixelated. Ensuring your monitor supports true 4K and adjusting your display and connection settings correctly can fix this. Keep exploring to learn more about fixing this issue effectively.
Key Takeaways
- Incorrect display scaling settings can cause 4K content to appear as lower resolution like 720p.
- Using a non-native resolution or improper aspect ratio settings reduces image clarity.
- Downscaling or low-quality upscaling in software can blur or pixelate 4K images.
- Outdated or incompatible graphics drivers may force lower resolution rendering.
- Poor HDMI cables or connections can degrade signal quality, making 4K look like 720p.

BenQ W4100i 4K HDR Smart Home Theater Projector, 3200 Lumens, 100% DCI-P3, Rec.709, Factory-Calibrated, Android TV with Netflix, 4-Way Lens Shift, HDR10+ & HLG Support, LED Long Lifespan
PROJECTOR-OPTIMIZED TRUE 4K UHD and HDR: HDR-PRO technology exclusive Local Contrast Enhancer and Tone Mapping for perfect details...
As an affiliate, we earn on qualifying purchases.
Why Does My 4K Screen Look Blurry or Pixelated?

If your 4K screen appears blurry or pixelated, it’s often because the content isn’t being displayed at its native resolution. Resolution issues happen when the display isn’t properly calibrated or when the graphics settings are incorrect. If your device isn’t set to the true 4K resolution, images and videos won’t look sharp. You need to verify your display calibration is accurate, as miscalibrated screens can cause blurry images and pixelation. Check your display settings and make sure the resolution is set to 3840×2160. Sometimes, outdated graphics drivers or incompatible software can also contribute to resolution issues. Proper calibration and settings adjustment are key to making your 4K screen look crisp, clear, and true to its resolution. Additionally, ensuring your graphics drivers are up to date can help prevent resolution problems and improve overall display quality. Regularly reviewing your display configuration can also help maintain optimal visual clarity.

Epson Home Cinema 2350 4K PRO-UHD Smart Gaming Projector with Android TV, 3-Chip 3LCD, HDR10, HLG, 2,800 Lumens, Low Latency, 10 W Speaker, Bluetooth, Streaming Capability
4K PRO-UHD (1) — An amazing 4K experience utilizing advanced processing for resolution enhancement, color and image processing;...
As an affiliate, we earn on qualifying purchases.
How Can I Check If My Monitor Supports True 4K Resolution?

To determine whether your monitor supports true 4K resolution, start by checking the device’s specifications either in the user manual, on the manufacturer’s website, or through your computer’s display settings. Look for a resolution of 3840×2160 pixels, which confirms 4K support. Once confirmed, assess if the monitor is properly calibrated for ideal color accuracy. Proper calibration ensures colors are true-to-life, which is essential for high-quality 4K visuals. You can access display settings on your computer to see the current resolution and any options for calibration. If your monitor isn’t listed as supporting 4K or if calibration tools reveal inconsistencies in color accuracy, you may need to upgrade your display to get the full benefits of true 4K resolution. Additionally, checking the color accuracy of your monitor can help ensure you’re experiencing the best possible image quality. Understanding the monitor specifications can also help you confirm whether your device truly supports 4K resolution. Checking device compatibility with your graphics card or input devices can further prevent potential issues with 4K display output. It’s also helpful to verify the input device connections to ensure they support 4K signals for optimal performance. Moreover, reviewing the connection type (such as HDMI 2.0 or DisplayPort 1.4) can be crucial for achieving true 4K at the desired refresh rate.
1500 ANSI Official Licensed Google TV Smart Projector, HAPPRUN 4K Full HD Home Theater with Auto Focus, Dolby Sound, Wi-Fi Bluetooth, Built-in Apps, Compatible with Phone & PC, Indoor & Outdoor Use
[ Built-in Officially Licensed Google TV ]-Enjoy the reliability of an officially certified Google TV projector. Stream Netflix,...
As an affiliate, we earn on qualifying purchases.
What Display Settings Do I Need to Adjust for Sharp 4K?
To get your 4K display looking sharp, start by setting the correct resolution in your display settings. Then, adjust the scaling options so text and icons appear clear and appropriately sized. Making these tweaks guarantees you’re maximizing your monitor’s true 4K potential. Additionally, display calibration can help fine-tune color accuracy and clarity, ensuring your screen looks as crisp as intended.
Correct Resolution Settings
Achieving sharp 4K visuals starts with adjusting your display settings correctly. First, verify your resolution matches the native 4K standard, 3840×2160 pixels, to avoid resolution mismatch that causes blurry images. Check your device’s display settings and set the resolution to the highest available option. Proper display calibration is essential—adjust brightness, contrast, and color settings to optimize clarity and color accuracy. If your display isn’t set to its native resolution, images will appear stretched or pixelated, diminishing the 4K experience. Confirm that your graphics card or device driver recognizes your monitor’s 4K capabilities. Additionally, display calibration ensures your screen’s color and contrast are accurately set, enhancing image sharpness. By fine-tuning these resolution settings and performing calibration, you ensure your screen displays crisp, detailed visuals, making the most of your 4K display’s potential.
Adjust Scaling Options
Adjusting scaling options is crucial for sharp 4K visuals because it guarantees your interface and content appear correctly sized without becoming blurry or pixelated. Proper scaling ensures that text, icons, and images are proportionate, improving overall clarity. To achieve this, start with monitor calibration to optimize contrast, brightness, and color accuracy, which enhances the visual sharpness. Adjust scaling settings in your display preferences to match the native resolution, avoiding automatic resizing that can cause blurriness. Keep an eye on how scaling impacts font readability and image detail, making fine-tuned adjustments as needed. Accurate monitor calibration combined with correct scaling settings ensures sharpness and true color reproduction, so your 4K experience feels crisp, vibrant, and true to life.

Official Licensed Google TV Smart Projector, HAPPRUN 4K UHD Home Theater with Dolby Sound, Wi-Fi & Bluetooth, Built-in Streaming Apps, Compatible with Games Consoles & Smartphone, Indoor & Outdoor Use
[ Built-in Official Licensed Google TV ] - Without additional equipment, the smart projector can directly access Netflix,...
As an affiliate, we earn on qualifying purchases.
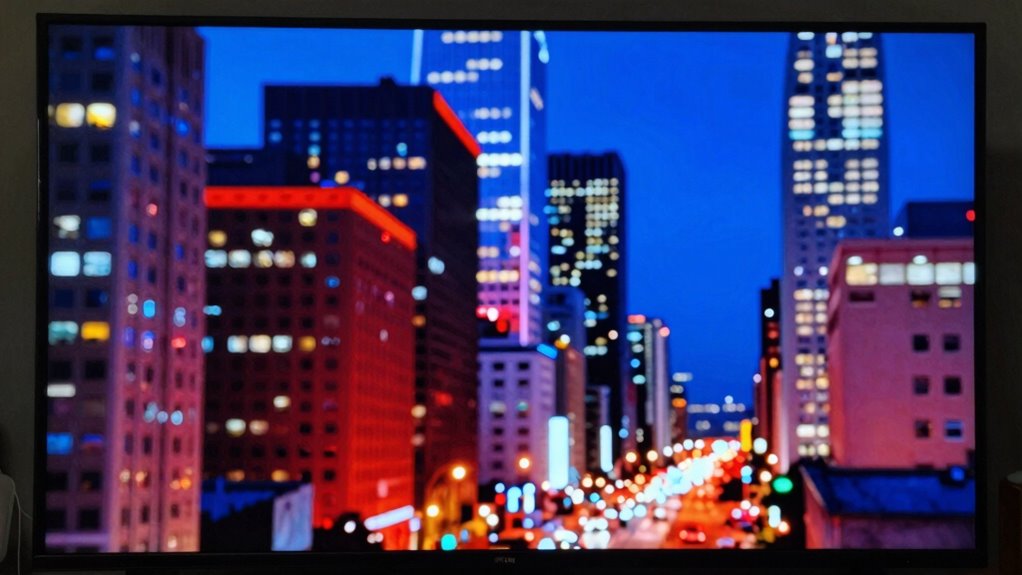
How Do HDMI Cables or Connections Affect 4K Sharpness?
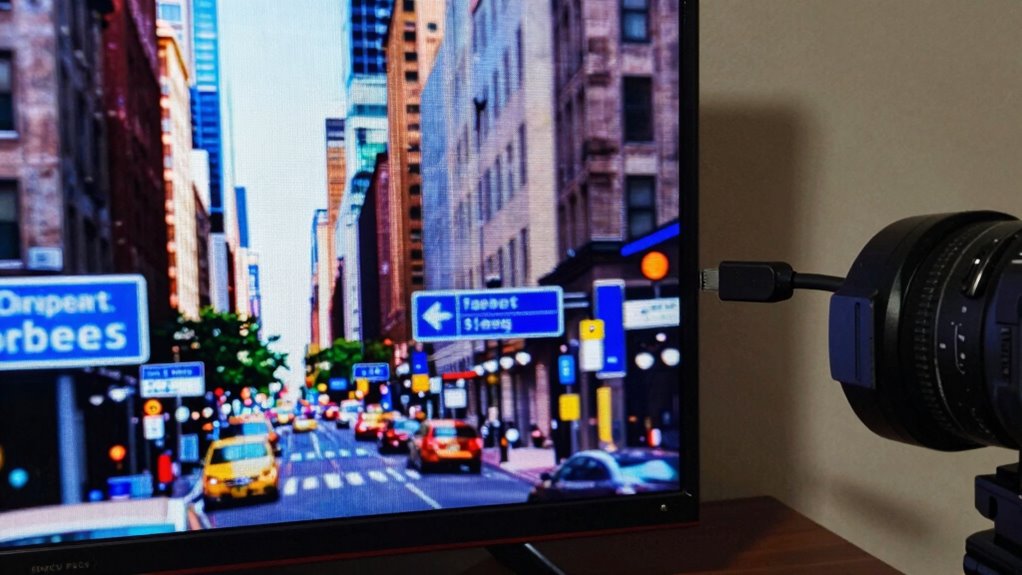
Your HDMI cables and connections play a key role in ensuring your 4K looks sharp. Using the right HDMI version and proper setup prevents signal loss and image degradation. Keep in mind that cable length and connection quality directly impact your display’s clarity. Additionally, selecting high-quality cables that meet the necessary aviation regulations ensures optimal data transmission and prevents potential signal interference. To maintain consistent performance, it’s also important to check cable shielding for durability and reduced electromagnetic interference. Ensuring your cables are properly connected and maintained can further optimize your viewing experience. Moreover, choosing cables that support the correct HDMI standards guarantees compatibility with your devices and preserves image quality. Proper installation practices can also help maintain the integrity of the signal over longer distances.
HDMI Version Compatibility
Since HDMI cables and their versions directly determine the quality and bandwidth of your connection, using an incompatible or outdated HDMI cable can cause your 4K content to appear blurry or downgraded to lower resolutions. HDMI standards define the maximum data transfer rates needed for 4K and beyond, so if your cable doesn’t meet these standards, your display won’t reach its full sharpness. Cable quality also matters; lower-quality cables may fail to support higher HDMI versions, leading to compression or resolution drops. To guarantee crisp 4K visuals, verify that your HDMI cable supports at least HDMI 2.0 or higher. Upgrading to the correct HDMI version and using certified cables prevents compatibility issues that can cause your 4K picture to look less sharp. Cable quality is an essential factor that influences your overall viewing experience. Additionally, choosing proper cable shielding can help prevent signal interference that might degrade image clarity. Ensuring your cable supports the necessary bandwidth is crucial for maintaining optimal 4K resolution and avoiding image degradation. Being aware of HDMI bandwidth requirements can help you select the right cable for your setup, and selecting cables with advanced shielding technology can further improve signal stability.
Cable Length Limitations
Long HDMI cables can weaken signal quality, which often leads to a noticeable drop in 4K sharpness. The cable quality plays a vital role—cheaper or poorly shielded cables tend to degrade the signal more quickly over longer distances. Length limitations are significant; most HDMI standards recommend keeping cables under 15 feet for excellent 4K performance. Beyond this, signal loss increases, resulting in pixelation or reduced clarity. If you need longer runs, consider using active HDMI cables or signal extenders designed to maintain high-quality transmission. Choosing high-quality cables with good shielding and proper build can help you avoid sharpness issues caused by cable limitations. Staying within recommended length limits ensures your 4K content remains crisp and detailed without degradation.
Proper Connection Setup
Using the right HDMI connection setup is key to preserving 4K sharpness. Start by choosing high-quality HDMI cables that support HDMI 2.0 or higher, ensuring they can handle the bandwidth needed for 4K content. Proper cable management prevents signal interference and reduces wear, maintaining picture clarity. Make sure your cables are securely connected and free of damage. Additionally, perform screen calibration to optimize image quality, adjusting settings for brightness, contrast, and sharpness. This step helps mitigate visual artifacts that can diminish image clarity. Avoid using long or cheap cables that can degrade signal quality. When your connections are optimized, and your screen is calibrated, you’ll see the full sharpness and clarity that 4K has to offer, avoiding the common mistake of low-resolution appearance.
Why Is Proper Scaling and Aspect Ratio Important for 4K Clarity?

Proper scaling and aspect ratio are essential for maintaining the clarity of 4K content because they guarantee your images and videos display correctly without distortion or pixelation. If the aspect ratio isn’t set properly, your screen may stretch or squash the image, reducing sharpness and detail. Correct aspect ratio preserves the original proportions, ensuring the pixel density remains consistent across the display. When scaling is handled properly, each pixel maps accurately, maximizing clarity and sharpness. Poor scaling can cause blurriness or pixelation, making 4K look like lower resolutions. By paying attention to aspect ratio and scaling settings, you ensure your 4K content maintains its intended crispness, providing a true high-resolution experience without unnecessary distortion.
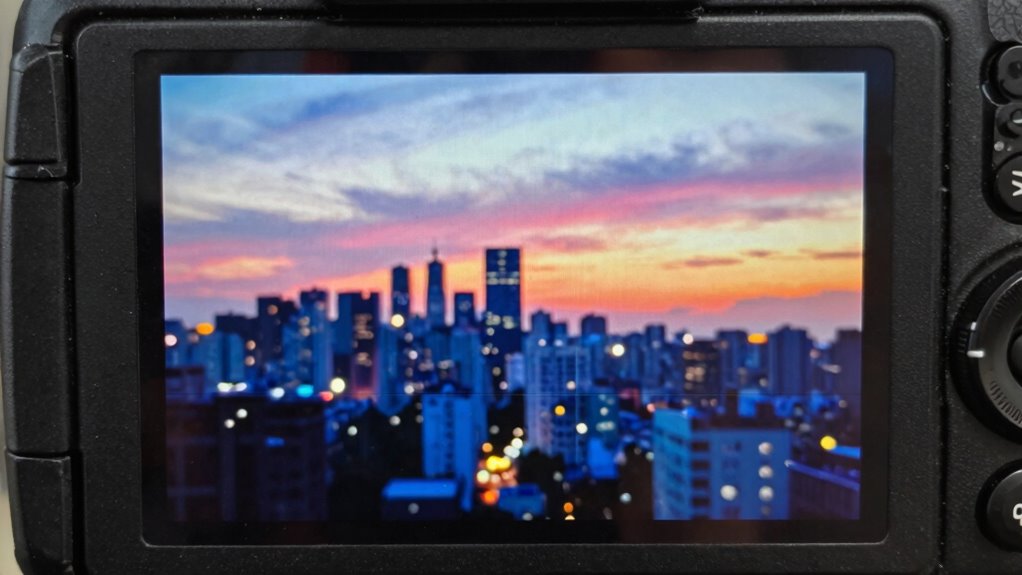
How Does Downscaling or Upscaling Impact 4K Image Quality?
When you downscale or upscale 4K images, it directly affects their clarity and overall quality. Downscaling reduces the resolution, often causing resolution loss that can blur details and make images appear less sharp. Upscaling, on the other hand, attempts to enlarge images, but it can introduce pixelation issues because the system adds new pixels that may not match the original detail. This can result in a blocky or fuzzy appearance, making the image look less crisp. Both processes impact the viewing experience, especially if done improperly. If you’re not careful with scaling, you might end up with a picture that looks like a lower resolution, such as 720p, even if it’s technically 4K. Proper scaling techniques are essential to maintaining the true quality of 4K images. Additionally, scaling techniques play a vital role in preserving image fidelity during these processes.
What Are Common Troubleshooting Tips to Fix Blurry 4K Videos?
Blurry 4K videos can often be fixed with some straightforward troubleshooting steps. First, check for resolution issues by ensuring your device and video playback settings match the native 4K resolution. Mismatched settings can cause blurriness or pixelation. Next, review your display calibration; poor calibration can distort colors and sharpness, making videos appear blurry. Adjust your monitor or TV’s settings to optimize clarity, ensuring sharp contrast and accurate color reproduction. Updating your graphics driver can also improve video rendering and fix resolution-related problems. Additionally, verify that your playback software is set to output in 4K and that no scaling or zooming features are degrading image quality. Proper display calibration is essential for ensuring the highest quality viewing experience. To further enhance image clarity, consider using mount leveling kits to ensure your projector or display is perfectly aligned, preventing distorted or blurry images. Also, exploring regional flavor profiles can help you better understand how different settings and environments might affect your viewing experience.
How Can I Ensure My 4K Content Looks Crisp and Detailed?

To guarantee your 4K content looks crisp and detailed, start by confirming that your playback device is set to output at its native 4K resolution. Next, perform proper color calibration to enhance vibrancy and clarity. Upgrading hardware such as a high-quality HDMI cable, a powerful graphics card, or a 4K-compatible display can also make a difference. Ensuring your display settings are optimized helps prevent loss of detail. Consider the table below for key improvements:
| Step | Action | Benefit |
|---|---|---|
| Color Calibration | Calibrate display colors regularly | Accurate colors and contrast |
| Hardware Upgrades | Use a high-quality HDMI cable | Clearer image transmission |
| Display Settings | Enable 4K resolution and HDR | Enhanced detail and color |
What Should I Do If My 4K Still Doesn’t Look Right?
If your 4K content still doesn’t look right, start troubleshooting by checking your display settings and hardware connections. First, ensure your monitor or TV is properly calibrated for color; incorrect color calibration can make images appear dull or washed out. Next, verify that your device’s refresh rate matches your display’s specifications—using a lower refresh rate can cause motion blur or flickering, degrading picture quality. Also, confirm that your HDMI or DisplayPort cables support 4K at the highest refresh rate. Adjust your display settings to optimize sharpness and color accuracy. Updating your graphics drivers and firmware can also resolve compatibility issues. By fine-tuning these factors, you’ll improve the overall 4K viewing experience and ensure it looks as crisp and vibrant as intended.
Frequently Asked Questions
Can Outdated Graphics Drivers Cause 4K Display Issues?
Outdated graphics drivers can definitely cause 4K display issues. When your drivers aren’t up-to-date, they might not support the latest resolution features or hardware capabilities, leading to compatibility issues. Regular driver updates help guarantee your graphics card communicates effectively with your display, preventing problems like flickering, resolution errors, or poor image quality. Keep your drivers current to avoid these issues and enjoy maximum 4K performance.
Does Monitor Size Affect Perceived 4K Clarity?
Monitor size definitely affects perceived 4K clarity because resolution scaling and pixel density play essential roles. A larger monitor with the same resolution spreads pixels out more, making images appear less sharp. Conversely, smaller screens pack pixels closer together, boosting pixel density and clarity. So, even with 4K resolution, a bigger display might seem less crisp if scaling isn’t optimized, impacting your viewing experience.
Are There Specific Settings for Gaming Versus Video Playback?
Yes, you should modify settings for gaming versus video playback. For gaming, prioritize a higher refresh rate and fast response time, and tweak color calibration for vivid visuals. When watching videos, focus on accurate color calibration and a moderate refresh rate for smooth playback. Switching between these profiles ensures ideal image quality, making your experience more immersive and tailored to each activity’s demands.
How Does Ambient Lighting Influence 4K Screen Appearance?
You notice your 4K screen’s vibrant colors shift with ambient lighting, subtly altering its appearance. Bright surroundings can wash out colors, reducing contrast and making images seem less sharp, while dimmer lighting enhances color calibration and ambient contrast, making details pop. To maintain ideal clarity, adjust your environment or screen settings. Keep the lighting consistent, so your 4K display always shines with true-to-life colors and crisp detail.
Is Hardware Acceleration Necessary for Optimal 4K Performance?
Hardware acceleration is essential for ideal 4K performance because it guarantees smooth playback and reduces strain on your CPU. You should check hardware compatibility before enabling it, as not all devices support it fully. Additionally, keeping your software updates current guarantees you benefit from the latest improvements and fixes, which enhance 4K rendering and overall experience. Without hardware acceleration, you might experience lag, stuttering, or lower-quality visuals.
Conclusion
If your 4K screen still looks blurry or pixelated, don’t settle for less. Double-check your display settings, connections, and content source to guarantee everything is optimized. Are you truly getting the sharp, detailed picture you paid for? Taking these steps can make all the difference. Remember, a little troubleshooting can turn a blurry 4K into the crisp, vibrant display you deserve. Why settle for anything less than perfect clarity?