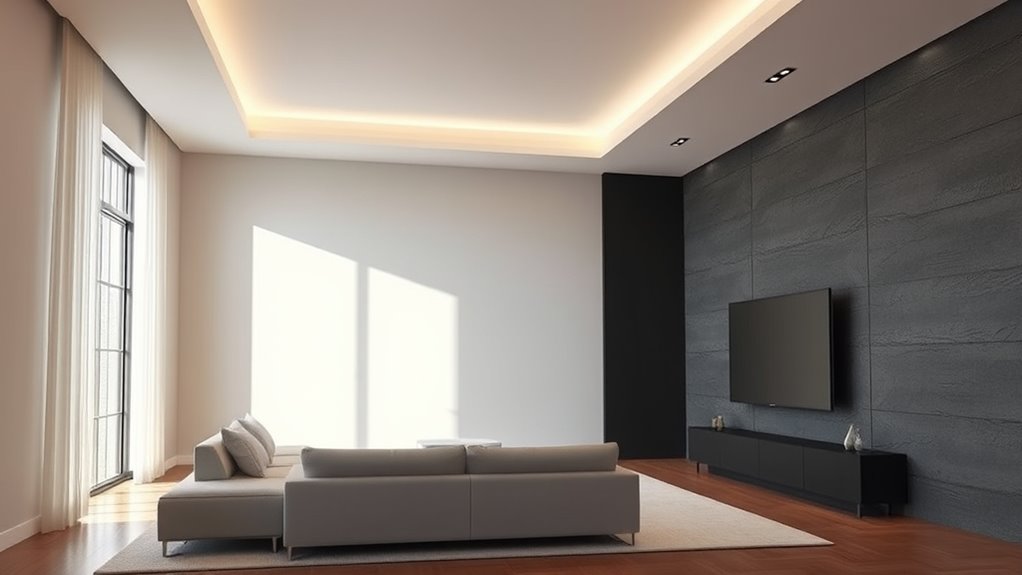
When choosing a wall for projection, pick a smooth, flat surface in neutral tones like white, light gray, or beige to guarantee bright, clear visuals. Avoid textured or dark-colored walls, as they can distort colors and reduce sharpness. Keep the wall clean and consider adding matte paint or a projection screen paint for better reflectivity. Properly selecting and preparing your wall will considerably improve your projection quality—continue to explore for tips on making the most of your setup.
Select a wall with neutral, matte paint to ensure accurate color reproduction and minimize glare.
Choose a smooth, flat surface to achieve sharper, clearer projected images.
Prepare the wall by cleaning and applying projection-friendly coatings or primer for optimal reflectivity.
Avoid textured or patterned walls that cause light scattering and reduce image sharpness.
Ensure the wall is free of ambient light interference and positioned for ideal projector alignment.
Selecting the right wall for projection is essential to guarantee your visuals look sharp and vibrant. The color of the wall plays a significant role in how well your projected image appears. Ideally, you want a wall with a matte, neutral tone—colors like white, light gray, or beige work best because they reflect light evenly and prevent color distortion. Bright or dark wall colors can interfere with the clarity and brightness of your projection, causing washed-out images or unwanted color shifts. Keep in mind that the goal is to maximize contrast and color accuracy, so choosing a wall with a subdued hue helps ensure your visuals stay true to their intended appearance.
Beyond color, wall texture also impacts your projection quality. Smooth surfaces tend to produce sharper images because they allow the light from your projector to reflect uniformly. Rough or textured walls, on the other hand, scatter light in different directions, resulting in a blurry or uneven image. If your wall has a textured finish, like stucco or heavily patterned wallpaper, it might be worth considering a smooth, flat option or applying a matte paint to create a suitable surface. This not only enhances image clarity but also reduces distractions caused by surface irregularities that can interfere with the viewing experience. Additionally, wall preparation techniques can further improve your projection quality by creating an optimal surface for display.
Another aspect to consider is wall cleanliness. Dust, smudges, or uneven paint can diminish image quality, so ensure your wall surface is clean and well-prepared before setting up your projector. If your wall has imperfections, you might want to use a primer or a special projection screen paint designed to improve reflectivity and smoothness. This step is especially important if you’re projecting high-resolution content or hosting events where visual quality matters.
Positioning your projector at the right distance from the wall also influences how well your image adapts to the surface. The size and aspect ratio of the projection depend on this distance, so it’s essential to assess your space beforehand. Additionally, ambient lighting can affect your wall’s appearance, so controlling the room’s lighting conditions will help your projected visuals stand out more vividly against the chosen wall.
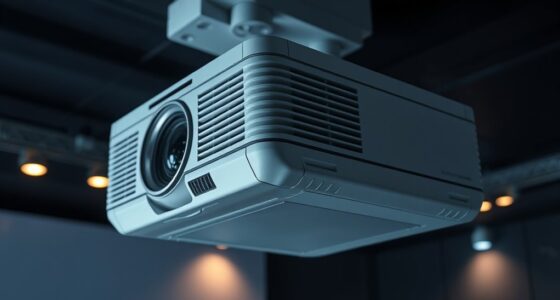
2000 ANSI 4K Decoding Projector with WiFi and Bluetooth, HAPPRUN Movie Home Theater with Auto Focus, 300'' Display for Indoor/Outdoor, Smart Proyector Compatible with Phone/TV Stick/PC/PS5
[EASIER OPERATION: AI Smart Screen Adjustment] HAPPRUN projector comes with auto focus and 6D auto-keystone technology, enjoy a...
As an affiliate, we earn on qualifying purchases.
Frequently Asked Questions
Can Textured Walls Affect Projection Quality?
Textured walls can definitely affect projection quality because wall surface textures disrupt the smoothness needed for clear images. You should consider wall surface preparation by smoothing out uneven textures or using a dedicated projection screen. This guarantees your projector’s light reflects evenly, resulting in sharper images. If you ignore surface textures, you might experience distorted or dim visuals, so prep your wall properly to get the best possible projection quality.
What Wall Color Enhances Brightness and Contrast?
You’ll want a matte white wall to maximize brightness and contrast, creating a vivid, crystal-clear image that seems to leap off the surface. Imagine the glow of a full moon reflecting pure, bright light—this is the effect a white wall supplies. Its high color contrast boosts the depth of your images, while brightness enhancement ensures your projections stay sharp and vibrant, even in well-lit rooms.
Are There Specific Wall Materials Best for Projection?
Yes, certain wall materials work best for projection surfaces. You should opt for smooth, matte finishes like specialized projection paint, drywall, or painted plaster, which minimize glare and reflections during wall installation. Avoid glossy or highly textured surfaces, as they can distort images. Flat, even surfaces guarantee your projector’s light is evenly distributed, resulting in sharper images and better contrast, making your viewing experience more immersive and enjoyable.
How Does Ambient Lighting Impact Projection Visibility?
Ambient light considerably impacts projection visibility by reducing contrast and clarity. When there’s too much ambient light, your projection becomes washed out and harder to see clearly. To improve projection clarity, you should minimize ambient light in the room, use blackout curtains, or add dimmable lighting. This allows your projector to deliver a sharper, more vibrant image, ensuring you get the best viewing experience even in less controlled lighting conditions.
Is Wall Size Important for Large Screenings?
Did you know that larger screen dimensions can boost viewer engagement by up to 40%? Wall size is definitely important for large screenings because it directly impacts your projection quality. Bigger walls allow for bigger screen dimensions, making visuals more immersive and ensuring everyone gets a clear view. So, when planning a large event, choose a wall that’s big enough to support your desired screen size for the best experience.
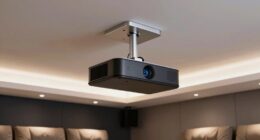
Epson Home Cinema 980 3-Chip 3LCD 1080p Projector 4,000 Lumens Color and White Brightness, Streaming/Gaming/ Media Room, Built-In Speaker, Auto Picture Skew, 16000:1 Contrast, 2 HDMI Ports
Exceptional Picture Quality — Provides stunning, detailed 1080p images and fast data processing that’s optimized for fast-action sports,...
As an affiliate, we earn on qualifying purchases.
Conclusion
So, next time you’re faced with the formidable task of picking the perfect wall, remember—it’s not about finding the flawless surface but about your unwavering commitment to mediocrity. After all, a slightly uneven wall adds charm, and a dull backdrop keeps expectations low. Why aim for perfection when you can settle for “good enough”? Embrace the imperfection, and let your projections shine, or at least flicker convincingly—because, really, who needs a masterpiece?
[Official Google TV]Smart Projector 4K Supported with WiFi & Bluetooth, Built-in Official Apps, GoogIe Voice, Outdoor Movie Projector with DoIby Audio, Auto Focus, Home Theater Proyector WIMIUS G1
[All-in-One Google TV Built-In] G1 Smart projector comes fully integrated Google TV—no website version, no stripped-down system. Access...
As an affiliate, we earn on qualifying purchases.
4K Projector with Built-in Apps, 1500ANSI Auto Focus&6D Keystone Dolby Audio Kogata Smart Projector with WiFi 6 Bluetooth Outdoor Movie Proyector for Home Theater HDR10+ UPGRADE
【UPGRADE Version】Unlimited Streaming –Compatible with Netflix & Dolby Audio& DTS Audio: The Kogata GC357 home projector comes with...
Heat and Ventilation for Projectors Glossary—Explained in Plain English
For beginners, understanding heat and ventilation for projectors is crucial to prevent overheating and ensure optimal performance—discover the essentials now.
Keep your space brilliantly lit by mastering these three overlooked steps to brightening a room—discover the secrets that can transform your space today.


![[Official Google TV]Smart Projector 4K Supported with WiFi & Bluetooth, Built-in Official Apps, GoogIe Voice, Outdoor Movie Projector with DoIby Audio, Auto Focus, Home Theater Proyector WIMIUS G1](https://m.media-amazon.com/images/I/515NcMYy-FL._SL500_.jpg)